
The end of the road. A lonely fort stands on the banks of a mighty river. It is here the hardy bands of adventurers gather to plan their conquests of The Hill, the hulking mass that looms over this tiny settlement. The Hill is filled with monsters, they say, and an evil witch makes her home there. Still, no visitor to The Hill has ever returned to prove the rumors are true or false. The thrill of discovery is too great to pass up, and only the river stands in the way. The adventurer's boat is waiting! This module is designed for use with the D&D Basic Rules. A trip through the wilderness begins a unique challenge for the novice player and Dungeon Master. TSR 9078
Synopsis: A swamp village is plagued by swarms of insects; several villagers have died from it. It turns out that the local herbalist is actually a vampire who takes the form of a swarm of mosquitoes. Talk to villagers and get rumors, visit the herbalist, suffer through some dreams, get ambushed by the herbalists minions, chase him into the basement to kill him and rescue the villagers. The mosquito vampire and, maybe, the role play involved in convincing the villagers to dig up the graveyard (to find empty coffins filled with sand!) should be fun. The rest of this is pretty simple.

Summary The party is sent to deal with a problem that should be instantly familiar to all rookie adventurers - exterminating giant rats that have taken up residence in a beer cellar. However, if they are to achieve their goal our heroes are going to have to get their first taste of a real dungeon as they explore the ruins of an ancient Wizard’s Tower. What is this adventure? This first-level adventure is designed for D&D veterans and complete beginners alike. It only uses rules, items, monsters and concepts found in the free basic ruleset that can be downloaded from the Wizards of the Coast website. That means that you and your friends can play this without having to buy anything other than snacks, drinks and maybe some dice - though even these can be replaced by the many free Dice Roller apps available for phones and tablets.
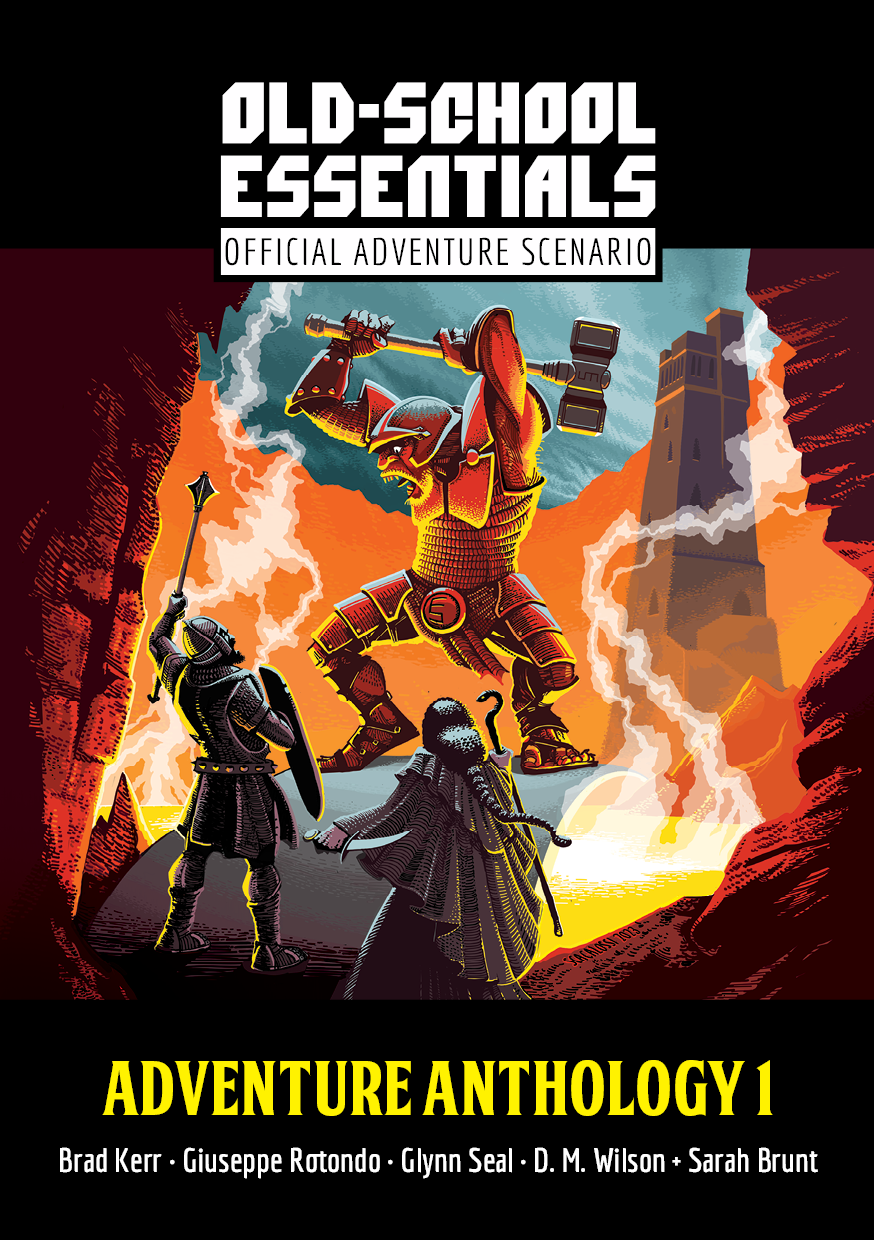
A level 1–3 dungeon adventure by Giuseppe Rotondo. The secret workshop of a long-dead jeweler-magician is now open, as his grandson wants the place finally cleared of all dangers. What treasures might remain within, and what might be watching over them? This adventure combines classic dungeon crawl elements with the intrigue of uncovering a magician’s legacy, making it a rich experience for both new and seasoned players. For Old-School Essentials (OSE) Included as one of four adventures in "Old-School Essentials Adventure Anthology 1"

Important: The adventure is 1e but it has monster conversion notes for D&D 4th edition The town of Highport, once a human community overlooking Wooly Bay from its perch on the northern coast of the Pomarj, fell prey to hordes of humanoids swarming out of the jungle-covered hills surrounding the settlement. Though the orcs, goblins, kobolds, ogres, and gnolls razed much of the place in their ferocious rampages, the smoldering ruins they left behind soon became a new kind of community, a place of trade between the humanoid “locals” and the unsavory human traders who have no compunction about doing business with them. Slaves are a commodity in ready supply in Highport’s market, since many pirates raid up and down the coast of the bay, putting fishing villages to the torch and filling their holds with captured refugees. Slavery has become a thriving business in the town, and rumors abound of a cartel of Slave Lords who run things from behind the scenes, filling their coffers in secret from the buying and selling of human chattel. The trade has become so prolific that the good folk to the north have grown tired of these depredations and decided to fight back. Forces of righteousness and honor have recently descended upon Highport, some openly and others in secret, in various attempts to destroy the machinations of the Slave Lords and abolish the abominable enterprise that has taken far too many loved ones from home and hearth. One such doughty servant of goodness is Mikaro Valasteen, a cleric of Trithereon. Mikaro slipped unnoticed past the crumbling walls of Highport with a single mission: to rescue and transport as many slaves to their freedom as possible. Mikaro and a handful of faithful assistants located a number of escaped slaves—as well as rescued a few more not sufficiently restrained and guarded—and shepherded them through the gates and beyond the reach of their humanoid tormentors, returning them to their lands and homes. This covert freedom brigade enjoyed remarkable success early on, since the servants of the Slave Lords were often lax in their vigilance and sloppy in their efforts to prevent loss of the “merchandise.” After one too many shipments never made its destination, the humanoids stepped up their security and the normal channels of escape from Highport closed to Mikaro and his team. He cannot risk exposure by smuggling the freed slaves through the gates as merchandise any longer, since shipments of goods are now regularly stopped and checked. No longer able to free the slaves in that manner, Mikaro began hiding his charges in an abandoned villa in a particularly rundown part of the town. Although they are safe for the moment, their numbers have grown unmanageable, and the priest fears it is only a matter of time before someone slips up and brings slavers to their doorstep. Ever more desperate to find a new means of escape from Highport, Mikaro has started work on a plan that is both daring and dangerous. He intends to use a series of old sewers coupled with natural caverns running beneath the town as an escape route to the sea beyond the walls. But he needs someone to clear out the creatures and pitfalls he knows lie within. Pgs. 2-27

A shrewd, spell-using green dragon has taken over the deepest chamber of a limestone cave as his lair. The dragon has persuaded a tribe of troglodytes to live in the outer chambers as a sort of "protective buffer" in return for gifts of magical treasure. The troglodytes cherish the useless bits of magic without realizing their modest worth. The outer chambers of the cave are protected by the troglodytes, the beetles and centipedes the troglodytes raise as cattle, and wild creatures. The green dragon uses traps, illusions and magical devices to protect his inner chamber. Wyrmhaven is the second dragon's lair to conquer. Part of TSR 1073 The Dragon's Den

Chapter 2: The Sinister Secret of Saltmarsh In this version of the adventure, the characters find navigational charts and logs aboard the Sea Ghost that implicate its crew as slavers. Ned Shakeshaft is a Scarlet Brotherhood agent. He makes an attempt to foil the characters, but his true intent is to surrender and implicate Gellan Primewater as a key villain. The distraction afforded by the lizardfolk and the looming sahuagin threat gives the Scarlet Brotherhood the opportunity to bring more agents into town. posing as mercenaries brought in by Anders to protect the town. If Gellan can be removed from the council, Solmor might ask one of the characters to take his place.

Vampires in service to Shar, the Mistress of Night, are somewhere in Vanrakdoom. You must locate them without drawing the attention of the other residents of this dangerous place. Part Two of the Undying Threat trilogy. A 4-6 Hour Adventure for Tier 3 Characters. Optimized For: APL 13

Part 1 of an Expert-level quest into a hostile wilderness. This adventure takes place in the Known World of the D&D game, as outlined throughout the D&D game rule books and modules. The DM may find it useful to consult the Companion and Masters Sets, as well as most of the X-series of Expert Set modules. D&D Expert Set module X9, The Savage Coast, would be especially helpful, as Tortles of the Purple Sage could easily serve and continue that module's direction and plot like, adding a previously undescribed area (the Great Northway) to the Known World. The DM may also place the areas and events of this adventure within an existing campaign setting, as long as the geographical areas of the campaign match those set forth here. Pgs. 40-62

Civil War Unrest. Turmoil. Rebellion. As above, so below - the cataclysmic events of the Wrath of the Immortals echo throughout the Hollow World setting. The Milenian Empire, with its classical Greek culture, has not escaped. Already the streets are un-safe, and the omens are getting worse... The emperor is dead... long live the emperor! But is the new emperor a man of the people, or a tool in the hands of malevolent powers? Walk carefully, for no stranger is safe upon the streets these days, and adventurers least of all! The mood of the capital city is turning ugly. Minions of the new emperor look on uncaring, while citizens disappear and philosophers fall to heedless mobs. The old emperor's elite guards are disbanded and scattered. Disorder reigns, and restless citizens threaten open revolt. And yet... a whisper is heard. Civil war can be averted. An ancient artifact, the Milenian Scepter, can rally those who would serve the Empire best. But the Scepter has been lost for generations, and who can say where it might be? The trail leads into the depths of the city, and across a dangerous wilderness to a forgotten oracle. For the lucky and the bold, perhaps it will lead to... THE MILENIAN SCEPTER This stand-alone adventure is compatible with the Wrath of the Immortals boxed set and the accessory HWR3, The Milenian Empire. You will need the D&D Hollow World boxed set to play this adventure. Easily adaptable to the AD&D game. TSR 9378
The Siege of Castle Rend is an adventure for the fifth edition of the world’s first roleplaying game, suitable for five 5th-level characters. It takes place over four parts, and each part can be completed in one or two sessions of play, depending on your group’s playstyle and how long you like to play in a single sitting. If all goes according to plan over the course of this adventure, the player characters will expose an usurping lord, fight orcs, acquire a stronghold, defend it from an invading army, win the admiration of a town filled with potential vassals, and make political connections within the Barony of Bedegar. Of course, no adventure goes according to plan. The PCs will invariably throw these well-laid schemes into chaos, and they’ll have to improvise. But if we know how things would have gone if the PCs never showed up (or are cowards), it makes it easier for us GMs to improvise when things go off the rails. Published by MCDM

Deep below the surface lies an ancient beholder city called Ilth K'hinax. In times past, hundreds of beholders called it home - until simmering rivalries within their society exploded into warfare. The few survivors fled, leaving the city deserted for hundreds of years. However, the story of Ilth K'hinax's glory was passed down from one generation of beholders to the next. Now, after countless years of self-imposed exile, the beholders are back! After securing the city, the hive mother of Ilth K'hinax implemented a plan to wipe out all the beings living above it. Unfortunately for the beholders, several facets of the hive mother's plan have been revealed through the exploits of a party of adventurers. Now, this group of heroes must meet eye to eye with Ilth K'hinax's newest occupants in an effort to stop the hive mother's pernicious plan! "Eye to Eye" is the last of three adventures featuring the nightmarish beholder. It can be played as an individual mission or as part of the series that began with "Eye of Pain" and continued in "Eye of Doom." TSR 9536

Devastated in a war with a nearby wizards' school, the Fighters' Academy has since been surrounded by a foul and dank swamp - the Gloomfens. Since the climatctic battle between the wizards and fighters, the tower has decayed. The spirit of the head of the academy haunts the building, eternally plotting his revenge on the wizards who killed him. his loyal sutdents remain faithful to him even in death. Other foul undead have made their home in the rotting, spacious academy. From their lair, they make forays into farmsteads near the swamp in search of victims to feed their unspeakable appetites. The Problem of these terrible attacks by the savage undead will not stop until the evil that has found a home at the tower is burned from the face of the land forever. Will your party heed the call and help the town of Melinir? Will they be able to clear the former Academy of its undead? The Fighters' Academy is the first in a three part adventure, The Haunted Tower. Or, it can be ran as a stand alone adventure. The choice is up to you. Part of TSR 1081 The Haunted Tower

The Necropolis of Nuromen is a modular quest designed to let the referee introduce a group of 1st level characters to the thrills of Underworld exploration as they attempt to unravel they secrets of the evil necromancer’s lair and deal with some bandits, too. The Necropolis of Nuromen is set in a fantasy realm, beginning near the small town of Camlann Castle and leading adventurers to explore the sinister Necropolis of Nuromen. The narrative unfolds around Nuromen the Necromancer, who fell to ruin by dabbling in forbidden magic, leading to the downfall of his tower and the town known as Law's End. The adventure includes exploration of a haunted forest, encounters with various creatures, and a quest for lost treasures and magical artifacts hidden within the depths of the necropolis. To play this adventure you also require the BLUEHOLME™ Prentice Rules or the BLUEHOLME™ Journeymanne Rules. This is an updated Version of "Maze of Nuromen" from 2013.

Revolt of the Gladiators! The corrupt Thyatian senator, Helenites Osteropolus, his latest scheme smashed by the adventurers and their gladiator allies, hatches a new plot to destroy the influence of the Order of the Sands (even, perhaps, to attack the Emperor himself!) Yet greater dangers lie ahead. If his plot succeeds, it will remove the guardians that protect the city from the creatures that lurk in the caverns and catacombs below. Can the players block his gambit? Will the wheel of justice grind small, or will the greasy palm of political corruption reach out and save the senator once again? You decide, in the chaotic swirl of the Thyatian capital's politics. This module is designed especially for the DM who wants to sharpen his interactive skills. Recommended for four to six characters, levels 3-4 Includes map of a realistic catacomb complex below Thyatis City Unique role playing climax tests players' integrity and skill New information on the military Legions of Thyatis This module is a stand-alone sequel to DDA1 Arena of Thyatis. TSR 9296

This AD&D scenario is designed to be a humorous departure from regular adventuring. The "heroes" are a fellowship of monsters on a quest to recover a magical item for an orc chieftain whom they have displeased. Having lost the map given to them, they must gain entry to a frontier outpost - probably by sneaking through sewers - and recover the map from a locked safe in the commanders quarters. Once they again have the map, the monsters must travel overland to an abandoned elven witches' temple on the shore of a mountain lake, where they will find the object of their quest. Pgs. 23-32

Buried in fire, but hardly dead. Only the Keep survived the destruction of Koralgesh, but few adventurers will survive the terrors that now stalk the lost Keep's halls. Players hear rumours of the Keep at Koralgesh and then traverse it to acquire the treasure within. Pgs. 45-64

The town of Byr is in need of heroes. Residents of the town of Byr have been kidnapped. Some think it was marauding Hobgoblins, but a grizzled and crippled veteran who helped to drive the Chagmat (monstrous spider-people) back many years ago believes that the Chagmat are back. Their forgotten temple is believed to be up on Little Boy Mountain. He argues that the mountain is where answers, and the missing townsfolk, can be found. Pgs. 33-48

In "The Brazen Bull," whilst traversing one of the seedier neighbourhoods of Khromarium, your party are solicited by a greasy-haired Pict. He offers to sell you a sheaf of magical lotus that allows one to see the future or to brew potions that empower the imbiber with sorcery. He beckons you to follow Jeffrhim into a dilapidated building ...

A malicious and virulent force possesses the Vermyr Woods. The local wild-life has fled; known paths have mysteriously vanished or shifted; and locals have been found hanging dead from trees yet their eyes watch... they always watch. The hopes of the people are dwindling quickly. Believing that evil harpies have afflicted the woods, brave Captain Harkin set forth to serve them righteous justice! Even the mighty druid Algalor is nowhere to be found. Time passes and their worries compound. Why have the harpies attacked? What is the fate of Algalor and Captain Harkin? What is this mysterious evil that plagues the Vermyr woods? Who is Cartman's dad? The heroes will stumble into this mystery as they travel to Homid. They will discover the truth of the harpies as well as the fate of the heroes who safeguarded this region by delving deep into a forest labyrinth that feels alive! Will it consume them or will they be strong enough to defeat the evil at its core!