
Long ago, before the arrival of civilized humanoids, a large colony of ogres thrived in the local area. When a great invasion from another dimension threatened this colony, their king, Koptila, prayed for his people to be spared. The gods heard these pleas, but commanded Koptila to sacrifice himself. The leader did so, and the clan disappeared—whisked away by the gods and lost to time. Over the years, a city grew up above the former subterranean home of the ogres, and no aspect of Koptila’s ancient bargain was preserved or remembered. Even so, the stars are aligned for the return of Koptila and his people. These powerful repatriates are unlikely to appreciate the changes in their old home. A sage has found dusty documents prophesying this return, and he asks the PCs to investigate the catacombs to defeat the potential threat to the city. The PCs travel down through city sewers and subterranean passages before finding the catacombs that the ogre colony once called home. Pgs. 48-53

Restore an Abandoned Temple Enter the catacombs near the desecrated Temple of Muir, Goddess of Paladins, and search for the lost tomb of Abysthor. Will your party be able to cleanse the evil that now inhabits these once-sacred halls, and recover the Stone of Tircople? Can your characters survive the traps of an undead sorcerer? Will your players discover the chamber of Living Rock and the secret power it holds? Adventure awaits! Gold and Glory! A fantasy adventure published for the D20 system, The Tomb of Abysthor is the first module in Necromancer Games Dungeon series and can be played as a stand-alone story or in conjunction with The Crucible of Freya and the forthcoming city supplement Bards Gate. What secrets lie hidden in the tomb of Abysthor?

Within a lawless region of the Nameless Realms known as the Barrens, strength, cunning, and a will to survive are all that matters. Here, amid the arid high plateaus, the smoldering hat of the deep jungles, and the haunted marshlands of the northern fringe, countless adventures can be had for those brave, or foolish, enough to undertake them. This is a land of ancient ruins, petty robber barons, wild tribes, elder curses, and the undead. Sorcerers rule over fallen cities, and dark priestesses hold power with all manner of evil minions. Will your party be bold enough to undertake the challenges that await them in this first adventure in the Folio: Black Label Series? Can they overcome the curse of the three sisters, and will they make a name for themselves among the scattered outposts of Humanity? Only time, dice and comradery around the gaming table will tell. This adventure is formatted to both 1E & 5E gaming rules.

The king summons the heroes to investigate the death of a knight, and the final fate of the king's long-missing son. The knight and his entire order was killed by a Dragon! Yay we get to fight a dragon in the first issue of Dungeon Magazine! Much travel over many different terrain types featuring avalanches, volcanoes spewing lava, and many random encounters (not detailed here) before the heroes reach their real goal: A lake with a ruined wizard's tower and dragon's cave. Opens with a particularly byzantine Background section for the DM involving a prince you never meet, pirates you never meet, knights you never meet, and deep gnomes you never meet. See Out of the Ashes in Dungeon #17 for sequel to this adventure. Pgs. 42-60

Buried in fire, but hardly dead. Only the Keep survived the destruction of Koralgesh, but few adventurers will survive the terrors that now stalk the lost Keep's halls. Players hear rumours of the Keep at Koralgesh and then traverse it to acquire the treasure within. Pgs. 45-64
For hundreds of years, Aknar Ratalla's tomb remained undisturbed, the Black Blade safely hidden within its vaults. Can a band of adventurers use the tomb's guardians and traps to keep it that way? Long ago, Aknar Ratella brought pain and desolation down upon the land. His reign of ruin was finally ended by an unlikely alliance of the forces of law: a band of devils and devas slew the warlord but were unable to destroy his dangerous weapons and relics. They chose instead to hide these potent artifacts of evil in a remote tomb, selecting a devil and a deva to stand guard over the tomb for the rest of time. For many centuries, the tomb stood unspoiled... but now, a new player has entered the scene. After infiltrating the tomb themselves, a band of adventurers must become its guardians and use its denizens and traps to prevent a monstrous gnoll chieftain from claiming the deadly artifacts hidden within for his own nefarious glory. Pgs. 58-80

The town of Byr is in need of heroes. Residents of the town of Byr have been kidnapped. Some think it was marauding Hobgoblins, but a grizzled and crippled veteran who helped to drive the Chagmat (monstrous spider-people) back many years ago believes that the Chagmat are back. Their forgotten temple is believed to be up on Little Boy Mountain. He argues that the mountain is where answers, and the missing townsfolk, can be found. Pgs. 33-48

Lots of stronghold assaults and shipboard travel/encounters in this one. This adventure's deep political basis might be seen as an introduction for the domain-focused adventures of Companion-level play. This adventure is for use with the Dungeons & Dragons Basic, Expert, and Companion Rules, and includes the intrigue of engaging with nobility's lands and agendas. Intro: All is not well in the kingdom of Vestland. Not only is the king dead and the holy Sonora Crown missing, but the heir to the kingdom was lost at birth and no on knows where to find him. As if this wasn't bad enough, the forces of the Ethengar Khanate, never on the best of terms with Vestland, are now massing on the borders, hoping to take advantage of Vestland's plight. To complete the rosy picture, traitors from within also threaten to speed the downfall of the High Kingdom. Sounds like a job for you. You must find the long-lost heir to the kingdom and recover the Sonora Crown, the mystical device without which a king cannot be crowned. Standing in your way are traitors and spies from within and invaders from without the kingdom of Vestland. Time is running out! Can you save Vestland from disaster? TSR 9218
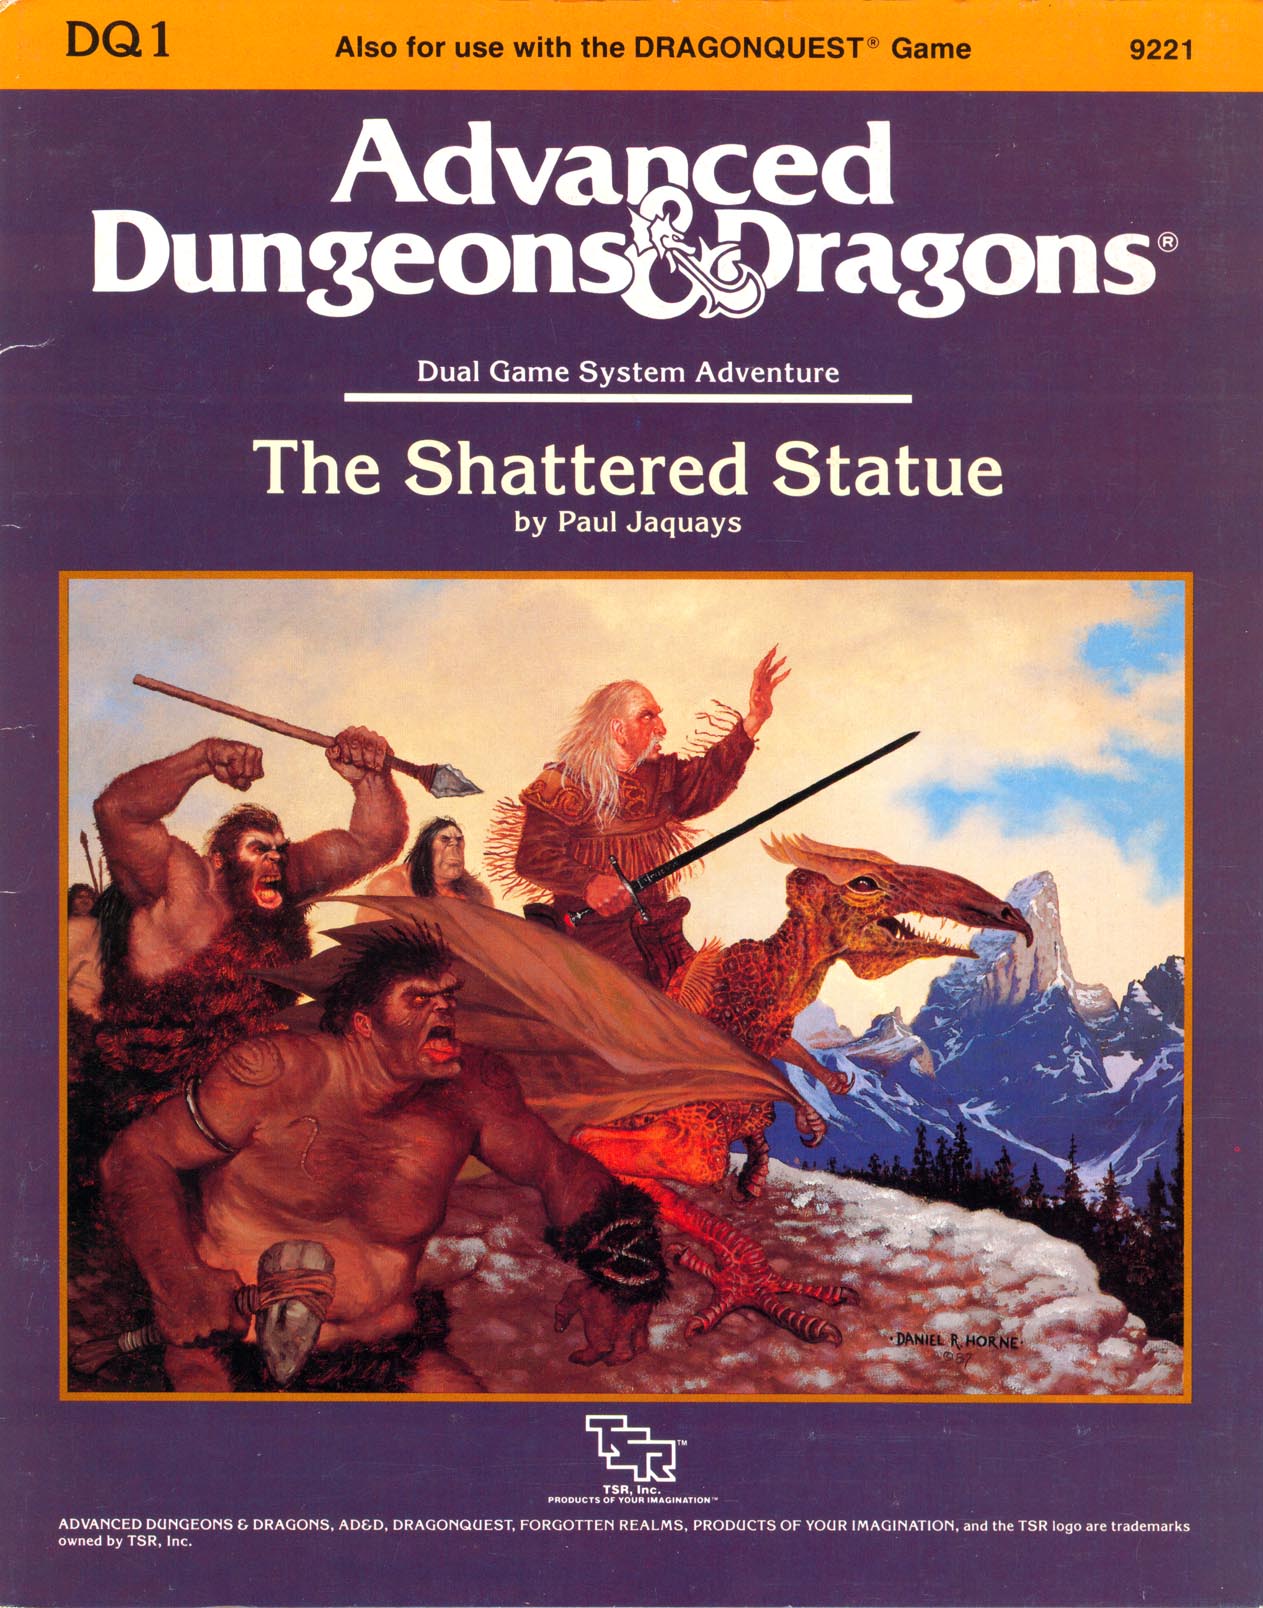
"A mutual friend has praised your skills highly. If you seek rich reward and the opportunity to delve into mysteries ancient and lost, bring this bottle forthwith to my demesne in the village of Volkumburgh. Together we may seek to bring mankind the lost wonder of the awtawmatawn." A mysterious note, a disappearing 5-foot-long religious relic, and the ruins of two magical schools. What do these things have in common? How deeply are your party members involved in all this? "The Shattered Statue" is the first dual-game-system module of its kind. Players of both the AD&D game system and DRAGONQUEST game system can use this adventure. It is suitable for use with FORGOTTEN REALMS campaign setting. TSR 9221

The heroes arrive at the eponymous Keep on the Borderlands, a fortress on the edge of civilization built to stave off the chaos and evil of the wilderness. Using it as a home base, a party can make forays into the surrounding wilderness, encountering monster and marauder alike. The centerpiece of the adventure is certainly the CAVES OF CHAOS, a network of tunnels and caverns found in the walls of a nearby but isolated ravine. It is here that hordes of evil humanoids have made their home. Through combat and negotiation, the players can try to explore and map out these caves, perhaps with the aim of accumulating valuable treasure or even cleansing the land of evil creatures. However, even the Caves are not all they seem. Beyond the goblins and kobolds lurk dark horrors: cults dedicated to fiendish chaos and a Minotaur's enchanted labyrinth await the unprepared adventurer. But for the hero who is brave, clever, and fortunate in equal and sufficient measure, great treasures and glory await in the Caves of Chaos that lie beyond the Keep on the Borderlands! TSR 9034

This quest is for a party looking to resurrect a character whose corpse is missing body parts necessary for survival. Lower-level resurrection spells don’t work on a creature that is missing a head, heart, or other vital organ. To resurrect the body, the characters turn to Vaprak, patron deity of trolls, and attempt to earn the god’s assistance. However, a band of frost giant hunters intend to destroy Vaprak's temple along with everyone inside it. Includes a quest-related NPC that a player can control if they're waiting for their character to be resurrected.
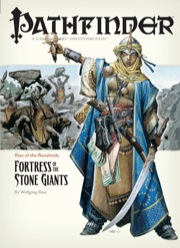
The Giants are on the March! The Rise of the Runelords Adventure Path continues! Driven to battle by a maniacal warlord, the once-peaceful stone giants of the Storval Plateau threaten to destroy the sleepy town of Sandpoint. Will fast action and quick wits be enough to save the defenseless community? Yet, even if the giants' initial raid can be repelled, only by striking at the heart of their titanic war machine—the black-towered fortress of Jorgenfist—can the menace be quelled. But who knows what mysterious bloodlust spurs the usually peaceful giants to war, or what mysteries lie beneath their ancient fortress?

Only True Heroes Can Find Honor Among Thieves … They lurk in the Ralferst Forest, striking out at all who pass through, robbing traders, assaulting farmers, even killing with impunity. Working from a secret base deep in the forest, a band of thieves has struck fear into the heart of Brandon's Bridge, the little village at the crossing of the Azure River. But now a band of heroes has come, seeking glory and adventure - heroes that might just be up to the challenge of driving away the Thieves in the Forest. Thieves in the Forest is a beginner-friendly, introductory OGL adventure. It features: A wilderness adventure segment featuring the Ralferst Forest, a dense wood crisscrossed with paths and fraught with perils. The nature of the forest and paths makes it easy for less experienced players and GMs to deal with this non-dungeon environment. A double-sided, fold-out poster map (17" x 22") of the thieves' hideout - an ancient ruined temple - suitable for tabletop use with miniatures or counters, for easier handling of tactical combat. Maps created in Profantasy Software's Campaign Cartographer 2, and available for download on the Atlas Games website. GMs can customize and manipulate these maps themelves, if they own CC2, and integrate them into their own game worlds. Published by Atlas Games & Truant Spiele

Giants have emerged from their strongholds to threaten civilization as never before. Hill giants are stealing all the grain and livestock they can, while stone giants have been scouring settlements that have been around forever. Fire giants are press-ganging the small folk into the desert, while frost giant longships have been pillaging along the Sword Coast. Even the elusive cloud giants have been witnessed, their wondrous floating cities appearing above Waterdeep and Baldur’s Gate. Where is the storm giant King Hekaton, who is tasked with keeping order among the giants? The humans, dwarves, elves, and other small folk of the Sword Coast will be crushed underfoot from the onslaught of these giant foes. The only chance at survival is for the small folk to work together to investigate this invasion and harness the power of rune magic, the giants’ weapon against their ancient enemy the dragons. The only way the people of Faerun can restore order is to use the giants’ own power against them.
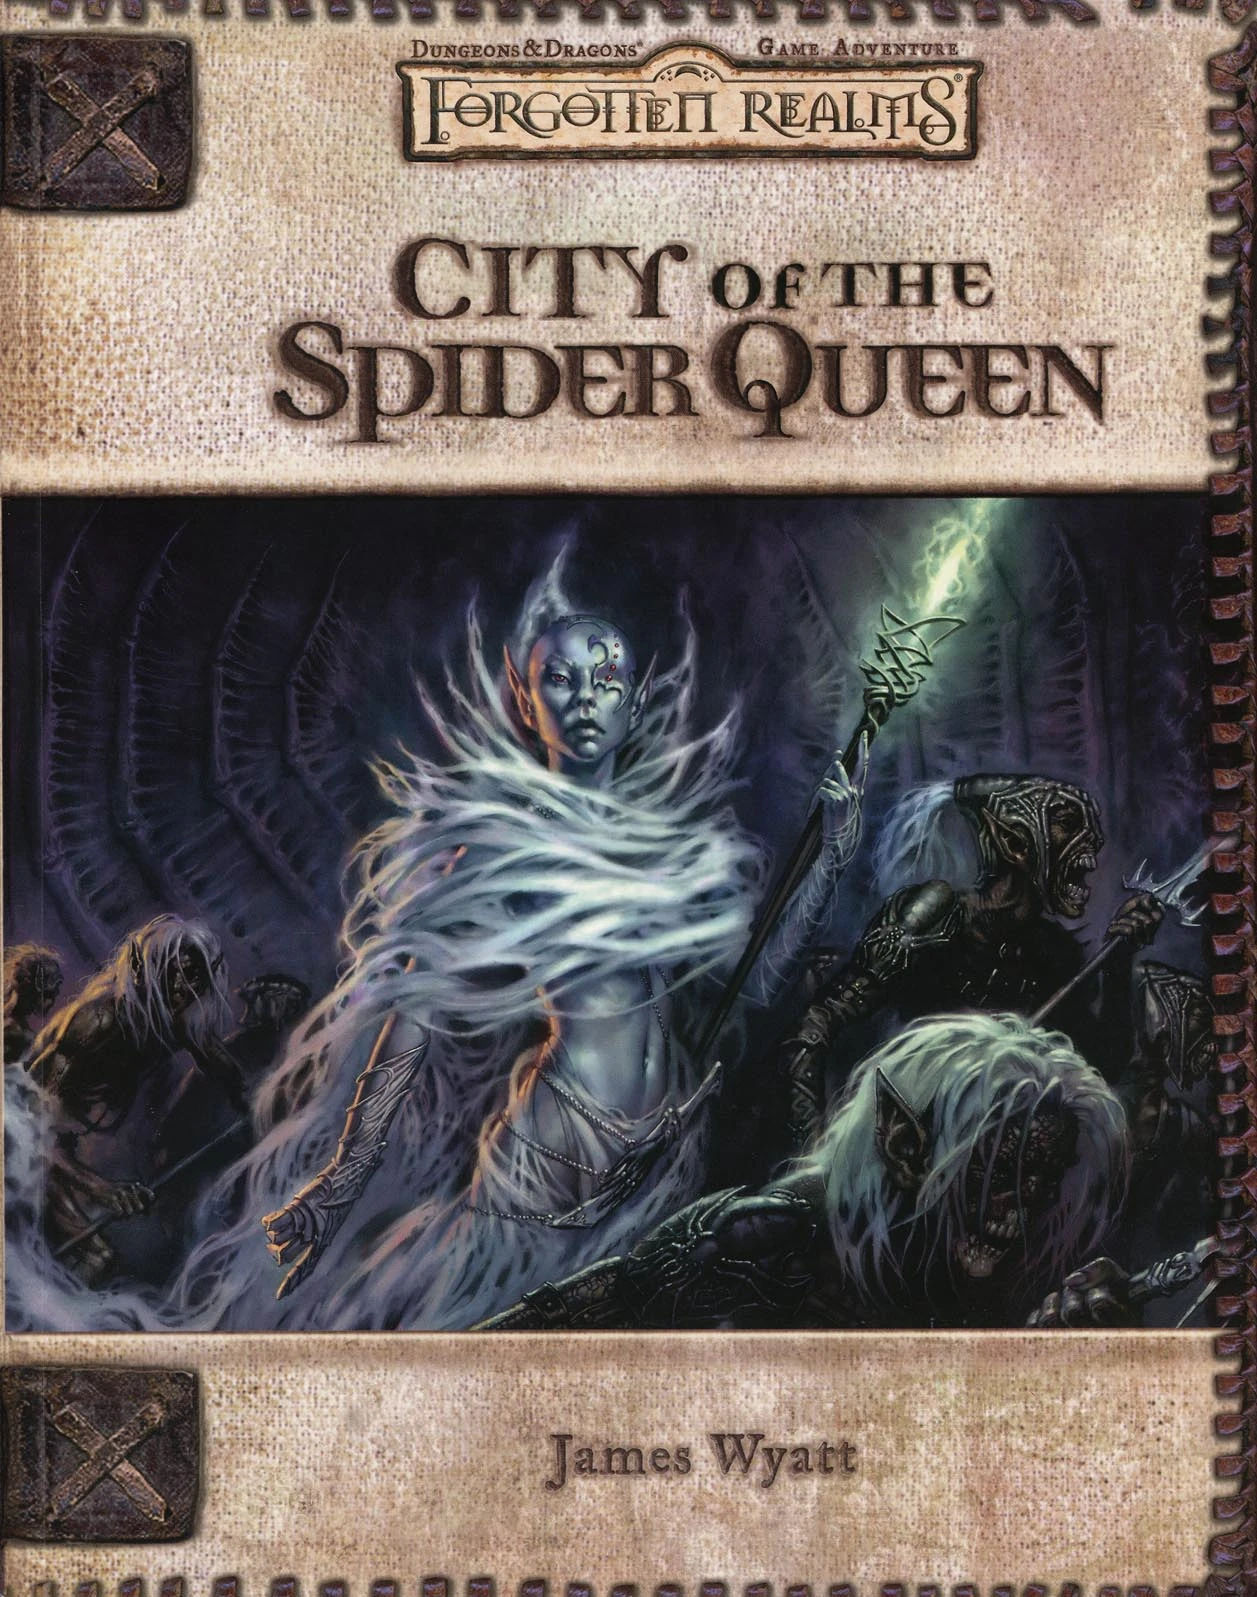
The Fate of Faerûn Lies in Shadowy Darkness! Daggerdale is reeling from a sudden series of murderous drow raids. As a grave threat to the entire surface world develops in the war-torn dark elf city of Maerimydra, intrepid heroes must discover its source and destroy it, if they can.

Strange tales of a mad queen and a hoard of legendary treasure have driven adventurers into the jungles of the great trade road between Tiefon and Nextyaria for a generation, but now new information has come to light. A travelling bard has uncovered certain keys to the location of the lost queen's mysterious volcanic home, and the secret that may thwart her seeing immortality and invulnerability. Once again, the Barrens takes center stage as characters must via for a chance to grow rich and expand their legend among the heroes of the Nameless Realms! The Infamous Black Label series continues with this second part to the Barrens trilogy as characters must dodge the marauding forces of bandit lords, discover a wayward bard, and then journey to the caldera fortress of the Hall of the Spider Queen. What secrets does that dark sanctuary hold? Only time, dice, and the comradery of the gaming table will tell. This adventure is formatted to both 1E & 5E gaming rules.

The Sea Witch is a short adventure for four 10th-level characters. The difficulty of the adventure can be adjusted by changing the level of main antagonist (Black Molly, the sea hag pirate) or by altering the number of her ogre servants. To tailor the encounter to groups of different levels, refer to table 4-1 in Chapter 4 of the DUNGEON MASTER’S GUIDE. The adventure is set off a lightly populated coastline known as Misty Bay, but adapts easily to any coastal region in existing campaigns. The sea hag known as Black Molly is a notorious pirate who has plagued the coastal cities for the better part of a decade. A successful Knowledge (local) check (DC 15) will reveal that Molly and her ogre crew have a filthy reputation as merciless killers who delight not only in plundering vessels for their riches, but also in destroying the ships themselves and sending all hands to the bottom of the sea. Now the villain and her followers have seized control of the Old Lighthouse of Misty Bay located off a lightly populated coastline. For generations the lighthouse beacon has protected the fishermen of this region, warning them of the dangerous rocks that lurk just below the level of the high tides. Recently, the hag has put out the beacon, darkening the lighthouse; misery and destruction are sure to follow as ships start to blunder into the rocks. Blackmail is apparently Black Molly’s aim in this venture: She conveyed a message to the nearest shore community, the fishing village of Poisson, demanding the princely sum of 50,000 gp. Until she receives this ransom, she intends to hold the lighthouse and its beacon hostage. The fate of the human keepers who tend the lighthouse is unknown to the seaside communities at this time, but they fear the worst. The Sea Witch is ostensibly a rescue mission: The PCs are pitted against the evil of Black Molly and the brawn of her savage ogre crew. It is the heroes’ task to retake the lighthouse and, if possible, free its captives from the clutches of their jailer. What neither the PCs nor the shore communities yet realize is that while she 1would be pleased to have the gold, Black Molly is in fact after bigger treasure. Molly has no intention of giving up the lighthouse — at least, not until she finds what her master sent her here for. Lying on the sea floor practically at the base of the rock on which the lighthouse sits is the wreck of the war galley Flying Cloud, which according to popular legend was captained by a cleric who wore around his neck an amulet of the planes. Black Molly wants this prize, but so far she hasn’t been able to find it. She’s scoured the wreck without finding any sign of the magic item. Now she’s trying to determine where to search next, for the item might well be somewhere near the wreck. If she can’t find it, she’ll start torturing her captives to find out if they have any useful knowledge about the amulet.

The trees part before you, revealing the crumbling walls of the ruined keep. Only hours ago, you set off after the marauding orc band responsible for the destruction of the temple of Freya and the theft of its sacred crucible. But something else waits for you within the ruined walls. Something darker and far more sinister. Something that has hidden from the light for ages.

The mining town of Glister has a problem. The latest caravan only arrived with a part of its supplies. Orcs waylaid them, took much needed goods, and are now making demands that the town return an artifact that is theirs, but the town is unfamiliar with. Help track down information about this artifact and possibly defend the city from an orc invasion! A 4-hour Adventure for 1st-4th Level Characters Part 2 of Kossuth's Kiss

Some dozens of leagues to the north and west of the STEADING OF THE HILL GIANT CHIEF (Module G1 of this series), amidst the tallest mountain peaks, is the stronghold of Grugnur, Lord of Frost Giants. As frost giants have been amongst those who have been in the reaving bands, the party is to deal with them as the hill giants have been dealt with. Death and destruction are to be meted out to the frost giants in the same measure they gave to the peoples below. This module contains background information, referee's notes, two level maps, and exploration matrix keys. It provides a complete module for play of ADVANCED DUNGEONS & DRAGONS, and it can be used alone or as the second of a three-part expedition adventure which also employs DUNGEON MODULE G1 (STEADING OF THE HILL GIANT CHIEF) and DUNGEON MODULE G3 (HALL OF THE FIRE GIANT KING). TSR 9017