
The Auburn Desolation is a forsaken waste of treacherous sand and unbearable heat within the Shadowfell. Gloom-wrapped serpents and foul undead haunt the wastes, striking out at unsuspecting travelers from sandy graves. Pgs. 88-95

Few planes possess the raw malevolence of the Infinite Layers of the Abyss. It is a place of random violence, appalling cruelty, and pure, unadulterated wickedness. Here, unreasoning malice rules, and countless demons torture and murder for the joy of it. The Abyss is innovative in its wretchedness, with each fleeting moment birthing new and awful psychotic acts of utter evil. Those who brave its depths find no relief from its corrosive nature, nor respite from the cancerous seeds of evil blooming within all who tarry here; they find only anguish, pain and if they're lucky, sudden, abrupt death. "Into the Maw" is the ninth chapter of the Savage Tide Adventure Path, a complete campaign consisting of 12 adventures appearing in Dungeon magazine. For additional aid in running this campaign, check out Dragon magazine's monthly "Savage Tidings" articles, a series that helps players and DMs prepare for and expand upon the campaign. Issue #356 of Dragon magazine features an expanded list of strange and exotic magical items that could be purchased from the mercane merchants encountered during "Into the Maw." In order to rescue a friend, the PCs must sail into the Abyss and infiltrate a prison built by the Prince of Demons. Pgs. 48-85

The king summons the heroes to investigate the death of a knight, and the final fate of the king's long-missing son. The knight and his entire order was killed by a Dragon! Yay we get to fight a dragon in the first issue of Dungeon Magazine! Much travel over many different terrain types featuring avalanches, volcanoes spewing lava, and many random encounters (not detailed here) before the heroes reach their real goal: A lake with a ruined wizard's tower and dragon's cave. Opens with a particularly byzantine Background section for the DM involving a prince you never meet, pirates you never meet, knights you never meet, and deep gnomes you never meet. See Out of the Ashes in Dungeon #17 for sequel to this adventure. Pgs. 42-60
Magical soul gems have been stolen from the secret vault of the goddess of death and scattered across the planes. Some want these gems to unlock the secrets of the multiverse. Others want them for personal power. Still others want them to resurrect a fallen deity. As the god of oblivion looms near, can the PCs retrieve the gems from their new owners in time to save their world? Beyond the Vault of Souls is a planar adventure for 9th-level characters, compatible with the 3.5 edition of the world’s oldest roleplaying game. Within you’ll visit the Eternal City of Axis, brave the dangers of the Abyss, and match wits with the torturer daemons of Abaddon. This adventure is set in the Outer Sphere of the Pathfinder Chronicles campaign setting, but can easily be placed in the strange planes and dimensions of any game world. It can be used on its own or enhanced with information from The Great Beyond, A Guide to the Multiverse.
The astronomer monks of Farsky failed for decades to tell the future by the stars. Desperate, they found a promising seer, and passed off her predictions as their own… until deadly illness struck. Unable to give up their lucrative scam, they trapped her spirit, which became a thing of evil: a banshee, whose howls foretold their doom. The party have heard rumors of a ruin, where once sages could answer any question… Notes by @Demian: Winner of One Page Dungeon Contest (OPDC) 2015. The adventure consists of a single small dungeon with 13 rooms and an exploration/time-based random Silence spell mechanic. It is themed around music and sound. Designed as a one-shot to be played in one 4–7 hour session.

In the aftermath of AD&D Second Edition's "Return to the Tomb of Horrors," the demilich Acererak was thought destroyed. In truth, his spirit lingered and now after eons he schemes once more to achieve divinity. The characters must travel to three extraplanar dungeons, in addition to the remains of the original Tomb, in order to stop this from coming to pass.
At Death’s Door is a dungeon crawl that takes place almost entirely in the upper chambers of the Lair of the Keeper. This lair belongs to an ancient dracolich that perhaps styles themselves after the legends of the Keeper, or perhaps even inspired them. Stormhome. The player characters are called to the home city of House Lyrandar to meet with Guild Handler Lhara regarding their quest for an artifact tethered to Dolurrh, the Realm of the Dead. The Descent. Traveling by airship over the horrors of the Demon Wastes, the party descends into a vast canyon to find the Lair of the Keeper. After agreeing on a pickup point, the party skydives into the hellish landscape and hides to avoid the notice of a would-be god, then explores the surrounding area. The Lair of the Keeper. The bulk of the adventure takes place in the upper chambers of a dracolich’s lair in a manifest zone tied to Dolurrh, the Realm of the Dead. Surviving the horrors of this place is the main challenge of the adventure. The Ghaash’kala. There is one last challenge standing between the players and their escape to the airship. The orc tribes called the Ghaash’kala consider it their holy duty to protect the rest of the world from the horrors of the Demon Wastes. They will attempt to stop anything from escaping the Wastes, unfortunately including our heroes.
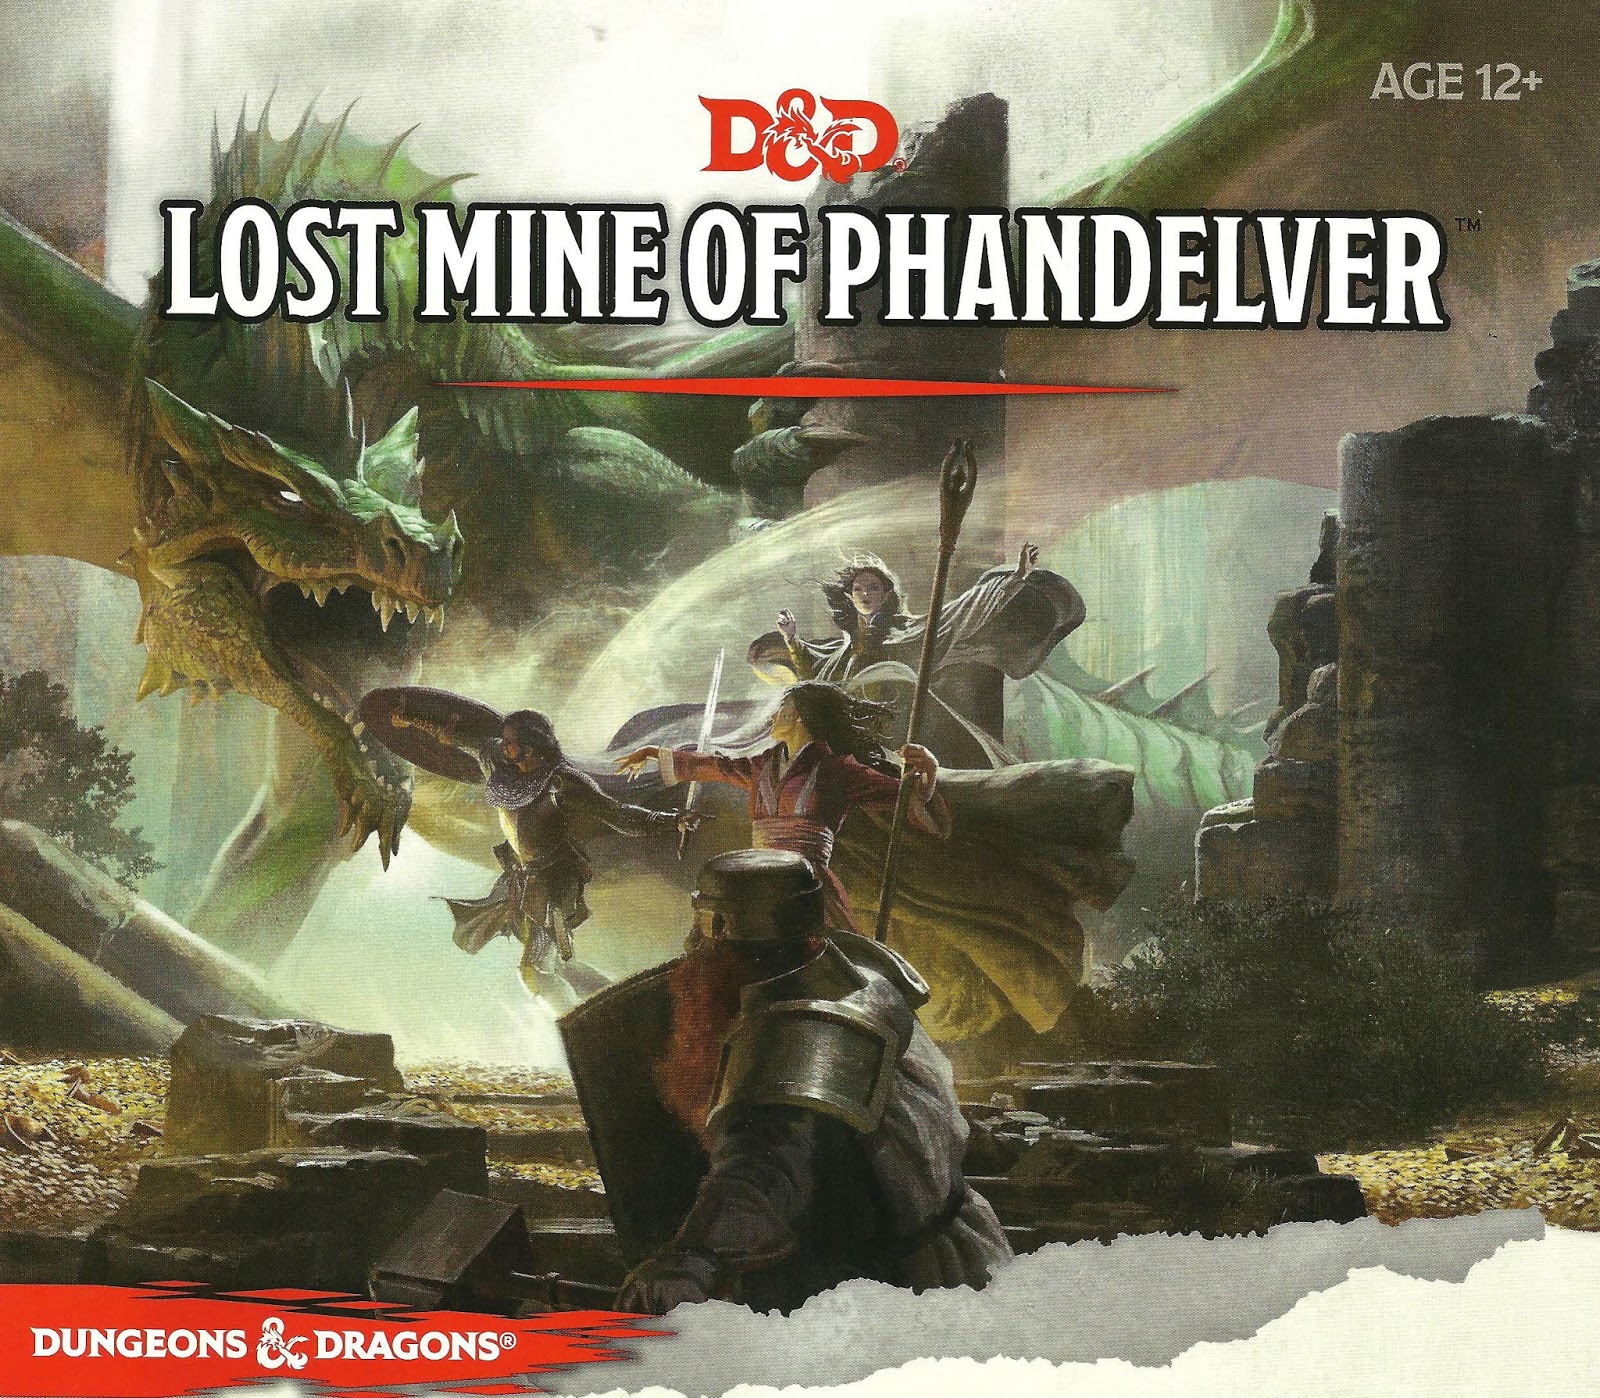
"More than five hundred years ago, clans of dwarves and gnomes made an agreement known as the Phandelver’s Pact, by which they would share a rich mine in a wondrous cavern known as Wave Echo Cave. In addition to its mineral wealth, the mine contained great magical power. Human spellcasters allied themselves with the dwarves and gnomes to channel and bind that energy into a great forge (called the Forge of Spells), where magic items could be crafted. Times were good, and the nearby human town of Phandalin (pronounced fan-duh-lin) prospered as well. But then disaster struck when orcs swept through the North and laid waste to all in their path. A powerful force of orcs reinforced by evil mercenary wizards attacked wave echo cave to seize its riches and magic treasures. Human wizards fought alongside their dwarf and gnome allies to defend the Forge of Spells, and the ensuing spell battle destroyed much of the cavern. Few survived the cave-ins and tremors, and the location of Wave Echo Cave was lost. For centuries, rumours of buried riches have attracted treasure seekers and opportunists to the area around Phandalin, but no one has ever succeeded in locating the lost mine. In recent years, people have resettled the area. Phandalin is now a rough-and-tumble frontier town. More important, the Rockseeker brothers - a trio of dwarves - have discovered the entrance to Wave Echo Cave, and they intend to reopen the mines. Unfortunately for the Rockseekers, they are not the only ones interested in Wave Echo Cave. A mysterious villain known as the Black Spider controls a network of bandit gangs and goblin tribes in the area, and his agents have followed the Rockseekers to their prize. Now the Black Spider wants Wave Echo Cave for himself, and he is taking steps to make sure no one else knows where it is." Extra Info from AL.com users: by @marcellarius. "There are a variety of locations in this adventure: the town of Phandalin, a gang hideout, a ruined keep in the forest, a destroyed village, and Wave Echo Cave (a dungeon crawl). The adventure is written in a sandbox style and relies on the players to choose their path. Phandalin offers several side-quests which could serve as hooks for continuing adventures. The premade characters have ties in their backgrounds to NPCs and locations. If you're not using these you'll need to consider other ways to introduce key NPCs."

𝐓𝐡𝐞 𝐁𝐥𝐚𝐜𝐤𝐟𝐥𝐚𝐦𝐞 𝐂𝐮𝐫𝐬𝐞 𝐇𝐚𝐬 𝐑𝐞𝐭𝐮𝐫𝐧𝐞𝐝! Step into a town where darkness has taken root, and every shadow hides a deadly secret. In The Return of the Blackflame Curse, you and your party will unravel the twisted mysteries of Whitethorn Rose, a cursed town teetering on the edge of doom. 𝐄𝐱𝐩𝐥𝐨𝐫𝐞 • 36 rooms across 4 floors (Basement, 1st Floor, 2nd Floor, Attic) • 5 detailed maps with day/night and transparent variants Explore the haunted Huxley Manor, a sprawling, intricately detailed estate with 36 rooms and 4 floors, each filled with terrifying encounters and bone-chilling secrets. With 5 beautifully illustrated maps, including day/night variants, you’ll be fully immersed in a tale of fear and survival. 𝐅𝐢𝐠𝐡𝐭 • 13 monster statblocks, each with their own lore • A intense boss fight with the vengeful Morgana Blackflame Face off against 13 custom monsters, each with unique abilities and terrifying backstories. From creeping apparitions to vengeful spirits, every encounter will test your players’ courage and strategy. And when it comes time for the ultimate showdown? Prepare for a climactic boss fight with Morgana Blackflame herself, a ghost hellbent on consuming the town in flames once more. 𝐃𝐢𝐬𝐜𝐨𝐯𝐞𝐫 • 13 tragic ghosts, each with chilling backstories • 8-page Ghost Hunting Compendium as a player handout • Solve mysteries and exorcise spirits to lift the curse But it’s not just monsters you’ll have to worry about. The town itself is alive with haunted events and 13 restless ghosts, each carrying a tragic tale. Investigate, exorcise, and piece together the dark history that binds them to this cursed place. To help your players dive deeper into the supernatural, we’ve also included an 8-page Ghost Hunting Compendium as a handy player handout. 𝐏𝐫𝐞𝐩𝐚𝐫𝐞 • 7 homebrew magic items, including a powerful Fated Item with 3 variants • 6 different charms to protect your players from the curse • 9 Magic Item Cards to print and hand out to players, with artwork, in 2.5 x 3.5 inches (MTG-sized) • 43 haunted events to keep players on edge Don’t go into battle unprepared. Arm your adventurers with 7 custom magic items, including 1 Fated Item with 3 powerful variants. Stock up on 6 unique charms to ward off the curse, and keep your party on edge with 43 haunting events that can strike at any time. 𝐑𝐮𝐧 • 17 monster cards for easy reference, with artwork, in 88mm x 125mm (Tiny Epic size) • Ghost Tracking Sheet for smooth management of the adventure • 36 small room cutouts for quick navigation during gameplay • 24 VTT tokens for easy integration into your online games For GMs, we’ve made running the adventure easier than ever. With 24 VTT tokens for monsters and NPCs, a Ghost Tracking Sheet to manage exorcisms, and 17 monster cards for quick reference, everything you need is at your fingertips. Plus, 36 cutouts in the description of every room, provide clear guidance for navigating the sprawling manor. 𝐏𝐫𝐞𝐬𝐞𝐧𝐭 • 7 detailed town locations for investigation • 7 NPC background and roleplay sheets to add depth to the world • 1d12 Superstition Table to bring the town’s eerie atmosphere to life Bring the town of Whitethorn Rose to life with 7 detailed NPC background sheets and 7 town locations, giving your players more ways to explore, interact, and investigate. And for added flavor? A 1d12 Superstition Table to bring out the eerie quirks of the locals. 𝐏𝐥𝐚𝐲 • Battle against the darkness with strategic challenges and eerie storytelling • Solve the murder mystery, lift the curse, and guide your players through an unforgettable experience With The Return of the Blackflame Curse, every decision matters, every room hides a deadly secret, and every ghost has a story to tell. Get your copy now and take your players on a journey into the heart of darkness. This is more than just an adventure—it’s a test of survival.
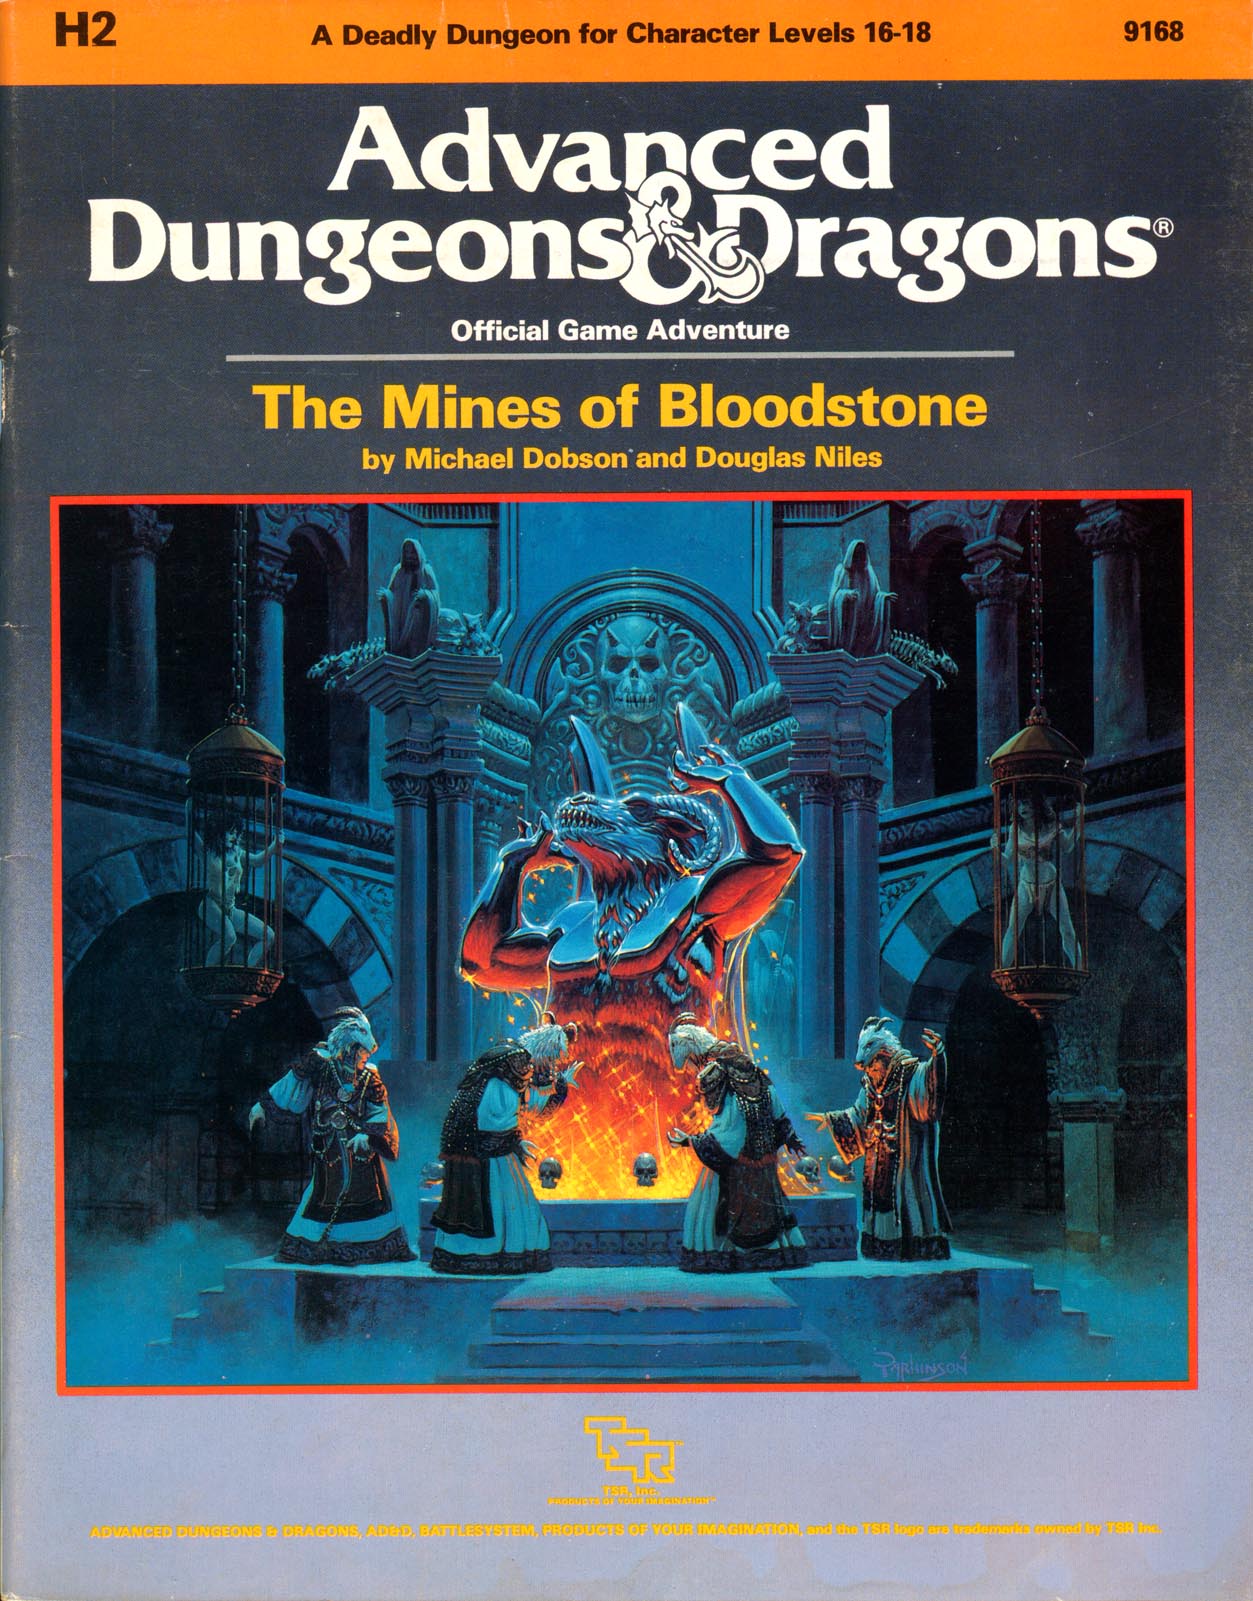
The most deadly dungeon ever devised! High-level characters brave the unexplored corridors of Deepearth to confront perhaps the most feared adversary in the AD&D game. The second chapter of the Bloodstone Pass saga follows the conclusion of the desperate war against the bandit army. A cold and bitter winter drives the villagers to the edge of starvation, and numerous horrors strike the town of Bloodstone Pass. Join the adventure as the heroes explore the depths of the ancient bloostone mines, now inhabited by fearsome demons. There they hope to uncover the fantastic treasures rumored to exist in the unknown darkness. But deep within the mines, all is not what it seems.... This module uses the new rules from the Dungeoneer's Survival Guide and Wilderness Survival Guide. The adventure also includes optional BATTLESYSTEM scenarios fought entirely underground. These supplementary products are not required to play the adventure, however. TSR 9168
The prince's godmother commissions you to retrieve the prince's jade crown, held in the tower of the vampire! The vampire's tower has three levels, and the three-level dungeon below 45 rooms. The party must be wary! Lethal traps abound. Marching order is important. A straight-forward dungeon crawl with many Gygaxian rooms and encounters. No roleplaying to speak of. Pgs. 4-18

*THIS IS A D&D NEXT/5E PLAYTEST ADVENTURE* Imani, a Turmishan wizard and former adventurer, seeks the aid of heroes to infiltrate Dretchroyaster’s lair and recover the Diamond Staff of Chomylla—the key to powerful magic and wisdom locked away for thousands of years. In addition to his own sagely interest in the lore of lost Uvaeren, Imani recognizes the dangers of such powerful magic falling into evil hands. The dracolich has secured the staff in his lair’s cen- tral chamber, using ancient wards of protection that can be bypassed only by four artifact-idols once belong- ing to a cult of Bhaal. Each group of adventurers enters the dungeon through a different section of the dun- geon—a forgotten temple of Bhaal, a vast underground lake, a troglodyte village, or Dretchroyaster’s vaults. Dretchroyaster’s lair is no simple set of caverns and ancient ruins. It sits atop a source of great power and energy, which the dracolich and his Cult of the Dragon allies hope to use to unlock the secrets of the staff. Only by undertaking a unified assault against Dretchroyas- ter’s lair can the adventurers hope to recover the Diamond Staff and survive the dracolich’s fury. The adventurers must make their way through the lair and recover the Bhaalite idols that will help unlock the Diamond Staff, all the while dealing with the lair’s creatures and avoiding the dracolich as he pur- sues intruders. Entering the Chamber of the Diamond Staff, the heroes must overcome its magical wards and claim the staff before being slain by the dracolich and his servants.

Designed for a party of five characters of at least 9th level, this adventure will challenge players seeking a powerful magic item of the GM’s choosing. A sphere of annihilation has been provided and is woven into several elements of the adventure, but any appropriately powerful item can be substituted if something else suits your campaign better. Though the adventure is designed to test every type of character class, a rogue who can deal with traps is essential, as is a wizard or sorcerer of at least 9th level. Larger groups will have an easier time; parties of four or fewer characters will be in for a very bad time unless you mitigate some of the tower’s more lethal traps and encounters. This adventure culminates in an encounter with devils and a sphere of annihilation. The sphere of annihilation is hidden deep within the tower-and-dungeon complex of Crane the Sorcerer. Originally set atop a high mountain in a secluded and wild part of the world, the tower and dungeon can be relocated to meet the situation in your campign. Crane, an introvert, stayed as far away from civilization as possible, as is detailed below. The tower above the dungeon doesn’t present many difficulties for a group of powerful characters or alert players. It might lull PCs into a false sense of security before they enter the areas where they’ll really be put to the test.

Within a lawless region of the Nameless Realms known as the Barrens, strength, cunning, and a will to survive are all that matters. Here, amid the arid high plateaus, the smoldering hat of the deep jungles, and the haunted marshlands of the northern fringe, countless adventures can be had for those brave, or foolish, enough to undertake them. This is a land of ancient ruins, petty robber barons, wild tribes, elder curses, and the undead. Sorcerers rule over fallen cities, and dark priestesses hold power with all manner of evil minions. Will your party be bold enough to undertake the challenges that await them in this first adventure in the Folio: Black Label Series? Can they overcome the curse of the three sisters, and will they make a name for themselves among the scattered outposts of Humanity? Only time, dice and comradery around the gaming table will tell. This adventure is formatted to both 1E & 5E gaming rules.
On the outskirts of town lies an ancient temple to an unknown deity. Periodically, undead creatures issue from the catacombs beneath it. The party receives a commission from the city elders to venture into the catacombs and exterminate the undead. Pgs. 64-71

Lots of stronghold assaults and shipboard travel/encounters in this one. This adventure's deep political basis might be seen as an introduction for the domain-focused adventures of Companion-level play. This adventure is for use with the Dungeons & Dragons Basic, Expert, and Companion Rules, and includes the intrigue of engaging with nobility's lands and agendas. Intro: All is not well in the kingdom of Vestland. Not only is the king dead and the holy Sonora Crown missing, but the heir to the kingdom was lost at birth and no on knows where to find him. As if this wasn't bad enough, the forces of the Ethengar Khanate, never on the best of terms with Vestland, are now massing on the borders, hoping to take advantage of Vestland's plight. To complete the rosy picture, traitors from within also threaten to speed the downfall of the High Kingdom. Sounds like a job for you. You must find the long-lost heir to the kingdom and recover the Sonora Crown, the mystical device without which a king cannot be crowned. Standing in your way are traitors and spies from within and invaders from without the kingdom of Vestland. Time is running out! Can you save Vestland from disaster? TSR 9218
Rennie and Linde are in search of their father, Petring, who they saw disappear into the crypts beneath town. The crypt is thick with supernatural shadow. Torches can be lit from a brazier of green faerie fire in the entrance that cuts through magical darkness. The torches burn rapidly, and the PCs must travel quickly to preserve their light until they reach the funeral pyre in the heart of the crypt. There they can learn the way to the Carrion Shrine of Qorgeth.

Important: The adventure is 1e but it has monster conversion notes for D&D 4th edition The town of Highport, once a human community overlooking Wooly Bay from its perch on the northern coast of the Pomarj, fell prey to hordes of humanoids swarming out of the jungle-covered hills surrounding the settlement. Though the orcs, goblins, kobolds, ogres, and gnolls razed much of the place in their ferocious rampages, the smoldering ruins they left behind soon became a new kind of community, a place of trade between the humanoid “locals” and the unsavory human traders who have no compunction about doing business with them. Slaves are a commodity in ready supply in Highport’s market, since many pirates raid up and down the coast of the bay, putting fishing villages to the torch and filling their holds with captured refugees. Slavery has become a thriving business in the town, and rumors abound of a cartel of Slave Lords who run things from behind the scenes, filling their coffers in secret from the buying and selling of human chattel. The trade has become so prolific that the good folk to the north have grown tired of these depredations and decided to fight back. Forces of righteousness and honor have recently descended upon Highport, some openly and others in secret, in various attempts to destroy the machinations of the Slave Lords and abolish the abominable enterprise that has taken far too many loved ones from home and hearth. One such doughty servant of goodness is Mikaro Valasteen, a cleric of Trithereon. Mikaro slipped unnoticed past the crumbling walls of Highport with a single mission: to rescue and transport as many slaves to their freedom as possible. Mikaro and a handful of faithful assistants located a number of escaped slaves—as well as rescued a few more not sufficiently restrained and guarded—and shepherded them through the gates and beyond the reach of their humanoid tormentors, returning them to their lands and homes. This covert freedom brigade enjoyed remarkable success early on, since the servants of the Slave Lords were often lax in their vigilance and sloppy in their efforts to prevent loss of the “merchandise.” After one too many shipments never made its destination, the humanoids stepped up their security and the normal channels of escape from Highport closed to Mikaro and his team. He cannot risk exposure by smuggling the freed slaves through the gates as merchandise any longer, since shipments of goods are now regularly stopped and checked. No longer able to free the slaves in that manner, Mikaro began hiding his charges in an abandoned villa in a particularly rundown part of the town. Although they are safe for the moment, their numbers have grown unmanageable, and the priest fears it is only a matter of time before someone slips up and brings slavers to their doorstep. Ever more desperate to find a new means of escape from Highport, Mikaro has started work on a plan that is both daring and dangerous. He intends to use a series of old sewers coupled with natural caverns running beneath the town as an escape route to the sea beyond the walls. But he needs someone to clear out the creatures and pitfalls he knows lie within. Pgs. 2-27

Szass Tam, the lich lord of Thay, and his Red Wizards threaten to dominate all of the Sword Coast. The Bloodgate, an elemental node of power, must be destroyed in order to stop him. Remake of the original 4th Edition adventure.

"The Warlock's Crypt" is a fext and noctiny lair suitable for four 9th-level characters. This adventure can be completed in a single session. An ancient warlock king known as the King in Silver, whose patron was Death itself, knew he was growing old and would soon die. The aging king pledged the souls of his two sons, the Black Prince and the Red Prince, to Death in exchange for his own eternal life. As the final worlds of the pledge pass his lips, the old king collapsed to the ground, dead. Elsewhere in the castle, the two young princes died suddenly in their sleep. All three were interred in the royal crypt within a nearby burial mound. ultimately, the king got what he asked for - he and his suns were returned to life as fext in the service of Death itself. When the fext awoke and climbed out of their coffins, they were confused because it seemed they were trapped within the small royal crypt. Then, the King in Silver discovered a secret door leading to a hidden stone stair that descended into a complex of ancient tunnels and chambers. At the far end of the complex, the fext discovered a second set of ancient stone stairs leading up through a shaft to a hidden exit on the surface. The three fext now lurk within the lower chambers, doing their patron's dark bidding. When commanded, they creep forth from the crypt to spread death during the dark of night.