
Forlorn is a dreary yet dangerous place, a land of secrets and whispers. Visitors can expect to find no safe rest, no respite from the terrible creatures that plague this land. The skies are perpetually overcast and the land is damp with rain. By night, sheet lightning illuminates the sky in ghastly colors. Even if the intrepid adventurers who come to explore Forlorn know that the lord of this domain is forever trapped within his strange castle, they should take small comfort from it. Servants of Tristen ApBlanc roam freely, and the land itself is horribly twisted. The encounters in this book are designed to offer an introduction to Forlorn and provide clues about both its lord and his home. Melancholy Meetings is intended to be used before the castle adventure book, Eve of Sorrows, but it's not necessary for the PCs to experience all of the encounters in this book before embarking upon the next. Included in Castles Forlorn - https://www.adventurelookup.com/adventures/castles-forlorn TSR 1088, from 1993

Two centuries ago, the last king of the celtic kingdom of Pellham was deposed in favor of a High Council. Now, however, things are going badly, and a restless populace longs for the days of the ancient kingship. The High Council is floundering - and the political situation is turning ugly. It was then that the Brothers of Brie, and obscure monastic order, discovered a long-forgotten prophecy. In Pellham's time of greatest need, a long-dead king will rise to restore order. You have been chosen to prove that this is the time of the prophecy. You will take the first steps toward returning the lost king to the throne. This adventure contains the first four rounds of the AD&D OPEN Tournament that was originally run at GEN CON XVI Convention. It includes a tournament scoring system and a team of 10 characters of levels 4-7. This adventure can be played alone or as the first part of the two-part PROPHECY OF BRIE series. TSR 9107

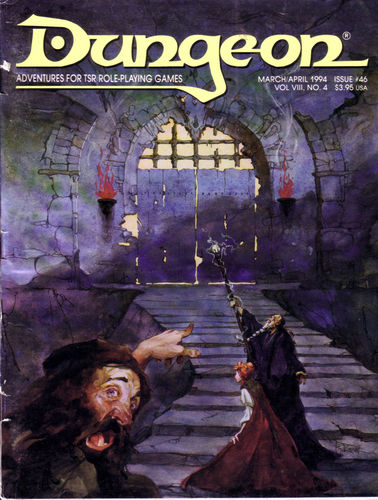
In which the Many seek the One, and the Heroes must retrieve a Sword lost amid myriad Threats to the Flesh. Chapter II of the "Well of Worlds" adventure anthology.
A plague has struck Waen Fawr, leaving hundreds dead, the city lawless and in crisis. The plague seems to drive those affected to violent, manic behaviour and the city militia have their hands full. Smoke shrouds the city as buildings burn, bandits and looters roam the streets amid the chaos. This adventure comes with tiles to create a city map as the players explore. Tables of rumours and random encounters are provided, as well as detailed location-based encounters. Pgs. 28-48

As you move throughout the countryside a rider appears in the distance and begins to close quickly. Hand going to your weapons you ready yourself for danger but notice the rider is very young. Timmy Little introduces himself and warns you of a bout of Goblin-Pox at his village. Many people are sick and need help. Timmy says he and other young people have been sent out to find heroes to save the town and asks if you can help. While the boy cannot provide a great deal of information on the malady he advises you that the people of Troburtandban who aren’t sick can help with information. Once you agree he rides off to find additional help.

The ship makes its way into the Corsair Mists, a region of the Halo Ocean said to devour ships and drive sailors mad. Somewhere in the oppressive fog, the White Ship awaits, but before the Adventurers can make it to their final desination, they must overcome the challenges of the mist. The fell necromancer Molo of the Thirteen Wives is still out there, still seeking to find his key to immortality and power that could jeopardize the entire Nameless Realms, and only the fearless crew can stop him. Join a sea elven ritual to hunt megalodon sharks, explore a long-cursed alchemist's tower made of blue crystal, and journey to the forge of Hyperion, Titan of Fire, himself. This adventure is formatted to both 1E & 5E gaming rules. Also available in PDF.

Stirrings of an ageless war between Law and Chaos are drawing you into an epic adventure! A Struggle More Savage than Good vs. Evil Imagine a time before the words Good and Evil had meaning, a day when the world was young. Discover an ancient conflict that predates the stars. It was in these days that Law and Chaos forged worlds out of nothingness; their war began while the cosmos was yet unfinished. The Rod of Seven Parts defines epic role-playing. The reappearance of the Rod has awakened the powers of Chaos, and their queen seeks to turn the whole world into a battleground. Bold heroes must undertake the enormous task of seeking out and assembling the pieces of the Rod, but even its power cannot stand alone. Ages ago, primal forces of Law stood fast against Chaos; now their champions must once more confront the Queen of Chaos and her foul spyder-fiends, lest the flame of civilization be extinguished. Follow the quest for the capricious Rod as it leads characters on a journey of high fantasy. The Rod of Seven Parts is designed for four to six heroes and heroines of levels 10 to 12. This boxed set includes: Initiation to Power, a 96-page book of grand adventure playable in any AD&D world, including original campaigns; The War Against Chaos, a 64-page book of world-crossing adventures pitting PCs toe to toe against the minions of Chaos; Might and Menace, a 32-page book detailing the mysterious powers of the Rod of Seven Parts: how it affects both its enemies and its friends; Monsters, a 16-page book of new villains, new monsters, and even a new race! 6 two-sided reference cards; 6 full-color poster maps portraying the key locations heroes can visit. Read about this ancient artifact in the epic novel The Rod of Seven Parts by best-selling author Douglas Niles! TSR 1145

Tucked away in the Springwood Forest is the Elven settlement of Silvantri. The town is filled with those Elves who left their ancestral home in the Treetop Forest. The community is elevated and suspension bridges link the buildings together. This setting will allow those enjoy Elven backgrounds to further their joy.

Indomitable it stood for centuries, a symbol of order in a world of chaos. Bastion of the pass through the Kamph Mountains, the very stones of the Keep of Adlerweg were the stuff of legends. What evil power had strength enough to take it? How were its defenses swept aside? Fell creatures now attend the battlements that overlook the only pass between Berghof and the sea. This is not a pretty problem to be solved by the militia of the local villages. These and more may be needed to withstand the mayhem stirred up by the fall of the keep. Indeed, if the Keep is not retaken, and retaken soon, the Hold of the Sea Princes itself may not be secure. Now is the time for heroic action. Aided by the Sentinel, former protector of the legendary Guardians of Adlerweg, have you the courage and the determination to rid the keep of its sinister occupants? UK3: "The Gauntlet" (1984), by Graeme Morris, is the third UK-series adventure and the second half of the two-part Adlerweg series. It was run as the final round of the GamesFair 1983 AD&D Open (and won by a RuneQuest fan!). It was then published in 1984. TSR 9111

A combination wilderness/dungeon module, first searching for then exploring the temple of Tharizdun. Tharizdun is long gone from the place, so there's no epic final fight. Rather, a mysterious Black Cyst waits at the bottom of the dungeon. The encounter with it is almost scripted, having no hazard except for careless/foolish players. Contains several monsters from the Fiend Folio. Loosely follows Lost Caverns of Tsojcanth. TSR 9065

"Long ago the Wizards of the world discovered the Afterglow Sea, a new magically charged plane of existence that lay beyond the Veil of the Elemental Plane of Water. It was from this magical well that they drew their supremacy, but some among them sought more raw energy, and surmised another darker and more powerful plane existed beyond the Elemental Plane of Shadow..." The black-heart necromancer Molo of the 13 Wives has discovered the existence of the Veil of Shadow and has set about to once again make contact, threatening the entire world in the process. So it is that a group of adventurers has been hired by the Wizards of the Taux to find Molo before he can bring about this cataclysm, but he has a head start. Molo has gone south across the sea, and a ship, the Coral Stranger, has been outfitted to try and catch him. Can the adventurers survive the trails of the southern ocean, solve the mysteries of corrupted dinosaur islands, brave the shadow-touched port of Distant Turtle City, and overcome the legendary Corsair Mists where Hyperion, Titan of Fire, is said to hold court over sea creatures the likes of which the world has never seen? Even if they can overcome all these obstacles, there is still the White Ship, death vessel of ancient Uthoria and closest contact point to the Veil of Shadow, and Molo himself... Compiling the full White Ship Campaign adventures series from Folio 14-19, as well as over half a dozen supplemental mini-adventures and the Ports of the Nameless Realms supplement, this is a true monster of a sea-based dungeon and lost island crawl. The adventure will take characters from 1st -12th level in an epic island hopping campaign! Contains: WS1 The Isle of Jade WS1.5 The Pearl of Madness WS1.6 Tomb at the Dragon Spine WS1.7 Candon Shaman of the Dark Fen WS2 The Forgotten Plateau WS2.5 The Ruins of Alaxar WS3 Distant Turtle City WS3.5 Pirate Lords of the Dark Sargasso WS4 Samurai's Fall WS4.5 The Final Stand of the Fallen Leaf WS5 The Shattered Tower WS5.5 The Sunken City WS6 Duel on The White Ship WS6.5 The Ghost Tower Ports of the Namless Realms Volume 1&2, Iconic Characters Also Available: WS2.6 Lost among the Crystals WS3.6 The Ogre Magi of Jade Rock These adventures are formatted to both 1E & 5E gaming rules.
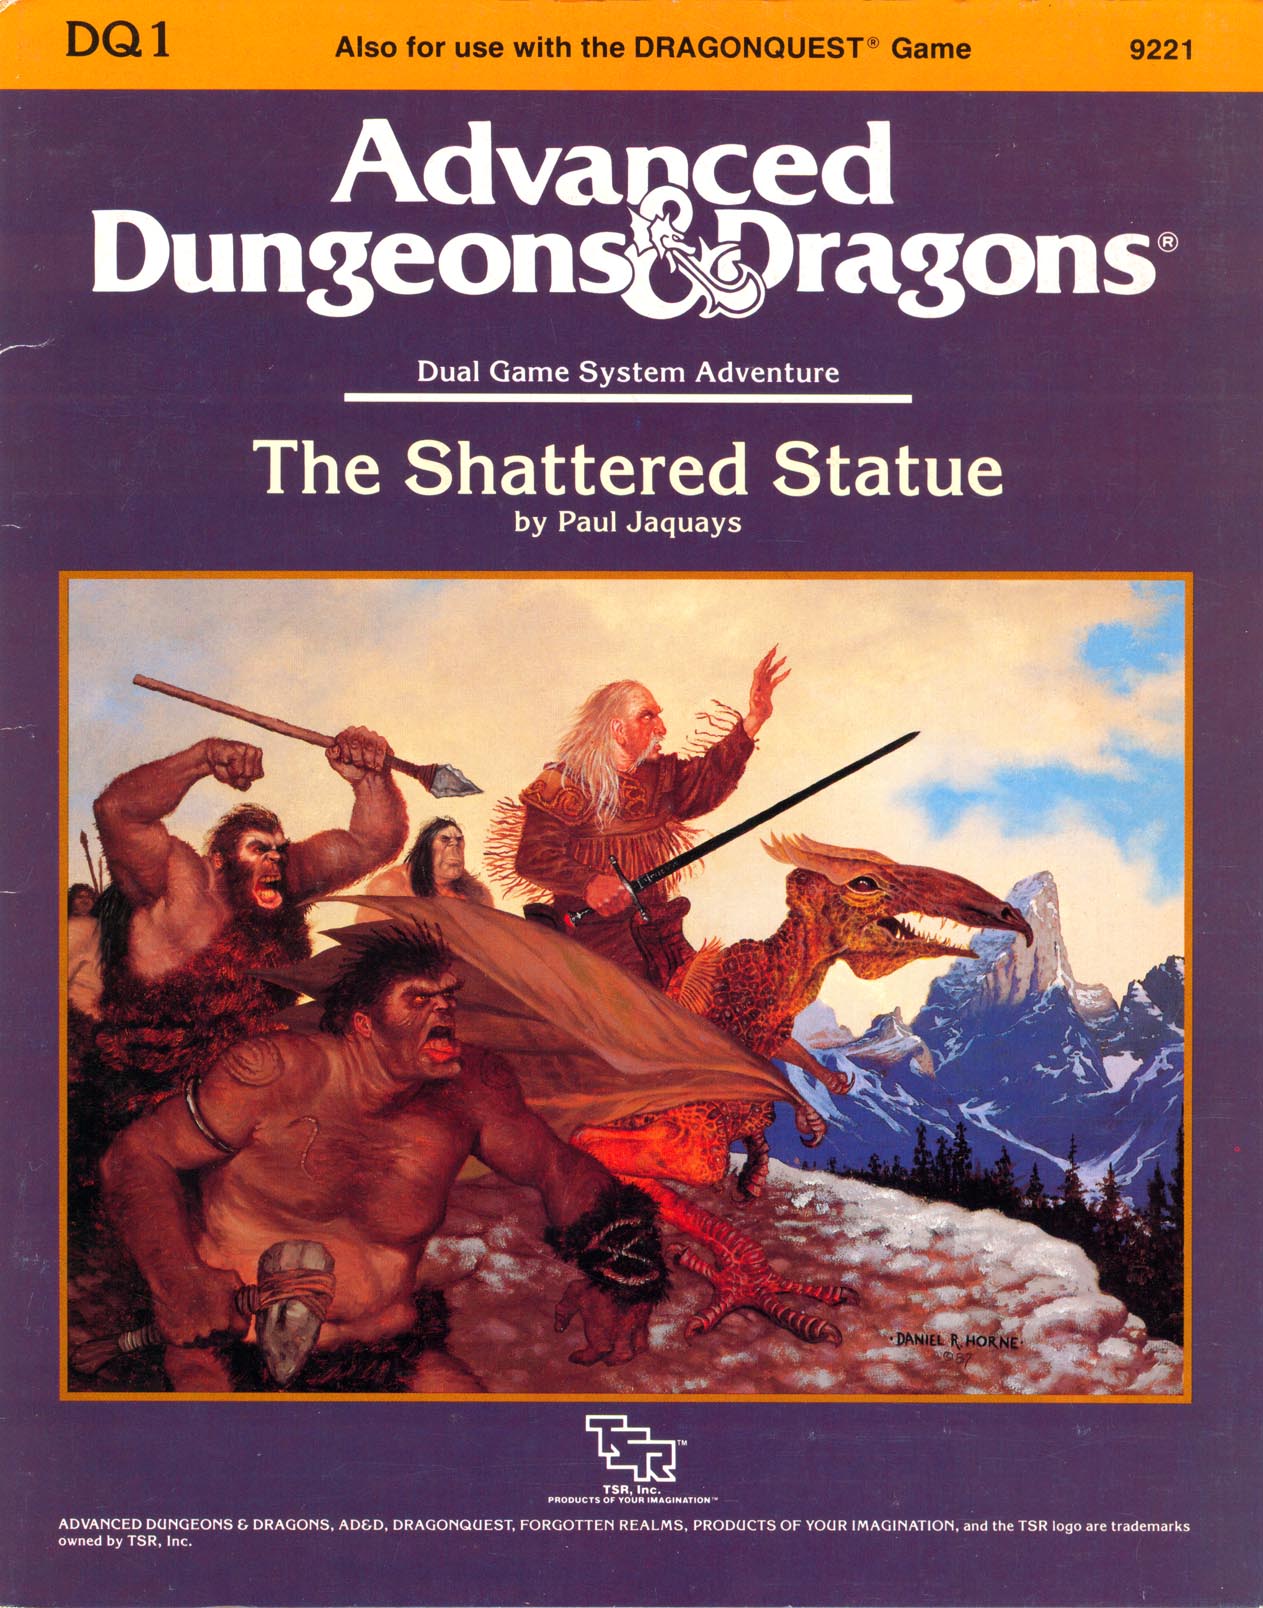
"A mutual friend has praised your skills highly. If you seek rich reward and the opportunity to delve into mysteries ancient and lost, bring this bottle forthwith to my demesne in the village of Volkumburgh. Together we may seek to bring mankind the lost wonder of the awtawmatawn." A mysterious note, a disappearing 5-foot-long religious relic, and the ruins of two magical schools. What do these things have in common? How deeply are your party members involved in all this? "The Shattered Statue" is the first dual-game-system module of its kind. Players of both the AD&D game system and DRAGONQUEST game system can use this adventure. It is suitable for use with FORGOTTEN REALMS campaign setting. TSR 9221

"Tyr is free! Tyr is free!" Such is the heady cry that echoes from the darkest warrens to the gleaming chambers of the Council in that ancient city. Now is your chance to savor life released from the oppressive gloom of the sorcerer-kings-but for how long? New forces threaten the newly-born independence of Tyr, as outside forces march upon the city. King Tithian is determined to resist, but there are others on the Council of Advisors less eager to risk their wealth and lives for the cause of independence. It falls upon you to help mobilize and lead the citizen-army of Tyr on the road to Urik. In Road to Urik, the city-State of Tyr has thrown off the yoke of the sorcerer-king Kalak and declared all slaves free, but the neighboring city-state of Urik is amassing its own armies to conquer Tyr. In the first part of the adventure, the PCs must negotiate with various factions of the city in order to win their support for the war effort. In the second part the PCs leading a scouting force ahead of the main army, and the choices and successes in the first part will affect the troops they lead here. Finally, they will need to fight and lure away the Urik army's own scouting force, letting the army of Tyr ambush them. The second and third part make heavy use of the Battlesystem rules, which were pushed pretty heavily in the early Dark Sun books. Like many Dark Sun adventures, the module makes heavy use of handouts that come in a flip-book along with the main adventure. This adventure is a sequel to Freedom. It stands on its own, but the plot of the adventure is based on the events of Freedom and the novel the Verdant Passage, so you can't really run them in reverse order. Much like Freedom took place concurrently with The Verdant Passage, Road to Urik takes place just before the events of The Crimson Legion, the second novel in the Prism Pentad. TSR 2406
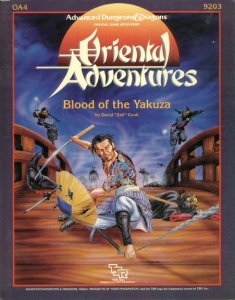
In the port city of Nakamaru, the masks of deceit and treachery embroil the entire city. Plots and counterplots, loyalties, revenge...all can be found in this city of Wa. You have been thrust amidst this cauldron of intrigue. You must pick your loyalties with care. Will you side with one of the yakuza gangs in their secret battle for control of the streets? Will you throw your fate into the political whirlwind that surrounds the powerful families of Nakamaru? Will you sohei battle his rivals for the hearts of the people? Blood of the Yakuza is an adventure for use in your Oriental Adventures campaign. It includes a colorful map of Nakamaru and descriptions of the major NPCs, districts, and factions of the city. All of these make Nakamaru an exciting and dangerous place for adventure! TSR 9203

Important: The adventure is 1e but it has monster conversion notes for D&D 4th edition The town of Highport, once a human community overlooking Wooly Bay from its perch on the northern coast of the Pomarj, fell prey to hordes of humanoids swarming out of the jungle-covered hills surrounding the settlement. Though the orcs, goblins, kobolds, ogres, and gnolls razed much of the place in their ferocious rampages, the smoldering ruins they left behind soon became a new kind of community, a place of trade between the humanoid “locals” and the unsavory human traders who have no compunction about doing business with them. Slaves are a commodity in ready supply in Highport’s market, since many pirates raid up and down the coast of the bay, putting fishing villages to the torch and filling their holds with captured refugees. Slavery has become a thriving business in the town, and rumors abound of a cartel of Slave Lords who run things from behind the scenes, filling their coffers in secret from the buying and selling of human chattel. The trade has become so prolific that the good folk to the north have grown tired of these depredations and decided to fight back. Forces of righteousness and honor have recently descended upon Highport, some openly and others in secret, in various attempts to destroy the machinations of the Slave Lords and abolish the abominable enterprise that has taken far too many loved ones from home and hearth. One such doughty servant of goodness is Mikaro Valasteen, a cleric of Trithereon. Mikaro slipped unnoticed past the crumbling walls of Highport with a single mission: to rescue and transport as many slaves to their freedom as possible. Mikaro and a handful of faithful assistants located a number of escaped slaves—as well as rescued a few more not sufficiently restrained and guarded—and shepherded them through the gates and beyond the reach of their humanoid tormentors, returning them to their lands and homes. This covert freedom brigade enjoyed remarkable success early on, since the servants of the Slave Lords were often lax in their vigilance and sloppy in their efforts to prevent loss of the “merchandise.” After one too many shipments never made its destination, the humanoids stepped up their security and the normal channels of escape from Highport closed to Mikaro and his team. He cannot risk exposure by smuggling the freed slaves through the gates as merchandise any longer, since shipments of goods are now regularly stopped and checked. No longer able to free the slaves in that manner, Mikaro began hiding his charges in an abandoned villa in a particularly rundown part of the town. Although they are safe for the moment, their numbers have grown unmanageable, and the priest fears it is only a matter of time before someone slips up and brings slavers to their doorstep. Ever more desperate to find a new means of escape from Highport, Mikaro has started work on a plan that is both daring and dangerous. He intends to use a series of old sewers coupled with natural caverns running beneath the town as an escape route to the sea beyond the walls. But he needs someone to clear out the creatures and pitfalls he knows lie within. Pgs. 2-27

The dragonmen have taken Solace. Its beautiful tree houses lie black and battered amid the stumps of great vallenwood trees. Kapak Draconians, armed with poisoned weapons, enforce a brutal martial law on the survivors. And Solace is only one outpost: the dragon armies control the plains. Only the elven kingdom of Qualinesti stands unconquered. The rest of the plainsmen suffer the most: a long slave caravan hauls hundreds of them to the fortress prison of Pax Tharkas. "Dragons of Flame" is the second in TSR's series of Dragonlance adventures for use with the AD&D game system. Your players will adventure in the world of Krynn and visit strange places such as Qualinost or the Sla-Mori, encountering bizarre draconians and disgusting Aghar. They can play the modules as a set of separate adventures or as a great quest that spans the entire Dragonlance story. Art by Jeff Easley. TSR 9132
Chip off the old block. The dwarves of Underduin and Thunderdelve have made some new friends … and enemies. A stronghold of dwarfs has been takin hostage and its up to the part to save them and return the stronghold to its former glory. XS2 Thunderdelve Mountain may act as a prequel. Pgs. 8-31

In Mulcrow, food - not music - soothes the savage beast. The adventure begins in the town of Griffondale whre the PCs encounter Jelmark, an emissary of the Duke of Mulcrow. Jelmark hires the party to help the witch Rudwilla prepare a special stew for a cantankerous bugbear chief who lives in the Rockforge Mountains. Bruggh the bugbear demans the stew once a year on his birthday.-- from the adventure. Pgs. 34-48

Lost Tombs, Volume 2 The lich Lyzandred: a madman, an undead archmage, a survivor of the twin cataclysms that destroyed tow great empires. His name invokes fear in the hears of the smallest children, the bravest warriors, and the wisest sages. Like a malicious cat, the lich toys with all who stumble into his maze, tormenting them with strange puzzles and obscure riddles, monsters and demons, weird traps and dangerous magics. All who enter the crypt of Lyzandred find themselves scarred with his rune, proof of their visit -- and their folly. But there is a method to the madness of Lyzandred, a purpose to his twisted games. If you're lucky, you might even live to learn about it. The Lost Tombs series begins with Star Cairns (Volume 1) and concludes with The Doomgrinder (Volume 3). Each adventure is playable separately, or they can be linked to form an epic-length story. TSR 9580

Moonless Night is an adventure module composed of short adventures which are compatible with both the first and second editions of the Advanced Dungeons and Dragons game. The adventures are designed with novice players and dungeon masters (DMs) in mind; more experienced gamers may find the action too scripted, the dangers too forgiving, and the plot too linear for their tastes. In such a case, the DM is encouraged to expand, revise, and delete as necessary.