Forlorn is a dreary yet dangerous place, a land of secrets and whispers. Visitors can expect to find no safe rest, no respite from the terrible creatures that plague this land. The skies are perpetually overcast and the land is damp with rain. By night, sheet lightning illuminates the sky in ghastly colors. Even if the intrepid adventurers who come to explore Forlorn know that the lord of this domain is forever trapped within his strange castle, they should take small comfort from it. Servants of Tristen ApBlanc roam freely, and the land itself is horribly twisted. The encounters in this book are designed to offer an introduction to Forlorn and provide clues about both its lord and his home. Melancholy Meetings is intended to be used before the castle adventure book, Eve of Sorrows, but it's not necessary for the PCs to experience all of the encounters in this book before embarking upon the next. Included in Castles Forlorn - https://www.adventurelookup.com/adventures/castles-forlorn TSR 1088, from 1993

Introductory adventure for Dark Sun, included in the original box set. PCs start on a slave caravan but are freed when it is attacked. With limited equipment and water, they must cross the desert to an oasis then save a druid. As with many Dark Sun adventures, uses a flip book providing 24 maps and illustrations for players. Combines combat encounters with survival encounters, where the treasure may just be food or enough water for another day.

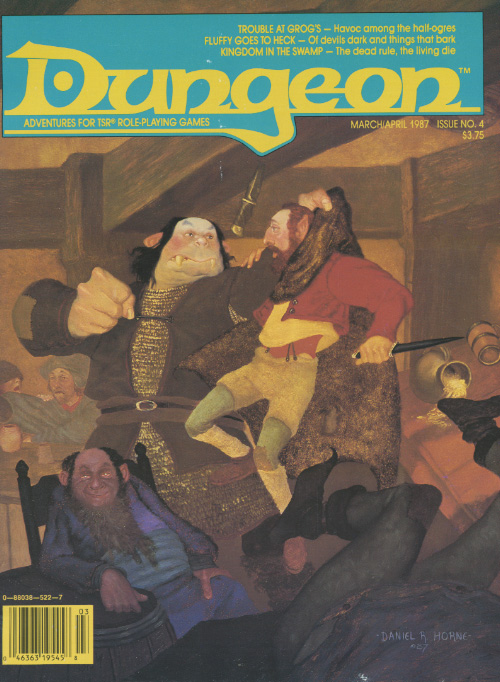
A little beer, a little trouble, a little party on the rubble. Can't a half-ogre find a little peace in the riverside town full of adventurers, bigots, and thieves? "'Trouble at Grog’s' presented something no one ever expected to see: a sympathetic half-ogre. All Grog wanted to do was settle down as proprietor of the Happy Half-Ogre Inn and Tavern. Little did he know his success would rub the competition the wrong way, leading to some 'inn-fighting' with the owner of the rival Dagger Rock Tavern, Yuri Kineron." - Christopher Perkins Pgs. 41-64

A great evil force descended on the town of Phlan years ago. The townspeople were all either killed or driven away, and Phlan became (literally) a ghost town. Fifty years later, the survivors are ready to reclaim their town. But they need a band of strong and brave adventurers to lead the fight-they need you. Ruins of Adventure is a set of connected short adventures written by James Ward, David "Zeb" Cook, Steve Winter and Mike Breault-four names familiar to all AD&D game fans. It uses the same setting, locations and characters as the classic computer game Pool of Radiance by Strategic Simulations, Inc. In fact, many of the scenarios here in Ruins of Adventure will provide important clues to the successful completion of Pool of Radiance. TSR 9238

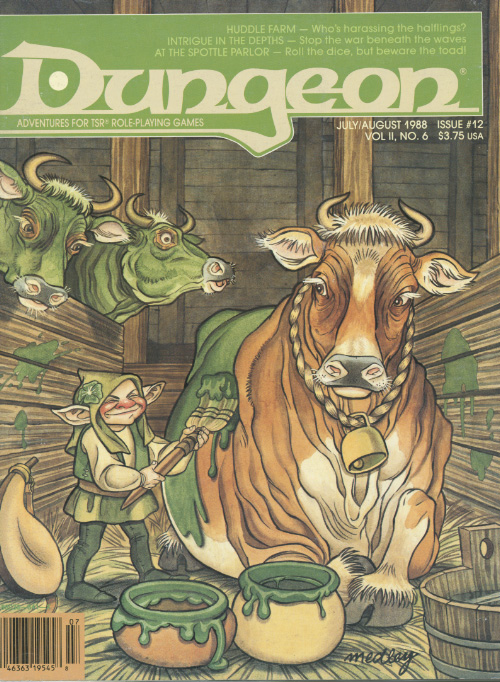
A family feud - with green cows? A barn is burned, a field is trampled, and halfling tempers flare. Can you prevent a family feud? Pgs. 48-62

Having now realized that they require 4 Mithel Standards at the same time, the Ivory Scimitar will be faced with actually taking a Banner from another Mithel Company. This scenario pits the characters against the waning might of Men of Iron, and should allow them to claim the Banner for House Aldenmier, thus guaranteeing that they can clear the final level of Mithelvanr's Labyrinth. This adventure is formatted to both 1E & 5E gaming rules.

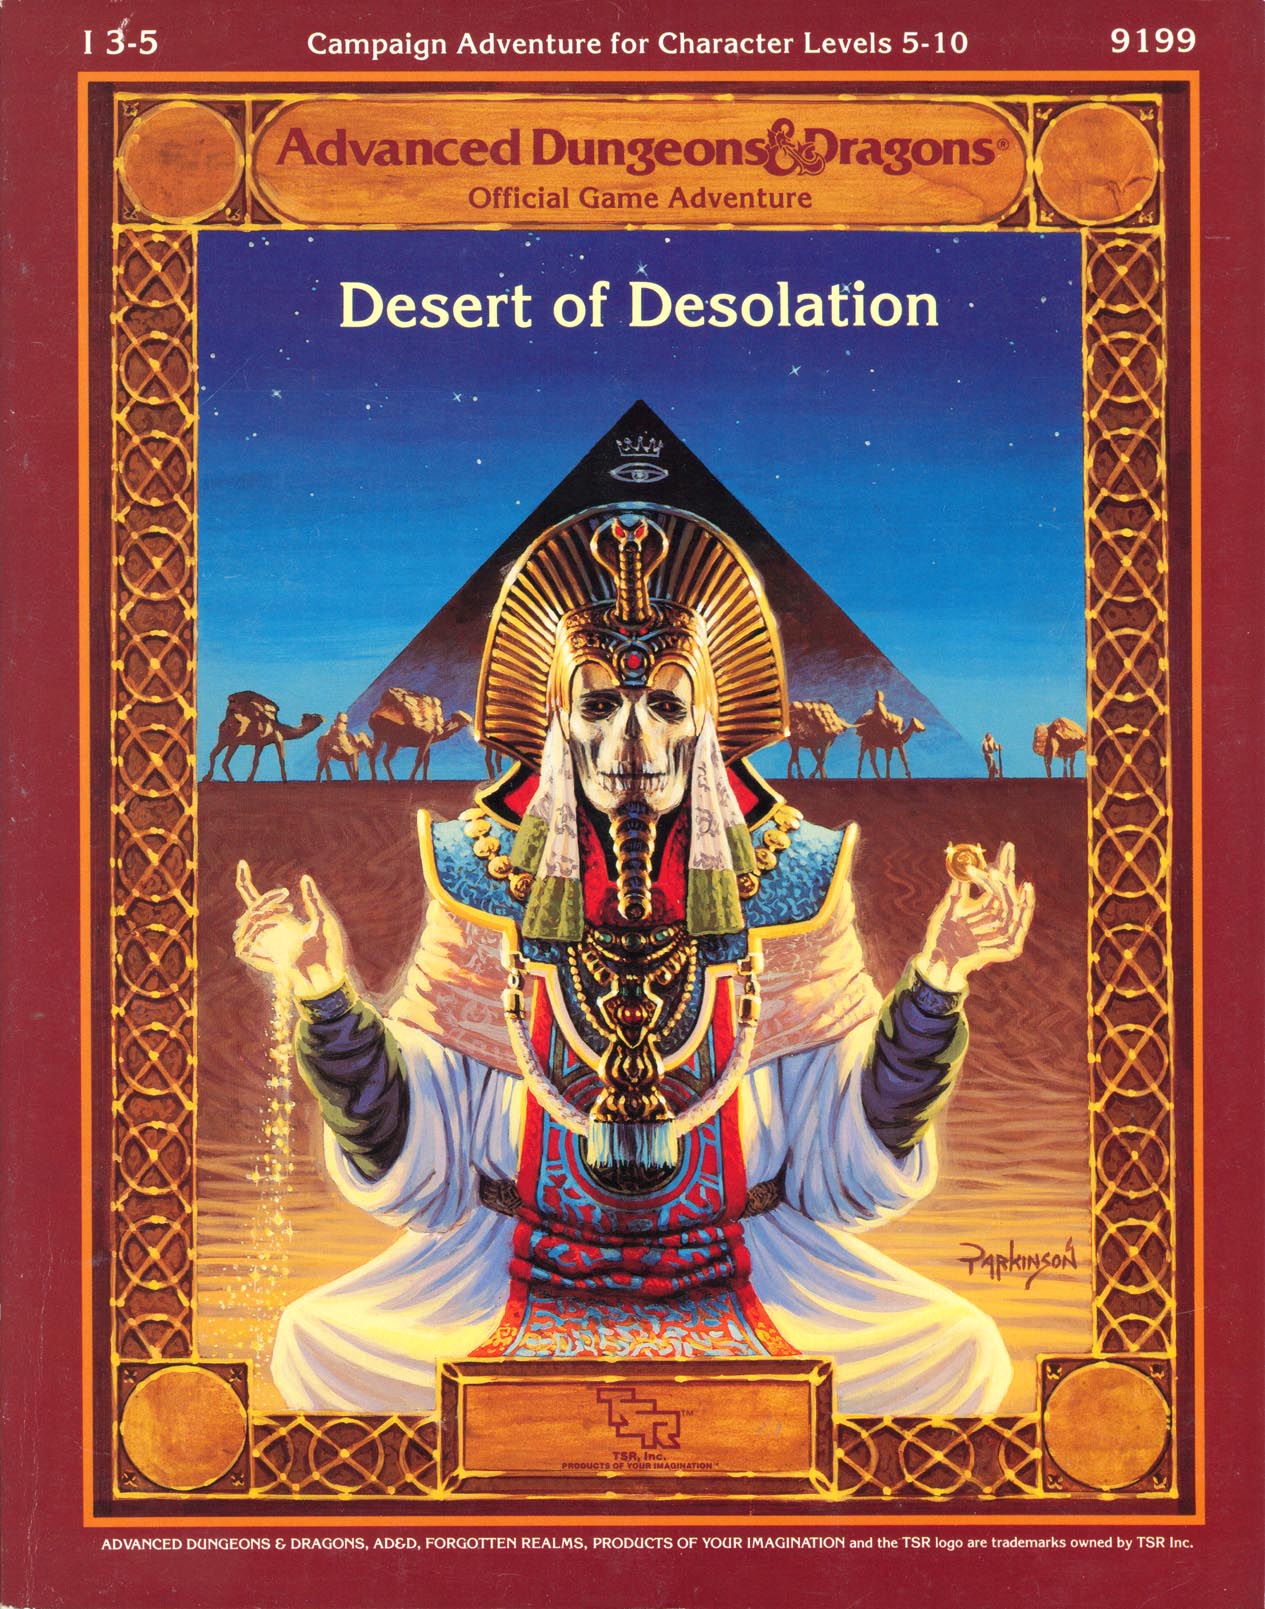
Deep blue mists of the night swirl over the sands of Raurin, the incomparable Desert of Dust. As the cool night air drains the heat from the sand, you and your friends huddle around your campfire, glancing nervously at the giant pyramid in the distance. Gradually, the winds change direction, bearing a thin streak of white mist toward you from the pyramid. It swirls and takes shape as a faceless man dressed in ancient robes and an ornate head-piece; moonlight shining through his ghostly body and robes, he lifts his arms toward the pyramid and speaks. It was magic that conveyed you all to Bralizar, and an ancient map that guided you through the pass in The Dustwall. But it was, after all, the tales that finally brought you to this place - tales of endless wealth, of spirit-guarded pyramids, of crystalline obelisks, of gemstones with mysterious properties. Now, as the haunted voice of the spectre before you begins his tale, you wonder if the treasure and the quest are worth the price...perhaps your very lives. Are you really the heroes of the prophecies, those who will overcome the foretold tests, and those for whom the treasure awaits? It is time to search your hearts before you venture further into the Desert of Desolation. An epic adventure includes the revised Desert of Desolation series plus totally new adventures within Raurin, a desert wilderness set in the Fabulous Forgotten Realms TSR 9199

"Far be it from me to impugn the mettle of adventurers such as yourselves, but daring the depths of Undermountain merely for fortune's sake is more absurd than kicking a sleeping dragon in the nose for sport. Even so, you've returned for another trip to the Underhalls, so be prepared. You stand to enter the Lost Level this time: Gird yourselves for diplomacy as well as destruction. You'll find the last stronghold of an extinct dwarven clan: Do be good enough to extend the greetings of the Blackstaff to Bandaerl. There's also a dark vampiress who enjoys a good hunt, and be sure to mind the beholders: They're trained to keep you from escaping. "Enjoy, and don't say Khelben didn't warn thee." TSR 9519

The Ghost Tower is a companion adventure made to go along with the events unfolding in Folio #19 (WS6 Duel on The White Ship). It contains the information needed to run a side adventure that will help characters get to the White Ship temple Complex. The deck of the White Ship is filled with peril, and the stamina of the characters has already been worn down just getting to it. However, a single tower, and its now crumbling bridge, might allow the characters to skirt the bulk of the wandering monsters on the deck and get to the temple complex intact, but only if the tower proves less deadly... This adventure is formatted to both 1E & 5E gaming rules.

Important: The adventure is 1e but it has monster conversion notes for D&D 4th edition The town of Highport, once a human community overlooking Wooly Bay from its perch on the northern coast of the Pomarj, fell prey to hordes of humanoids swarming out of the jungle-covered hills surrounding the settlement. Though the orcs, goblins, kobolds, ogres, and gnolls razed much of the place in their ferocious rampages, the smoldering ruins they left behind soon became a new kind of community, a place of trade between the humanoid “locals” and the unsavory human traders who have no compunction about doing business with them. Slaves are a commodity in ready supply in Highport’s market, since many pirates raid up and down the coast of the bay, putting fishing villages to the torch and filling their holds with captured refugees. Slavery has become a thriving business in the town, and rumors abound of a cartel of Slave Lords who run things from behind the scenes, filling their coffers in secret from the buying and selling of human chattel. The trade has become so prolific that the good folk to the north have grown tired of these depredations and decided to fight back. Forces of righteousness and honor have recently descended upon Highport, some openly and others in secret, in various attempts to destroy the machinations of the Slave Lords and abolish the abominable enterprise that has taken far too many loved ones from home and hearth. One such doughty servant of goodness is Mikaro Valasteen, a cleric of Trithereon. Mikaro slipped unnoticed past the crumbling walls of Highport with a single mission: to rescue and transport as many slaves to their freedom as possible. Mikaro and a handful of faithful assistants located a number of escaped slaves—as well as rescued a few more not sufficiently restrained and guarded—and shepherded them through the gates and beyond the reach of their humanoid tormentors, returning them to their lands and homes. This covert freedom brigade enjoyed remarkable success early on, since the servants of the Slave Lords were often lax in their vigilance and sloppy in their efforts to prevent loss of the “merchandise.” After one too many shipments never made its destination, the humanoids stepped up their security and the normal channels of escape from Highport closed to Mikaro and his team. He cannot risk exposure by smuggling the freed slaves through the gates as merchandise any longer, since shipments of goods are now regularly stopped and checked. No longer able to free the slaves in that manner, Mikaro began hiding his charges in an abandoned villa in a particularly rundown part of the town. Although they are safe for the moment, their numbers have grown unmanageable, and the priest fears it is only a matter of time before someone slips up and brings slavers to their doorstep. Ever more desperate to find a new means of escape from Highport, Mikaro has started work on a plan that is both daring and dangerous. He intends to use a series of old sewers coupled with natural caverns running beneath the town as an escape route to the sea beyond the walls. But he needs someone to clear out the creatures and pitfalls he knows lie within. Pgs. 2-27

Two days ago while in the Village of Balis you heard a rumor of an abandoned monastery. With such a deserted location already so close at hand one could not refuse the temptation of checking on its possible gains-whether it is treasure or knowledge that is to say. Yet the gains must surely be worthy of someone as adventurous and brave as yourself. Through further investigation of the rumors of the townspeople you have discovered that the old monastery is said to be haunted with the dead walking the grounds. Directions were located and after a final day’s praying you set out to locate the Monastery of the White Rose.

Tomb at the Dragon's Spine is a companion adventure made to go along with the events unfolding during the middle sections of Folio #14 (WS1 Isle of Jade). It contains the information needed to run a side adventure during the Isle of Jade. Many centuries ago, in an age forgotten, the last of the great sea dwarf masons died on the Isle of Jade after helping construct some of the final Corsair structures the world will ever see. Now, his tomb rests on the heights of the Dragon's Back, and evil has crept into the tomb. Only the brave few might now pass the threshold for the treasures that certainly lay within. While crossing the deadly 'Dragon's Spine' of the island's interior, the party encounters a darkness at the heights. Within the ancient stones the tomb of one of the last sea dwarf master masons rests. Has the corruption of the island reached the tomb? Only exploration will reveal the truth, and the treasure. This adventure is formatted to both 1E & 5E gaming rules.

Two centuries ago, the last king of the celtic kingdom of Pellham was deposed in favor of a High Council. Now, however, things are going badly, and a restless populace longs for the days of the ancient kingship. The High Council is floundering - and the political situation is turning ugly. It was then that the Brothers of Brie, and obscure monastic order, discovered a long-forgotten prophecy. In Pellham's time of greatest need, a long-dead king will rise to restore order. You have been chosen to prove that this is the time of the prophecy. You will take the first steps toward returning the lost king to the throne. This adventure contains the first four rounds of the AD&D OPEN Tournament that was originally run at GEN CON XVI Convention. It includes a tournament scoring system and a team of 10 characters of levels 4-7. This adventure can be played alone or as the first part of the two-part PROPHECY OF BRIE series. TSR 9107

In Feast of Goblyns, a party of adventurers is mysteriously transported from the lands they know to a dark and dangerous demiplane known as Ravenloft. Trapped in this realm of terror, they must use all their skills to escape the manipulations of one of Ravenloft's most powerful lords as they attempt to seek out the accursed Crown of Soldiers. If all goes well, they just might live long enough to escape this dread land and return to their homes. Also of note: As the first published adventure, is bundled with a DM screen for running games in Ravenloft. TSR 9298

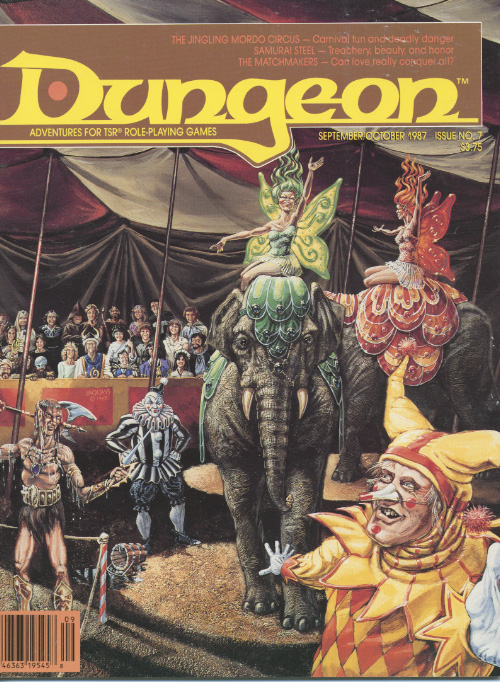
A beautiful face hides treachery and deceit. Treachery, betrayal, and a flower of ice. Samurai Steel is an AD&D® game Oriental Adventures module. Any Oriental PC race or class is suitable, though at least one ninja or yakuze should be included. Gaijin PCs are not recommended. This adventure is compatible with the campaign setting in OA1, Swords of the Daimyo. Pgs. 37-47
The player characters are contracted to go on an expedition to discover the fate of a long-lost tribe of Elves (the followers of King Thiondar). This is a lengthy adventure across several locations. Roleplaying is stressed, as some encounters will be very deadly if resolved through combat.

This beginning level adventure pits your PC party against humanoid thugs who have found a nice niche in a narrow pass headed to HAVENDALE. Adorning the pass is a rock formation that appears to be a large skull thereby giving its name to the pass. These humanoids are led by a large Ogre named Roark. The mayor of Feastelburg has placed a bounty on the head of Roark and his evil minions. Is your party strong enough to rid the area of this menace?

Off the Coast of Clover Island and less than a league away from Corsair Bay is the wreck of the Golden Rose a ship of fame. The Tome Lord from Corsair Bay is looking for a few brave adventurers to go out, find the ship or what remains of it and locate a specific item for him. While the mysterious sage won’t explain what the item is he will tell you that it is protected by mighty magical glyphs of protection so simply obtain the box and bring it to him for the reward. Rumor has it the ship was laden with a great deal of treasure which is free for the party’s taking but the Tome Lord wants the box. Is your party up for a little underwater jaunt?

Your adventures have taken you to strange places before, but in the eyes of your experienced party, few of these places are as unusual as the bizarre Land Beyond the Magic Mirror. Here the delightful and the light-hearted often hide great challenges and dangers; here you will journey through a landscape unique among fantasy role-playing scenarios. This adventure was first conceived by E. Gary Gygax as part of the Greyhawk Castle dungeon complex and has been the source of challenge and fun for many skilled players of the Advanced Dungeons & Dragons game. It is finally available to all players and can be added to your existing campaign with ease. "The Land Beyond the Magic Mirror" is designed so that it may be used with its companion scenario, EX1: "Dungeonland." Still, "Land Beyond the Magic Mirror" may easily be played on its own, and should offer hours of excitement in its strange landscape! An adaptation of Lewis Carrol's book 'Alice Through the Looking Glass' into a dungeon crawl, and a sequel to the module EX1 Dungeonland which adapted 'Alice in Wonderland' in the same way. TSR 9073

Lost Tombs, Volume 2 The lich Lyzandred: a madman, an undead archmage, a survivor of the twin cataclysms that destroyed tow great empires. His name invokes fear in the hears of the smallest children, the bravest warriors, and the wisest sages. Like a malicious cat, the lich toys with all who stumble into his maze, tormenting them with strange puzzles and obscure riddles, monsters and demons, weird traps and dangerous magics. All who enter the crypt of Lyzandred find themselves scarred with his rune, proof of their visit -- and their folly. But there is a method to the madness of Lyzandred, a purpose to his twisted games. If you're lucky, you might even live to learn about it. The Lost Tombs series begins with Star Cairns (Volume 1) and concludes with The Doomgrinder (Volume 3). Each adventure is playable separately, or they can be linked to form an epic-length story. TSR 9580