
To Hell and Back Again is the perfect adventure for new players and veterans looking to experience Dungeons & Dragons in a new way! It's written as a solo adventure, where choices have gigantic consequences, but it also provides balanced rules to play with a group or a Dungeon Master as well! This 80 page adventure features: - A heart-pounding origins story that fits perfectly as either a prequel to Descent Into Avernus, a stand-alone adventure, or into your ongoing fantasy campaign. - Beloved characters like Lulu the hollyphant, Mad Maggie and her redcap gang, the archdevil Zariel, and many others brand new to this adventure. - Infernal War Machines, and exciting encounters with unique stat blocks. - Innovative Destiny and Traits mechanics that make your choices really matter. - A ton of possible outcomes that will fuel your character's many adventures to come! - Four gorgeous sample characters, with interactive character sheets designed to be new-player friendly so that you can jump right into the story if you'd like. - A community survey when you finish so that you can see how your outcomes and choices compared to other players!
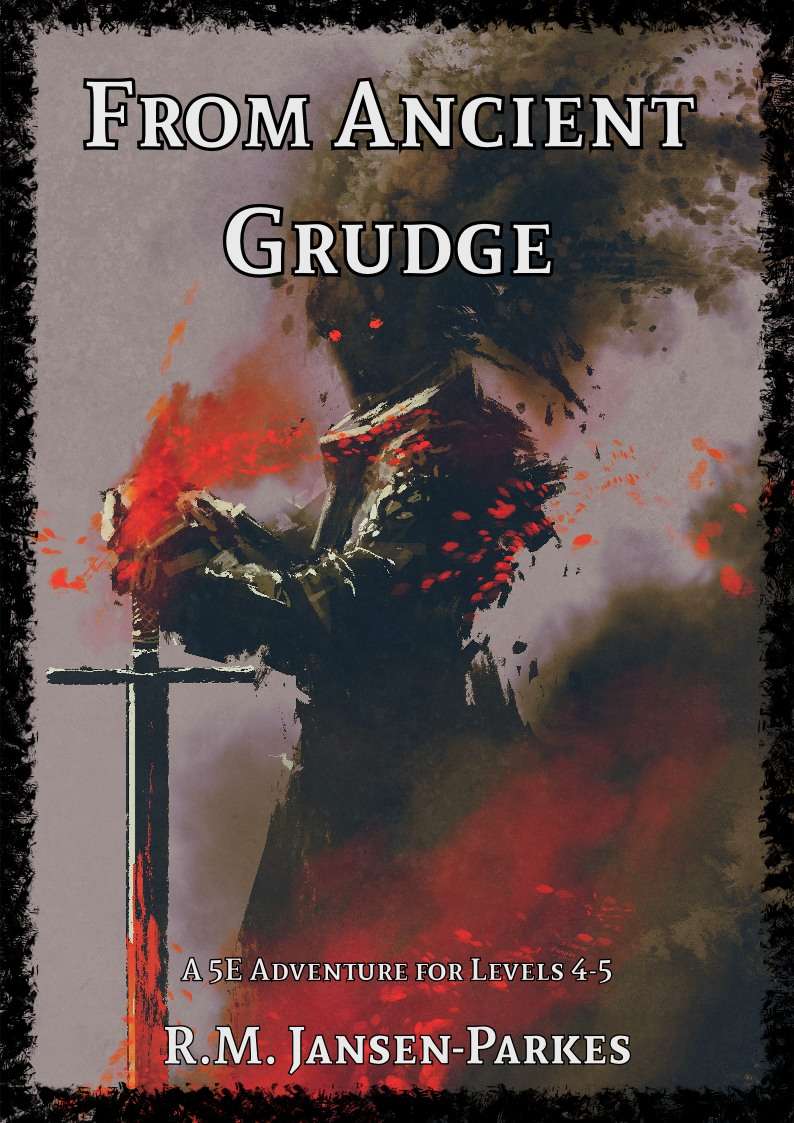
A Star-Crossed Tragedy. When the party is hired to investigate a haunted castle, they’re drawn into a tale of hatred, love and betrayal stretching back more then 300 years. Will they be able to free the ghosts haunting Arevon Castle, or will they find themselves just another footnote in its long history of misery?

In this adventure, the heroes face the sinister Baron Metus, the vampire who took the life of Van Richten's son, Erasmus. Metus, with Daclaud Heinfroth, has been doing the bidding of the ghost of Madame Radanavich in her quest to destroy Rudolph van Richten. But Metus has his own reasons for seeing van Richten destroyed as well. Included in Bleak House: The Death of Rudolph van Richten TSR 1141

Ten days ride north of the great city, there is a small town named Treefall. Up until recently, this town was well known for its rich harvests, happy villagers, and prosperous weather. These days, however, the once-proud details from Treefall have turned darker. Instead of tales of unending prosperity, you hear hushed whispers of a great curse that has struck the once-happy village. Word has it that, where once roamed contented cattle, now strange beasts hunt by the moon's cold light and terrorize the hapless region. You have scoffed with the others at these stories. Despite the things you've seen in you adventures with your friends, the thought that such ill might befall such a sleepy town strikes you as terribly unlikely. There is plenty of evil in the world, true, but there are also much bigger and better targets. But, tonight despite the firmness of your disbelief, the stories come to find you. You have been traveling north along the roads on your own business, enjoying the rich fall colors and warm afternoons. Your camp os small and secure, with a roaring fire and meat cooking over the flame. It's one of those crisp autumn days that makes you long for a warm hearth after a long ride in the cool air. Still, the fire is good enough for now and you and your friends have a wonderful meal, talking and singing and laughing, anticipating a restful sleep beneath the blanket of stars. Until the beast attacks.

This third installment of the Aumvor saga includes: ● 19 encounters ● Stats for Living Zombies (converted from 3.5e) ● and an introduction to the tower The adventure continues as your PCs make their way to the upper reaches of the tower and learn of the danger involved in moving deeper into Aumvor's dark realm. For centuries Aumvor the Undying has fed upon the life force of innocent folk who stumbled upon his portal traps. For centuries he has planned for and prepared for the eventual return of Netheril as a power in the world. That hope has now faded, and he has returned to his vault to regain strength and begin anew. Even now, he is deep in his tower vault plotting. 𝐁𝐞 𝐬𝐮𝐫𝐞 𝐭𝐨 𝐜𝐡𝐞𝐜𝐤 𝐨𝐮𝐭 𝐓𝐡𝐞 𝐓𝐨𝐰𝐞𝐫 𝐨𝐟 𝐁𝐨𝐧𝐝𝐚𝐠𝐞 𝐩𝐚𝐫𝐭 𝟏 “𝐀𝐮𝐦𝐯𝐨𝐫𝐬’ 𝐖𝐞𝐥𝐜𝐨𝐦𝐞” 𝐚𝐧𝐝 𝐩𝐚𝐫𝐭 𝟐 “𝐅𝐚𝐧𝐞 𝐨𝐟 𝐭𝐡𝐞 𝐉𝐚𝐢𝐥𝐞𝐫𝐬”.

War is looming between Nanch and the Fey. Those on the border are caught between two dangerous dynasts. Pressed into duty for lord and country, the peasants and gong farmers of Nanch find themselves in a strange and unnerving forest full of denizens older than the practice of naming. In this new world, the rules of life and death are a game of whimsy practiced by fantastic forces, and bizarre ancient feuds re-ignite in the chaos of war. Those errant attendants of Nanch will be fortunate to survive the madness of either ruler! The adventure spans a series of strange and otherworldly encounters with the magical and surreal denizens of Greenwood—while under the incompetence, cowardice, and bullying of Pertrub (one of the King’s footmen). As the encounters continue, signs of the Earl’s fate are everywhere. The players must pick up clues and begin to grasp the realities behind them! The adventure features a number of visual puzzles with handouts to help the players solve them. This 20-page, stand-alone adventure includes a new class: the Wild Elf. The adventure is for low-level characters. It is not setting specific and can be placed near any ancient woodlands.

The Shackled City Adventure Path enters the home stretch as the forces of evil take direct action against the heroes of the Cauldron. Dangerous secrets are revealed, important NPCs bit the dust, and your heroes will never know who to trust again! This adventure is seventh part of the Shackled City Adventure Path that began with "Life's Bazaar" (Dungeon #97). Pgs. 36-67

The battle against the slavers continues! You end your fellow adventurers have defeated the slavers of Highport, but you have learned of the existence of another slaver stronghold, and you have decided to continue the attack. But beware! Only the most fearless of adventurers could challenge the slavers on their own ground, and live to tell of It! Second part of Scourge of the Slavelords (A1-4) TSR 9040

Beginning in the prison of the Castellan of Whitecliff, this campaign arc takes the players from level one to four, presented as a sandbox area in a lonely and gritty peninsula full of villains and opportunities for the players to explore. Much like Stonehell, but for regional play. Published by Coldlight Press
/pic4510372.jpg)
It begins in the marketplace or main square of a town when the calm, peaceful day is interrupted by a hulking golem trouncing through town, smashing objects, and attacking townsfolk. The party witnessing this should intervene and stop the rampaging golem with combat or by luring it into a nearby warehouse to trap it so it can be damaged and, eventually, destroyed by the town guards. When the party examines the golem’s remains, they find bones encased in the metal armor and the name 'Quartztoil' written in gnomish script. The town guard explain that this is the eighth construct they have encountered in the area in the past six months. The party can then go on to investigate the name 'Quartztoil', leading them to learn of an old, gnomish, aspiring artificer, Penaral Quartztoil, who had a lab and workshop in a tower in the nearby mountains, but who has not been heard from for close to a century. Published by Nord Games

Madness in Freeport, the final part of the Freeport Trilogy, details the final confrontation between the PCs, the Brotherhood of the Yellow Sign, and Sea Lord Milton Drac. In Part One, the Drac invites the PCs to the Grand Lighthouse Ball. Careful investigation can reveal the secret purpose of the lighthouse. In Parts Two and Three, the PCs must recover a powerful artifact to thwart the Brotherhood's plans. They must pass through an infamous pirate's hidden caves, then search a sunken temple of the serpent god Yig. In Part Four, the heroes must enter the Grand Lighthouse, AKA Milton's Folly, in a race against time to stop the Brotherhood's world-shaking master plan from coming to fruition. (Bibliographic note: This adventure was originally written for v.3.0, and later updated to the v.3.5 rules. The revised versions of Death, Terror, and Madness in Freeport were reprinted in an omnibus edition, along with two shorter filler adventures, as The Freeport Edition: Five Year Anniversary Edition.)

Your players have ventured so far north that they are within reach of the last vestiges of humanity. You are weary from your travels and decide that a respite in Gregat, City of the Shrine. The area is also home to several other spots of interest that you may go to since you are in the region. This ‘sandbox’ style offers several adventures for your players but beware, they are just as deadly as any dungeon delve!
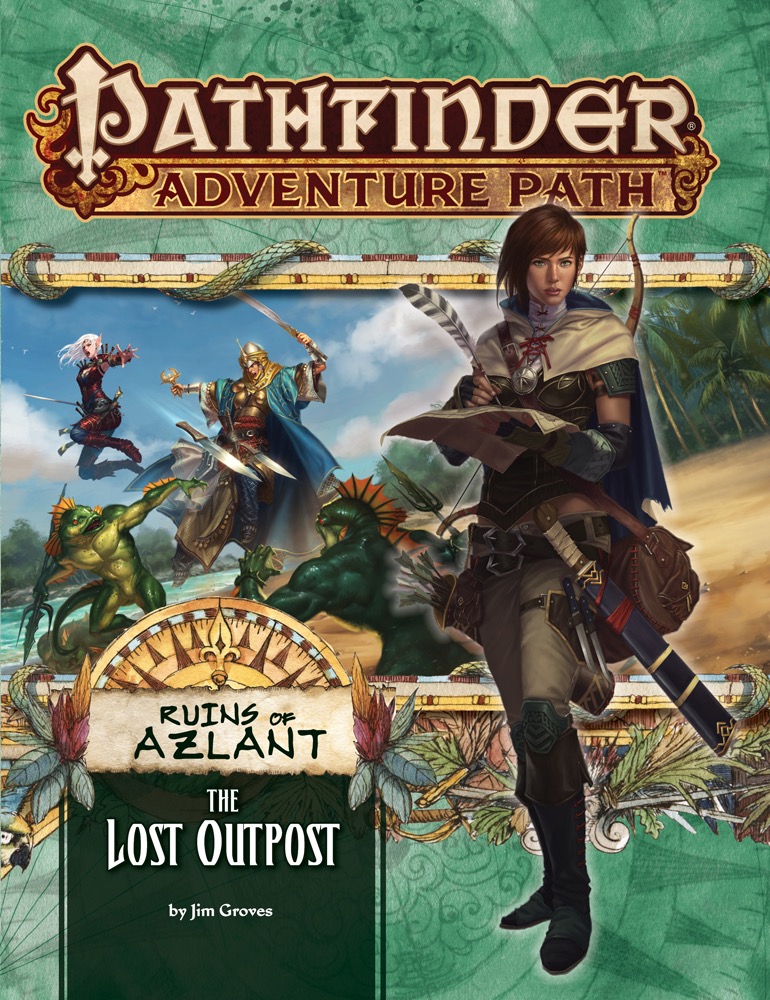
Trouble in Paradise The Ruins of Azlant Adventure Path begins with the adventurers standing on the deck of a ship ready to make landfall at their new home. However, dread settles in as they notice that the colony is empty and abandoned. Tasked with uncovering the whereabouts of the prior group of colonists, the adventurers go ashore and explore the deserted settlement. Uncovering strange evidence leads the adventurers across the island, where they encounter two survivors who can give them clues as to the fate of the rest of the first wave of settlers. Can the adventurers survive long enough to discover what truly befell the fledgling colony?

"The Clockwork Tower" is an azza gremlin lair suitable for five 3rd level characters. This adventure can be completed in one session.

The Tower. Standing on a grassy hilltop, it seems unremarkable from a distance. Two stories high, cylindrical, thatched roof. Simple and idyllic. There's even a whisper on the breeze, or maybe a thought in the back of your mind: There's nothing to see here. What brought you in the first place? Just turn around and go back. Those that venture nearer find that it's much more than meets the eye. The closer you get, the taller the tower seems to be... until standing at its base, the tower rises dozens of floors and pierces the sky. Do you have the courage to enter the unknown sanctum? What could possibly await you within? Gather your allies and find out!

Mimic Madness is a psudeo-adventure with four interesting mimic encounters. These four encounters are structured in a way that they can be used together as one adventure, or each individually dropped into any adventure from EL4 to 7. The encounters vary the mimic's tactics significantly, such as by having them we a weapon rack that wields the weapon it holds, pretending to be animated furniture using its ability to speak, and pretending to be a floor covering a pit; none of them rely on the typical chest or door mimics. Pgs. 24-25

Today's offering is a one-page adventure built for a solo 3rd level character. While in between normal adventures you have been tracking an escapee known as Johan Cupid and believe to have picked up a lead in Jakestown. With the bandit hiding out in an old manor house you see a payday coming. Not a traditional "Valentine's" theme this adventure reminds you that sometimes Cupid's arrows sting!

A chance encounter on the road marks the heroes as targets for an evil cult attempting to cause the rebirth of the lich god Vecna in the domain of his arch-foe, Kas. This act will free their master from his misty prison and allow him to gain vengeance upon his enemy at the same time. To learn more of the cult’s mysterious plans, the characters explore a cache of ancient lore in Tor Gorak, the major city in Tovag. Clues lead them right to the heart of Cavitius, Vecna’s own domain. There, they must discover the secret way into the Shadowed Room, an ancient library that no longer exists in time or space yet can still be reached by using an arcane ritual. Learning this secret brings the heroes into conflict with Vecna’s priesthood and their powerful servants. TSR 9582
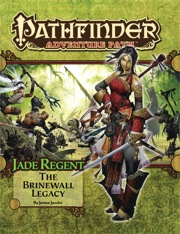
The town of Sandpoint, Varisia, Inner Sea Region has put out a bounty on the nearby tribe of Licktoad Goblins in retribution for the goblins raiding traders and travelers near the quiet town. The party takes up the bounty and ventures into the swamp; eventually finding the goblin village in ruins and it's inhabitants scared in it's burned huts. The party finds out; either through investigation of the ruins or the goblins themselves; that a group of skeletons with eastern arms and armor had ransacked the village and took a stash of fireworks that the goblins stole from an old shipwreck. The party then makes it to this cave and finds it empty except for a half dozen skeletons. Further in past the skeletons is their leader, a skeletal samurai who fights the party in an attempt to defend his treasure. The treasure turns out to be a letter that reveals that secrets of the Kaijitsu family; the same family their good friend Ameiko who runs the Rusty Dragon inn belongs to; that lies in wait in the abandoned town of Brinewall to the northern boarder of Varisia. Ameiko along with several other important NPCs with a caravan north. It's recommended that GMs create encounters for the caravan trip north as it's essentially 3 weeks of travel with nothing in it. It's also recommended that GMs completely ignore caravan rules; they're not flushed out and they're not fun to run. The party and the caravan reaches the abandoned town of Brinewall where their friend Ameiko becomes possessed and is thrown into a coma; where the other NPCs agree to take care of her while the party explores the town and castle. The castle is a three floor behemoth of a dungeon populated by Dire Corbies, Troglodytes, and various other monsters all under the leadership of Kikonu, an Yamabushi Tengu Oni. The goal of exploring Brinewall Castle is to find the two keys to the vault; one of which is on the Yamabushi Tengu while the other is on a Half-Fiend Decapus that lives in the basement of Brinewall. Once the PCs enter the vault they find the Amatatsu Seal; one of the seals that cement authority to one of the ruling houses in Minkai of Tian Xia; as well as several visions that show that Ameiko Kaijitsu is the rightful heir to be ruler of Minkai and that they'll need to travel north to do so. Such ends the first book of six.

The PCs are hired to escort a merchant boat to Rygar, a new settlement that has sprung up on the banks of a tributary of the Neverwinter River deep in the Neverwinter Woods. The mud of Rygar is much desired by potters for its physical attributes, but it is also desired for a mating ritual by a tribe of lizardfolk. What happens when the lizardfolk show up to roll in the mud? This product now contains Part I: Into the Mud, and Pat II: Out of the Mud. It includes new monsters, a new settlement with brief descriptions of many of the townspeople and buildings, maps, new feats, and new weapons.