
The Sea Witch is a short adventure for four 10th-level characters. The difficulty of the adventure can be adjusted by changing the level of main antagonist (Black Molly, the sea hag pirate) or by altering the number of her ogre servants. To tailor the encounter to groups of different levels, refer to table 4-1 in Chapter 4 of the DUNGEON MASTER’S GUIDE. The adventure is set off a lightly populated coastline known as Misty Bay, but adapts easily to any coastal region in existing campaigns. The sea hag known as Black Molly is a notorious pirate who has plagued the coastal cities for the better part of a decade. A successful Knowledge (local) check (DC 15) will reveal that Molly and her ogre crew have a filthy reputation as merciless killers who delight not only in plundering vessels for their riches, but also in destroying the ships themselves and sending all hands to the bottom of the sea. Now the villain and her followers have seized control of the Old Lighthouse of Misty Bay located off a lightly populated coastline. For generations the lighthouse beacon has protected the fishermen of this region, warning them of the dangerous rocks that lurk just below the level of the high tides. Recently, the hag has put out the beacon, darkening the lighthouse; misery and destruction are sure to follow as ships start to blunder into the rocks. Blackmail is apparently Black Molly’s aim in this venture: She conveyed a message to the nearest shore community, the fishing village of Poisson, demanding the princely sum of 50,000 gp. Until she receives this ransom, she intends to hold the lighthouse and its beacon hostage. The fate of the human keepers who tend the lighthouse is unknown to the seaside communities at this time, but they fear the worst. The Sea Witch is ostensibly a rescue mission: The PCs are pitted against the evil of Black Molly and the brawn of her savage ogre crew. It is the heroes’ task to retake the lighthouse and, if possible, free its captives from the clutches of their jailer. What neither the PCs nor the shore communities yet realize is that while she 1would be pleased to have the gold, Black Molly is in fact after bigger treasure. Molly has no intention of giving up the lighthouse — at least, not until she finds what her master sent her here for. Lying on the sea floor practically at the base of the rock on which the lighthouse sits is the wreck of the war galley Flying Cloud, which according to popular legend was captained by a cleric who wore around his neck an amulet of the planes. Black Molly wants this prize, but so far she hasn’t been able to find it. She’s scoured the wreck without finding any sign of the magic item. Now she’s trying to determine where to search next, for the item might well be somewhere near the wreck. If she can’t find it, she’ll start torturing her captives to find out if they have any useful knowledge about the amulet.
Under raging storm clouds, the vampire Count Strahd von Zarovich stands silhouetted against the ancient walls of Castle Ravenloft. Rumbling thunder pounds the castle spires. The wind’s howling increases as he turns his gaze down toward the village of Barovia. A lightning flash rips through the darkness, but Strahd is gone. Only the howling of the wind fills the midnight air. The master of Castle Ravenloft is having guests for dinner—and you are invited. Spans levels 1-10.

After a series of successful exploits you and your associates decide it is time for a nice vacation. You pull into the large city of Breckengarden to take a few weeks off when you are approached by a courier. After a clandestine meeting you are informed that several well-known adventurers have been disappearing and the party has been asked to resolve the issue. The bigger problem is the likely source of the kidnappings is the master of the Cloud Giant kingdom that floats above the ground!
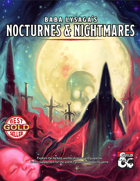
The 13th Circle is an epic battle with one of the archfiends of legend, the demon Baphomet. Designed for Tier 3-4 characters (levels 15-17) and set in the Dread Domain of Kachelior, the adventure requires the party to navigate the mysterious and maddening mazes that protect the demon's castle, and battle fiends of all kinds to reach his throne room. But will they discover the truth of his machinations? Word has spread through the small collection of towns within the Grey Shade that a cult of Baphomet has been preparing something for their master within his palace. The players will travel to Baphomet’s palace, and make their way through the massive forest maze that surrounds it. They will find the corpse of one of the previous heroes enshrined near the center which hints towards the true purpose of the cultists. They will then have to infiltrate the dread palace either stealthing or fighting their way through the defenses. They then must make it past Baphomet’s Lieutenant, Aphalos, the Godeater. The characters defeat Aphalos or persuade him to leave his master to his fate. Once they enter the chamber, Baphomet’s plan is made clear. He wishes to create a maze within time, thus trapping this world in the same cycle of pain and doom as before.

Retrieve the bones of a dracolich to save the life of a paladin. The epic conclusion of the Mere of Dead Men series. Set in the Mere of Dead Men region of the Forgotten Realms.

This scenario was presented to Gryphcon's 30th anniversary last year. The party finds themselves coming to the Triland on their way to Taco Del Toro. This island chain is unique in that it has a land mass made of clouds, hovering over the island. Upon landing, your group discovers that the governor's child has been abducted by a Cloud Giantess. Time for your hero hats...

Designed for a party of five characters of at least 9th level, this adventure will challenge players seeking a powerful magic item of the GM’s choosing. A sphere of annihilation has been provided and is woven into several elements of the adventure, but any appropriately powerful item can be substituted if something else suits your campaign better. Though the adventure is designed to test every type of character class, a rogue who can deal with traps is essential, as is a wizard or sorcerer of at least 9th level. Larger groups will have an easier time; parties of four or fewer characters will be in for a very bad time unless you mitigate some of the tower’s more lethal traps and encounters. This adventure culminates in an encounter with devils and a sphere of annihilation. The sphere of annihilation is hidden deep within the tower-and-dungeon complex of Crane the Sorcerer. Originally set atop a high mountain in a secluded and wild part of the world, the tower and dungeon can be relocated to meet the situation in your campign. Crane, an introvert, stayed as far away from civilization as possible, as is detailed below. The tower above the dungeon doesn’t present many difficulties for a group of powerful characters or alert players. It might lull PCs into a false sense of security before they enter the areas where they’ll really be put to the test.

(2017 ENNIE Awards Judges' Spotlight Winner!) THE MOST AWESOME ADVENTURE EVER Since the invention of the adventure module, there have only been five adventures that were rated the most awesome, the most epic. Broodmother Sky Fortress leaves them all behind. It’s got these creatures that are half shark. Half elephant. All badass. They fly around in this cloud fortress, wrecking everything in the campaign until the players step up to stop them. It’s all terribly exciting! And all brought to you by none other than the world-famous Arch-Mage of Old-School, Jeff Rients! As an added bonus, we’ve included a Greatest Hits of the ol’ Arch-Mage’s essays and game tools to build your campaign into the unstoppable juggernaut you’ve always wanted it to be. Your game won’t suck anymore! Broodmother SkyFortress: Buying any other adventure is just throwing your money away (includes "3.PF" edition stats by Jukka Särkijärvi because somebody somehow convinced me that would be a good idea back when this thing was being crowdfunded) Writing by Jeff Rients Art by Ian MacLean Graphic Design by Alex Mayo Cartography by Jez Gordon
Shadows in the forest deepen as an Oracle among the Yuirwood's half-elf inhabitants fire tells the reemergence of the Duskwalker, an ancient and corrupt star elf wizard. Missing travelers and lost goods all point to a circle of standing stones within the forest. Perhaps, like it's counterparts elsewhere in the Yuirwood, this stone henge allows for travel to travel to another place - but where? And what growing darkness awaits those bold enough to find out?
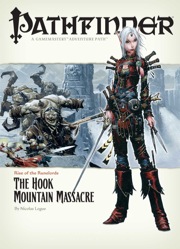
Them Ogres Ain't Right... The Rise of the Runelords Adventure Path continues! The notorious Hook Mountain ogres, known for their violent and savage ways, have slaughtered the soldiers of Fort Rannick. The few surviving rangers need heroes to help them retake this key fortification before the ogres use it as a staging ground for further assaults on the region. Yet why have the ogres chosen now to launch this sudden attack? What sinister force grows in the surrounding wilderness, and what ties to the mysterious Sihedron Rune do the ogres of Hook Mountain hide? Are the rumors of an army of giants massing for war true?

All ocean voyages are fraught with peril, yet a voyage to the infamous Isle of Dread might seem to some old salts to be a deliberate goading of the gods of the sea. Many of those who have attempted the voyage before managed to return to civilization often choose not to speak of the trials they experienced on that dangerous route, yet those whose lips can be loosened by a draught of grog whisper amazing stories... tales of pirates, sea monsters, terrifying storms, and perhaps most harrowing of all, of a strange and sinister land without land, a floating graveyard of dead ships mired in a sargasso the size of an island. This place has many names, but its most well-known may be it's most apt - Journey's End. "The Sea Wyvern's Wake" is the third chapter of the Savage Tide Adventure Path, a complete campaign consisting of 12 adventures appearing in Dungeon magazine. For additional aid in running this campaign, check out Dragon magazine's monthly "Savage Tidings" articles, a series that helps players and DMs prepare for and expand upon the campaign. Issue #350 of Dragon magazine features a regional guide to the seafaring environs the PCs can expect on the journey to the Isle of Dread. It’s time to bid farewell to the city of Sasserine as the PCs board the Sea Wyvern for a 3,000-mile voyage south into the uncharted waters of the Vohoun Ocean. Their destination: the Isle of Dread. Pgs. 16-48

The bustling metropolis of Saydown City is the largest settlement in the Denali land and home to the current ruler King Pellet. As your party reaches the watery entrance a huge iron statue guards the docks. Upon closer inspection you notice that the item is actually a golem. After continued investigation you discover that the ‘heart’ of the creature has been stolen and you accept the job to uncover the loss!

Blinsky's Toyshop is our take on what happens to Blinsky and Piccolo during, or after the Curse of Strahd campaign. Blinsky, the toymaker in Vallaki with the cute monkey wearing a pink tutu, received a large inheritance from a long-time client. The client, Obtavius Swat, a retired adventurer and avid collector of toys, left his entire estate to Blinsky. The estate included coin, precious gems, art, and his collection of toys, some made by Blinsky and others he acquired during his travels. Blinsky used the fortune to pay a wizard to create a small island in the middle of Lake Zarovich, located just outside of Vallaki. He then paid masons and workers to build a fantastic new toyshop, which he designed to be an experience for both the young and old alike. Though the number of children in Barovia was increasing, mostly imparted to the devil Strahd’s downfall, Blinsky wanted to touch the inner child of the adults in the city. He wanted happiness. He wanted smiles. He named the castle Blinsky’s Toyshop of Marvels. One of the toys, a small silver tiara kept in a black satin-lined ivory jewelry box, was such a lovely piece. Blinsky couldn’t stand the thought of leaving it in the box. He already had enough gold and losing the small tiara wouldn’t be a large loss, so he decided to give it to his monkey – Piccolo (see Creatures of the Toyshop). He smiled at the thought of her running around in her pretty, shiny tiara. Sadly, as Barovian luck would have it, trapped inside the tiara is the sole of an evil gnome wizard named Aribetha Strangge. In his old age, Obtavious Swat forgot that he and his fellow adventurers used the tiara to imprison the gnome’s soul. Yesterday, when Blinsky placed the tiara on Piccolo’s head, silver tendrils cascaded from the tiara and into poor Piccolo’s skull, allowing Aribetha to control the monkey. Now, Aribetha has incapacitated Blinsky in the toyshop’s tower, brought many of the toys to life, and imprisoned or killed many of the workers and customers. The adventure includes costumes (which the character may wear), Strahd Hand Puppets, and a possessed Piccolo.

First the bandits attacked then the Roc carried away the guide. Since then you have blindly followed the camels hoping that their instincts would lead you to water or help of some kind. You and your friends are lost in a sea of sand. Plodding along in the shadow of the camels and doing your best to stay alert. Ahead the heat shimmers take shape. This time it is a castle. Blinking away the dryness in your eyes you realize that the tower is not a mirage but it is broken.
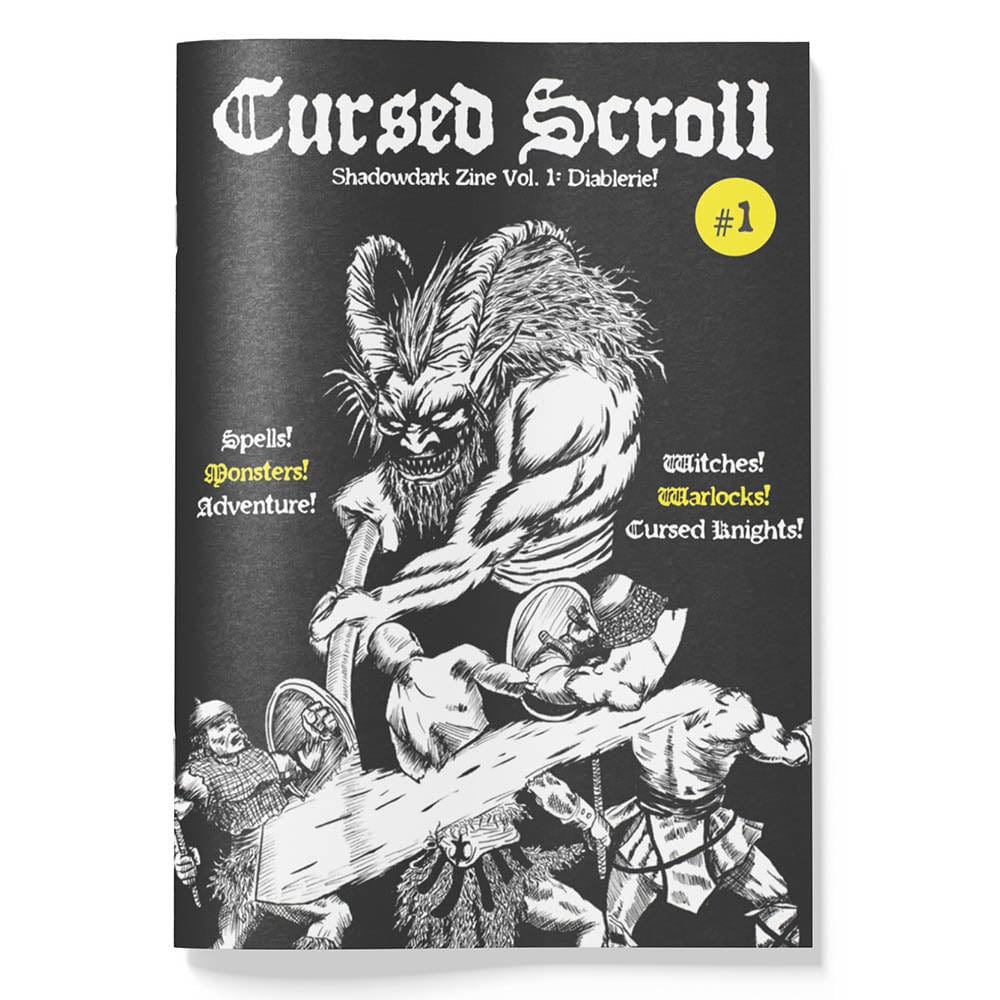
A 1st-level dungeon crawl heavy on exploration, factions, and sorcerous wonder for Shadowdark RPG! Go below the dripping ruins of Bittermold Keep to hunt for legendary treasures and face off against three competing factions that want to claim the Hideous Halls: the degenerate Bittermold family, the wild halfling Howlers, and the disgruntled mutant catfish. The characters might even encounter the abominable god-ooze, Mugdulblub! Winner of "The Best" rating from tenfootpole.org! View the adventure walkthrough video here: https://www.youtube.com/watch?v=mVJ-t7qMjPo This adventure is part of Cursed Scroll Zine 1: Diablerie! Inside the zine, you'll find cursed knights channeling demonic power, mist-addled forests where witches and warlocks stalk the trees, and crumbling castles housing ancient, eldritch creatures. Shadowdark RPG is what classic, old-school fantasy gaming would look like after being redesigned with 50 years of innovation. It's the world's greatest roleplaying game in a whole new light! Learn more and download the free rules here: https://www.thearcanelibrary.com/pages/shadowdark

So you want to be a Mage of High Sorcery? To join the esteemed organization, you must travel to the Tower of Wayreth and undertake the most important event in your life—the harrowing Test of High Sorcery! If you can survive where so many aspiring mages have failed, you will forever bind your soul to the Gods of Magic and gain access to untold arcane secrets. The Test of High Sorcery is the perfect adventure for new and veteran players looking to experience Dungeons & Dragons in a new way! It is a solo adventure, where your choices have meaningful consequences, but it also provides balanced rules to play with a group or a Dungeon Master. This 154-page tome features: - A sprawling adventure that fits perfectly as an expansion to any Dragonlance campaign, Dragonlance: Shadow of the Dragon Queen, or as a stand-alone replayable experience - A tale full of sorcerous intrigue, featuring many new characters alongside iconic favorites like Fistandantilus, Takhisis, Fizban the Fabulous, and the Gods of Magic - Innovative Destiny and Trait mechanics make your choices really matter—and ensure every mage’s Test of High Sorcery is a unique experience - Over 60 possible outcomes to determine which Order of High Sorcery you join and provide compelling new plot hooks for your character during future adventures - Dozens of unique locations with rich stories and sorcerous challenges that Dungeon Masters can use to create their own version of the Test of High Sorcery - New magic items and stat blocks, with mechanics that support clever use of enemies’ weaknesses and the environment against them - Four gorgeous sample characters, with interactive character sheets designed to be new-player friendly so that you can jump right into the story - A detailed primer on the history of Krynn and how it relates to the Mages of High Sorcery - A community survey when you finish to let you see how you compare to other mages taking their Tests of High Sorcery

Stop evil cultists of the Crushing Wave. The party rescues a member of the Brotherhood of the Cloak in Mulmaster (local mage guild); Drayson Fivestar. Drayson asks them to investigate the murder of his colleague. After some urban investigation, the investigation leads to a former guard tower of the Zhentarim, now occupied by elemental cultists. The tower was submerged in mud, but recently uncovered. The party faces of with the cultists. (Large page count, but feasible as a one shot after some editing, will probably take two sessions at most)
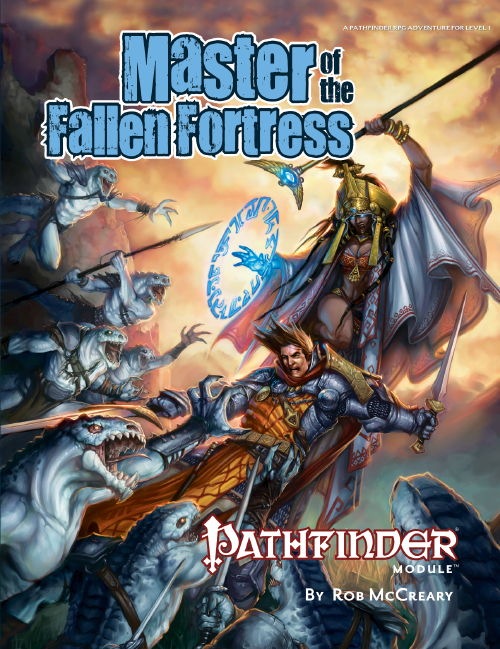
The ruined siege castles outside Absalom have long beckoned adventurers looking to make a name for themselves. Now an earthquake has cracked open one of these fabled ruins, and its lost mysteries and fantastic treasures lie exposed for the first time in centuries. But the tower's empty halls once more echo with living footfalls, and a new master has claimed the Fallen Fortress as his own.

The Fortress of the Yuan-Ti describes a fortress build into a cliff side and the slave village outside. The Adventure is the third of three but can easily be played by its self. The adventure revolves around the players discovering the dark plot to revive the demon Sertrous and then stopping it. The adventure describes the outside, inside, and hanging towers of the fortress. The adventure concludes in a forth extra-planer tower were you fight the boss. It also includes 4 sidetracks from portals that explain how they get the materials for the ritual. Final part of the Barrow of the Forgotten King series.
Bringing Diablo II to the tabletop. The legendary Diablo and Diablo II computer games come to life with the release of the tabletop Diablo II: To Hell & Back roleplaying adventure. All a player needs is the Dungeons & Dragons(r) Player's Handbook (0786915501-8/00) to accompany the Diablo II game. Every level and all 4 acts of the computer game are represented in the tabletop mega-adventure, which will also include 64 pages of monsters, information for levels 1-30, and over 60 maps!