
None know from where the Heresiarch first came, but all remember the night that it did. It rode down from the bleeding stars on a great serpent, hurling bolts of obsidian lightning that shattered the monuments and capitols of every nation. Its infernal army swept aside the defenses of the mortal empires in a single hour, decimating legions once thought to be the invincible fist of humanity's god-kings. Faceless priests - each bearing the symbol of the trident - drifted through the fallen cities and scorched villages on a frigid wind, and when they rose to greet the huddled men and women ringed by their festering, bloated dead, they spoke a single, simple offer: worship the Heresiarch or die. Thousands of crusaders fell tonight so that you might be given this chance. In a last stand that, for the first time, united all of the empires of humanity as brothers and sisters, a way was cleared into an infernal stronghold said to contain a gate to the Heresiarch’s fane. All is silent save for the clangor of distant battle. Surrounded by grim-faced knights and teary-eyed peasants – their hands clasped in desperate hope – you step through the glowing, churning doorway, knowing there will be no help and likely no return. Published by Defy Danger and Save Versus Death

*THIS IS A D&D NEXT/5E PLAYTEST ADVENTURE* Imani, a Turmishan wizard and former adventurer, seeks the aid of heroes to infiltrate Dretchroyaster’s lair and recover the Diamond Staff of Chomylla—the key to powerful magic and wisdom locked away for thousands of years. In addition to his own sagely interest in the lore of lost Uvaeren, Imani recognizes the dangers of such powerful magic falling into evil hands. The dracolich has secured the staff in his lair’s cen- tral chamber, using ancient wards of protection that can be bypassed only by four artifact-idols once belong- ing to a cult of Bhaal. Each group of adventurers enters the dungeon through a different section of the dun- geon—a forgotten temple of Bhaal, a vast underground lake, a troglodyte village, or Dretchroyaster’s vaults. Dretchroyaster’s lair is no simple set of caverns and ancient ruins. It sits atop a source of great power and energy, which the dracolich and his Cult of the Dragon allies hope to use to unlock the secrets of the staff. Only by undertaking a unified assault against Dretchroyas- ter’s lair can the adventurers hope to recover the Diamond Staff and survive the dracolich’s fury. The adventurers must make their way through the lair and recover the Bhaalite idols that will help unlock the Diamond Staff, all the while dealing with the lair’s creatures and avoiding the dracolich as he pur- sues intruders. Entering the Chamber of the Diamond Staff, the heroes must overcome its magical wards and claim the staff before being slain by the dracolich and his servants.

Years ago, brave heroes put the denizens of the Temple of Elemental Evil to the sword. Now, dark forces whisper again in the shadows of the once-deserted temple - forces far more insidious and dangerous than any sane person could dream. Evil has risen again to threaten the village of Hommlet. A continuation of the original AD&D Temple of Elemental Evil, made for a party of 4th-level adventurers, taking them up to 14th level.
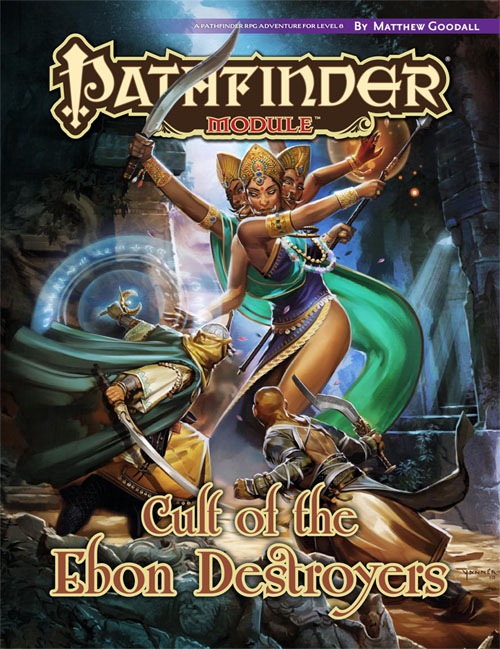
A malignant cult has taken root in the mystical and magical realm of Jalmeray. Known and feared throughout distant Vudra, the cult of Dhalavei has expertly destroyed organizations and societies from within for millennia. Now a new sect of the sinister Cult of the Ebon Destroyers has its sights set on Thakur Kharswan of Jalmeray, and the magistrates and bureaucrats behind the throne must hunt down and eliminate the cult before the unthinkable happens. If only there were someone they could trust to behead Dhalavei's cult before the assassins do the same to their beloved ruler…

Blight of Biel is a standard “fetch” mission with a twist. After finishing one adventure the PCs head to Biel for some rest. Sadly upon arrival at the thorp they discover the community has “the fever”. Only one person in town has not gotten ill and she needs some ingredients for a cure. This mission will require a quick resolution or the gravedigger will be busy! Oh yea…this game is called Dungeons & Dragons for a reason!

Elven Tower presents a compilation document of all the content for DMs running Out of the Abyss module. This guide has been very well received by the DMs community. I have gotten great response during the creation of this content. The guide is over 60 pages long and contains hoards of information, guides, suggestions, and general information for DMs running this module. It now has clickable table of contents and bookmarks for all the different chapters for easy navigation. There are maps for Gauntlgrym, Sorcere Tower, Vizeran's Tower, Karazikar's Maw as well as some very needed flowcharts and infographics to better understand the adventure. The guide also features some maps drawn by me (Elven Tower) to supplement the missing illustrations for important locations.
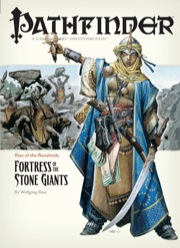
The Giants are on the March! The Rise of the Runelords Adventure Path continues! Driven to battle by a maniacal warlord, the once-peaceful stone giants of the Storval Plateau threaten to destroy the sleepy town of Sandpoint. Will fast action and quick wits be enough to save the defenseless community? Yet, even if the giants' initial raid can be repelled, only by striking at the heart of their titanic war machine—the black-towered fortress of Jorgenfist—can the menace be quelled. But who knows what mysterious bloodlust spurs the usually peaceful giants to war, or what mysteries lie beneath their ancient fortress?

The Cult of the Dragon, along with its dragon allies and the Red Wizards of Thay, seek to bring Tiamat from her prison in the Nine Hells to Faerûn. To this end, they are sweeping from town to town, laying waste to all those who oppose them and gathering a hoard of riches for their dread queen. Continued in The Rise of Tiamat.

The Proving Glade is a one-shot adventure meant for parties or duets. Your characters arrive in a small settlement that has a big problem. The forest, its lifeblood, has seemingly withdrawn its bounty. Others have gone in, only to return hours later confused about how they got out. Will your party have the wherewithal to navigate the treacherous forest, pass its surprising tests, and uncover what’s truly going on? I wanted a forest adventure that felt alive and busy. I also didn’t want every encounter to be solved with the swing of a sword. The Proving Glade is about questioning value, morality, judgement, and redemption. This adventure was written as part of the Summer 2019 RPG Writer's Workshop. We also submitted In the Heart of the Forest. While these two adventures are not necessarily connected, they both involve navigating difficult and dangerous scenarios in a forest and could naturally be strung together. This Product Includes -A 3 to 4 hour one-shot designed for parties or 1-1 play. -A new Sidekick stat block: Daelin Hoofbane, ranger extraordinaire. -A new custom creature: the mysterious and powerful Alseiad, a glade nymph of incredible beauty. -2 new maps: One region map for the forest around Quaervarr near Silverymoon and one battle map for The Hydra's Mire.
Some ports are more dangerous than the storm. It's alive, it's hungry, it's growing. And you're on the menu. Alone, out in the wilds with a savage winter storm bearing down on you, you need shelter to survive. You stumble through the trees and smell wood-smoke. Ahead you spot the small fortified trading outpost known as Jacob's well. You're not the only traveller to find themselves stranded here in the teeth of the storm. The only problem, someone has bought something with them, it's alive, it's growing, it's voracious and you are all on the menu. Think Aliens and The Thing and you're on the right track. Has potential to be scaled to suit a group of adventurers. Pgs. 8-23

Retribution and revenge are yours for the taking! Demise of the Slavers pits you against the forces responsible for turning your life upside down and kidnapping your friends and family. The original pair of adventurers have come a long way and with the help of friends, it is time to end the slavers hold on your homeland of Esaq! Don’t miss this exciting conclusion for the DQ series.
A new D&D adventure for first-level characters. Scourge of the Howling Horde is a D&D adventure for first-level characters that pits heroes against a menacing tribe of goblins and their monstrous allies. It showcases a new encounter format designed to help Dungeon Masters run memorable encounters more easily. It also includes sidebars that contain useful advice such as differences when running the adventure for new players or for seasoned players.
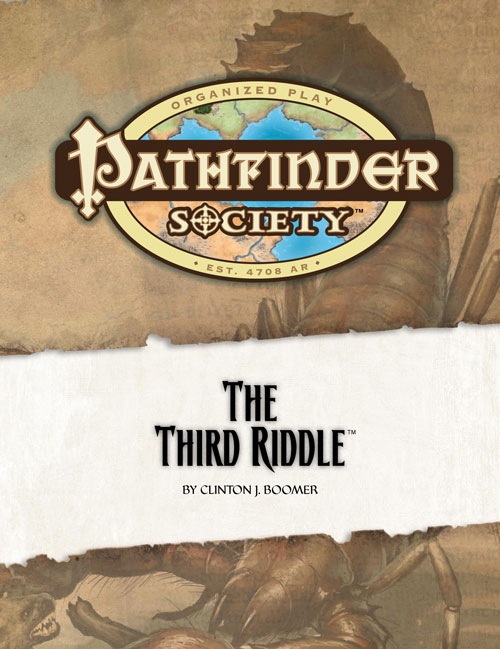
When Pathfinder Colm Safan entered the Nethys-linked heart of the fabled dungeon known as the Ravenous Sphinx, the Pathfinder Society expected to solve one of Osirion's greatest riddles. Months passed with no word from Safan, and you and your fellow Pathfinders find yourselves dispatched into the desolate wastes of Osirion's notorious Parched Dunes to find the sphinx, find Safan, and uncover the mystery he sought. With a band of cloaked riders on your trail and a trap-filled dungeon ahead, will you solve the third riddle before time runs out?

For centuries, the volcano now called Mount Zulgar was the battlefield of a conflict between red dragons and frost giants. The final battle saw the extinction of the dragons and only a handful of living giants. The dwarves of the Frostblood clan used this opportunity to drive out the giants and take the mountain as their own for its rich deposits of gold. 100 have passed, and now the volcano bubbles to life once more, bringing with it all manner of fiery creatures. Miners have been killed, and implike monsters assault the citizens of the mountain. The master of the goldsmith's guild has called upon your party to snuff out the Fire in the Frostblood Mine. Fire in the Frostblood Mine is a 4-5 hour adventure for 4 3rd-level characters. It can be used as either a one-shot or as part of an ongoing campaign. This module includes a single-session adventure to introduce your players to the strange creatures of the inner planes, maps of the two levels of Frostblood Mine, and a unique sentient magic item.

Frog-Emperor Tadpool has led his people to the wonderful warmth of the jungle peninsula, and seeks to be part of the grung village of Dungrunglung. However, he'll need some impressive gifts if the grungs are going to let their poison-less cousins move in. The adventurers will assist the king's aide, Pond-Dredger, in completing these tasks. This adventure should take approximately two hours and is designed for a party of four players, ranging from levels 3-5. Jungle Politics is a short, lighthearted module that can help facilitate the player's introduction to Dungrunglung. If aided, the bullywugs can translate the grung language to common, an invaluable asset when dealing with a race that speaks only one language and who are known for poor tempers.

“The Shadow Rift of Umbraforge” is a sequel to “Siege of Bordrin’s Watch” and the third part of the Scales of War Adventure Path. In “Siege of Bordrin’s Watch,” the PCs discovered that dark creepers had sold arms and tactical intelligence to the orc war chief Tusk, aiding him in his attack against the folk of the Stonehome Mountains. In this adventure, the PCs investigate the link between the orcs and the dark ones, stumbling into an armsrunning operation that takes them to the Shadowfell in order to finally confront the charismatic figure behind it. Pgs. 4-53
![Cover of Arachnophobia! [2017 edit]](https://d1vzi28wh99zvq.cloudfront.net/images/2411/56462.jpg)
... for hundreds of years, the monks of Sheargardt Manor at Luci Vale have provided spiritual guidance (in the name of their deity—Caelis) and world-class ales to the folk who live in nearby Luci Village. At the head of the high-mountain valley Luci Keep is tasked with keeping the pass over the high mountains safe fortravelers throughout the year. However, in recent months, word has come down from the mountains to the port city of Galan that the Abbot Christoph has allowed evil to enter the Manor. And now, a representative of the Caelian order is sent to learn the truth of the matter, and remove Christoph if necessary... Published by Usherwood Publishing

Let nothing end the Feast by the River. Let the celebration of our enemy’s vanquishing ring out night and day for eternity. Let the bones of our enemies and our prey mingle below our feet. This is your time, our time, the best time. —Queen Gellao on the eve of her victory over the followers of Dur; decreed at the River’s Bend feast hall

A One-on-One Competition Module for Thieves Level 8 Your peaceful evening has been interrupted by an unusual request. As a thief, your skills are unmatched, but can you rise to the challenge of thieving for a powerful and frightening wizard? Do you have a choice? The Gem and the Staff is a special One-on-One competition module designed for one player and on Dungeon Master. The Module contains two separate scenarios, so you can switch roles with the other player after the first adventure. Scoring sheets and encounter summaries are provided for each adventure to make running competitions quick and simple. Character figures and a map book are also provided to help visualize the adventures. The player's maps are designed so you can see the rooms as they would appear. Complete DM's Maps are included. TSR 9050

The Tale of The Haunted Ravine is a Hex Crawl Adventure of Exploration that can be used for any game system but was designed for use with D&D 5e. A Hex crawl map and random roll tables are used to create surprising encounters and mysteries for your players to interact with. Wild necrotic magic, magical mutations, undead, lost souls, and demons all cloaked in a fog fog-choked landscape; forsaken by the gods and scarred by the battle fought here long ago. Will your adventurers survive and escape the Haunted Ravine? Or will they join the legions of cursed souls imprisoned in this corrupted land?