
Hundreds of years ago, the elves and goblinkin fought for control of known space in the Unhuman War. The elves emerged victorious and the goblinkin were driven out to lick their wounds an plot revenge for another day. That day has come. After centuries of plotting and building, a new race of advanced orcs known as the scro have rallied the goblins, hobgoblins, and kobolds. It is only a matter of time before they infiltrate known space to wreak destruction on the inhabited planets. The elves are looking for a few good adventurers to infiltrate a scro base and steal any information valuable to the war effort. Your PCs are offered the chance to become heroes?or die trying. Goblin's Return is a 64-page adventure set in the second Unhuman War. The first of a two-part module series, it can later be linked with Heart of the Enemy or it can be played as a stand-alone adventure. TSR 9347
Dirty rotten scoundrels. Carn Perrin needs an exterminator. A city is plead with ware rats. Its up to the party to find their lair and kill the rat king. Pgs. 38-55

A little information is a very frightening thing. Hundreds of years ago, the elves and the goblinkin fought for control of known space in the Unhuman War. Though the elves won that first campaign, they know the goblinkin are clamoring for a rematch. Recently the elves commissioned a few good adventurers to infiltrate the base of a new race of advanced orcs known as the scro. They were hoping to gain information on their enemies' numbers and plans. The news they found was far worse. The scro have discovered a weapon of awesome destruction, one that can lay waste to entire worlds. But the key to unlock its power lies lost and forgotten. Even now the scro are searching for it. When they find it, they will wreak destruction and revenge on the inhabited planets. The elves are looking for an adventuring team who can win this desperate race, and find the key first. Your PCs may be the only thing that stands between known space and doom. Heart of the Enemy is a 96-page adventure set in the Second Unhuman War. The second of a two-part series, it can either be linked with the previous Goblin's Return or it can be played as a stand-alone adventure. TSR 9347
One bad apple. The brownies would have been fine, except for the addition of one unexpected ingredient. This is a starting adventure for one druid. They set off on a wacky adventure with teh help of their driud master. Pgs. 22-31

In this town, nothing goes like clockwork. A voice in the darkness offered him power, with only one string attached: first he had to find some adventurers. A fiend and minions of the plane of fire have set up shop beneath a small town, and have been attracting evil minions to their lair! In this town of Jenkel, the religious leader (named Broderick) is secretly under the influence of the demon and has been doing her will out of his own greed for power. A tilted pyramid appeared in the town years ago, and is actually the tip of a tower buried in the town. The tower leads to a dungeon and a shrine where the party can fight off the demon and rid the town of the evil influence. Pgs. 18-31

Trapped in the dungeons of the Slave Lords! The hardy adventurers must find a way out, with only their wits and courage to help them. But can they do it before everything is destroyed by the dreaded Earth Dragon? This module contains a challenging scenario for experienced players, the tournament scoring system, and nine fully-equipped playtested characters. Also included are large-scale referee maps, playing aids, notes, and background information. A4 is a complete adventure in itself, but can also be used in conjunction with A1 (SLAVE PITS OF THE UNDERCITY), A2 (SECRET OF THE SLAVERS' STOCKADE), and A3 (ASSAULT ON THE AERIE OF THE SLAVE LORDS). TSR 9042

The battle against the slavers continues! You end your fellow adventurers have defeated the slavers of Highport, but you have learned of the existence of another slaver stronghold, and you have decided to continue the attack. But beware! Only the most fearless of adventurers could challenge the slavers on their own ground, and live to tell of It! Second part of Scourge of the Slavelords (A1-4) TSR 9040

Follows DLQ1 Knight's Sword. Rumors are circulating that Flint's axe has been seen around Hillhome. It is up to the player characters to solve the mystery and find the legendary battle axe of one of the Heroes of the Lance. TSR 9382

Adventure in the world of Greyhawk! Powerful forces are set in motion as your party searches for the legendary Blades of Corusk. Take them on the perilous journey from Rookroost to the Lair of the Shadow Dragon in the frozen northlands. Will they survive the ramifications of events that they have initiated? Those who hold the magical blades will not easily give them up. Plucking them from the grasp of a jealous dragon or stealing them from the center of the subterranean City of the Ore Horde will strain your adventurers to their limits! TSR 9317

After hiring a group of brave adventurers to help him "acquire" a beholder specimen, the mage Velinax disappears! Rumors blame an insidious thieves' guild called the Unblinking Eye for this turn of events. Why would the Unblinking Eye wish to "take care" of the mage? Why does the guild want to speak to anyone involved with Velinax? Finally, what dark goal does the guild truly intend to accomplish? Finding out the answers to these questions will lead doughty adventurers straight through the shadows of a crafty thieves' guild and onto the threshold of an even deeper and more dangerous darkness. "Eye of Doom" is the second of three adventures featuring the nightmarish beholder. It can be played as an individual mission or as part of the series that began with "Eye of Pain" and concludes in "Eye to Eye." TSR 9530

"Tyr is free! Tyr is free!" Such is the heady cry that echoes from the darkest warrens to the gleaming chambers of the Council in that ancient city. Now is your chance to savor life released from the oppressive gloom of the sorcerer-kings-but for how long? New forces threaten the newly-born independence of Tyr, as outside forces march upon the city. King Tithian is determined to resist, but there are others on the Council of Advisors less eager to risk their wealth and lives for the cause of independence. It falls upon you to help mobilize and lead the citizen-army of Tyr on the road to Urik. In Road to Urik, the city-State of Tyr has thrown off the yoke of the sorcerer-king Kalak and declared all slaves free, but the neighboring city-state of Urik is amassing its own armies to conquer Tyr. In the first part of the adventure, the PCs must negotiate with various factions of the city in order to win their support for the war effort. In the second part the PCs leading a scouting force ahead of the main army, and the choices and successes in the first part will affect the troops they lead here. Finally, they will need to fight and lure away the Urik army's own scouting force, letting the army of Tyr ambush them. The second and third part make heavy use of the Battlesystem rules, which were pushed pretty heavily in the early Dark Sun books. Like many Dark Sun adventures, the module makes heavy use of handouts that come in a flip-book along with the main adventure. This adventure is a sequel to Freedom. It stands on its own, but the plot of the adventure is based on the events of Freedom and the novel the Verdant Passage, so you can't really run them in reverse order. Much like Freedom took place concurrently with The Verdant Passage, Road to Urik takes place just before the events of The Crimson Legion, the second novel in the Prism Pentad. TSR 2406

Greatwall is in peril - not from military forces of Iuz, but from lack of goods and supplies. Caravans from Willip have ceased thanks to increased dangers on the Willip Critwall Grabford Trail. As the key fort positioned to contain the Iuzian flood, Greatwall is a strategic necessity. Its failure would mean a major incursion along the border. Your characters are hired to escort a caravan from Greatwall to Willip; if its merchants are afraid to come to the fort, the fort will go to them. This should be simple, cut and dried guard job. Right? Of course not. There are many surprises in store for your little caravan, and your characters will need to keep their wits about them day and night in order to make it to the other end. Secret plans are afoot, conspiracies are brewing, and nothing is as it seems while on the Border Watch. This module uses information presented in the From the Ashes boxed set and the Iuz the Evil accessories. However, ownership of these two products is not necessary to play this module. TSR 9406
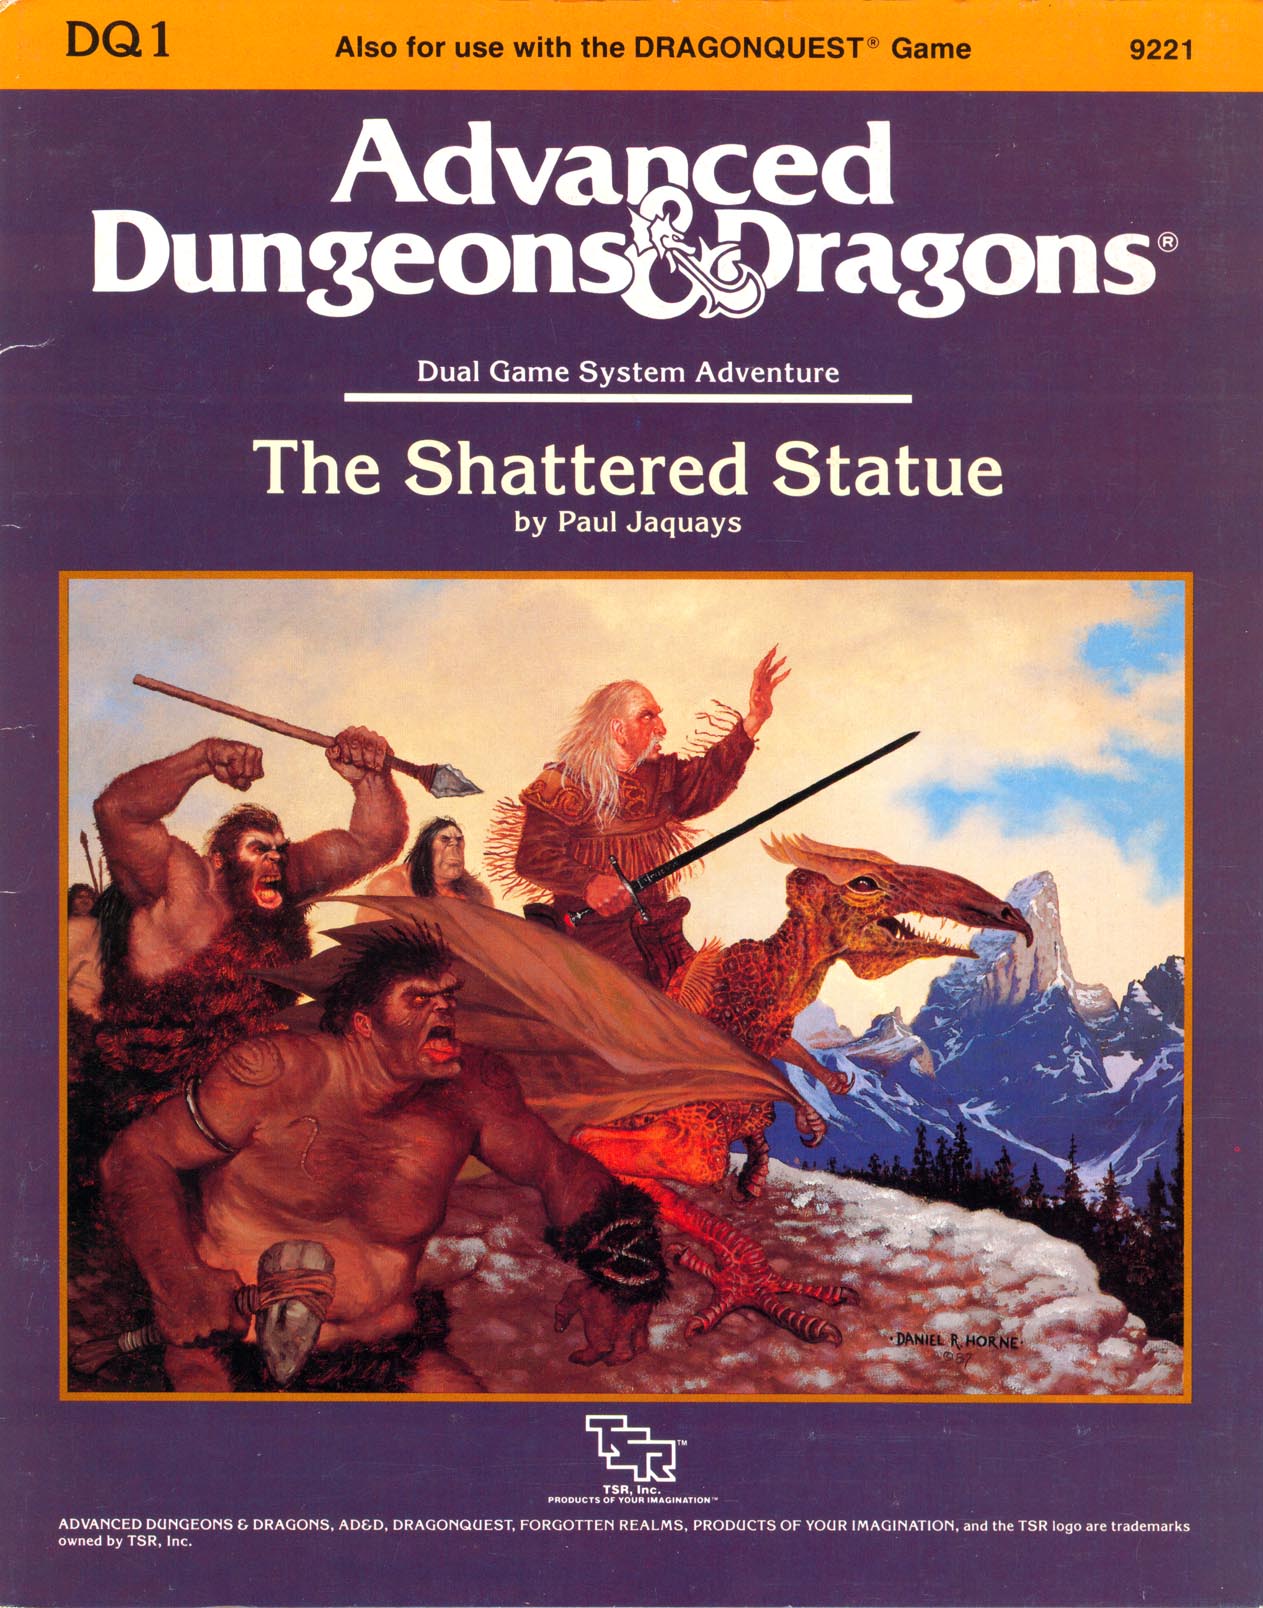
"A mutual friend has praised your skills highly. If you seek rich reward and the opportunity to delve into mysteries ancient and lost, bring this bottle forthwith to my demesne in the village of Volkumburgh. Together we may seek to bring mankind the lost wonder of the awtawmatawn." A mysterious note, a disappearing 5-foot-long religious relic, and the ruins of two magical schools. What do these things have in common? How deeply are your party members involved in all this? "The Shattered Statue" is the first dual-game-system module of its kind. Players of both the AD&D game system and DRAGONQUEST game system can use this adventure. It is suitable for use with FORGOTTEN REALMS campaign setting. TSR 9221
From the magazine: Edging along the eastern edge of the Mere is the High Road, a vital and well-traveled route linking Waterdeep to the northern town of Leilon and, north of that, the city of Luskan. Over the past several months, the trade toad between Waterdeep and Leilon has been plagued by monsters from the Mere of Dead Men. Caravans report brutal attacks by lizard men on catoblepas mounts, yuan-ti, gargantuan bullywugs and will o' wisps. Sir Justin Melenikus, a Waterdhavian knight and paladin of Helm, has grown weary of these attacks and offered his services to the city, offering to hire adventurers to deal with the problem. Set in the Mere of Dead Men region of the Forgotten Realms.
Wednesday's child... It's a blessed event only if you can end the curse in time. People have been disappearing form the town of Monetenapoleone and a swamp has appeared blocking the towns trade route. It is up to the players to find what is causing all of these strange events and to stop it. Pgs. 32-49

Neither Man Nor Beast is set in the Ravenloft campaign setting, on the island of Markovia. It recounts a tale in which the heroes encounter all manner of beasts - some wearing human form, some animal, and many somewhere in-between. TSR 9499
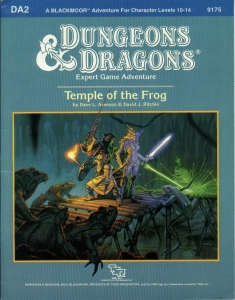
Green Death... That's what old hands call the Great Dismal Swamp. For centuries, this tangled maze of sluggish watercourses, stagnant ponds, and festering marshes has defended Blackmoor's southwestern frontier. Large armies and smaller parties have disappeared altogether inside its vast, dripping, claustrophobic corridors. Among those who have dropped from sigh in this arboral hell is young Rissa Aleford, one of Blackmoor's most important leaders. Carried off to the sinister City of the Fron, she is now being held by the eccentric Monks of the Swamp. By making the baroness captive, the deranged monks have serioulsy weakened Blackmoor at a time when enemies already threaten it from all sides. Yet, even as the Froggies gloat, the king of Blackmoor dispatches a small band of bold adventures to the rescue. Deep into the Great Dismal Swamp they must go - far from sunlight and sanity - there to seek and save the swamp, there to find the Temple of the Frog. TSR 9175
The lizard men are just pining for the fjords. A plague of locusts is bad enough, but when the locusts are each a yard long, the farmers need professional help! A swarm of giant locusts has been eating all the grapes and leaves from the vineyards of Vineyard Vale! In addition, lizard folk have attacked and destroyed several steads in the vale. The farmers are desperate, but what they don't know is that these events are linked! A mage known as Rhungold the Trickster has been orchestrating the attacks and locusts to try to scare the farmers off the land so he can claim it as his own. The players slowly piece the story together by investigating a fairly linear story through a cave, a marsh, and finally to a compound owned by the wizard Rhungold. Pgs. 6-16

The Sword of the Dales, an icon of the Dalelands symbolizing the unity and strength of the people, has reappeared! Created by Shraevyn the weapons-mage hundreds of years ago, the lost Sword had become nothing more than a fantastic children's tale - until now. A group of warriors led by Randal Morn, rightful ruler of Daggerdale, rushed to the Sword's resting place to recover it, but dark forces awaited them, and Randal and his men fell to an ambush. Only one man escaped, yet he brought with him the hope that Randal Morn yet lives. Resolved to rescue his leader, that lone survivor turned to the great Elminster of Shadowdale for aid. But Elminster is gone, off plane-hopping while the fate of Daggerbale hangs in the balance. Hence, it is up to Lhaeo, scribe to the old mage, to find a group of heroes who have mettle enough to face down the menace which claimed Randal Morn and his hearty followers... This is the first of three adventures that grant player characters the opportunity to determine the fate of Daggerdale. The saga continues with "The Secret of Spiderhaunt" and concludes with "The Return of Randal Morn." TSR 9484

A shrewd, spell-using green dragon has taken over the deepest chamber of a limestone cave as his lair. The dragon has persuaded a tribe of troglodytes to live in the outer chambers as a sort of "protective buffer" in return for gifts of magical treasure. The troglodytes cherish the useless bits of magic without realizing their modest worth. The outer chambers of the cave are protected by the troglodytes, the beetles and centipedes the troglodytes raise as cattle, and wild creatures. The green dragon uses traps, illusions and magical devices to protect his inner chamber. Wyrmhaven is the second dragon's lair to conquer. Part of TSR 1073 The Dragon's Den