
Tortles of the Purple Sage - Part 2 completes a D&D Expert Set wilderness adventure which began in DUNGEON issue #6. Through the gate stones, into the unknown. This adventure takes place in the Known World of the D&D game, as outlined throughout the D&D game rule books and modules. The DM may find it useful to consult the Companion and Masters Sets, as well as most of the X-series of Expert Set modules. The DM may find it useful to consult the Companion and Masters sets, as well as most of the X-series of Expert Set modules. Expert Set module X9, The Savage Coast, would be especially helpful, as Tortles of the Purple Sage should easily serve to continue that module's direction and plot line, adding previously undescribed areas to the Known World. The DM may also place the areas and events of this adventure within an existing campaign setting, as long as the geographical areas of the campaign match those set forth here. Pgs. 8-25
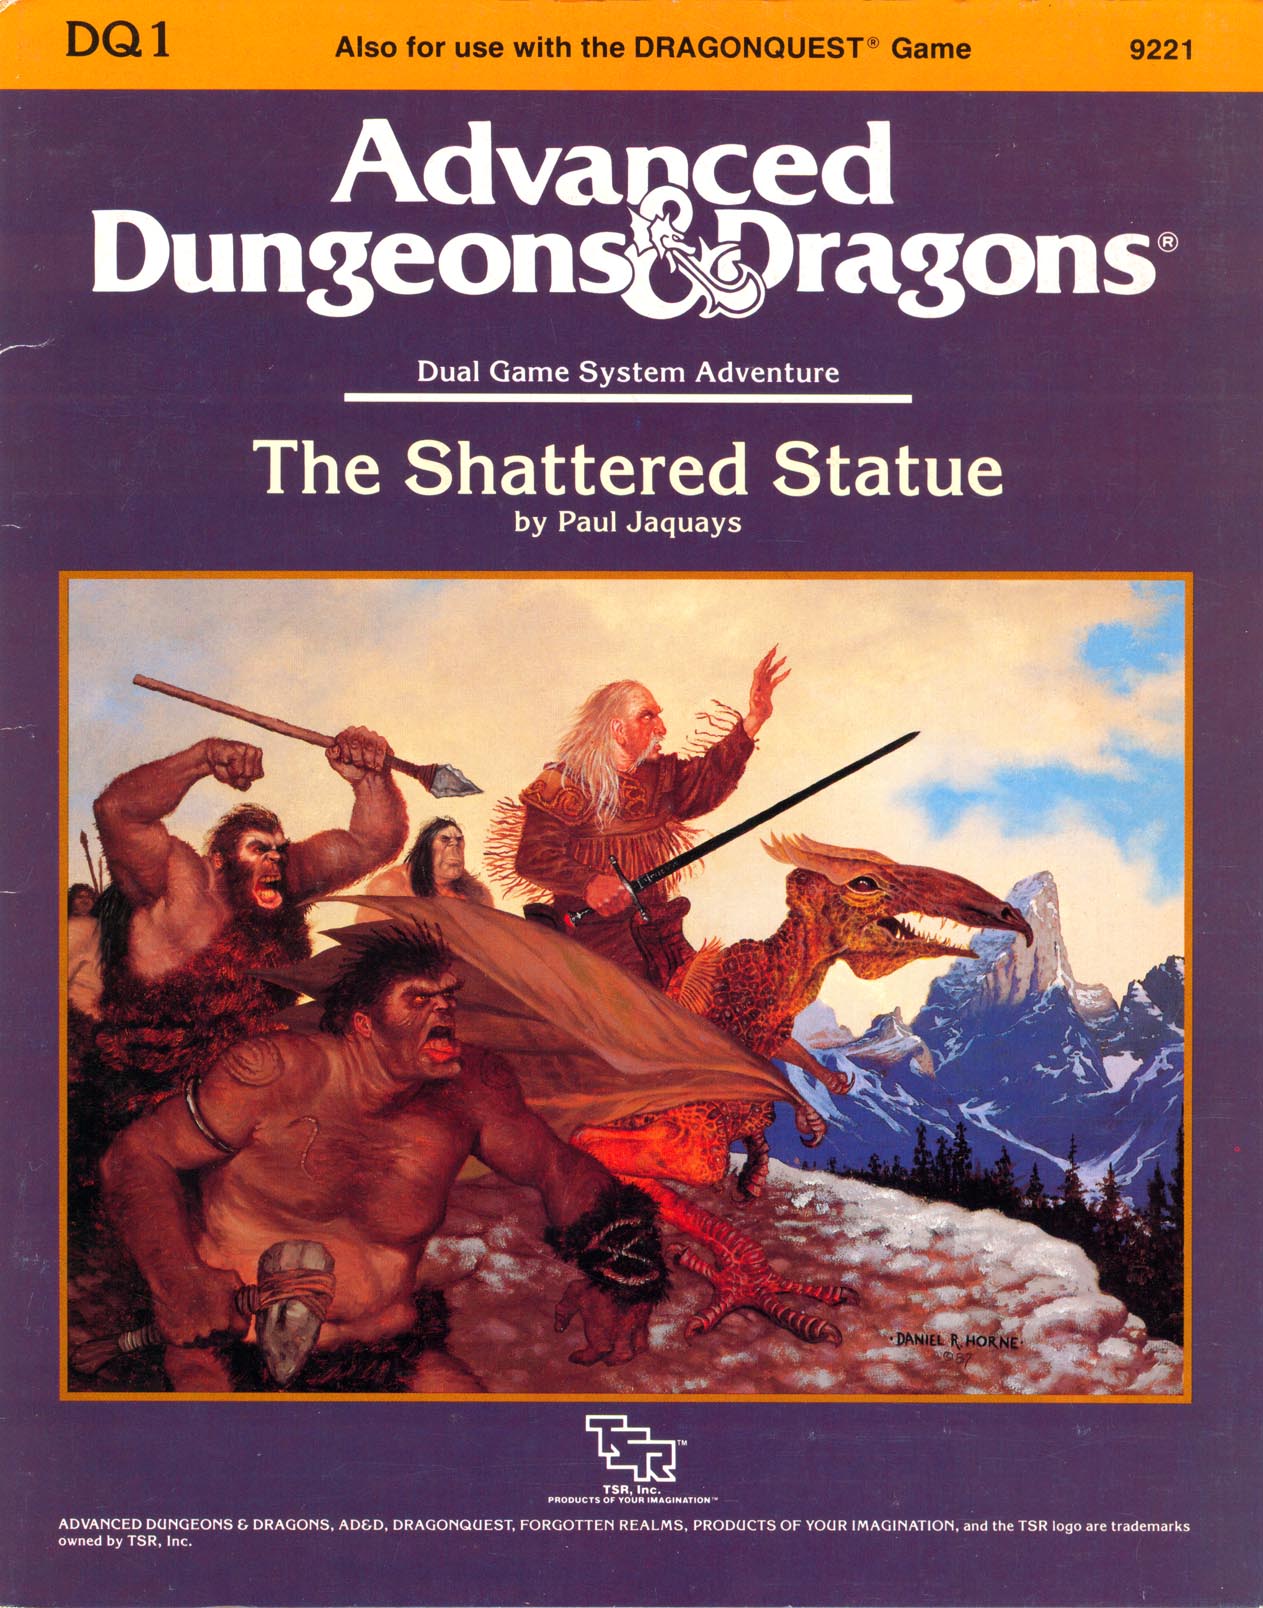
"A mutual friend has praised your skills highly. If you seek rich reward and the opportunity to delve into mysteries ancient and lost, bring this bottle forthwith to my demesne in the village of Volkumburgh. Together we may seek to bring mankind the lost wonder of the awtawmatawn." A mysterious note, a disappearing 5-foot-long religious relic, and the ruins of two magical schools. What do these things have in common? How deeply are your party members involved in all this? "The Shattered Statue" is the first dual-game-system module of its kind. Players of both the AD&D game system and DRAGONQUEST game system can use this adventure. It is suitable for use with FORGOTTEN REALMS campaign setting. TSR 9221

Deep beneath the keep of Castle Greyhawk, a really nasty device is creating mutated, unpleasant monsters that are running wild throughout the castle and the twelve-level dungeon beneath. The call has gone out for heroic, fearless, and perhaps foolish adventures to out-hack, out-slash, and sometimes even out-think hordes of doughmen, headless mice, manic bee queens, really bad dead things, burgermen, crazed chefs, and movie moguls. If they survive these and much odder obstacles, the characters still have to find the nasty monster creator and put it out of business. Castle Greyhawkcontains 13 detailed levels for adventuring and exploration. Each is a separate adventure written by different author and each has its own unique brand of baffling weirdness. Some levels involve solving puzzles and some require good old hacking and slashing. The adventure can be played separately or all together as a grand quest to free Castle Greyhawk from the evil, rotten hordes that are plaguing it. The common theme of this dungeon is that no joke is so old, no pun so bad, and no schtick so obvious that it can't be used to confuse and trip up PCs! 13 Adventures for Character Levels 0 to 25. TSR 9222

The followers of the many gods of Kara-Tur have always fought, to prove the superiority of their martial discipline and the greater wisdom of their deities. The strict hierarchy of the gods is now threatened by the sudden prominence of the followers of the Dragon Claw, a new and deadly school of martial arts that threatens to destroy all other schools. The players, recruited by a mysterious old monk with a bizarre fighting style, must find out what's behind the emergence of the Dragon Claw and put a stop to it. Mad Money vs. The Dragon Claw will take players across the entire country of T'u Lung, from the mouth of the great river Fenghsintzu to its headquarters, where they must deal with the legendary Cult of the Black Leopard - all in the name of the Mad Monkey. Mad Monkey vs. The Dragon Claw is a scenario for the ORIENTAL ADVENTURES supplement to the AD&D game. It is set in KARA-TUR, the oriental world in the Forgotten Realms. Mad Monkey vs. The Dragon Claw is designed for five to eight characters of Levels 6-9. TSR 9242

Look who's dropping in. A short encounter with a most unusual boarding party. A ruthlus pirate has been terrorizing a local port and it is up to the party to hunt him down and capture his ship. Pgs. 30-33

"The southlands of Eor are being despoiled. Merchants will no longer run their caravans on the main highway past the quiet village of Waycombe. The peasants are fleeing their lands, and all are demanding protection from the powerful Count of Eor. The goodly count has sent a troop of his trusted fighters to exterminate the brigands believed responsible for these outrages, but weeks have passed, and still there is no word from this force. Now John Brunis, Count of Eor, has turned to you for aid. After taking counsel with the High Priest of Eor, he believes that a small party of cunning, bold adventurers may succeed where armed might has failed. You find yourselves faced with many mysteries! Why has robbery suddenly erupted in the peaceful southlands? How could mere brigands be as powerful as the foes described to you by their numerous victims? Is this really mere robbery? Or is there some truth to the rumors, told only in hushed whispers, about the beginnings of a hideous plot being hatched by an ancient, vile, and evil foe of all mankind?" Eor is beset by marauders and lizardmen of a boldness not seen in years. Hired by the Count of Eor, the party is tasked with tracing the source of these foes and eliminating them for the safety of the realm. After a set piece combat in Count Brunis's castle, the party must trek across Eor's wilderness, eventually coming to the Great Southern Swamp beyond the village of Waycombe. With further exploration they can locate the Ancient Temple which serves as the tomb and stronghold of Sakathas, the vampiric LIZARD KING! TSR 9055

The Great Mage Cheiromar, known as Aglahund the Mighty, is said to be buried under the Leaning Stone atop Galzar's Crag. One of his apprentices, Ulthorn, has been discovered dead in an aperture of the Leaning Stone - a doorway that locals swear has never been there before! You must discover how Ulthorn died and the mystery of the Leaning Stone. In the process, you may find yourself at the Endless Stair. Those who never climbed it say is seems to lead nowhere. Those who did never lived to tell of it. Will you dare ascend into the unknown? TSR 9192

A goblin warband has found the secret tunnel which leads from the dwarven keep of Hearth-Home to the nearby hills. The tunnel is intended to be a means of escape if the keep ever falls to attackers, but now it has provided goblins with an easy way into the Underkeep. So far, the goblins have confined their attentions to the various underground rooms that make up the Underkeep, but sooner or later they will find a way to the surface. They pose a serious threat to Hearth-Home - the goblins must be cleared out of the Underkeep so this breach in security can be repaired before the orcs hear of it and overrun the dwarven keep. This adventure is slightly more challenging than Red Hand Trail, and it is recommended that it is played after that quest and before Palace of Dread. However, the scenario in Trouble Below can easily be played independently from the rest. Part of TSR 1076 The Goblin's Lair

This strange fruit has an unusual aftertaste. That horrible blue, bug-eyed monster you just fought - was it really an orc? An alchemist hires the party to gather as many moonmelons as possible for his own experiements. This strange fruit causes random mutations in the offspring of those that eat it. Unfortunately, it can only be found in the domain of a strange and mutated orc tribe. Pgs. 24-31

As the cream of your crop, your party has been selected to act as diplomats on the Isle of Dawn at a historic meeting between Thyatis and Alphatia, timeless rivals. This could herald the dawning of an age of peace, unknown in the area for years past. However, things are not progressing s smoothly as planned. The powers of Entropy, headed by Alphaks, are out to ensure that this peace treaty is not finalized. Two of the diplomats are kidnaped - and you are framed! It's up to you to prove your innocence. This involves traveling to other dimensions, meeting vampiric spirits, and playing deadly games with the Night Spider. Ultimately, you must find and restore the Peaceful Periapt of Pax to its rightful place. Let the games begin. The events of Talons of Night may be played as a sequel to module M3, The Vengeance of Alphaks, or separately. The D&D Master Set Rules are necessary to run this game. TSR 9214

For a long time you have heard legends about the Island of Vacros; when you were only a child, the stories about evil minotaurs were used to scare you into behaving. Now you are grown, and you no longer believe children's stories. But King Trueon of Cathos is worried: his daughter Princess Lydora has been kidnapped, and he has found clues that she has been taken to the ancient and evil island of Vacros. You have heard rumors that a large and dangerous mazework lies beneath the surface of the island - a mazework that is guarded by minotaurs. Of course many rumors are false, but then again... The Maze of the Riddling Minotaur is the second in a series of invisible ink modules: using the invisible ink pen included in this module, you may play the adventure by yourself. After you have played the solo version, you have not used up the module: instructions are provided as to how you may change the solo version into an exciting group adventure! TSR 9060

Upon the horse plains of Nova Vaasa, the Koshka Bluffs rise from the earth like gigantic, misshapen tumors. They give up stone to feed the sheer walls of Castle Faerhaaven, but lately they have yielded stranger objects: figurines, coins, and other odd artifacts, which curse those foolish enough to claim them. Now, the ancient priestess Sachmet has awakened from a timeless sleep to come and take them back.... TSR 9452

Devastated in a war with a nearby wizards' school, the Fighters' Academy has since been surrounded by a foul and dank swamp - the Gloomfens. Since the climatctic battle between the wizards and fighters, the tower has decayed. The spirit of the head of the academy haunts the building, eternally plotting his revenge on the wizards who killed him. his loyal sutdents remain faithful to him even in death. Other foul undead have made their home in the rotting, spacious academy. From their lair, they make forays into farmsteads near the swamp in search of victims to feed their unspeakable appetites. The Problem of these terrible attacks by the savage undead will not stop until the evil that has found a home at the tower is burned from the face of the land forever. Will your party heed the call and help the town of Melinir? Will they be able to clear the former Academy of its undead? The Fighters' Academy is the first in a three part adventure, The Haunted Tower. Or, it can be ran as a stand alone adventure. The choice is up to you. Part of TSR 1081 The Haunted Tower

Unveil the forbidden secrets of Nog and Kadar! The Nogaro River has seen the rise and gall of countless empires, unequaled in their evil and terror. Buried but not destroyed, their legacy lives on, shrouded by the tangled jungle and by time itself. With Ruined Kingdoms, bold explorers can at last lift the veil of oblivion and unravel the mysteries of a dark and sinister past. Inside you'll discover: A 32-page campaign booklet describing the Ruined Kingdoms and their many secrets. A 64-page book packed with adventures-nine plots of intrigue and danger that transport player characters from Dihliz to Afyal and into the heat of the ruin-choked jungle. Adventurers face yak-men, genies, and giants, and unearth artifacts of awesome magical power. An 8-page booklet filled with villainous women and deadly reptilian monsters. Six cardstock sheets featuring detailed maps and player aids. A stunning poster map of eastern Zakhara, depicting the twisting valleys and ancient capitals of the Ruined Kingdoms. Recommended for use with the Arabian Adventures rulebook. TSR 9440

If you but have the will Sonja, you may use your strength to make the world your home. You may become a wanderer, the equal of any man or woman you meet. (The Ring of Ikribu) Red Sonja #1 Steel met steel as Sonja slashed wildly before her. Sparks flew into the air; the mercenary's sword flew to the ground. Her arms vibrated with the contact and her hands grew numb as she tightened her grip on the mighty sword. Still they came - only four in all, but with deadly intent shining deep within theiir hungry eyes. What do these men seek? Why would they rather die than run? TSR 9183

Beware of Baba Yaga and her infamous hut! Baba Yaga is an ancient crone who is said to have power over day and night itself. Many seek her out for her wisdom, which she has gleaned from centuries of travel through numerous worlds. Others, bolder and more foolish, search out the hut to plunder its treasures, which Baba Yaga has gathered from every corner of the multiverse. None, thief or scholar, who enter the Dancing Hut of Baba Yaga leave unscathed. How will you fare now that the great Baba Yaga is in your neighbourhood? TSR 9471

Who among you dares to challenge the high seas? Inspired by the tales of Sinbad, Golden Voyages provides teh source material and adventures needed to run a mini-campaign on the Crowded Sea. Detailed backgrounds, perilous locations, and wondrous NPCs populate the enchanted seas. Player characters will discover wildly different adventures as they sail from place to place. DM Notes There are multiple options for plot hooks which is nice, of course they all lead to the same spot, follow clues that take you to all corners of the Crowded Sea to find a Great Treasure. TSR 9366

Just as the trail led from the STEADING OF THE HILL GIANT CHIEF to the frozen wastes where was found the GLACIAL RIFT OF THE FROST GIANT JARL, so the adventure in the latter place has let (or transported) the intrepid party to what they hope will be their last challenge. They are about to venture into the hot and smoking barrens which are in effect Muspelheim, the home of fire giants. This module contains background information, referee's notes, three level maps, and exploration matrix keys. It provides a complete module for play of ADVANCED DUNGEONS & DRAGONS, and it can be used alone or as the last of a three-part expedition adventure which also employs DUNGEON MODULE G1 (STEADING OF THE HILL GIANT CHIEF and DUNGEON MODULE G2 (GLACIAL RIFT OF THE FROST GIANT JARL). TSR 9018

"The adventure begins with the PCs lost in the streets of Sigil's Lower Ward." --from the module. The PCs are approached by a tiefling telling them about a job. The tiefling's employer wants the heroes to search for a child who is rumored to be some sort of chosen one from an ancient prophecy. Includes a map of Durkayle's Stronghold, a map of the Black Sail Tavern, a map of the Screaming Tower, and an isometric map of Zactar Cathedral.

The country of Rhyl has been beset nearly every night for many years by a large, terrible creature that flies out from the mountains near the city of Asereht. Nearly a year ago the creature broke through the wall of King Namreh’s castle and carried off the king’s son, Prince Laechim, along with a large amount of the royal treasure. After the creature’s raid on the castle, King Namreh ordered his army to search the mountains and discover Astylis’ complex. The soldiers made two forays into the mountain wilderness, but each time were harassed and eventually driven back by goblin raiders. Since the failure of the second assault, the king has taken to commissioning small parties of mercenaries and adventurers, sending them into the mountains with promises of great reward upon the completion of the rescue mission. For reasons which the king has never found out, none of these rescue parties has ever returned to Asereht. Your party is now attempting to be the first. Pgs. 37-44