
It's just a bad dream-a very bad dream.... Beware the night, for sleep provides another path to the Demiplane of Dread. In the unique domain called the Nightmare Lands, darkness offers not blissful slumber, but ultimate terror. Heroes enter this realm at the bidding of the night, drawn from their dreaming bodies and captured by an enigmatic figure known only as the Nightmare Man. Trapped in this region of psychological fear, heroes face their worst nightmares in strange surrealistic terrain. If they escape the treacherous clutches of dark slumber, they'll be safe-at last until the nest time sleep overtakes them... This box set Campaign Expansion contains 4 adventures: Dreams Within Dreams: https://www.adventurelookup.com/adventures/dreams-within-dreams Dark Harvest: https://www.adventurelookup.com/adventures/dark-harvest The Loathsome Deep: https://www.adventurelookup.com/adventures/the-loathsome-deep The Rose of Midnight: https://www.adventurelookup.com/adventures/the-rose-of-midnight TSR 1124

The player characters are part of a local militia that is investigating a series of werewolf attacks on local villages. Forced by a winter storm to seek refuge in the village of Moondale, the PCs find themselves trapped with the murderous beast, and must determine the werewolf's true identity before they become its next victims. TSR 9336

The little fishing town of Saltmarsh is threatened! Why are lizard men gathering force nearby and why have they been buying large quantities of weapons? A party of bold adventurers must answer these questions or the people of salt marsh will never live in peace! Danger at Dunwater is the second part in a series of three modules designed and developed in the United Kingdom for beginning adventures with the AD&D rules. Its plot follows direct from that of the first part (Module U1 - The Sinister Secret of Saltmarsh.) TSR 9064

In this scenario, the adventurers pass through magical portals into a series of interlinked chambers. The characters are encouraged by a young scholarly mage to voyage into the Sea of Pastures, to explore a mysterious island connected with a number of recent shipwrecks and disappearances. The island is grassy and windblasted, but eventually the characters discover a stone door leading into a subterranean complex. There, they discover 18 rooms linked by secret passages and magical portals. Most of these rooms have been ransacked by a variety of other survivors, human and monstrous. These survivors are likewise trapped within the labyrinth and are either eking out a miserable existence there or else desperately searching for a means of escape. Also within the building are a number of extraplanar creatures, collectively known as gingwatzim, who can shift between various forms: an energy form (glowing ball of light), an inanimate form (usually a magical weapon), and an animate form (an animal or monster). Eventually the characters may find the exit, and are once again deposited on the dreary islands to await rescue. TSR 9110
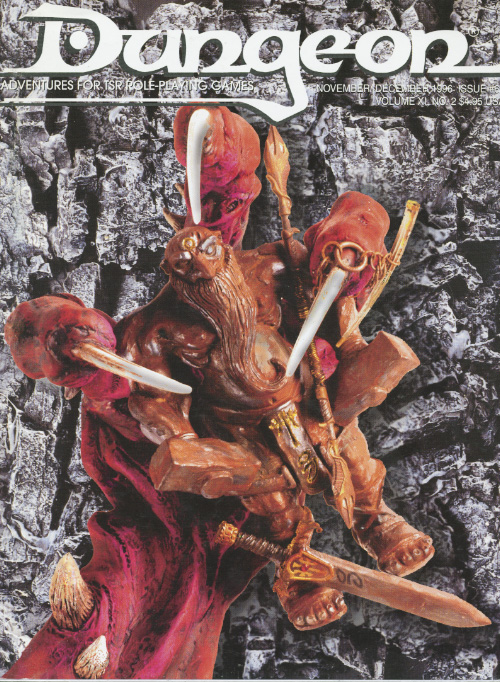
Don't feed the animals. Be kind to animals or else. The party is shown a rare set of baby monsters that they must face. Pgs. 56-59
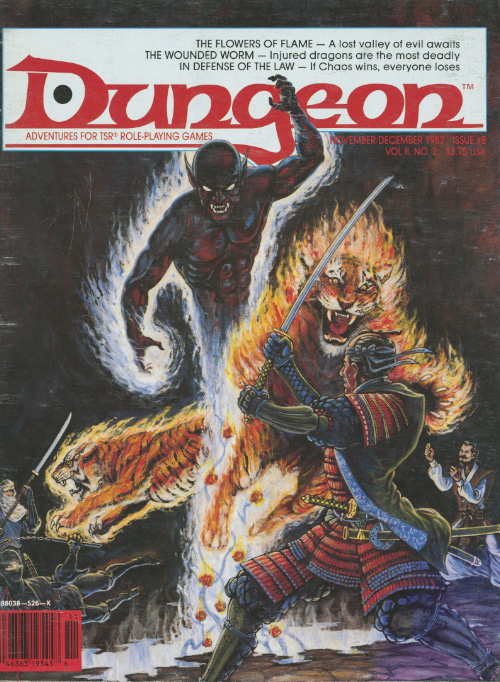
Crippled, wingless, old and a thousand times more dangerous. Surely, a crippled dragon is less dangerous than a healthy one. Pgs. 35-45

The Dwarven clans are in chaos, and a powerful host of goblins stand poised to sweep over the land in a wave of death and terror. Only the Axe of the Dwarvish Lords- one of the most powerful weapons ever created by the dwarven race- holds the key to ultimate victory against the massing humanoids. Can the PCs brave the labyrinth of an abandoned dwarven stronghold to find the Axe? TSR 11347

One of four magical, snow white pearls protecting Tarylon has been stolen! And you, a Companion level elf, are responsible for its safe keeping. Now the very existence of your beautiful village is threatened unless you can find the powerful pearl. Milgor, the evil wizard with an evil sense fo fun, challenges you to find the pearl, and return it to Tarylon. This adventure uses a "Magic Viewer" - a piece of colored film - to reveal the hidden results of the player's choices. This includes encounters, puzzles, and traps. TSR 9128

A bandit leader known only as "The Ravager" brings ruin to the Border Kingdoms. The characters must destroy the source of his power and defeat him before he can complete his evil plans. Pgs. 11-21

Introductory adventure for Dark Sun, included in the original box set. PCs start on a slave caravan but are freed when it is attacked. With limited equipment and water, they must cross the desert to an oasis then save a druid. As with many Dark Sun adventures, uses a flip book providing 24 maps and illustrations for players. Combines combat encounters with survival encounters, where the treasure may just be food or enough water for another day.
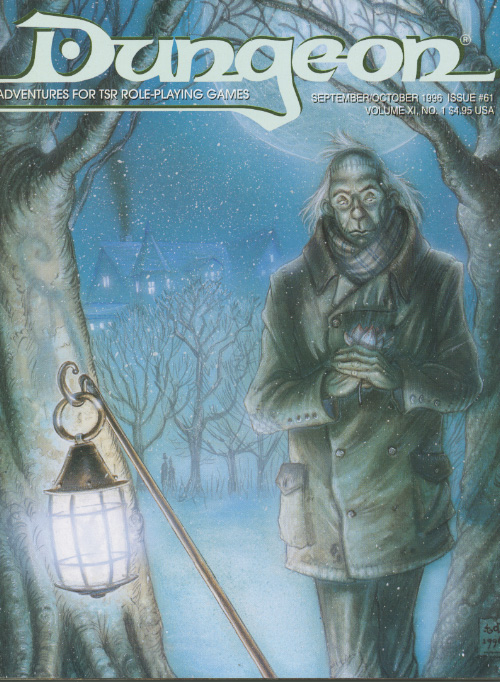
Only You can prevent forest curses! The population of a small town have been disappearing and its up to the party to save them and the town from a looming disaster.

The country of Rhyl has been beset nearly every night for many years by a large, terrible creature that flies out from the mountains near the city of Asereht. Nearly a year ago the creature broke through the wall of King Namreh’s castle and carried off the king’s son, Prince Laechim, along with a large amount of the royal treasure. After the creature’s raid on the castle, King Namreh ordered his army to search the mountains and discover Astylis’ complex. The soldiers made two forays into the mountain wilderness, but each time were harassed and eventually driven back by goblin raiders. Since the failure of the second assault, the king has taken to commissioning small parties of mercenaries and adventurers, sending them into the mountains with promises of great reward upon the completion of the rescue mission. For reasons which the king has never found out, none of these rescue parties has ever returned to Asereht. Your party is now attempting to be the first. Pgs. 37-44

Your sleek cloudskate skims across the Skysea. It is midnight. All day long, the glass sea soaked up the scorching desert sunlight. Now, that heat lifts your ship a few inches off the glass and fills its sails. The only sound you hear is the soft swish of the diamond-edged rudder as it cuts a path across the Skysea. One thousand years ago, the wizard Martek knew that you would come to find his Sphere of Power. Now, one of his glowing Star Gems shows you the way. The starlight, reflected in the glass beneath you, flickers peacefully. Suddenly, the Skysea before you bursts up into a thousand shards of splintered glass, showering into the moonlight! A horrible creature is silhouetted against the moon. You strain against the rudder to keep your ship upright. Too late! Your cloudskate tips onto one runner, and then tumbles over, skidding to a stop on the glass. As your companions struggle to right the ship, you turn and face the monster. You must hold the creature back to give them time. Without the ship, none of you can get off the glass before the sun rises in the morning. Martek's prophecy spoke of heroes, tests, and dangers. Are you the heroes? What are the tests? What dangers and riches lie ahead? This adventure can be played by itself, or as the third and final part of the Desert of Desolation series. For character levels 7-9. TSR 9054

The Village of Hommlet has grown up around a crossroads in a woodland. Once far from any important activity, it became embroiled in the struggle between gods and demons when the Temple of Elemental Evil arose but a few leagues away. Luckily of its inhabitants, the Temple and its evil hordes were destroyed a decade ago, but Hommlet still suffers from incursions of bandits and strange monsters. TSR 9026

In the Yatil Mountains south of Perrenland there is rumored to be a magical hoard of unsurpassed value, a treasure of such fame that scores of adventurers have perished in search of it. Find the perilous Lost Caverns of Tsojanth and you may gain the hidden wealth of the long-dead arch-mage-- if you live. Module S4, this contains a brief wilderness journey to the caverns, but the bulk is underground. The caverns are noted as a previous lair of the Arch-mage Iggwilv- though she is long gone, her Demonomicon remains. This module marks the first appearance of several monsters and items that would later appear in the Monster Manual 2 and Unearthed Arcana. A labyrinth features in the caves. TSR 9061
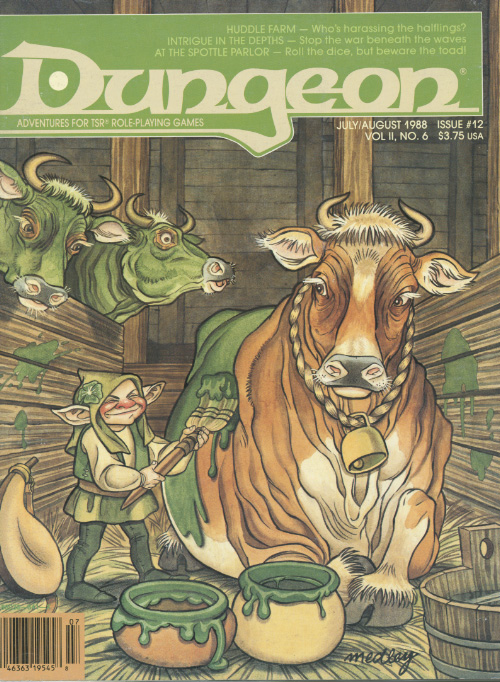
A family feud - with green cows? A barn is burned, a field is trampled, and halfling tempers flare. Can you prevent a family feud? Pgs. 48-62

Civil War Unrest. Turmoil. Rebellion. As above, so below - the cataclysmic events of the Wrath of the Immortals echo throughout the Hollow World setting. The Milenian Empire, with its classical Greek culture, has not escaped. Already the streets are un-safe, and the omens are getting worse... The emperor is dead... long live the emperor! But is the new emperor a man of the people, or a tool in the hands of malevolent powers? Walk carefully, for no stranger is safe upon the streets these days, and adventurers least of all! The mood of the capital city is turning ugly. Minions of the new emperor look on uncaring, while citizens disappear and philosophers fall to heedless mobs. The old emperor's elite guards are disbanded and scattered. Disorder reigns, and restless citizens threaten open revolt. And yet... a whisper is heard. Civil war can be averted. An ancient artifact, the Milenian Scepter, can rally those who would serve the Empire best. But the Scepter has been lost for generations, and who can say where it might be? The trail leads into the depths of the city, and across a dangerous wilderness to a forgotten oracle. For the lucky and the bold, perhaps it will lead to... THE MILENIAN SCEPTER This stand-alone adventure is compatible with the Wrath of the Immortals boxed set and the accessory HWR3, The Milenian Empire. You will need the D&D Hollow World boxed set to play this adventure. Easily adaptable to the AD&D game. TSR 9378

Sent on a desperate mission into an unknown land, you must seek out the one called "the Master" and his Temple of Death. There is little time to waste, as you must act before the Master's armies destroy your homelands. But to complete your task, you must battle fearsome guardians, travel through a hostile kingdom, and discover the secret of the master. Can you survive his defenses and win? This module contains referee's notes, background, maps and detailed keys. It is the second adventure in the two-part Desert Nomads series begun in X4, Master of the Desert Nomads, but it can stand on its own as a seperate adventure. Wheter you play Temple of Death by itself or as part of a series, the adventure will offer you hours of excitement and fun! TSR 9069
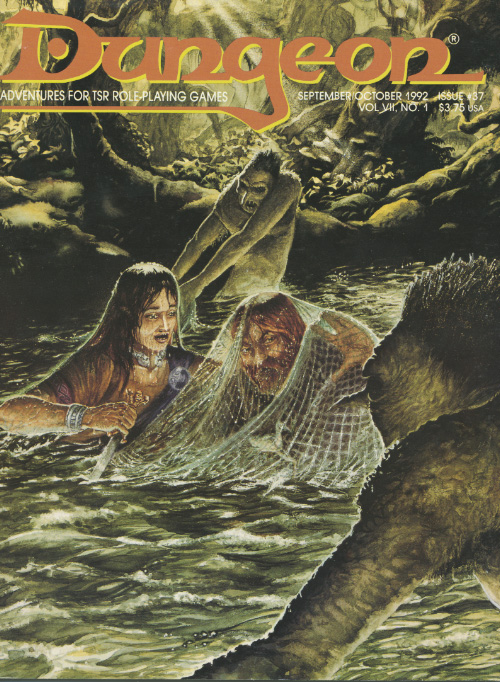
Two common elements mixed together create deadly peril. The last dungeon that many heroes will ever see. This dungeon crawl was based on the original S1 Tomb of Horrors. This is not an adventure for neophyte adventurers. Many traps, puzzles, and monsters exist to kill the party. However, the treasure of the mud sorcerers may be too tempting to pass by! Pgs. 50-70
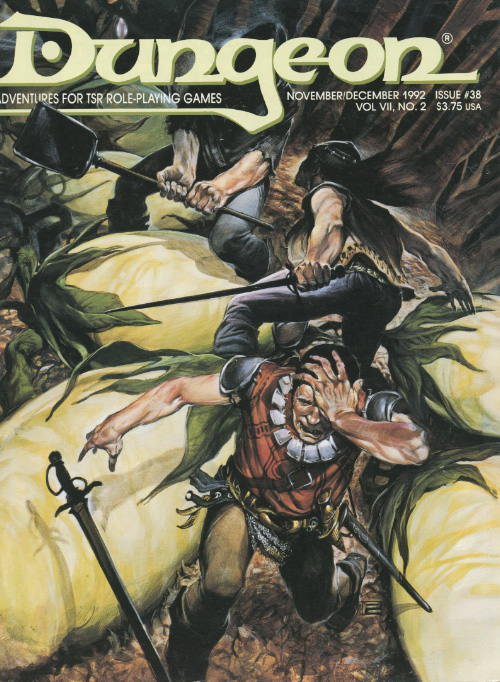
A boxful of trouble. Sugar and spice and everything nice, that's what little girls are made of - but not this one! Think of this short adventure as 'Home Alone' meets AD&D. An apprentice to the town's wizard accidentally got into the cursed items while her teacher was away. Now she's acting strangely and playing a dangerous game of hide and seek with the party! Pgs. 44-47