A good deed never goes unpunished in Ravenloft. Evil feeds upon itself - but it also feeds upon the good. Pgs. 54-74
While travelling across the ocean by ship, the party is attacked at night by by the infamous Floating Rock bugbears. What makes this band of pirates unique is their lair: they live on the shell of a gargantuan sleeping sea turtle as it drifts around in the ocean current. Pgs. 24-26
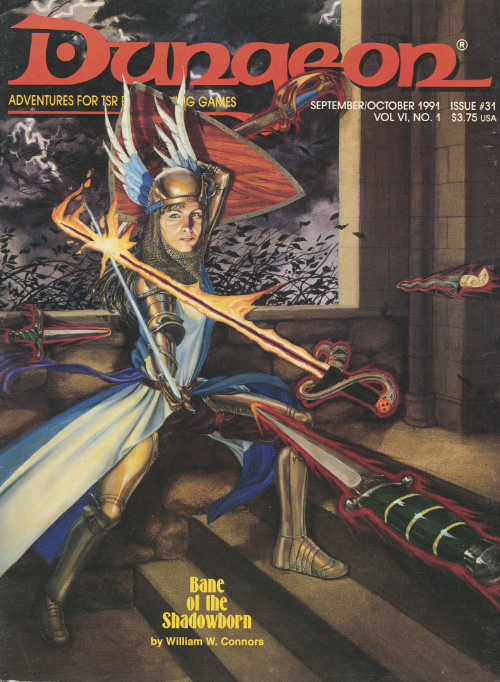
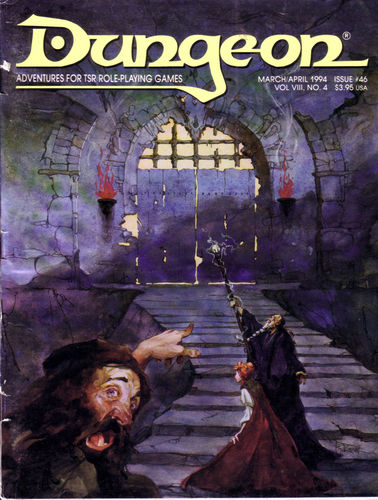
If the ravens die, Crawford Manor falls. Soaked from the storm and weary from travel, the adventurers seek shelter for the night at the manor house on a hill. The PCs are shown rooms to change into dry clothing, and invited to dine with Lord Crawford this evening. Dinner is interrupted by a woman's scream from a nearby room: Corbett, the master-at-arms has been murdered! This adventure is an atmospheric murder mystery set in a manor house. While it's setting-neutral, it would be a good fit for a Ravenloft setting. Pgs. 52-64

Tired and sore, you struggle over the burning sands toward the long-forgotten city. Will you reach the place in time to save yourselves from the evil efreeti? The sun beats down, making your wounds stiff and worsening the constant thirst that plagues anyone who travels these waterless wastes. But there is hope - are those the ruins over there? In the midst of broken columns and bits of rubble stands a huge statue. This is the place! You've found it at last. Gratefully, you sink onto the sand. But there is no time to lose. You must hurry. So with a quavering voice you say the magic words. And then you wait... A hush falls over the ruins, making the back of your neck prickle. Then, out of the east, a wind rises, gentle at first but quickly growing stronger and wilder, until it tears at your clothes and nearly lifts you off your feet. The once clear sky is choked with white and grey clouds that clash and boil. As the clouds blacken day turns to night. Lightning flashes followed by a menacing growl of thunder. You are beginning to wonder if you should seek shelter, when all of a sudden there is a blinding crash and a bolt of lightning reduces the statue to dust. For a moment, silence. The, out of the statue's remains, soars a blue flame. Its roar deafens you as higher and higher it climbs, until it seems about to reach the clouds. Just when you think it can grow no larger, its shape begins to change. The edges billow and soften, their roar lessens, and before your eyes materializes a gigantic blue man. This adventure can be played alone or as the second part of the Desert of Desolation series. For characters level 6-8. TSR 9053
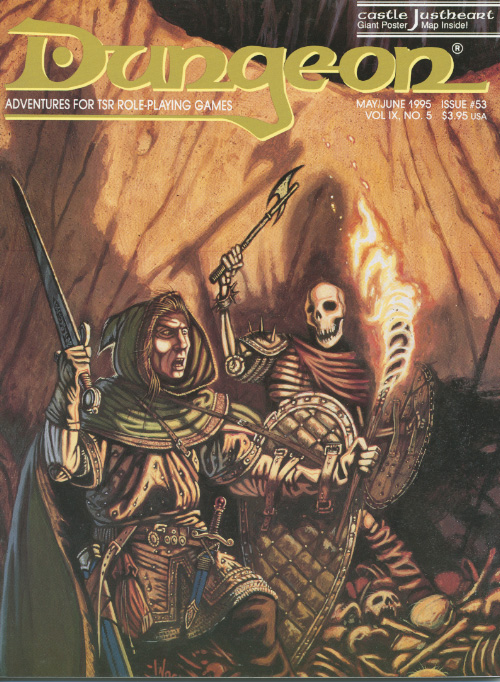
"While staying in the quant rual town of Keswig, the PCs are approached by a troubled young woman named Elexa Justheart. Elexa has just returned from the Galhanor Crusades--a war fought against giants and humanoids in the distant Galhanor Mountains. After serving six months as a cleric in a series of major battles, she recently arrived home to find her uncle's castle occupied by evil brigands." -- from the module. Includes overland maps and maps of the tower and castle.
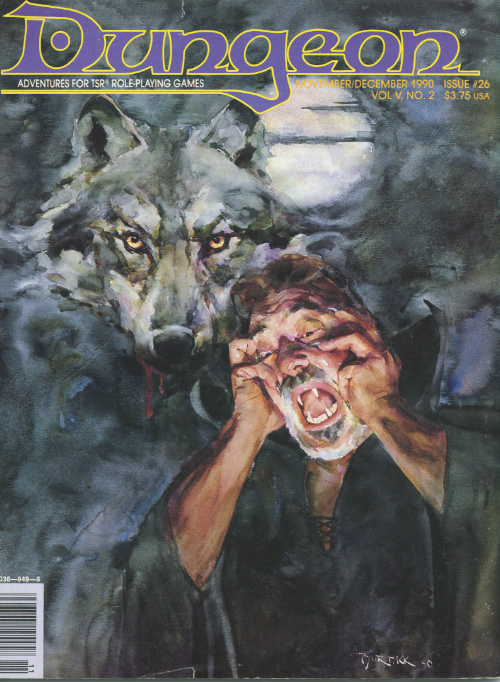
A dangerous beast - but one with a mission. Even the gods slip up now and then, but few dare remind them of it. Ri Conn's son was killed by the white boar of Kilfay, and he has passed sentence of death upon it! What starts as a hunting expedition for the PCs ends up being a grand adventure through the forest. Several interesting set pieces on the path of the boar's rampage are included in the adventure. The path of destruction leads through a goblin camp and ends in the tower of a now-dead mage (which still holds the target of the boar's ire, a mutated bulette that the mage bred). Will the party help the boar kill the bulette mutation, or let it free? Pgs. 32-47

Deep below the surface lies an ancient beholder city called Ilth K'hinax. In times past, hundreds of beholders called it home - until simmering rivalries within their society exploded into warfare. The few survivors fled, leaving the city deserted for hundreds of years. However, the story of Ilth K'hinax's glory was passed down from one generation of beholders to the next. Now, after countless years of self-imposed exile, the beholders are back! After securing the city, the hive mother of Ilth K'hinax implemented a plan to wipe out all the beings living above it. Unfortunately for the beholders, several facets of the hive mother's plan have been revealed through the exploits of a party of adventurers. Now, this group of heroes must meet eye to eye with Ilth K'hinax's newest occupants in an effort to stop the hive mother's pernicious plan! "Eye to Eye" is the last of three adventures featuring the nightmarish beholder. It can be played as an individual mission or as part of the series that began with "Eye of Pain" and continued in "Eye of Doom." TSR 9536

Traveling the space lanes is risky and mysterious, and danger comes in many forms. The rescue of a tiny ship from pirate attackers leads to the discovery of a monumental, supernatural evil. Nothing is ever routine in space. Crystal Spheres takes player characters through four unique crystal spheres to battle a powerful force of darkness. Player Characters will find themselves fighting not just for their lives, but the fate of an entire solar system and its millions of inhabitants. TSR 9299

A "simple errand" is never what it seems. It's a wizard's privilege - and curse - to change his mind. Pgs. 3-7

Giants have been raiding the lands of men in large bands, with giants of different sorts in these marauding groups. Death and destruction have been laid heavily upon every place these monsters have visited. This has caused great anger in high places, for life and property loss means failure of the vows of noble rulers to protect the life and goods of each and every subject -- and possible lean times for the rulers as well as the ruled. Therefore, a party of the bravest and most powerful adventurers has been assembled and given the charge to punish the miscreant giants. This module contains background information, referee's notes, two level maps, and exploration matrix keys. It provides a complete module for play of ADVANCED DUNGEONS & DRAGONS, and it can be used alone or as the first of a three-part expedition adventure which also employs DUNGEON MODULE G2 (GLACIAL RIFT OF THE FROST GIANT JARL) and DUNGEON MODULE G3 (HALL OF THE FIRE GIANT KING). TSR 9016
Built into what was thought to be an inactive volcano, the Halls of Beoll-Dur were created as an isolated training ground for dwarven clerics. However, upon their mountain shaking itself awake the dwarves discovered that they shared the mountain with something far more sinister. Few escaped to tell of the massacre as an horde of salamanders rising from the fiery depths, claiming the halls for their king. Now the temple sits desecrated, waiting for the day that hero's will purify it of the evils within. Pgs. M1-M16

A combination wilderness/dungeon module, first searching for then exploring the temple of Tharizdun. Tharizdun is long gone from the place, so there's no epic final fight. Rather, a mysterious Black Cyst waits at the bottom of the dungeon. The encounter with it is almost scripted, having no hazard except for careless/foolish players. Contains several monsters from the Fiend Folio. Loosely follows Lost Caverns of Tsojcanth. TSR 9065

Far above the village of Barovia sits Castle Ravenloft, the home and fortress of vampire lord Strahd Von Zarovich. Legends claim that Strahd flies with the bats and runs with the wolves to terrorize the countryside. Ancient tales also tell of dungeons and catacombs deep under the castle. Other stories recall the great halls, treasures, and glory of Ravenloft in centuries past. "House of Strahd" is a revision of the classic gothic horror tale I6: Ravenloft, one of the most popular adventures ever produced for the AD&D game. This version is updated for the AD&D 2nd Edition rules, and those from the Ravenloft campaign set. Count Strahd is now more powerful, and his castle is even more terrifying! TSR 9418
Enjoy your trip. The monsters certainly will. Your best foot forward could well be your last. This isn't so much an adventure as a short encounter in the woods. Pgs. 38-39 & 54

Gray Mountain lies deep in the lush elven forest. The temple there was a haven of meditation and learning - until taken over by an evil cleric known as the Rahib. Far under the mountain, he paces before the temple's great altar. A brown-robed servant rushes in and falls to his knees, trembling at the sight of the Rahib's black panther. "Rahib, adventurers came to the village as the sun rose - the strangers now protect Rahasia." A scowl crosses the Rahib's face. "I must have Rahasia! Attack again tonight." As the servant scurries away, a deep growl rises from the giant cat. Gripping the panther's leash, the Rahib paces again, speaking out loud. "We must dispose of these strangers quickly; the secret beneath the temple will not wait much longer." Note: the setting is unspecified, but certain tie-ins, like the wines, prefigure Ravenloft. See: https://twitter.com/chrisperkinsdnd/status/703751906703749120 TSR #9115

In part one of the Randal Morn Trilogy, "The Sword of the Dales," the legendary leader of Daggerdale, Randal Morn, was captured by unknown assailants as he sought to regain the great weapon for which that adventure was named. A stalwart band of enthusiastic heroes was recruited to ride to his aid, yet all they recovered was the Sword itself and a message: "Seek me in Spiderhaunt Wood." In the second part of the trilogy, "The Secret of Spiderhaunt," those same adventurers found Randal and freed him briefly, yet he was almost as quickly torn from their grasp by an agent of the evil Zhentarim, seeking to end the threat of Randal Morn's return to power. In this final episode, the heroes must follow the kidnapper's trail and rescue Randal Morn again before the Zhentarim finish interrogating him and the axe falls upon his neck. Armed with the Sword of the Dales and aided by a powerful spirit that lives within the weapon, the heroes must march into the heart of Zhent-occupied Dagger Falls, free Randal Morn, and save the city from utter destruction. The job is dangerous - perhaps more than the heroes can handle - yet those who would live in songs and legends cannot concern themselves with living to a ripe old age! This is the final part of a trilogy of modules that began with "The Sword of the Dales" and "The Secret of Spiderhaunt." TSR 9488

This module was originally used for the AD&D Tournament at Origins '79. Your party is lost! You should never have abandoned the ship and struck out into the marshes, but your pursuers were closing on your trail, and it seemed the only way. Stumbling onward through the fens, your party makes for higher ground ahead. As you cross the ridge, you see a clearing before you. There in an ancient ruin - a worn and overgrown pyramid fills the courtyard, shining in the moonlight, seeming almost brighter than the moon itself. TSR 9032

Agents for the Mayor of Kleine have discovered the stronghold of the Red Hand goblins deep within the Burning Hills. They have also discovered that the goblins are forming an alliance with local hobgoblin and bugbear tribes to sweep the humans out of Thunder Rift forever. The PCs must reach the lair before the hobgoblin and bugbear agents return to their own tribes. if the envoys do not return, the tribes will assume that the goblins murdered them and attack the goblins instead of the human settlements. In this way, the humans of Thunder Rift gain some unexpected allies against the Red Hand goblins. This is the most dangerous and demanding of the three adventures in this set. It is recommended that you play it after Red Hand Trail and Trouble Below. However, it can stand alone as an adventure in its own right if you wish. Part of TSR 1076 The Goblin's Lair
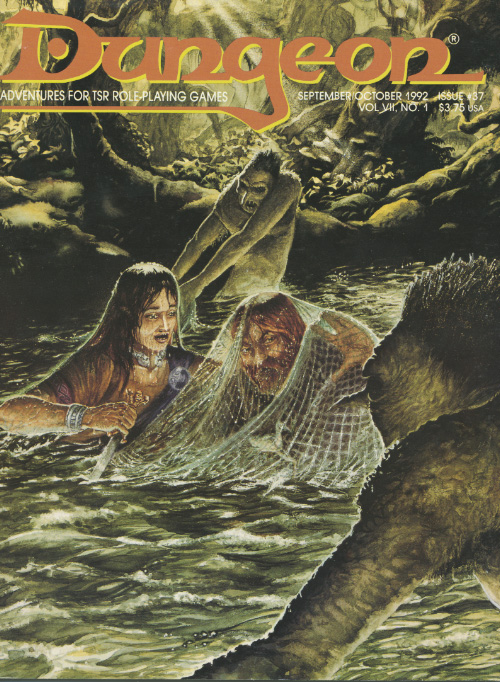
From the magazine: "A rotting ship holds the secrets of all the universe, but its crew wants you only for the 'fuel' you carry." This scenario is useful for launching players into a Spelljammer campaign. The players are tasked with investigating a derelict ship that fell from the sky. The ship is captained by a spectre and crewed by a host of undead enemies. Clearing the ship gives the players the possibility of a Spelljammer ship as well as access to several wheel-lock pistols and ammunition (the biggest treasure from the adventure). The adventure takes place in the Forgotten Realms setting, though it may be easily altered to fit any other campaign world. Module LC1 Gateway to Ravens Bluff, The Living City, would be helpful, as the city of Ravens Bluff is suggested as the PCs' starting point for this adventure. Any other city can be substituted without difficulty. Pgs. 29-37
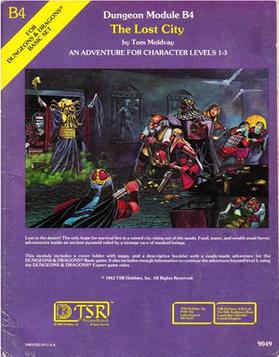
The Lost City is a low-level adventure, in which the only hope of the PCs' survival can be found in a ruined city slowly rising out of the sands. The adventure is set inside a huge step pyramid, with the lower pyramid only sketched out and the city itself described with a list of the major areas and a map. The adventure’s main villain is Zargon, a giant one-eyed monster and his minions. The entire double pyramid, not including the city, contains over 100 rooms. The module is designed to give novice Dungeon Masters experience fleshing out adventures and is only partially complete. Later TSR material hints that this adventure possibly takes place in Mystara, but the material is largely setting-neutral. TSR #9049