
Within the pages of this book, you will find three mini-dungeons, all with a common theme. They are all set in dangerous and exciting cave systems. Not only will you be able to drag and drop these mini-dungeons as you need, but this book will also provide a suggested campaign structure and tie-ins to each of them for those witty Dungeon Masters who wish to run them all together. 1. Lizard Folk Tunnels - APL2 to APL5 A daring rescue mission to save two young children from the grasps of a tribe of lizardfolk who's evil intentions are to sacrifice their captives to their evil god. 2. The Cavern of One-Eye - APL4 to APL7 A cave system riddled with orcs as described in Volo's Guide to Monsters. Players will need to think on their feet in this one. 3. The Lair of Frostingbite - APL5 to APL8 Snow-oxen are being stolen from the farmers of Sleet-Town, tracks lead into the ancient and abandoned mine shaft within a nearby mountain. Killer Kobolds, Quaggoth slaves and a ferocious White Dragon await. Published by P.B. Publishing

A 20th level one-shot "An ancient white dragon guards a mystical portal. Its power grows and threatens the world with eternal winter. Can the adventurers close the portal and defeat the dragon? Or will they end up just another frozen snack?" Not sure of what to throw at your epic level players? Try this! This 20-page, 4-6 hour adventure is sure to give them a chance to prove their worth. It includes... - An arctic location adaptable for any campaign - Three large battle maps - Action-oriented stat blocks for all monsters - Snow weirds! - ...and other stuff! Perfect as a high-level one-shot or a campaign finale.

The chase to save your family continues! After your encounter at the cove, you head south across Esaq to try and catch the slavers. With some experience under your belt, you are feeling more confident about your fighting ability, but it is about to be tested yet again. This scenario picks up where DQ1 left off and is the middle of a trio of adventures.
HORROR THEMED ADVENTURE FOR THIS HALLOWEEN!!! EXPLORE A HAUNTED PIRATE SHIP!!! What is this adventure? This is a short location-based horror adventure where the characters explore a haunted derelict pirate ship in the ocean. The whole adventure can be played in a typical four-hour session. The Derelict is perfect for situations where the party suddenly decides to sail off into a completely new direction and the gamemaster does not have anything prepared for the destination. It is designed to be simple and the gamemaster is empowered to read and run it quickly. Since combat is not the main focus for this adventure (it is more atmospheric and exploratory), scaling this adventure for parties of different levels is trivially easy. How to use this adventure? This adventure can be used in two different ways - A random encounter - This is perfect for use for a random encounter in the sea A retrieval mission - This adventure can also be used as a missionto retrieve an artifact that was looted by the pirates a long time ago What is included? The adventure pdf DM's map of a haunted pirate ship with four separate levels High resolution maps for the pirate ship (all four levels), which can be printed out as a tabletop map to play on.

This adventure can be used in any setting that features landowning nobility as a social class. It focuses on the Firebird, a mythical creature from Slavic folklore similar to the phoenix. The characters begin inside a tailor’s shop where they’ve been gathered by Pero Toporov, the best tailor in the city of Krylo. The city is ruled by the confident and insensitive Baron Yuri, who commissioned Pero to create a beautiful cloak woven with the feathers of the Firebird, a creature known for its healing powers. Pero agreed on the condition that their work would be used to aid Yuri's citizens, who have been sick and ailing under Yuri's restrictive rule. Instead, the Baron took the cloak for himself. Pero is hiring the adventurers to help them break into the Baron’s fortress and steal the cloak back without being caught. The characters find a way inside the fortress and break into the dungeon, where the cloak is supposedly hidden away. Within the dungeon, the party finds the Firebird itself locked in a golden cage where Baron Yuri—wearing the magic cloak—is antagonizing it. Baron Yuri attacks them to protect his treasure and is not open to negotiation. However, the characters may try to befriend or capture the Firebird. If they sway the bird to their side it may help them fight the Baron. Once Baron Yuri is defeated, the characters can take the cloak for themselves or return it to Pero. Dethroning the Baron earns them the gratitude of the city’s people. If they return the cloak, Pero pays the adventurers and assures them that the cloak will be used for good from now on. Pgs. 173-179
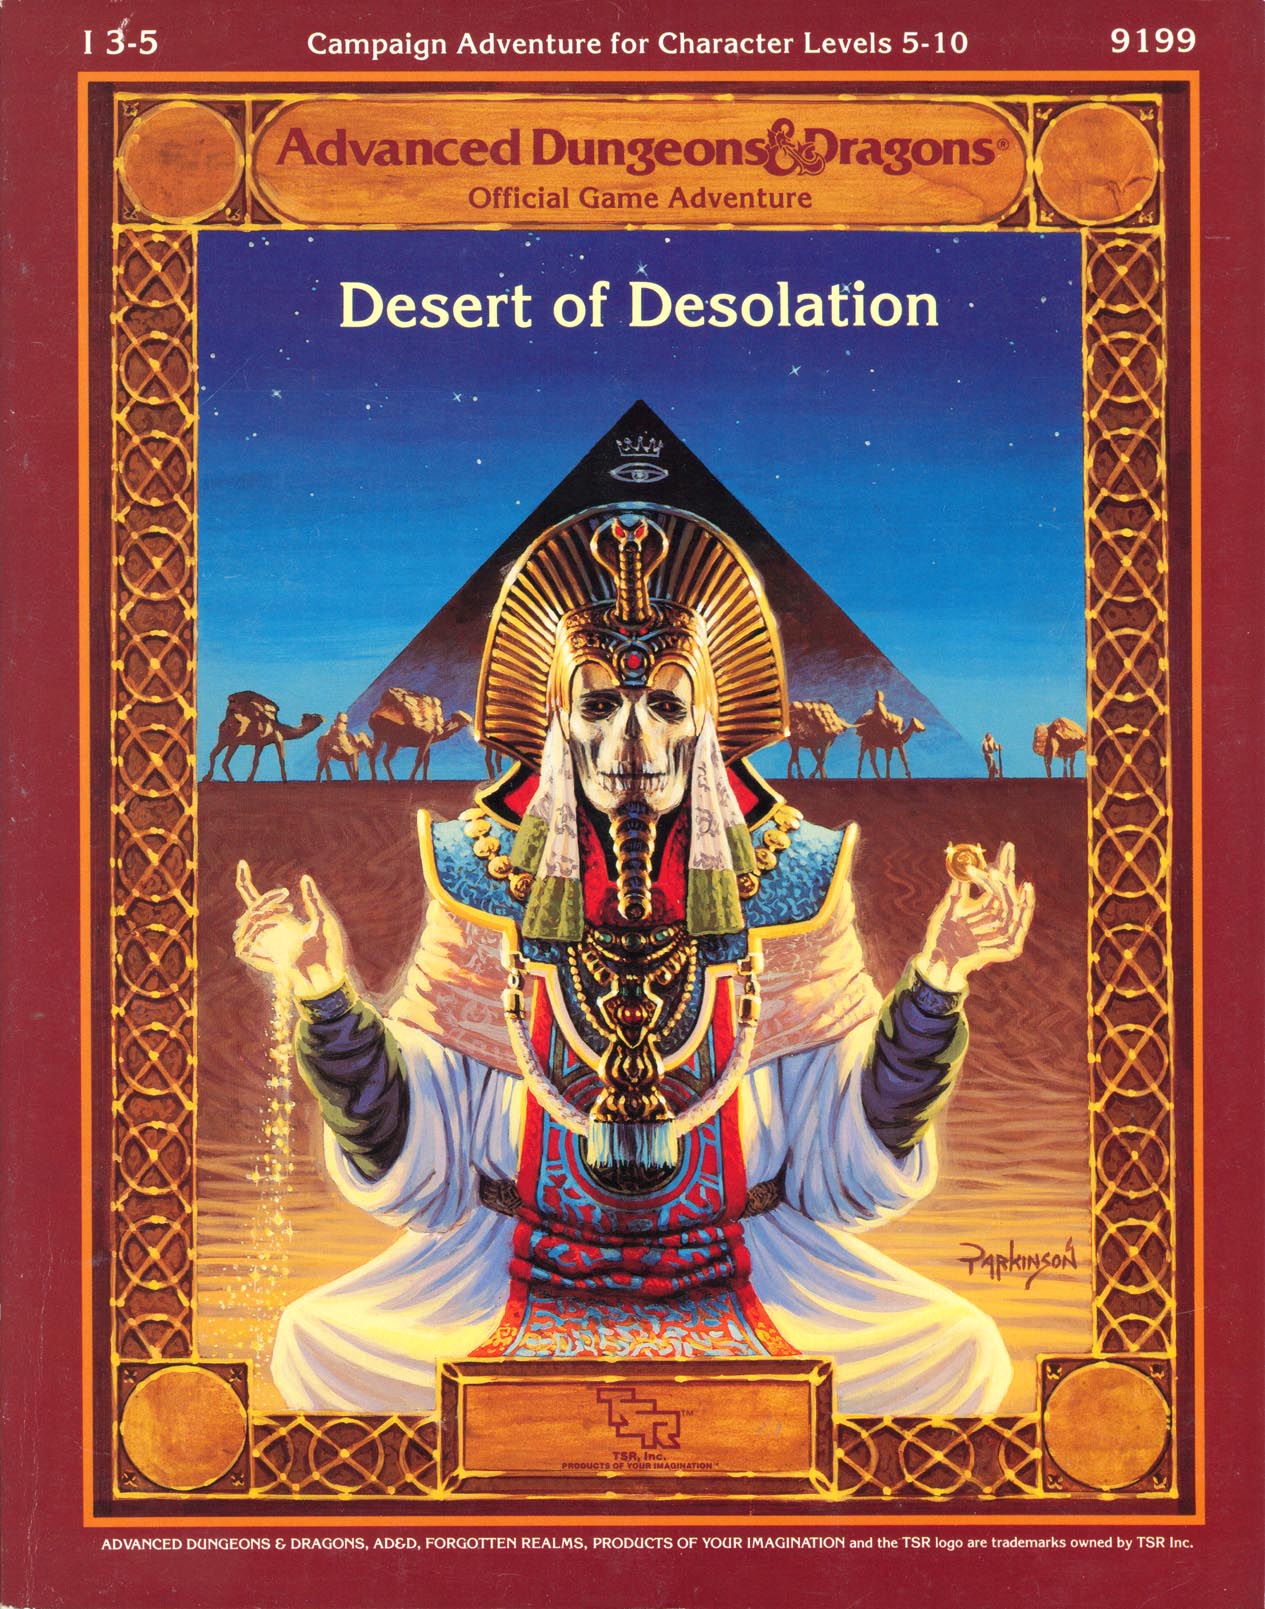
Deep blue mists of the night swirl over the sands of Raurin, the incomparable Desert of Dust. As the cool night air drains the heat from the sand, you and your friends huddle around your campfire, glancing nervously at the giant pyramid in the distance. Gradually, the winds change direction, bearing a thin streak of white mist toward you from the pyramid. It swirls and takes shape as a faceless man dressed in ancient robes and an ornate head-piece; moonlight shining through his ghostly body and robes, he lifts his arms toward the pyramid and speaks. It was magic that conveyed you all to Bralizar, and an ancient map that guided you through the pass in The Dustwall. But it was, after all, the tales that finally brought you to this place - tales of endless wealth, of spirit-guarded pyramids, of crystalline obelisks, of gemstones with mysterious properties. Now, as the haunted voice of the spectre before you begins his tale, you wonder if the treasure and the quest are worth the price...perhaps your very lives. Are you really the heroes of the prophecies, those who will overcome the foretold tests, and those for whom the treasure awaits? It is time to search your hearts before you venture further into the Desert of Desolation. An epic adventure includes the revised Desert of Desolation series plus totally new adventures within Raurin, a desert wilderness set in the Fabulous Forgotten Realms TSR 9199

Horrors in the Dark The origin of the ShadowGate is lost in antiquity. Some claim it as the work of devils, others cannibal cultists or even demon lords. Not long after its discovery it was boarded up by the priests of the local church, and then fortified by paladins. Of late something has emerged from the portal. It remains trapped within the divine defences, but for how long?

Twas the week before Christmas and all through the house...Hey folks here is our holiday special (free) scenario. It appears that a local gift giver has had his magical sleigh taken by some drunken Elves in his employ. Their associates have requested you retrieve the item before the owner discovers it is missing! This adventure setting was designed for 5th Edition AND AD&D for the Filbar Campaign, for a quartet of 2nd level character. This one page-ish offering was designed for our friends at Murder Hobo Inc (@mhoboinc).
A tribe of evil norkers led by a human illusionist threaten the town of Nolivari. The heroes must brave the wilderness, find Grakhirt's lair, and defeat him to ensure the safety of the local villagers. A straightforward dungeon crawl against lots of norkers! When do you get to see those guys in an adventure? Lots of monsters from the AD&D Monster Manual II as well. This adventure features a little bait-and-switch; the titular bad guy Grakhirt is assumed to be a norker, or gnoll, or some other monstrous humanoid, but is in fact a human illusionist/assassin! Note: The adventure doesn't feature caves AND a dungeon, but since the caves are treated like a dungeon with doors and numbered rooms, this is listed as a dungeon adventure as well. Pgs. 28-37

Surviving the shipwreck is easy; living through the wizardly bet afterward is not. Their game could mean your lives. A storm caused the PCs' vessel to sink and is now forcing them to seek shelter in the keep on the remote isle. Their goal is to locate a boat or some other means of transportation to return to the mainland after the storm has passed. But first, they must survive the tests and traps the island's inhabitants have set for them. Pgs. 45-64
A search for the ghostly dragon of the Deadwaters. The sage's deal is simple: The more you learn about the dragon, the richer you get. In this adventure, the bard Rondelle offers players rewards for learning all they can about a mysterious dragon that has been sighted in the area. Pgs. 22-38

The village of Bad an Fithich is besieged by a monster and the villagers offer a reward for its head. Thus far none have succeeded, but the tales tell only of a large wolf, which seems like an easy bounty. The party’s first night in the village is marked by the cry of a banshee proclaiming their inevitable doom, but if they listen closely they may hear another story. Pgs. 119-127

A nearly-penniless merchant wants heroes to secure and return priceless heirlooms. But can they do it with goblins all around, raiding and pillaging? Can the heroes reach a peaceful settlement with the raiders, or will they wreak mayhem and slaughter? Find out in Eastbarrow! This package (adventure, maps, and handouts within) forms a complete module for use with DUNGEONS & DRAGONS® 5TH EDITION RULES. It is especially designed for Dungeon Masters to initiate play with a minimum of preparation. Also includes full-sized maps for the VTT of your choice! Old School Look and Feel!
Remember Fluffy? The cute little dog? Well... Fluffy Goes to Heck is a shamelessly absurd AD&D® game adventure for the six silly characters provided on pages 39-40, or 4-6 characters of 3rd-5th level, played by those with senses of humor. A good mix of classes and races is helpful but hardly necessary.

A malicious and virulent force possesses the Vermyr Woods. The local wild-life has fled; known paths have mysteriously vanished or shifted; and locals have been found hanging dead from trees yet their eyes watch... they always watch. The hopes of the people are dwindling quickly. Believing that evil harpies have afflicted the woods, brave Captain Harkin set forth to serve them righteous justice! Even the mighty druid Algalor is nowhere to be found. Time passes and their worries compound. Why have the harpies attacked? What is the fate of Algalor and Captain Harkin? What is this mysterious evil that plagues the Vermyr woods? Who is Cartman's dad? The heroes will stumble into this mystery as they travel to Homid. They will discover the truth of the harpies as well as the fate of the heroes who safeguarded this region by delving deep into a forest labyrinth that feels alive! Will it consume them or will they be strong enough to defeat the evil at its core!

Take the adventuring party on a journey through a nasty, smelly swamp as they follow an exotic map which (they hope) leads to a grand treasure. Unknown hazards, NPCs, adventure, and creatures stand between them and the X that 'marks the spot' on the map. This adventure includes: •Custom art •8 hand-drawn maps (color and black & white included) •3 new creatures •1 new magic item •Includes a printer-friendly version of the adventure. Into the Belly of the Beast runs smoothly as-is, but an additional 8 encounters are included. These encounters can be used to lengthen the adventure, or they could used separately and added to your own campaign.
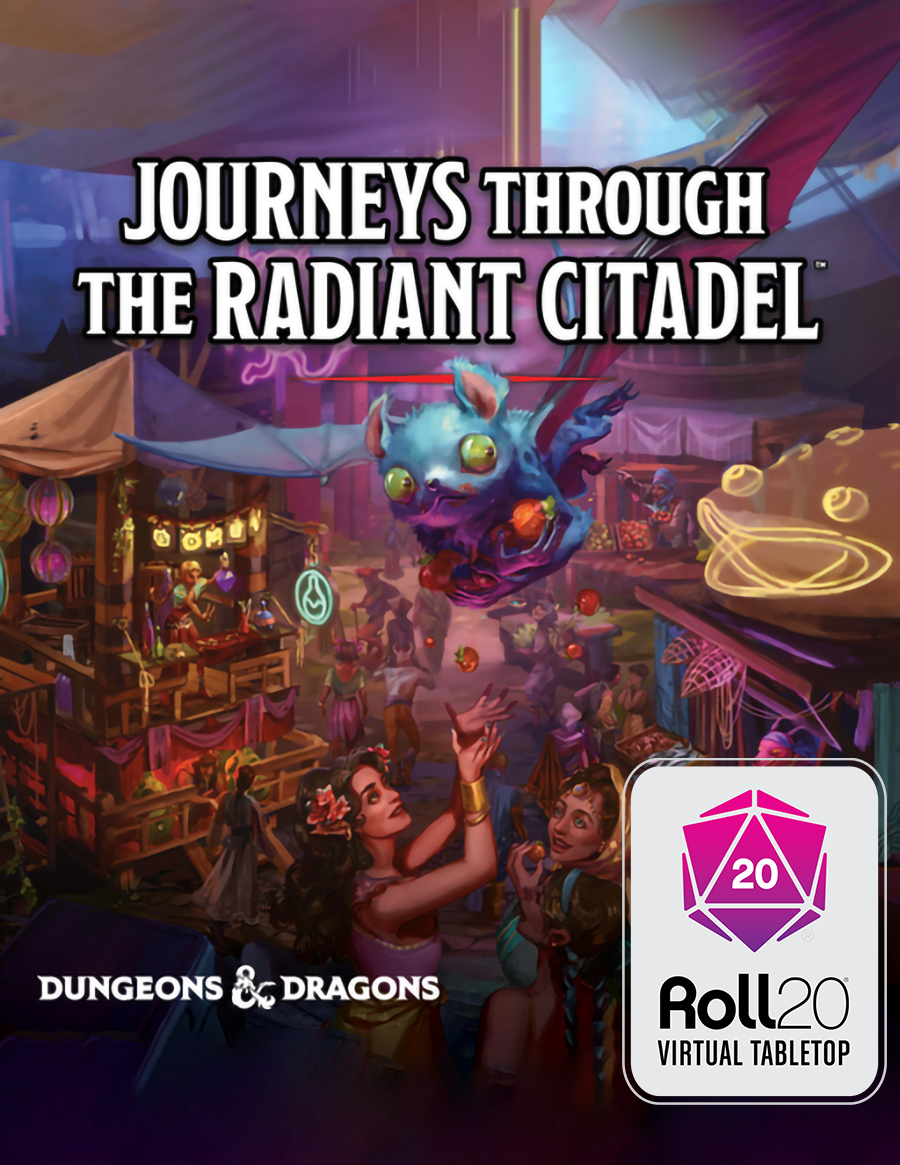
"A series of disturbances plagues the Dyn Singh Night Market, an endlessly changing maze of stalls filled with incredible wares, enticing smells, and magical lights. Accusations fly as the characters become entangled in a feud between the well-respected Tyenmo and Xungoon merchant families of the Siabsungkoh valley. To prevent the families' conflict from escalating, the characters must earn the trust of the market's vendors and gain their help to unmask who's behind a rash of vandalism and thefts."

A fiend lurks among the Black Blade goblins. A shapeshifting barghest fashioned by the General of Gehenna to exact revenge on all goblin-kind. It’s aim: to kill as many goblin leaders as possible… A masked goblin approaches the party asking for help. Two tribe leaders are dead. But a rival for chief has control of the crime scene. Will the party discover the barghest among the goblin ranks? Can they stop this imposter before it strikes again? Adventure Overview The adventure’s story is spread over 4 parts and takes approximately 4 hours to play. The adventure begins with a Call to Action scene. Part 1: Goblin Politics. Krill sends his emissaries to implore help from any strong intermediary. The party is asked to investigate the murder of Thrawn in Dringly’s lair. This is Story Objective A. Part 2: The Opposition. Gain entry into Dringly’s lair and investigate the murder of Thrawn. Gather enough evidence to find the killer. This is Story Objective B. Part 3: To The Lair! Now that the players have determined the barghest (Yeep) is to blame, they need to get to Krill’s lair quickly as he is in imminent danger. This is Story Objective C. Part 4: The Barghest.When the players arrive at the lair, they need to get to Krill and expose and defeat the barghest. This is Story Objective D. Adventure Background A barghest named Yeep has begun its onslaught of attacks against the Black Blade goblins. Starting with Chief Gnar, then his second in command Thrawn, the barghest is moving methodically down the line of command. Krill is now chief. But he has some problems: Two leaders of the Black Blades are dead. Who killed them and why? Is he next? Dringly, the next in command, has decided to take his lair for himself, declaring himself Chief of the Black Blades. Who are the Black Blades? The Black Blades are a tribe of goblins in the local area. They are known for dipping their blades in a dark black substance. It is rumored these blades are poisonous. The Black Blades regularly attack passersby on the road to rob them. The Black Blades have two lairs, one run by a chief who leads the whole tribe, and another overseen by a boss lieutenant. The Black Blades have a well-established pecking order which is how Krill stands to become chief. The next in line is Dringly, who has also declared himself chief and wants Krill dead. Krill suspects that there is something suspicious about two leaders being killed within a day of each other, but he has already burned Gnar’s body without any investigation. He needs to investigate the body of Thrawn, but it is in Dringly’s lair. Krill wishes to avoid direct confrontation with Dringly at the present for three reasons: 1) Any violence would only kill his own tribe members and further divide the lairs. 2) He believes there is still hope for negotiation to reunite the Black Blades. 3) He believes that if he were to attempt negotiations himself, Dringly would kill him. This adventure features: Two maps. Ready for your favorite Virtual Tabletop. A full color pdf. A black and white pdf. One custom monster, a reprint of barghest, all others available in the Monster Manual. Four hours of entertainment involving: roll playing a goblin bard, investigating a murder scene, tracking down a barghest before it strikes again. Applicable to any setting.

It's feeding time at the zoo and you could be the main course! Raven Aldritch, mysterious and beautiful, runs the Aldritch Research Centre and Zoo for her father, a powerful mage. He enjoys turning dangerous creatures into terrifying monstrosities. But daddy is away and the magical shields that hold the creatures in their enclosures have failed. These monsters are rampaging through the research centre endangering the lives of the innocent workers. Raven desperately needs help to regain control, and she’s willing to pay the right group of adventurers handsomely. Will you come to her rescue? An adventure for the world’s greatest roleplaying game. Fifth edition compatible. A one-shot for a party of Level 3 adventurers

Years ago the valley was green, and animals ran free through golden fields of grain. The princess Argenta ruled over this peaceful land and the people were secure and happy. Then one day a warrior riding a red dragon appeared in the skies over the princess’ castle and almost overnight the tiny kingdom fell into ruin. Now only ruins and rumors remain, and what legends there are tell of a fabulous ruby still buried somewhere within the Palace of the Silver Princess TSR 9044