
The adventure takes players from a town devastated by an unexpected flood, through a drowned land where nature is turned upside down and desperate families cling to the roofs of their ruined homes, hiding from the monstrous products of a disordered world, through the strange tomb of an ancient race, to a profundal zone, hidden for millennia and now exposed, and finally to the Observatory itself, an eerie abandoned treasure palace, where they will encounter a pale and unexpected terror which will seek to claim their lives. The adventure is suitable for a lucky mid-range party, a stupid high-level party or an exceedingly clever low level party. It is difficult, with a meaningful possibility of character death. Should you find them, and defeat their guardians, the treasures of an ancient culture will be yours. At the final point of the Observatory is a glimpse of another world. Published by False Machine Publishing

Meaningful decisions, unexpected twists and memorable characters are the foundations of this dark 4-hour adventure for 5th to 10th level characters. A chance encounter on an unassuming road leads to a dangerous and lucrative opportunity. But what seems simple on the surface turns out to be much more below. Thrust into a world where every enemy has an enemy and everyone has their own dark motive, the only chance to survive is to ally with the right foe. Sometimes “doing the right thing” comes only in shades of black. Six Summoned Swords is a stand-alone adventure that begins on the side of the road leading to Phlan and can be easily accessed by any adventurers traveling through the Moonsea region. In addition to a world full of intrigue and complex character choices, purchasing this adventure includes: An Official Adventurers League magic item certificate Printable portrait cards with roleplaying tips for important NPCs Gridded reference maps for combat encounters Condition icons to help track character status Special Certificate Holder ideal for event play NEW: Season 8 Item Unlock Handout - prints 9 to a page, one for every player! * Looking for an adventure to run at your special game day or convention? This adventure includes a “certificate holder” that features specially created art of the adventure’s magic item. When printed in colour and on card stock, it perfectly frames the official AL magic item certificate from this adventure and makes for an unforgettable souvenir. About the Swords Below the Moonsea Saga The saga consists of three adventures, with this adventure serving as a stand-alone prelude. The series continues with Six Striking Swords and Six Swords Unbound, the two of which should be played in tandem.

Tales of Lady Sepha Lekore are known throughout the lands. Now she’s gone missing and her father Lord Lekore is offering a reward to anyone that can find her. With promises of a tidy sum, the adventuring party can investigate the last place she was seen to try and locate her. What they find will take them into the Underdark lair of a drow noblewoman with her eloped love, the young Lady Lekore.

Restore an Abandoned Temple Enter the catacombs near the desecrated Temple of Muir, Goddess of Paladins, and search for the lost tomb of Abysthor. Will your party be able to cleanse the evil that now inhabits these once-sacred halls, and recover the Stone of Tircople? Can your characters survive the traps of an undead sorcerer? Will your players discover the chamber of Living Rock and the secret power it holds? Adventure awaits! Gold and Glory! A fantasy adventure published for the D20 system, The Tomb of Abysthor is the first module in Necromancer Games Dungeon series and can be played as a stand-alone story or in conjunction with The Crucible of Freya and the forthcoming city supplement Bards Gate. What secrets lie hidden in the tomb of Abysthor?

Mr. P has a job for you. You must investigate three robberies that took place in Waterdeep in the past few days, and connect them to whoever is responsible. All clues lead you to a certain mansion, but it is certain that the raid will not be easy, as they are always watching, always one step ahead... Who's watching you ask? What do you mean? No one is watching.
A free adventure for the Pathfinder RPG, focusing upon a city ravaged by a natural disaster and besieged on all sides. Party levels 4-5 will face off against a half-dragon, half-demon overlord known as Ymial, a demonic seductress, goblin warbands, and drow slavers beneath the ground all while trying to discover the secrets of the city of Fairhaven. Works well for players who are looking to visit a large town and face off in a high-stakes conflict even at low levels. Includes lots of details on the town, from rumors to residents.

The final confrontation with the giant, King Snurre, and the entry of mighty adventurers into the caverns under his stronghold (DUNGEON MODULE G3, HALL OF THE FIRE GIANT KING) discovered the Dark Elves, the Drow, had instigated the giant alliance and its warfare upon mankind and its allied races. This module contains background information, a large-scale referee's map with a matching partial map for players, referee's notes, special exploration and encounter pieces, a large map detailing a cavern area, encounter and map matrix keys, and an additional section pertaining to a unique new creature for use with this module and the game as a whole. A complete setting for play of ADVANCED DUNGEONS & DRAGONS is contained herein. This module can be played alone, as the first part of a series of three modules (with SHRINE OF THE KUO-TOA, D2, and VAULT OF THE DROW, D3), or as the fourth part of a continuing series of modules which form a special progressive campaign scenario (DUNGEON MODULES G1, G2, G3, D1, D2, D3, and Q1, (QUEEN OF THE DEMONWEB PITS). TSR 9019

A fast-paced one-shot from the bestselling author of The Secrets of Skyhorn Lighthouse! A shadowy force gathers inside the abandoned halls of Lastwatch Keep. Can the players defeat the drow invaders before they escape to the underworld with sinister intelligence about the surface? Shadows of Lastwatch Keep is a one-shot adventure for four or five 4th-level characters. It takes about 3-4 hours to complete and includes: -A drow strike team desperate to escape the keep’s surprise foe -A new monster, the drow commando -Combat cards for each monster, PC, and special treasure -A beautiful, hand-drawn map by Jake from Beware the Wizard

This adventure focuses on a Zhentarim attempt to spread terror in Mistledale, although it is suitable for almost any lightly settled area northwest of the Sea of Fallen Stars. "The Raiders of Galath's Roost" is suitable for four 1st-level characters, but PCs should be at least 2nd level before tackling the adventure's second half, the Zhentarim Citadel. Even in the first half of the adventure, many of the encounters are quite formidable for 1st-level characters, and the PCs might find it necessary to withdraw and recover one or more times before completely exploring the ruins.

*THIS IS A D&D NEXT/5E PLAYTEST ADVENTURE* Imani, a Turmishan wizard and former adventurer, seeks the aid of heroes to infiltrate Dretchroyaster’s lair and recover the Diamond Staff of Chomylla—the key to powerful magic and wisdom locked away for thousands of years. In addition to his own sagely interest in the lore of lost Uvaeren, Imani recognizes the dangers of such powerful magic falling into evil hands. The dracolich has secured the staff in his lair’s cen- tral chamber, using ancient wards of protection that can be bypassed only by four artifact-idols once belong- ing to a cult of Bhaal. Each group of adventurers enters the dungeon through a different section of the dun- geon—a forgotten temple of Bhaal, a vast underground lake, a troglodyte village, or Dretchroyaster’s vaults. Dretchroyaster’s lair is no simple set of caverns and ancient ruins. It sits atop a source of great power and energy, which the dracolich and his Cult of the Dragon allies hope to use to unlock the secrets of the staff. Only by undertaking a unified assault against Dretchroyas- ter’s lair can the adventurers hope to recover the Diamond Staff and survive the dracolich’s fury. The adventurers must make their way through the lair and recover the Bhaalite idols that will help unlock the Diamond Staff, all the while dealing with the lair’s creatures and avoiding the dracolich as he pur- sues intruders. Entering the Chamber of the Diamond Staff, the heroes must overcome its magical wards and claim the staff before being slain by the dracolich and his servants.

An insane villain plots ruin deep beneath the city of Sharn. In order to save the city, the PCs must find the one thing that can stop him, an enormous Siberys dragonshard hidden somewhere in the jungles of the lost continent of Xen'drik. "Temple of the Scorpion God" is part two of the three-part Shards of Eberron Campaign Arc. Pgs. 66-75

"The creatures are just too intelligent, too crafty, and too strategy-minded to "rampage." Rampaging brings the wrath of oath-bound knights, powerful mages, and divinely-protected priests. Why would a dragon want such attention, unless it had some special secret, or unless it was insane? Or both. The northern reaches of the Derideth Swamp were once plagued by a rampaging dragon. This black dragon, named Storamere, took a mad glee in attacking human villages, wiping out orc camps, driving off the lizardfolk, and decimating farmland. He met his untimely end, though, in an ambush devised by the monks of the Order of St. Chausle. Storamere died with a curse upon his draconic tongue: "you could not have defeated me in my lair," he told his slayers. "I am forever invincible in my lair." Now Storamere is back, with a horde of his misshapen half-dragon offspring, to have his vengeance. All that remains of the once-heroic monks are two old men driven mad by their last encounter with the black dragon, so it falls to a band of adventurers to again defeat the mighty dragon -- this time in his palace, where the boastful Storamere claims he is at his strongest." Includes maps and damage rules for navigating Storamere's lair, a semi-solid palace made of a dangerous, corrosive liquid five feet thick and located on the ethereal plane. Most of the monsters in the lair have the Half-Dragon template applied. Published by Atlas Games

If absolute power corrupts absolutely, Matron Maelora best beware; her plans for total domination of the Underworld are already close to satisfactory completion, while attacks on the Upperworld have become increasingly successful. The other power-hungry drow families of Holoth may despise her but they know a true leader when they see one, and House Gullion has been revealed as the family to lead them all on the path to glory. With the entire Underworld in chaos and the Spider Goddess regularly communing with her chosen Matron, far greater dreams than mere regional conquest are within the grasp of the drow, as Maelora prepares her grand dark elf army for victory! With other mystical allies standing firm with the Matron, other Underworld races beneath her heel or cowering behind fortified walls, and every drow ready to play their part when she gives the word, what could possibly stop her from achieving her final triumph and fulfilling her destiny? But even the greatest of plans has a flaw if you look hard enough, and a party of stout heart and strong resolve can make a difference. At first, such a party may well believe it is on a smaller adventure, perhaps to win a few baubles or some small acclaim by rescuing a few kidnapped villagers. Soon, however, those adventurers will realise that much more is at stake, and that they are the ones who will need to make moves against the evil Matron Maelora and her increasing dominance if both the entire Underworld and Upperworld are to be saved. But how will they go about it? Can they ensure their own success when an entire city is standing against them? Only they have the chance to halt the Rise of the Drow! Published by AAW Games.
Giants and ghost trees and foul undead beasties... What happens when elves, giants, and a mysterious witch all decide only you can settle their troubles. Strange new tree species! A hobgoblin fort! Unexplained noises during the day and different noises at night! Investigate and explore the Bretonwood to get to the bottom of its problems. The adventure provides an overland open-world style map of the Bretonwood which the players are encouraged to explore. Many set and random encounters are provided. There are opportunities for combat in this area, but players should be ready to handle some problems out of combat to get the most satisfying experience. Pgs. 22-43
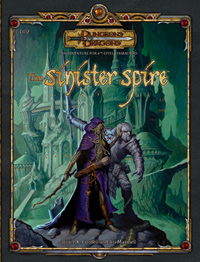
The waters of a sunless sea meet a pebble-strewn shore, beyond which opens a wide Underdark vista shimmering with pale cave-light. Titanic columns as big as castles march miles into the misted distance. The wide, steeply sloping base of the nearest colossal column is carved with streets, walls, and elaborate structures, many with gaping, empty windows. A few glimmer with faint illumination. Are you brave enough to explore the spire-city and face the terrors that lurk within? Part 2 of the Barrow of the Forgotten King series. Followed by Fortress of the Yuan-ti.

Adventurers explore a frozen, buried dungeon of long-dead giants that turns out to be the birthplace of Runemagic itself, and may still hold the secrets of that forgotten art. However, even if they do survive the extreme cold and unfriendly denizens, they will still have to face the massive Runeforged Guardian before they can escape. This adventure includes lots of interesting multi-part traps and alternate encounters that can be added or swapped out in several places.

As a member of a bold party of adventurers, you and your associates have trekked far into what seems to be a whole underworld of subterranean tunnels -- arteries connecting endless caves and caverns which honeycomb the foundations of the lands beneath the sun. Your expedition has dogged the heels of the Dark Elves who caused great woe and then fled underground. This module can be played alone, as the conclusion to module D1 & D2: "Descent into the Depths of the Earth," or as the third module in a series that forms a special extended adventure (G1-G3: "Against the Giants"; D1-D2: "Descent into the Depths"; and Q1: "Queen of the Demonweb Pits"). TSR 9021
In the city of Waterdeep rests a tavern called the Yawning Portal, named after the gaping pit in its common room. At the bottom of this crumbling shaft is a labyrinthine dungeon shunned by all but the most daring adventurers. Known as Undermountain, this dungeon is the domain of the mad wizard Halaster Blackcloak. Long has the Mad Mage dwelt in these forlorn depths, seeding his lair with monsters, traps, and mysteries—to what end is a constant source of speculation and concern. This adventure picks up where Waterdeep: Dragon Heist leaves off, taking characters of 5th level or higher all the way to 20th level should they explore the entirety of Halaster’s home. Twenty-three levels of Undermountain are detailed herein, along with the subterranean refuge of Skullport. Treasures and secrets abound, but tread with care!
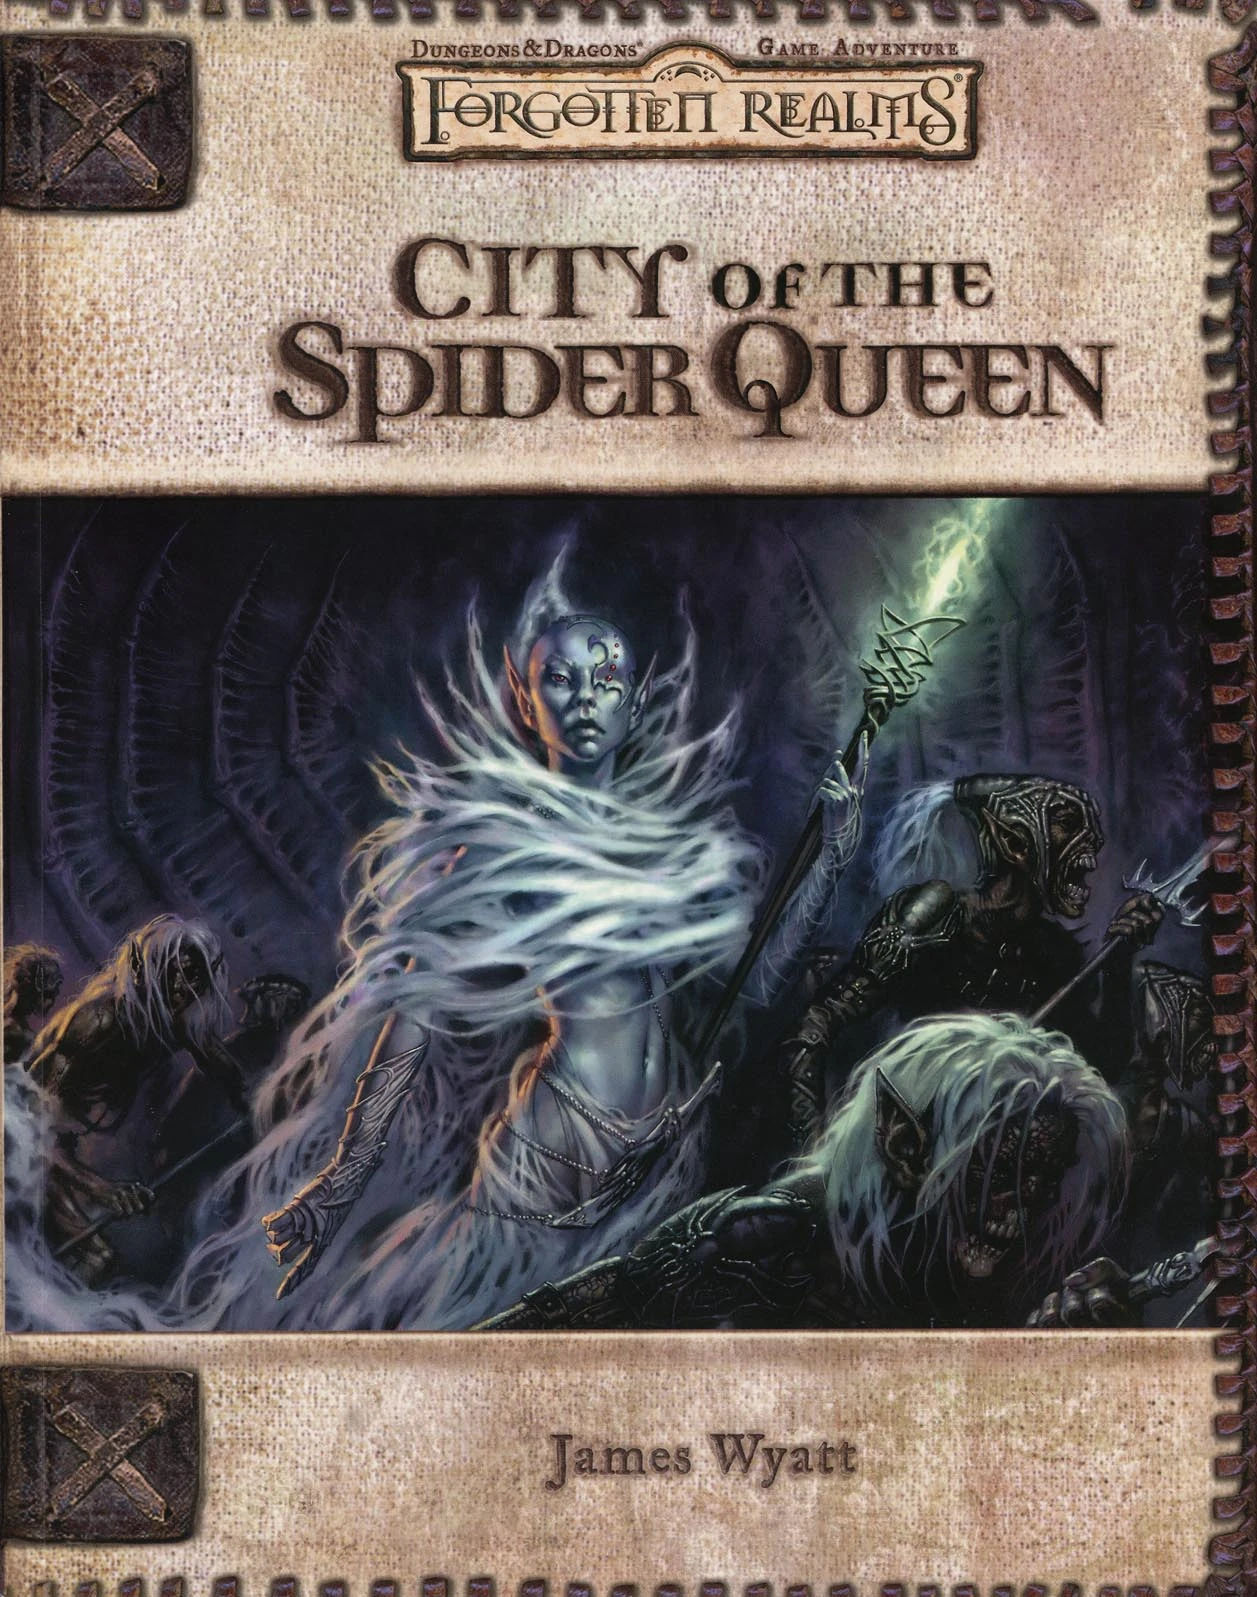
The Fate of Faerûn Lies in Shadowy Darkness! Daggerdale is reeling from a sudden series of murderous drow raids. As a grave threat to the entire surface world develops in the war-torn dark elf city of Maerimydra, intrepid heroes must discover its source and destroy it, if they can.
Only You can prevent forest curses! The population of a small town have been disappearing and its up to the party to save them and the town from a looming disaster.