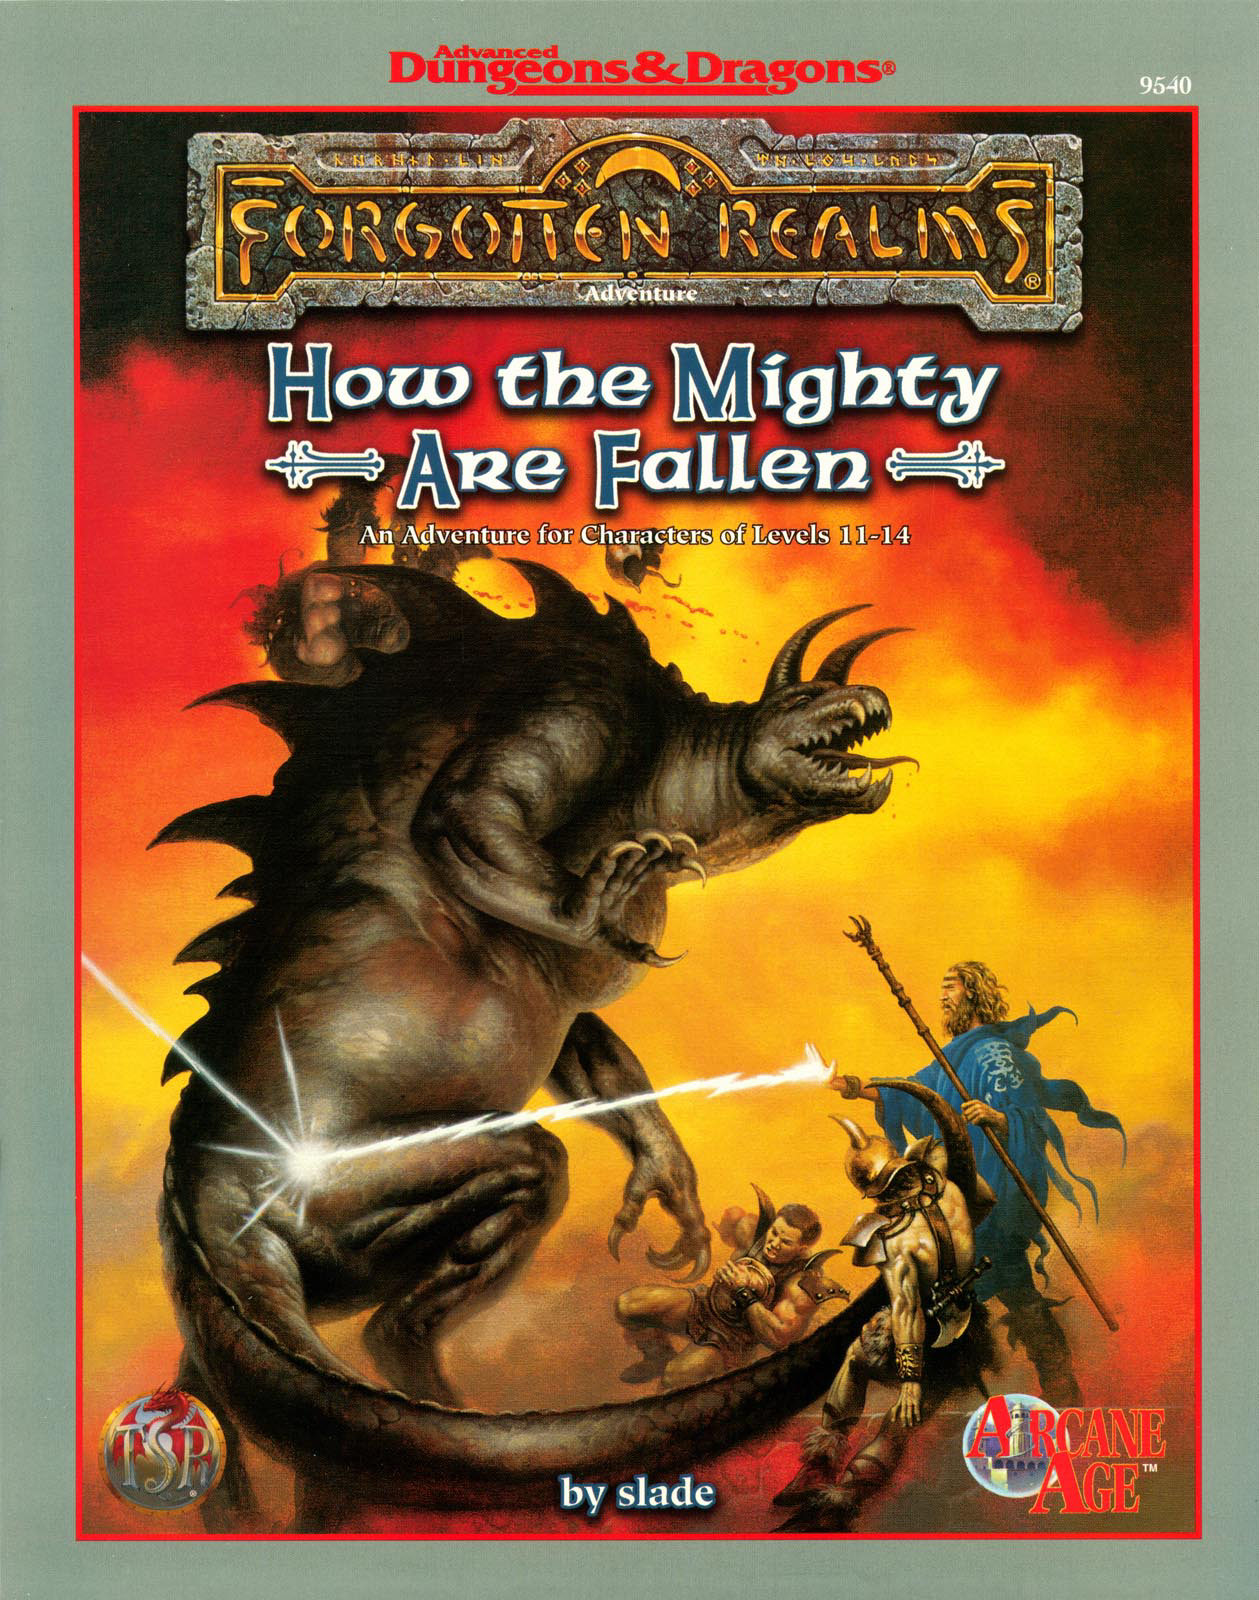
As the floating cities of Netheril hover peacefully in the air, the winds of intrigue boil all around them. The phaerimm continue to plot the downfall of the Netherese even as Karsus prepares for the casting of his greatest spell. Undead walk the land, driving orcs and humans before them. And somewhere below the greatest nation of Faerûn, the Tarrasque awakens from a long slumber. How the Mighty Are Fallen, is an adventure designed for use with the Netheril: Empire of magic boxed campaign setting (which is required to play this adventure). Within these pages, the final heroes of Netheril can : Gather the spell components, that Karsus requires for casting his "most wondrous" spell, the only 12th level spell ever known. He just needs a few body parts from two creatures - A gold dragon and the Tarrasque. Reuinte lost lovers after they have been separated by death. Nopheu's wife was killed in a magical explosions, and now he's finally saved enough money for her to be resurrected. Certainly a dead body couldn't pose a threat to a band of stalwart heroes?! Follow the winds of fate to wherever Tyche delivers them. Numerous side adventures allow players to take their characters to a variety of different locations. Some heroes might want to follow the trail of the missing nether scrolls, while others might want to join the resistance and fight Karsus and the other archwizards. But only the bravest hearts can take the first step... TSR 9540

In the Anauroch desert, darkness is growing. The followers of the Vile Spore Goddess Zuggtmoy have stolen the dreams of the Bedine Seeress Deja, trapping them in an eldritch artifact. Unless her dreams are returned, the Seeress will descend into madness, and her people along with her.

Important: The adventure is 1e but it has monster conversion notes for D&D 4th edition The town of Highport, once a human community overlooking Wooly Bay from its perch on the northern coast of the Pomarj, fell prey to hordes of humanoids swarming out of the jungle-covered hills surrounding the settlement. Though the orcs, goblins, kobolds, ogres, and gnolls razed much of the place in their ferocious rampages, the smoldering ruins they left behind soon became a new kind of community, a place of trade between the humanoid “locals” and the unsavory human traders who have no compunction about doing business with them. Slaves are a commodity in ready supply in Highport’s market, since many pirates raid up and down the coast of the bay, putting fishing villages to the torch and filling their holds with captured refugees. Slavery has become a thriving business in the town, and rumors abound of a cartel of Slave Lords who run things from behind the scenes, filling their coffers in secret from the buying and selling of human chattel. The trade has become so prolific that the good folk to the north have grown tired of these depredations and decided to fight back. Forces of righteousness and honor have recently descended upon Highport, some openly and others in secret, in various attempts to destroy the machinations of the Slave Lords and abolish the abominable enterprise that has taken far too many loved ones from home and hearth. One such doughty servant of goodness is Mikaro Valasteen, a cleric of Trithereon. Mikaro slipped unnoticed past the crumbling walls of Highport with a single mission: to rescue and transport as many slaves to their freedom as possible. Mikaro and a handful of faithful assistants located a number of escaped slaves—as well as rescued a few more not sufficiently restrained and guarded—and shepherded them through the gates and beyond the reach of their humanoid tormentors, returning them to their lands and homes. This covert freedom brigade enjoyed remarkable success early on, since the servants of the Slave Lords were often lax in their vigilance and sloppy in their efforts to prevent loss of the “merchandise.” After one too many shipments never made its destination, the humanoids stepped up their security and the normal channels of escape from Highport closed to Mikaro and his team. He cannot risk exposure by smuggling the freed slaves through the gates as merchandise any longer, since shipments of goods are now regularly stopped and checked. No longer able to free the slaves in that manner, Mikaro began hiding his charges in an abandoned villa in a particularly rundown part of the town. Although they are safe for the moment, their numbers have grown unmanageable, and the priest fears it is only a matter of time before someone slips up and brings slavers to their doorstep. Ever more desperate to find a new means of escape from Highport, Mikaro has started work on a plan that is both daring and dangerous. He intends to use a series of old sewers coupled with natural caverns running beneath the town as an escape route to the sea beyond the walls. But he needs someone to clear out the creatures and pitfalls he knows lie within. Pgs. 2-27

The first part of the Dreams of Red Wizards adventure path originally published for the D&D NEXT Playtest. Following the events Ghosts of Dragonspear Castle, a new set of adventurer's will see some of the repercussions of that adventure. This adventure is intended to be continued in the Dead in Thay adventure (Note that they Dead in Thay 5e adventure featured in Tales from the Yawning Portal is missing a significant portion of interlude that links Scourge of the Sword Coast to the events within the Doomvault). The adventurers arrive when Daggerford is crowded with refugees from outlying lands. Goblins, gnolls, and orcs have been raiding the countryside. Now, food is scarce and tension is high. Blame for a theft has fallen on the refugees, and the Duke of Daggerford has forbidden more of the displaced from coming into town. After overcoming difficulties to enter Daggerford, the characters learn more about the raids. As they fight against the humanoids and delve deeper in the darkness that encircles Daggerford, the characters learn of Bloodgate Keep. After a final fiendish ambush, they’re ready to confront the real threat to the area. DM Note: This adventure points the adventurers strongly towards Bloodgate Keep but that location does not appear until the Dead in Thay adventure; at several points the party may feel drawn to explore that location rather than continue their investigations around Daggerford. However, since Bloodgate Keep is only eluded to as a source of great evil power, it can serve to easily segue to an entirely different adventure path. As a NEXT Playtest adventure, Scourge of the Sword Coast uses milestone leveling and the included stat blocks for creatures do not necessarily match or even appear in the 5e Monster Manual, nor do they have XP values or challenge ratings. In some places it will reference rules used in the Playtest but dropped or changed in the 5e release, these are unlikely to substantially impact gampley with 5e rules.

Azaketh, a sly and industrious devil, prepares his revenge against his bitter enemy Zirkex. Naturally, the mortals affected by his schemes are mere pawns to further his goals. It is up to the heroes to stop Azaketh in his tracks before he takes control of a powerful weapon – Logrimm’s Tower Golem. The Tower Golem is an adventure designed for 3-7 2nd to 4th level characters and is optimized for five characters with an average party level (APL) of 3. It's the second and final chapter of the saga about Logrimm’s Tower Golem. The first chapter The Soulmonger isn't necessary to play The Tower Golem but it sets up the villian Azaketh and introduces NPCs that can help the characters conquer the Tower. The focus of The Tower Golem is set on roleplaying and interesting fights. In theory, the Tower is an infinite web of rooms and portals that the characters may never escape. However, eventually, the characters reach the end for one final encounter. You can change, interweave, or exchange the different parts as you see fit. There are several proposals and fully fleshed out levels in this document, but you may add your own adventures to the list!
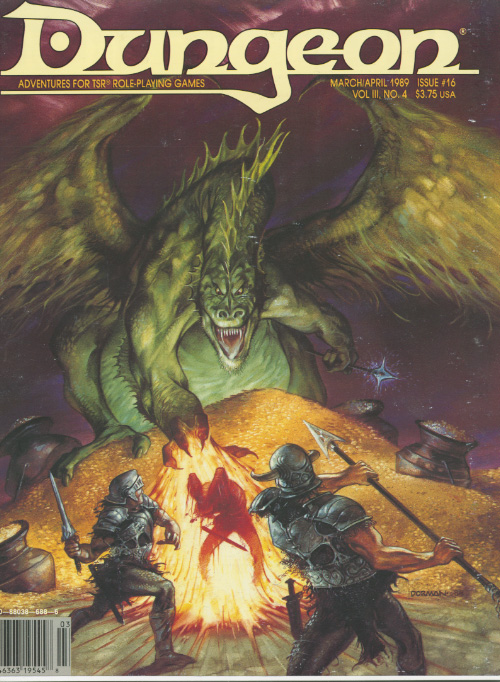
The giants are only a half-mile away - straight up. Giants and humanoids that sail down from the heavens? Where could they be coming from? No base town or general area map has been provided, as this adventure can take place anywhere and can be easily integrated into any existing campaign.The DM should make sure that the town in which the PCs start is large enough to provide most anticipated supplies, spells, and services. This module is not a simple hack·and slay expedition. It also involves diplomacy and wit; if the PCs attack everything in sight, they may be destroyed. But the adventure is not entirely negotiation, for it has a good share of hearty dungeon exploration as well. Pgs. 4-23

Heavy mists have plagued the area around Phlan for weeks, even after the reported death of Vorgansharax, the Maimed Virulence. People have been disappearing in those deadly fogs, and now dead bodies are turning up. A D&D Adventurer’s League adventure set in the Quivering Forest.

Desolate and abandoned, the evil alchemist's mansion stands alone on the cliff, looking out towards the sea. Mysterious lights and ghostly hauntings have kept away the people of Saltmarsh, despite rumors of a fabulous, forgotten treasure. What is its sinister secret. Made for 5-10 character of levels 1-3, contains maps, handouts and encounter descriptions. The Sinister Secret of Saltmarsh is the first installment in a series of three modules designed and developed in the United Kingdom for beginning adventures with the AD&D rules. TSR 9062

Built high on cliffs overlooking the confluence of two rivers, Gurthap Keep was a bastion of strength and a haven for the Cult of the Red God. Here, priests of old sacrificed over the tomb of long dead Kha M Thir, honoring him for his long service to the Red God. They added bastions to the keep, walls, a temple and barracks. From there they terrorized the surrounding country, raiding the villages of Alice, Greenbriar and Ends Meet until at last the rangers gathered against the Cult and overthrew it. They drove them from their walls and those they did not slay, fled into the Darkenfold to the south. The castle has sat thus ever since, a grim testament to the gods of the old world. The forest has consumed it and only the memories of men keep it alive. But within its abandoned walls lie the shadows of yesteryear. For the tomb of Kah M Thir was never found and the secrets of the priests of the Red God never fully revealed.
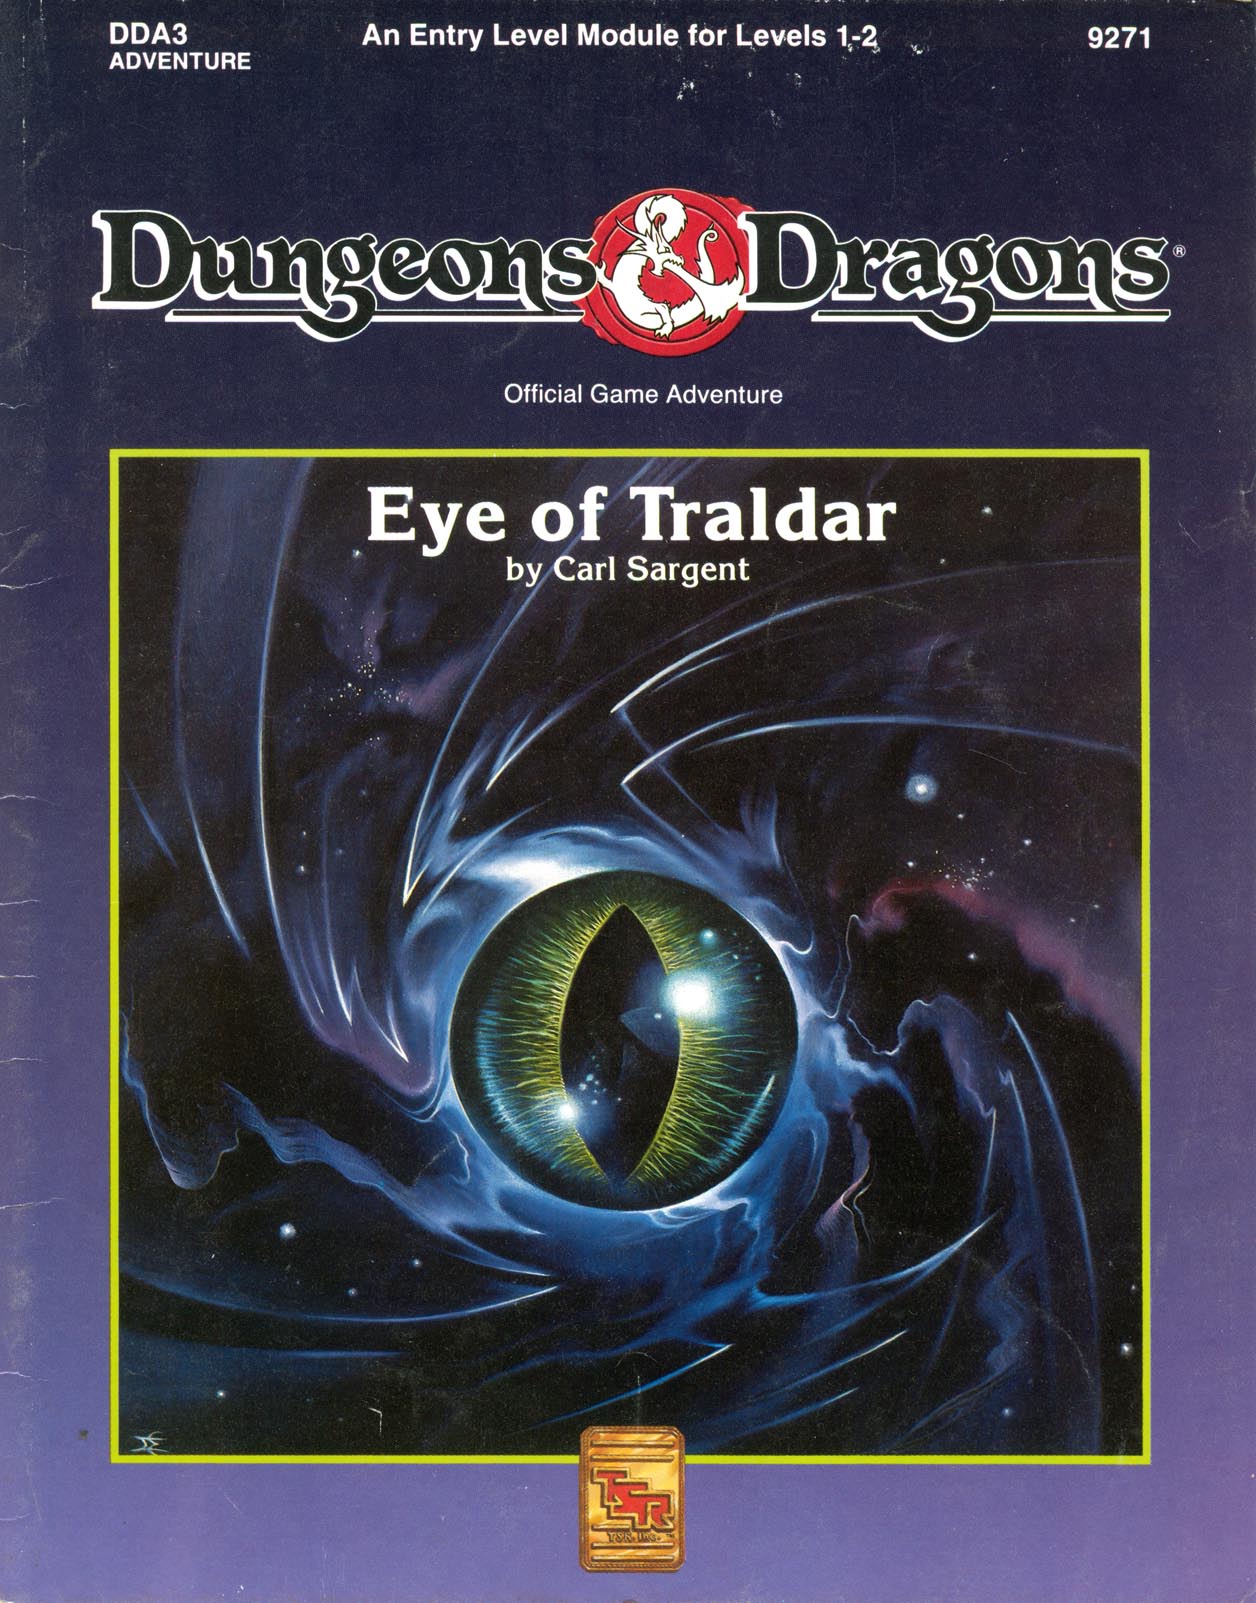
Powerful Magics are Loose in Karameikos! You and your companions are starting on your first adventure and you've been swept into the intrigues surrounding the infamous Black Eagle Barony. To prevent the evil Baron von Hendricks from gaining more power, you and your cmpanions must retrieve the magical Eye of Traldar from the wizard's tower at Fort Doom. Can you escapes the clutches of the armed garrison? Will the Baron gain the powerful artifact and use it for evil? You and your friends make the choices and affect the entire Grand Duchy of Karameikos. This module is particularly recommended for novice Dungon Masters and players who want to try their hand at overland adventuring. Recommended for four to six characters, levels 1-2 Handouts and pregenerated characters provided Suitable for use with the Dungeons & Dragons Game box and conventional D&D Game rules Features simple rules on outdoors travelling for exclusive players of the D&D Game box Adventure in the monster-filled caverns and dungeons beneath Fort Doom. TSR 9271

Laugher’s Gorge occupies a stretch of the canyon that runs through the local badlands, named for the haunting laughter that occasionally erupts from its depths. When travelers using the road past the gorge become infected with cackle fever, it’s up to the party to find out what’s causing the mysterious laughing sickness. Though they find a pack of gnolls infesting the canyon, it’s no joke when they discover who (or what) is pulling the strings! Laughter and humor are central themes in No Laughing Matter. The players are met with the will of a prankster god, riddles to solve, and may be forced to come up with some jokes of their own. But this isn’t an adventure to take lightly. If the party underestimates Laugher’s Gorge, they may find themselves infected with cackle fever… and there’s nothing funny about that! Dungeons on Demand is a line instant dungeons you can drop into your campaign, each is designed for 4-5 player parties of specified levels, and each dungeon is complete with a back story, hand drawn maps, traps, puzzles, and reference information to monsters and treasure. You can customize each one to fit in your campaign however you wish, and each one can be played through in one or two gaming sessions.

A Ravaged Land... Villains that really are larger than life... A time for heroes... A decade ago, the land of Geoff was overrun by a horde of giants, ogres, and evil humanoids, its people either slain, enslaved, or driven into exile. Now at last the tide has turned. The time to free the people of Geoff from their servitude to the giantish tyrants has come! But don't forget to watch your step when you confront the true masters behind the giant Clans! Contains the full text of three classic adventures by Gary Gygax: G1, Steading of the Hill Giant Chief; G2, The Glacial Rift of the Frost Giant Jarl; and G3, Hall of the Fire GIant King. Details Eighteen new encounter sites in the war-torn land of Geoff, linked together to form a grand campaign. Provides dozens of hours of gameplay as the heroes struggle to free an entire country from the grasp of giant overlords. TSR 11413

The Raiders’ Hideout is a series of underground chambers (or perhaps the interior of a pyramid) that serves as a base of operations for a band of gnoll desert raiders. The PCs have come to exact a measure of justice for recent brutal caravan raids. They’ve tracked the gnolls to their lair, where they intend to end the threat to desert trade once and for all. Pgs. 30-35

The adventurers are asked to search for a local temple official who has not returned after leaving to search for a hidden treasure vault. On their way, they are attacked by some Kobolds and chase the fleeing monsters to the hidden entrance. The adventurers explore the ruins and discover what has become of the missing temple official.

This material was originally published as three separate adventures: G1 (STEADING OF THE HILL GIANT CHIEF), G2 (THE GLACIAL RIFT OF THE FROST GIANT JARL), and G3 (HALL OF THE FIRE GIANT KING). Contained herein are referee notes, background information, maps, and exploration keys for three complete adventures using the ADVANCED DUNGEONS & DRAGONS rules. This module can be used alone or as the first in a series of adventures that includes Dungeon Modules D1-2 (DESCENT INTO THE DEPTHS OF THE EARTH), D3 (VAULT OF THE DROW), and Q1 (QUEEN OF THE DEMONWEB PITS). TSR 9058

Devastated in a war with a nearby wizards' school, the Fighters' Academy has since been surrounded by a foul and dank swamp - the Gloomfens. Since the climatctic battle between the wizards and fighters, the tower has decayed. The spirit of the head of the academy haunts the building, eternally plotting his revenge on the wizards who killed him. his loyal sutdents remain faithful to him even in death. Other foul undead have made their home in the rotting, spacious academy. From their lair, they make forays into farmsteads near the swamp in search of victims to feed their unspeakable appetites. The Problem of these terrible attacks by the savage undead will not stop until the evil that has found a home at the tower is burned from the face of the land forever. Will your party heed the call and help the town of Melinir? Will they be able to clear the former Academy of its undead? Towers of Evil is the second in a three part adventure, The Haunted Tower. Or, it can be ran as a stand alone adventure. The choice is up to you. Part of TSR 1081 The Haunted Tower

On the border between Anuire and the land of the Khinasi, the Three Brother Mages fight an ancient and immortal awnshegh, the Chimera. The game of cat and mouse has recently begun to draw regents from the entire region. Rumors say that the blade of the last Anuirean emperor, the Sword of Roele, has been tracked to the Chimera's domain, the Chimaeron. The fact that the Gorgon's armies are mustering in Kiergard seems to support the rumor. But choosing sides between the Chimera and the Three Brothers is not easy matter. If the chimera drives the Brothers out, the trade routes through the Chimaeron may be sealed, leaving the seas free for the Khinasi to monopolize trade. If the Brothers drive the Chimera from the magical sources that give her strength, they may establish a beachhead for the Khinasi traders, who are slowly gobbling up the lands of Anuire just as their own lands were once annexed by the empire long ago. Who will you and your comrades ally yourselves with? Who is the true enemy? Can you recover the Sword of Roele before anyone else does, and lay claim to the Iron Throne? This Birthright adventure is suitable for use with any party of three to six characters of levels 5-8, including at least one regent. You must have a copy of the AD&D game rules, the Birthright campaign setting, and the Cities of the Sun campaign expansion to play. TSR 3118

"Gnolls have captured the heroes! After stripping the characters of all equipment except their armor and clothing, the gnolls drag them to an expansive briar maze known as the Twisted Thickets and set them loose. Then, armed to the teeth, the gnolls hunt down their prey. The characters must survive the hunt and outwit their pursuers. Stripped of your armor and weapons, you are cast into the Twisted Thicket and hunted like rabbits. If you want revenge, you must first survive Yeenoghu's evil Hunters. After dealing with the gnoll hunters, the heroes can try to reclaim their lost equipment and exact revenge on the tribe, which lairs in the caves beneath Dead Gnoll’s Eye Socket." Pgs. 2-14
The party is enlisted to assist the Righteous Host, an army formed as a last resort to defend the world against the monsters of Elemental Evil. The host is greatly outnumbered. Its leaders send the party on a series of missions, each of which will give the Righteous Host an edge in the great battle to come. This epic adventure ends with the final push against the forces of Elemental Evil in the Meadows, and the outcome is informed by how effective the party is in their missions... and whether they are willing to risk putting themselves in the front lines. If the Righteous Host loses, players may decide to travel to Hommlet or other nearby towns to defend them. Whether the host is successful or not, players can decide to follow many different plot threads: exploring the Temple of Elemental Evil, finding the lich Kell the Eldest's lair and destroying his phylactory, or following the will of Bitbaern's Shield and discovering historical sites that were previously lost. Pgs. 44-69

Into the Drachensgrab Mountains! Hot on the trail of the marauding slavers, you and your fellow adventurers plunge deep into hostile hills. Spurred on by your past success, you now seek the heart of the slaver conspiracy. But hurry! Your must move quickly before the slavers recover from your previous forays and attack! This module was originally used for the official Advanced Dungeons & Dragons Tournament at Gen Con XIII and is the third of four in a series of related tournament modules. This module contains a challenging scenario, the tournament scoring system, plus nine pre-rolled, playtested tournament characters. Also included are large scale referee's maps, notes, and background information. A3 is a complete adventure in itself, but it is also a companion to A1 (Slave Pits of the Undercity), A2 (Secret of the Slavers' Stockade), and A4 (In the Dungeons of the Slave Lords). TSR 9041