
Content in English / Contenido en Español Mini Hex is Hex Crawl that can be played in one session, its ideal to show your players what a hex crawl is about. It may serve simple purposes as finding some rare flowers in the forest, the location of a ritual in the city or the cave with the treasure in the hills. This module contains: 3 scenarios. 18 combat encounters for levels 4, 7 and 11 characters. 30 obstacles encounter of varying difficulty. More than 100 traps variations. Aids for easy setup. Area and battle maps. A couple of interesting mechanics to make your game feel fresh. Mini Hex es Hex Crawl que se puede jugar en una sesión, es ideal para mostrar a tus jugadores de qué se trata un rastreo hexadecimal. Puede tener propósitos simples como encontrar algunas flores raras en el bosque, la ubicación de un ritual en la ciudad o la cueva con el tesoro en las colinas. Este módulo contiene: 3 escenarios. 18 encuentros de combate para personajes de nivel 4, 7 y 11. 30 obstáculos ambientales de diversa dificultad. Más de 100 variaciones de trampas. Ayudas para prepara rápido y fácil una partida. Área y mapas de batalla. Un par de mecánicas interesantes para que tu juego se sienta fresco.

WE-1: Red Dawn: An Eberron adventure about the end of the world. The year is 1019 YK, and the world is ending. Twenty-three years ago, the nations that were once Galifar signed the Treaty of Thronehold and ended the Last War. Now, the drums of war rumble once again. The peace that lasted a generation is threatened, and Eberron may go to war once again. As a member of the Scions of the Second Dawn, a secretive order dedicated to studying the Draconic Prophecy, this is merely background to you. Or, it was, until the eve of your initiation as full Scions. You emerged from the rite to find your monastery destroyed, bandits looting it, and all your friends and allies slain. You are the last survivors of your order, and the world is ending. You cannot stop the end of the world. But you can rebuild it. Can you escape the wreck of your secret order’s monastery, journey across the mountains in winter, search the mountain valley to unlock the cipher, and discover how to rebuild the world? Or will your frozen bodies join those of your fellows? Will you fall to fatalism and ennui, or will you fight to save what can be saved and rebuild what can be rebuilt? Find out, in the light of this RED DAWN.

Agents for the Mayor of Kleine have discovered the stronghold of the Red Hand goblins deep within the Burning Hills. They have also discovered that the goblins are forming an alliance with local hobgoblin and bugbear tribes to sweep the humans out of Thunder Rift forever. The PCs must reach the lair before the hobgoblin and bugbear agents return to their own tribes. if the envoys do not return, the tribes will assume that the goblins murdered them and attack the goblins instead of the human settlements. In this way, the humans of Thunder Rift gain some unexpected allies against the Red Hand goblins. This is the most dangerous and demanding of the three adventures in this set. It is recommended that you play it after Red Hand Trail and Trouble Below. However, it can stand alone as an adventure in its own right if you wish. Part of TSR 1076 The Goblin's Lair

"Men and women walk the streets of Stonefoot, but the laughter of playing children is nowhere to be heard. Over the past year, the village's children have gone missing in the middle of the night. Who will uncover the mystery of these disapearances and stop the curse before it leaves Stonefoot without a future?" From the DMsguild description. The party is tasked with saving the last child in the village and eventually retrieving the kidnapped children. The villains first appear to be goblins, but after a hunt and a fun teleportation maze, they find out a human mage is behind it. The mage has been transmuting the children into human-goblin hybrids.

The Dwarven clans are in chaos, and a powerful host of goblins stand poised to sweep over the land in a wave of death and terror. Only the Axe of the Dwarvish Lords- one of the most powerful weapons ever created by the dwarven race- holds the key to ultimate victory against the massing humanoids. Can the PCs brave the labyrinth of an abandoned dwarven stronghold to find the Axe? TSR 11347

Important: The adventure is 1e but it has monster conversion notes for D&D 4th edition The town of Highport, once a human community overlooking Wooly Bay from its perch on the northern coast of the Pomarj, fell prey to hordes of humanoids swarming out of the jungle-covered hills surrounding the settlement. Though the orcs, goblins, kobolds, ogres, and gnolls razed much of the place in their ferocious rampages, the smoldering ruins they left behind soon became a new kind of community, a place of trade between the humanoid “locals” and the unsavory human traders who have no compunction about doing business with them. Slaves are a commodity in ready supply in Highport’s market, since many pirates raid up and down the coast of the bay, putting fishing villages to the torch and filling their holds with captured refugees. Slavery has become a thriving business in the town, and rumors abound of a cartel of Slave Lords who run things from behind the scenes, filling their coffers in secret from the buying and selling of human chattel. The trade has become so prolific that the good folk to the north have grown tired of these depredations and decided to fight back. Forces of righteousness and honor have recently descended upon Highport, some openly and others in secret, in various attempts to destroy the machinations of the Slave Lords and abolish the abominable enterprise that has taken far too many loved ones from home and hearth. One such doughty servant of goodness is Mikaro Valasteen, a cleric of Trithereon. Mikaro slipped unnoticed past the crumbling walls of Highport with a single mission: to rescue and transport as many slaves to their freedom as possible. Mikaro and a handful of faithful assistants located a number of escaped slaves—as well as rescued a few more not sufficiently restrained and guarded—and shepherded them through the gates and beyond the reach of their humanoid tormentors, returning them to their lands and homes. This covert freedom brigade enjoyed remarkable success early on, since the servants of the Slave Lords were often lax in their vigilance and sloppy in their efforts to prevent loss of the “merchandise.” After one too many shipments never made its destination, the humanoids stepped up their security and the normal channels of escape from Highport closed to Mikaro and his team. He cannot risk exposure by smuggling the freed slaves through the gates as merchandise any longer, since shipments of goods are now regularly stopped and checked. No longer able to free the slaves in that manner, Mikaro began hiding his charges in an abandoned villa in a particularly rundown part of the town. Although they are safe for the moment, their numbers have grown unmanageable, and the priest fears it is only a matter of time before someone slips up and brings slavers to their doorstep. Ever more desperate to find a new means of escape from Highport, Mikaro has started work on a plan that is both daring and dangerous. He intends to use a series of old sewers coupled with natural caverns running beneath the town as an escape route to the sea beyond the walls. But he needs someone to clear out the creatures and pitfalls he knows lie within. Pgs. 2-27
This Digital Quarterly is built around a series of four micro-dungeons that can be used as an introduction to The Roslof Keep Campaign for characters just starting out. These dungeons should allow for a small group of players to not only become familiar with each other but also gain a level before taking up the banner of the Ivory Scimitar and entering Mithelvarn’s Labyrinth. As Roslof Keep is built around characters being asked to take up the Ivory Scimitar banner, it makes sense that they wouldn’t be completely ‘green’ and also might have gotten a bit of a reputation within Daern Kelton and Roslof Keep as trusted adventurers who are looking to help out the locals. This reputation can be used to bring The Folio: Digital Quarterly #6 the characters into the sights of House Aldenmier and, therefore, push characters into the campaign on a more realistic basis. It should also be noted that beginning Dungeon Level 1 with a level of experience is something that will be invaluable to the party and the early stages of the campaign. This adventure is formatted to both 1E & 5E gaming rules.

Somewhere ogre the rainbow.... You and your fellow humanoids are going to be diplomats! Can you say "disaster?" I knew you could. This module is made for humanoid monster PCs created with GAZ10 (The Orcs of Thar Gazetteer). That module is required to play through this adventure. The players start in the village of Flooshpragh, which acts as the horde center for the Rude Mongrel tribe of goblinoid races. Unknown to the players, the tribe has grown unmanagebly large, and the chief has marked the players as expendable individuals! Many subtle clues exist throughout the module to clue the players into this betrayal. The adventure proceeds through a town with roleplaying opportunities, a tower dungeon, and finishes by the players unknowingly pranking a human wizard. Pgs. 50-64

What links an infamous Zhentarim mercenary with a brilliant but tormented artificer? To find out, the adventurers must break the goblinoid siege of the village of Westfir. After the bizarre goblins are defeated, the Cornflower Hive must be destroyed. Ultimately, what secrets are held in the grain mill by the Westfork river? A D&D Adventurers League four-hour adventure for 1st-4th level characters.
Adventures in Hawk's Rest is a love letter to low-level D&D: Studio Ghibli meets the Shire meets Lost Mine of Phandelver. An open-world hexcrawl for characters of 1st to 2nd level, Hawk's Rest is intended as a prologue to a longer campaign, with seven keyed adventure sites and fantastic maps by Dungeon Baker (How to Defend Your Lair, The Lazy DM's Companion). Hawk's Rest is written for new and veteran players alike but avoids the usual pitfalls associated with 1st-level adventures: not only are encounters balanced to avoid character death, but most combats can be avoided entirely with clever roleplaying.

A four-hour adventure for 5th-10th level characters. The enemy is revealed, but time short and if you are not successful in your mission to Mount Baratok, love will never die. Part fourteen and the finale of Misty Fortunes and Absent Hearts. In an effort to locate the evil witch Esmae Amarantha, the party must work to enable a tarot card reading by Jeny Greenteeth, a quixotic hag. However, finding casters to aid Jeny in her ritual is its own ordeal, and even if they succeed, there is still the task of venturing to Esmae's ritual site and putting a stop to her plans.

In the deep, it has awoken. Hidden in the ruins of an old dwarven kingdom awaits a powerful relic, and an army kobolds are on the march to retrieve it. Dare the heroes enter this ancient place, and will they find the relic before the army arrives. In a race against time the adventures may unleash the greatest evil, while trying to save the world from a grim fate. Tomb of the Dragon's Heart is a low-level OSR adventure suited for Labyrinth Lord and other oldschool retro clones. The adventure was originally written for the Danish Living Campaign The Hinterlands, and it is for the first time presented in English. The adventure introduces the players to a different tradition of adventures, and it one with a focus on exploration and encountering the unknown. The adventure contains new magical items and relics and new monsters to challenge your players. Tomb of the Dragon's Heart also functions as a prequel to The Flooded Temple and to Grave of the Heartless. Published by Greis Games.
A free adventure for the Pathfinder RPG, focusing upon a city ravaged by a natural disaster and besieged on all sides. Party levels 4-5 will face off against a half-dragon, half-demon overlord known as Ymial, a demonic seductress, goblin warbands, and drow slavers beneath the ground all while trying to discover the secrets of the city of Fairhaven. Works well for players who are looking to visit a large town and face off in a high-stakes conflict even at low levels. Includes lots of details on the town, from rumors to residents.
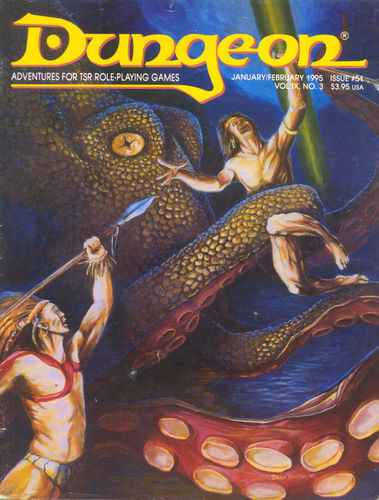
A search for the ghostly dragon of the Deadwaters. The sage's deal is simple: The more you learn about the dragon, the richer you get. In this adventure, the bard Rondelle offers players rewards for learning all they can about a mysterious dragon that has been sighted in the area. Pgs. 22-38

Nobody complained when the raids by goblins stopped. Until word got around that the monsters had been slain by other monsters! Our heroes have been sent to investigate and remove any remaining threat. Published by Fortiter Games.
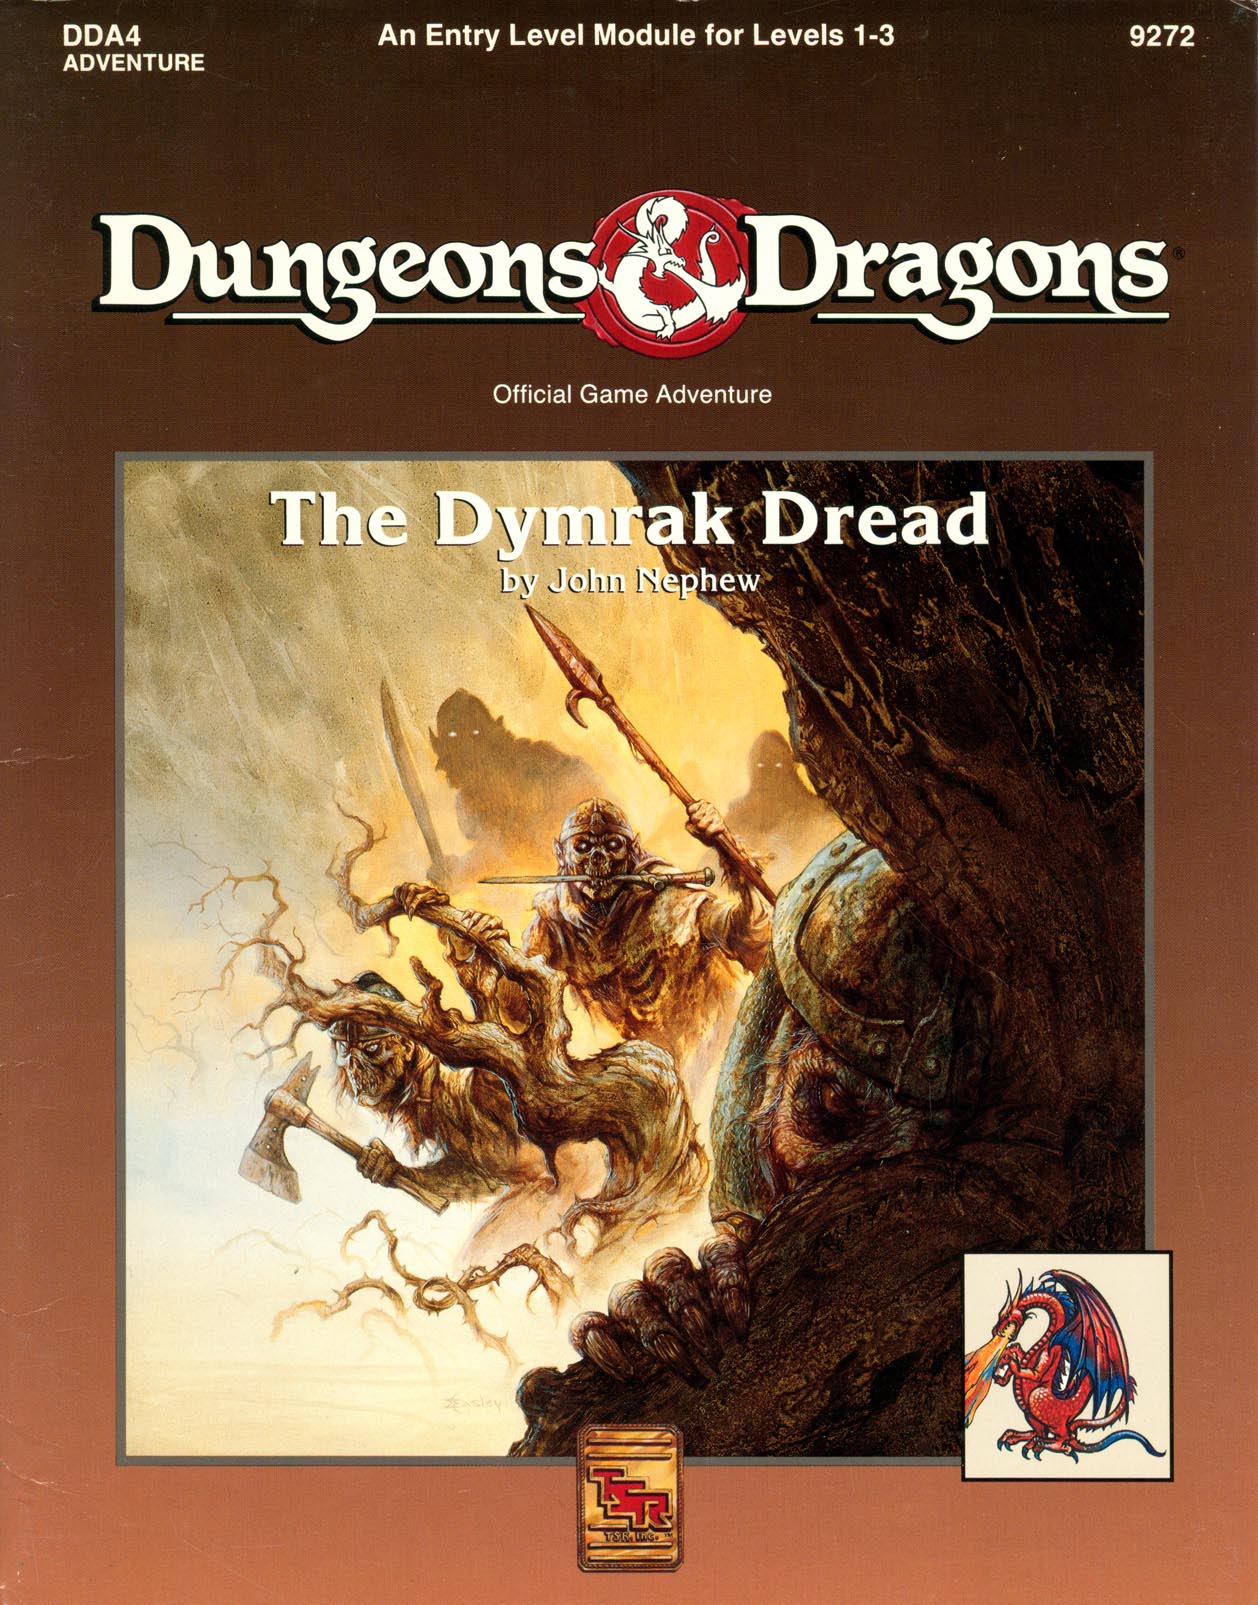
Adventure Lies Ahead, Deep in the Heart of the Dymrak Forest Are you ready to meet the Lord Forester's challenge: to put an end to needless death and destruction by doing away with the goblin war chieftain, Kosivikh, and his evil band of raiders? Eager to prove yourselves as new adventurers and to collect a sizable bounty, you travel to the goblins' dungeon in the Dymrak Forest - a place that has captivated your interest for years, a place where few have dared to venture. Only you and your fellow adventurers can put an end to the rampant bloodshed and return peace to the territory. This module is recommended especially for beginner Dungeon Masters and players who are interested in dungeon exploration. Can be used as a follow-up to the DDA3, Eye of Traldar module or it can stand alone Features easy-to-follow rules on dungeon adventuring in the heart of the Dymrak Forest. TSR 9272

Written in celebration of Swords and Wizardry Appreciation Day 2017, Return to Fel’Valashar picks up where Dungeons of Fel’Valashar left off. In this book is a collection of mini dungeon adventures with a small region called Fel’Valashar that they take place within. Each of these adventures is written in such a way that they don’t have any ties to each other or to Fel’Valashar. This means you can easily drop them into your own world with no fuss. Includes: Details of the south-western region of Fel’Valashar. Four mini dungeon adventures. New monsters. New magic items.

A galvanice weird has torn apart an Izzet laboratory in the Blistercoils. The weird’s path of destruction leads to Tin Street where the weird was spotted being subdued and taken aboard the notorious Palace of Pain’s Pleasures, a mobile Cult of Rakdos performance stage. To return the weird to its proper owner and discover the mystery behind its bizarre behavior the party must brave The Palace of Pain’s Pleasures! The Palace of Pain’s Pleasures is a 2-hour Guildmasters' Guide to Ravnica adventure for 2nd - 3rd level characters. Picking up where Off to a Weird Start left off, this adventure is designed to be part of an ongoing campaign. For Dungeon Masters who wish to incorporate The Palace of Pain’s Pleasures independently from the ongoing story, 20 Adventure Hooks (two for each guild) are included, giving The Palace of Pain’s Pleasures flexibility for one-shot play or for inclusion in your own campaign! The Palace of Pain’s Pleasures contains: A new location that is also a magical construct. New trinket tables for the Cult of Rakdos. A new NPC antagonist (or contact), Ophyira, the star performer of the Palace! Two new magic items. One new spell. Discover the secrets of The Palace of Pain’s Pleasures TODAY!

A fiend lurks among the Black Blade goblins. A shapeshifting barghest fashioned by the General of Gehenna to exact revenge on all goblin-kind. It’s aim: to kill as many goblin leaders as possible… A masked goblin approaches the party asking for help. Two tribe leaders are dead. But a rival for chief has control of the crime scene. Will the party discover the barghest among the goblin ranks? Can they stop this imposter before it strikes again? Adventure Overview The adventure’s story is spread over 4 parts and takes approximately 4 hours to play. The adventure begins with a Call to Action scene. Part 1: Goblin Politics. Krill sends his emissaries to implore help from any strong intermediary. The party is asked to investigate the murder of Thrawn in Dringly’s lair. This is Story Objective A. Part 2: The Opposition. Gain entry into Dringly’s lair and investigate the murder of Thrawn. Gather enough evidence to find the killer. This is Story Objective B. Part 3: To The Lair! Now that the players have determined the barghest (Yeep) is to blame, they need to get to Krill’s lair quickly as he is in imminent danger. This is Story Objective C. Part 4: The Barghest.When the players arrive at the lair, they need to get to Krill and expose and defeat the barghest. This is Story Objective D. Adventure Background A barghest named Yeep has begun its onslaught of attacks against the Black Blade goblins. Starting with Chief Gnar, then his second in command Thrawn, the barghest is moving methodically down the line of command. Krill is now chief. But he has some problems: Two leaders of the Black Blades are dead. Who killed them and why? Is he next? Dringly, the next in command, has decided to take his lair for himself, declaring himself Chief of the Black Blades. Who are the Black Blades? The Black Blades are a tribe of goblins in the local area. They are known for dipping their blades in a dark black substance. It is rumored these blades are poisonous. The Black Blades regularly attack passersby on the road to rob them. The Black Blades have two lairs, one run by a chief who leads the whole tribe, and another overseen by a boss lieutenant. The Black Blades have a well-established pecking order which is how Krill stands to become chief. The next in line is Dringly, who has also declared himself chief and wants Krill dead. Krill suspects that there is something suspicious about two leaders being killed within a day of each other, but he has already burned Gnar’s body without any investigation. He needs to investigate the body of Thrawn, but it is in Dringly’s lair. Krill wishes to avoid direct confrontation with Dringly at the present for three reasons: 1) Any violence would only kill his own tribe members and further divide the lairs. 2) He believes there is still hope for negotiation to reunite the Black Blades. 3) He believes that if he were to attempt negotiations himself, Dringly would kill him. This adventure features: Two maps. Ready for your favorite Virtual Tabletop. A full color pdf. A black and white pdf. One custom monster, a reprint of barghest, all others available in the Monster Manual. Four hours of entertainment involving: roll playing a goblin bard, investigating a murder scene, tracking down a barghest before it strikes again. Applicable to any setting.
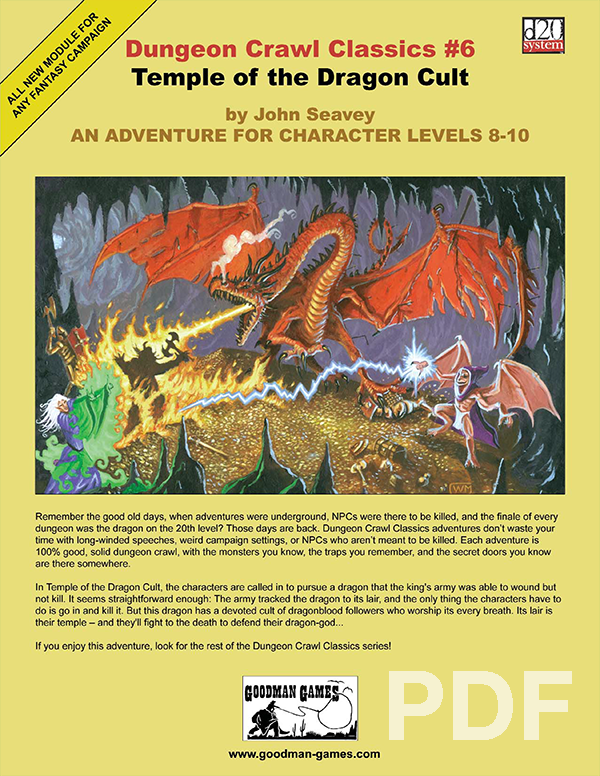
In Temple of the Dragon Cult, the characters are called in to pursue a dragon that the king’s army was able to wound but not kill. It seems straightforward enough: the army tracked the dragon to its lair, and all the characters have to do is go in and kill it. But this dragon has a devoted cult of dragonblood followers who worship its every breath. Its lair is their temple — and they’ll fight to the death to defend their dragon-god…