
In "The Brazen Bull," whilst traversing one of the seedier neighbourhoods of Khromarium, your party are solicited by a greasy-haired Pict. He offers to sell you a sheaf of magical lotus that allows one to see the future or to brew potions that empower the imbiber with sorcery. He beckons you to follow Jeffrhim into a dilapidated building ...

Irtep’s Dish is an adventure for characters from 6th to 8th level. This adventure requires the skills of a rogue or some other expert at traps, a cleric or character that can heal allies and offer beneficial bonuses to the team, a wizard or other master of the arcane arts, and a fighter to take care of “the heavy lifting.”

In part one of the Randal Morn Trilogy, "The Sword of the Dales," the legendary leader of Daggerdale, Randal Morn, was captured by unknown assailants as he sought to regain the great weapon for which that adventure was named. A stalwart band of enthusiastic heroes was recruited to ride to his aid, yet all they recovered was the Sword itself and a message: "Seek me in Spiderhaunt Wood." In the second part of the trilogy, "The Secret of Spiderhaunt," those same adventurers found Randal and freed him briefly, yet he was almost as quickly torn from their grasp by an agent of the evil Zhentarim, seeking to end the threat of Randal Morn's return to power. In this final episode, the heroes must follow the kidnapper's trail and rescue Randal Morn again before the Zhentarim finish interrogating him and the axe falls upon his neck. Armed with the Sword of the Dales and aided by a powerful spirit that lives within the weapon, the heroes must march into the heart of Zhent-occupied Dagger Falls, free Randal Morn, and save the city from utter destruction. The job is dangerous - perhaps more than the heroes can handle - yet those who would live in songs and legends cannot concern themselves with living to a ripe old age! This is the final part of a trilogy of modules that began with "The Sword of the Dales" and "The Secret of Spiderhaunt." TSR 9488

"The Alchemists' Guildhall" is a rusalka lair suitable for four or five 6th-level characters. This adventure can be completed in one session.

England, 1620. To strike a blow against the Patriarchy, six women perform a dangerous rite in an abandoned priory. Through dance, they commune with Terpsichore, Greek muse and patroness of dancers. Starving demons slither across the moors; monstrous nuns shriek in the infirmary; and within the Attic, a great unraveling awaits. The fate of the world rests in the hands of the players. Will they bring about an egalitarian utopia? Will they skulk away in the night, pockets bulging with treasure? Will they bring about the destruction of all things? Will they find the Tract of Teratology, a randomly-generated creature-summoning ritual with 3.6 quadrillion combinations? After this adventure, nothing will be the same. An adventure for Lamentations of the Flame Princess Weird Fantasy Role-Playing and other traditional role-playing games. Writing by Rafael Chandler Cover Art by Jason Rainville Interior Art by Jason Rainville and Ian MacLean Cartography by Ian MacLean Layout and Design by Sarah Richardson

"Wherein the local clergy makes the terrible mistake of not hiring enough assassins for the job." Synopsis: The heroes have just returned from the abyss (Occipitus) and reestablish themselves in Cauldron, when they are assaulted by a group of professional assassins. After they repel the attack, they trace back the lead to the temple of Wee Jas, where they find plenty of opposition from the second in command, Ike Iverson. After dispatching of the cleric and securing of a (spare) soul cage, the group finds evidence of a place important to the cagewrights' cause - an ancient underground complex named Karran Kurral. Mounting an expedition to that place, they find more evidence towards the horrific destiny on schedule for Cauldron. However, they gain access to the Soul Pillars after defeating a dracolich, that they can use to gather plenty of intelligence on the cagewrights' plans. Pgs. 12-51

The Assassin's Knot is a sequel to The Secret of Bone Hill, picking up on themes from that module and shifts them to a new locale. The player characters must solve the mystery of who killed the Baron of Restenford, with evidence pointing to somebody from the town of Garrotten. The scenario describes the town and its castle. The Assassin's Knot module is different from most of its contemporaries in that it contained no dungeon or dungeon-like area. The longer the players take to find the murderer, the more unfortunate events occur in the village. The village, Garrotten, is reputed to be the place to go to have someone killed. The entire village shuts down when the Baron of Restenford is found dead, mutilated beyond the possibility of magical restoration. Three small clues are all the player characters have to unravel the mystery. TSR 9057

A ship captain, Alyse Carl, double crossed the Thieves Guild Ebonclad in the past. Alyse and her ship, the Spearhead, has recently returned to port in Kintalla. Seeing an opportunity, the guild sends out a crew of its newer members to settle the debt. The mission has three major objectives: to discredit the reputation of the trader captain Alyse Carl, to turn the goodwill of her crew against her, and to relieve her of ownership of her longship, the Spearhead. The party can use whatever resources it desires to complete the mission, but is under orders not to kill Alyse Carl.

A hunt for a missing key leads the heroes from the streets of the city of Greyhawk to the Tomb of Blood Everflowing in the treacherous Cairn Hills. Pgs. 18-20, 22 & 24-39
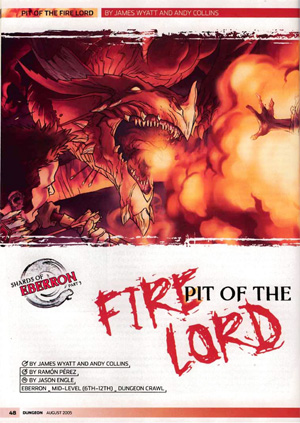
A madman hidden deep below Sharn plans to tear open a portal to the Sea of Fire. Can a band of heroes reach him in time to save the city from conflagration? The city of Sharn bakes in the grip of an intense heat wave. For most citizens, the temperature is nothing more than an annoyance. The scholars of the city know the heat is a sign of something more -- Fernia, the plane of fire, has drawn near. For one insane sorcerer, the heat is a sign that his revenge is at hand as he prepares to drown the city in a lake of fire. "Pit of the Fire Lord" is part three of the three-part Shards of Eberron Campaign Arc. Pgs. 48-59

In “Rescue at Rivenroar,” the player characters must brave the depths of ancient catacombs in search of prisoners taken from the town of Brindol in a midnight raid. The hobgoblins, bandits that style themselves after an invading horde from long ago, have taken refuge in a dungeon under a ruined mountain fortress, and the PCs must clear them out to find the captive townsfolk and the treasures taken from Brindol. “Rescue at Rivenroar” also marks the first step in a great journey - the Scales of War Adventure Path, which spans 30 levels and put the PCs at the crux of events that shapes the world for centuries to come. While the scope of this adventure isn’t as grand, it represents the seed from which an epic tale will surely grow. Pgs. 4-45

In ages past, the wizard Karavakos made a deal with devils, which resulted in him being trapped in an extradimensional pyramid, unable to escape. His only hope for escape is to lure adventurers into the Pyramid, in hopes that they will destroy his splinters and return his power to him. But his wife Vyrellis, whom he slew in a rage when the Pyramid formed, still lingers in spirit and wants nothing more than to see him laid low... Although set to allow PCs to just fight through each encounter, tips are included for PCs negotiating with the factions trapped in the pyramid.

Phandalin is a great location from which PCs can adventure. The information in this supplement can be used in conjunction with Lost Mine of Phandelver, After Lost Mine, other adventures set in and around Phandalin, or used to add more flavor to any town. Nine of the NPCs featured in this supplement can be found in Lost Mine of Phandalin and ten others were introduced in After Lost Mine, but each has added information. The rest of the material here is new. 2 New Backgrounds; 2 New Feats; 3 New Adventure Hooks
The Siege of Castle Rend is an adventure for the fifth edition of the world’s first roleplaying game, suitable for five 5th-level characters. It takes place over four parts, and each part can be completed in one or two sessions of play, depending on your group’s playstyle and how long you like to play in a single sitting. If all goes according to plan over the course of this adventure, the player characters will expose an usurping lord, fight orcs, acquire a stronghold, defend it from an invading army, win the admiration of a town filled with potential vassals, and make political connections within the Barony of Bedegar. Of course, no adventure goes according to plan. The PCs will invariably throw these well-laid schemes into chaos, and they’ll have to improvise. But if we know how things would have gone if the PCs never showed up (or are cowards), it makes it easier for us GMs to improvise when things go off the rails. Published by MCDM

Tortles of the Purple Sage - Part 2 completes a D&D Expert Set wilderness adventure which began in DUNGEON issue #6. Through the gate stones, into the unknown. This adventure takes place in the Known World of the D&D game, as outlined throughout the D&D game rule books and modules. The DM may find it useful to consult the Companion and Masters Sets, as well as most of the X-series of Expert Set modules. The DM may find it useful to consult the Companion and Masters sets, as well as most of the X-series of Expert Set modules. Expert Set module X9, The Savage Coast, would be especially helpful, as Tortles of the Purple Sage should easily serve to continue that module's direction and plot line, adding previously undescribed areas to the Known World. The DM may also place the areas and events of this adventure within an existing campaign setting, as long as the geographical areas of the campaign match those set forth here. Pgs. 8-25
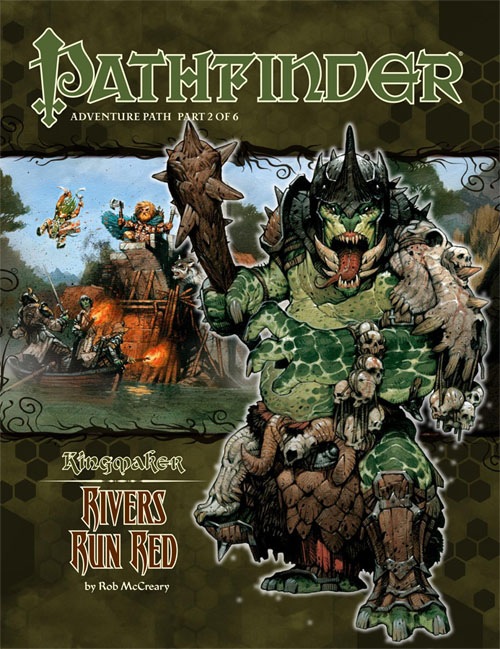
A Pathfinder Roleplaying Game adventure for 4th-level characters, this volume of Pathfinder Adventure Path is part 2 of 6 of the Kingmaker Adventure Path, in which the heroes win and defend a small kingdom from threats foreign and domestic. PCs should advance to 7th level by the end of this adventure. The PCs receive a shipment of funds, materials, and colonists from Brevoy and beyond, along with instructions to build a town and attract more pioneers to their nascent country. Having already explored the northern reaches of their new domain, the PCs must now venture into the wilds to bring the rule of law to the south. Wicked fey inhabiting a ruined keep, undead haunting an ancient barrow mound, and others must be defeated to make the region ever more secure. Along the way, the PCs might also have the opportunity to ally themselves with some of the region’s local residents, including the dryad druid Tiressia, her satyr consort Falchos, and a band of gnome explorers called the Narthropple Expedition. In addition, the PCs will be called upon to mediate between two rival factions in the area: a group of independent loggers and the angry fey sorceress who opposes them. As they explore, evidence that a group of trolls is stirring up trouble in the region becomes apparent. Meanwhile, the PCs must deal with events within their burgeoning kingdom—a rabble rouser seeks to oust the PCs from their positions of power, the secretive cult of the hag goddess Gyronna has infiltrated the town, and a werewolf is preying on the townsfolk. All of these events build to the adventure’s twin climaxes: the sudden assault on their capital city by an owlbear of unprecedented size and the expansion of Hargulka’s trolls into the north. Faced with danger on multiple fronts, the PCs must draw upon all of their resources and bravery to become the undisputed rulers of the Greenbelt.

The End of the World Is at Hand! A hideous death cult has seized control of an ancient artifact-monument known as Tovag Baragu. The power behind the cult is the Old One himself, Iuz the Evil, demonic master of an empire. He's on an all-or-nothing quest for supremacy over the world—and the heavens beyond. To stop him, heroes must face horrors never dreamed of, journeying to a shadowed city where Death rules and the living cower. Here, Iuz will achieve his mad dream by destroying the imprisoned master of that alien citadel: Vecna, the mightiest lich, an immortal demigod. Two items exist with the power to stop Iuz—the Eye and the Hand of Vecna—but using them carries fantastic risks. Not even the gods know what will be unleashed when these items are fully activated. Die Vecna Die! takes the heroes from the Greyhawk campaign to the demiplane of Ravenloft and then to the Planescape city of Sigil. However, none of the material from those settings is required for play. TSR 11662

A short adventure of human greed meeting weird horror with a quite messy outcome. An encounter set in a church, with a Shoggoth like eldritch horror as the Boss.

The carcass of a gigantic sea monster is now a small dungeon... Gargantuel was a gigantic sea monster (a whale? a prehistoric serpent? the Kraken? Leviathan itself?). She used to roam the high seas, destroying ships and devouring everything. Some of the people she swallowed survived in her belly. One of them, the sailor Torsti Seppänen, actually managed to turn the place into a comfortable habitat. One day, Gargantuel passed away. Her body now lies out in the open, luring the carrion-eater, the curious, the foolish. Strange creatures and artifacts await in the mounds of decaying flesh, and the insane Torsti Seppänen will do everything to defend his “home” from intruders. Statted for Lamentations of the Flame Princess, usable with any OSR type game. Hosted by eldritchfields.blogspot.com
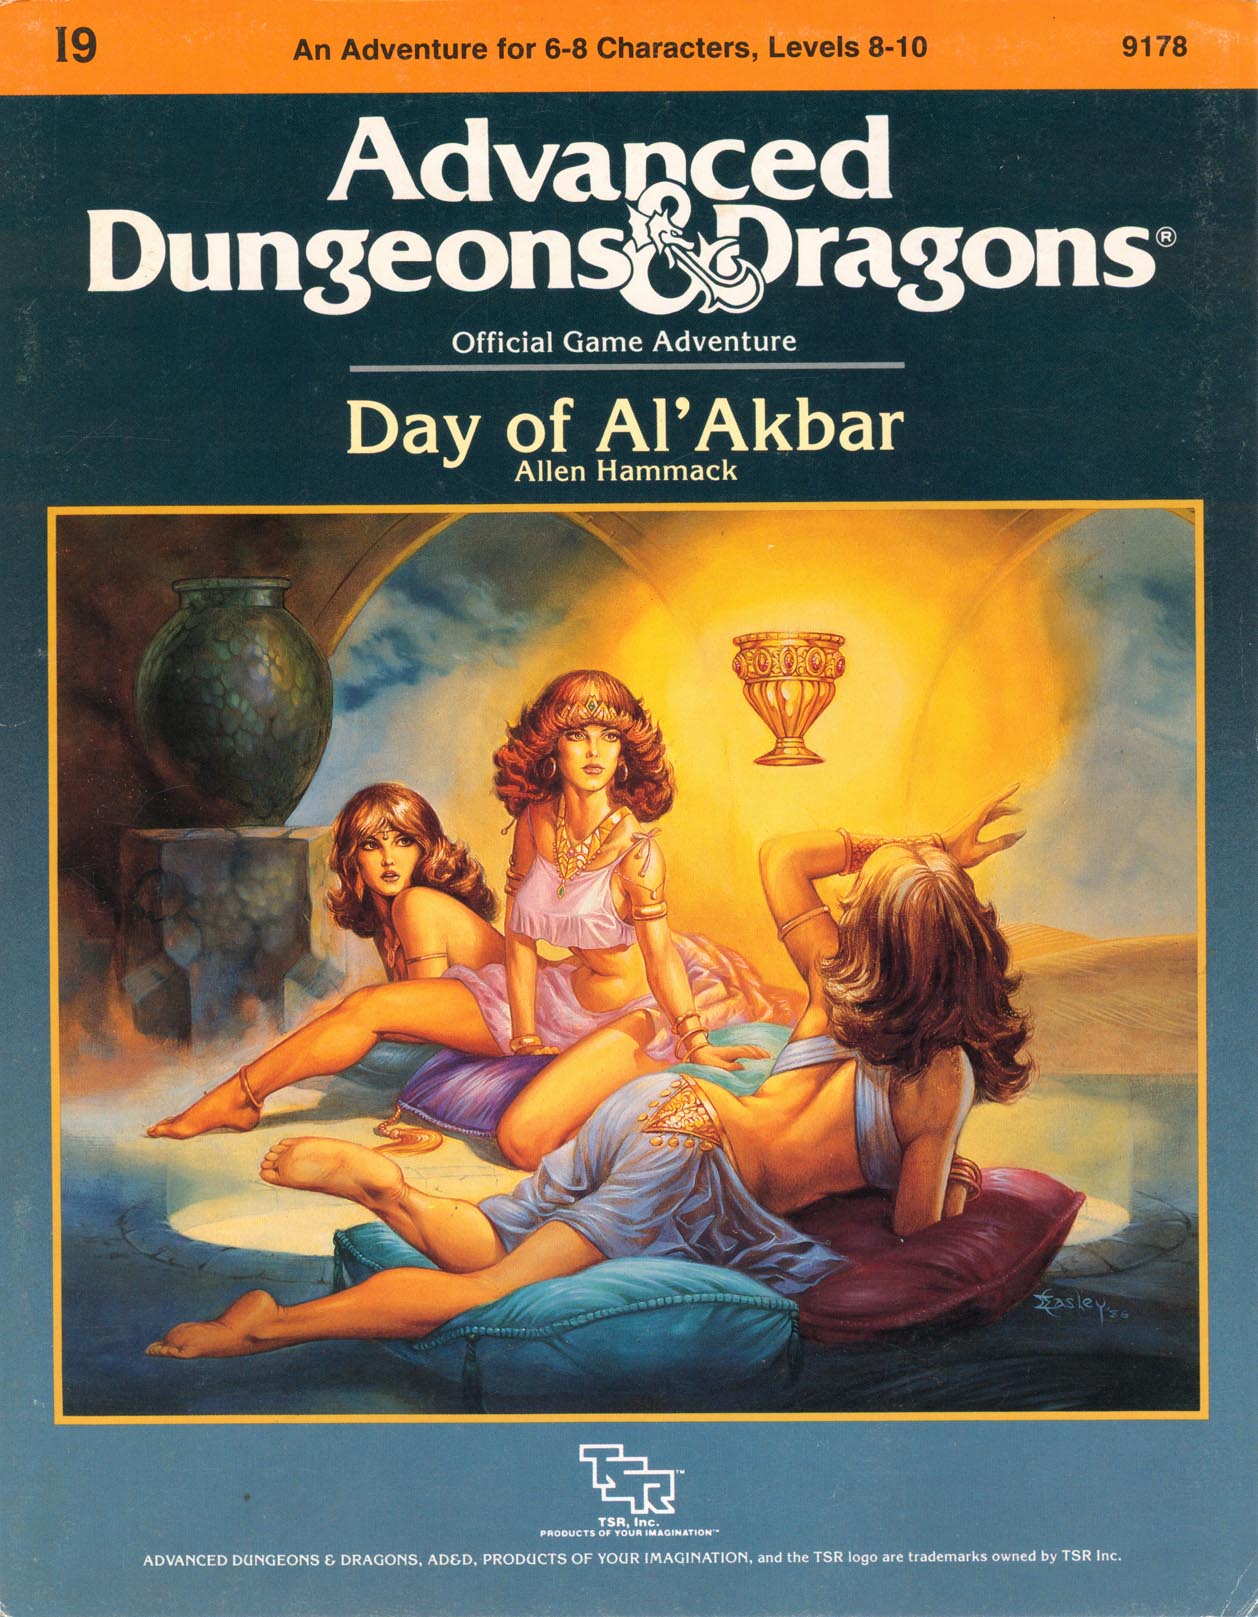
The land of Arir - a once peaceful desert country, dotted with oases, teeming with caravans - fell into the hand of infidels. The ruler, the dearly loved Sultan Amhara, was killed in the battle for the capital city of Khaibar. He left behind one of the greatest treasure stores ever amassed - jewels and coins, more than anyone had ever seen before or since - and in addition, the Cup and Talisman of Al'Akbar. A deadly plague sweeps your land. The holy men say that if only they had the Talisman, they could create cures for this dread disease. Many adventurers have tries and failed to find the Cup and Talisman. Now it is your turn. Find these treasures, and save your people! The journey is exciting, but treacherous. Do not be distracted by exotic sights and sounds, the strange foods. You must avoid being discovered by Al'Farzikh and his brigands, as you infiltrate the palace. Be wary - what is most beautiful may be most deadly, and what seems useless may be priceless. TSR 9178