The frost giants of the Ice Mountains have long held to the belief that a great Jarl will one day step forward to unite the families as Konung (king). With the Ordning shattered, Jarl Ryndölg believes that if he can locate Hartkiller’s Horn, a legendary artifact among giant-kind, he could be the one. He may very well have found what he is looking for. A great clarion call has echoed across the Hartsvale for two days, and the giants are all marching north, has Ryndölg done just that? A Four-Hour Adventure for 5th-10th Level Characters This adventure consists of three Parts, as follows: Part 1. The adventure begins with the characters having already arrived in Stagwick (whether sent by their faction or by their own, individual search for adventure and wealth) and have been briefed before preparing for an important journey to the north Part 2. From Stagwick, the players discover their guide has been killed and must make their way through the deadly cold fingers of the Ice Spires alone—either by skill or luck. Part 3. Once at Ise Festing, the group discovers it’s been inhabited by a troupe of Shatterblood Ogres whom they must defeat to gain access to the redoubt’s observation deck.

Some dozens of leagues to the north and west of the STEADING OF THE HILL GIANT CHIEF (Module G1 of this series), amidst the tallest mountain peaks, is the stronghold of Grugnur, Lord of Frost Giants. As frost giants have been amongst those who have been in the reaving bands, the party is to deal with them as the hill giants have been dealt with. Death and destruction are to be meted out to the frost giants in the same measure they gave to the peoples below. This module contains background information, referee's notes, two level maps, and exploration matrix keys. It provides a complete module for play of ADVANCED DUNGEONS & DRAGONS, and it can be used alone or as the second of a three-part expedition adventure which also employs DUNGEON MODULE G1 (STEADING OF THE HILL GIANT CHIEF) and DUNGEON MODULE G3 (HALL OF THE FIRE GIANT KING). TSR 9017

The Sea Witch is a short adventure for four 10th-level characters. The difficulty of the adventure can be adjusted by changing the level of main antagonist (Black Molly, the sea hag pirate) or by altering the number of her ogre servants. To tailor the encounter to groups of different levels, refer to table 4-1 in Chapter 4 of the DUNGEON MASTER’S GUIDE. The adventure is set off a lightly populated coastline known as Misty Bay, but adapts easily to any coastal region in existing campaigns. The sea hag known as Black Molly is a notorious pirate who has plagued the coastal cities for the better part of a decade. A successful Knowledge (local) check (DC 15) will reveal that Molly and her ogre crew have a filthy reputation as merciless killers who delight not only in plundering vessels for their riches, but also in destroying the ships themselves and sending all hands to the bottom of the sea. Now the villain and her followers have seized control of the Old Lighthouse of Misty Bay located off a lightly populated coastline. For generations the lighthouse beacon has protected the fishermen of this region, warning them of the dangerous rocks that lurk just below the level of the high tides. Recently, the hag has put out the beacon, darkening the lighthouse; misery and destruction are sure to follow as ships start to blunder into the rocks. Blackmail is apparently Black Molly’s aim in this venture: She conveyed a message to the nearest shore community, the fishing village of Poisson, demanding the princely sum of 50,000 gp. Until she receives this ransom, she intends to hold the lighthouse and its beacon hostage. The fate of the human keepers who tend the lighthouse is unknown to the seaside communities at this time, but they fear the worst. The Sea Witch is ostensibly a rescue mission: The PCs are pitted against the evil of Black Molly and the brawn of her savage ogre crew. It is the heroes’ task to retake the lighthouse and, if possible, free its captives from the clutches of their jailer. What neither the PCs nor the shore communities yet realize is that while she 1would be pleased to have the gold, Black Molly is in fact after bigger treasure. Molly has no intention of giving up the lighthouse — at least, not until she finds what her master sent her here for. Lying on the sea floor practically at the base of the rock on which the lighthouse sits is the wreck of the war galley Flying Cloud, which according to popular legend was captained by a cleric who wore around his neck an amulet of the planes. Black Molly wants this prize, but so far she hasn’t been able to find it. She’s scoured the wreck without finding any sign of the magic item. Now she’s trying to determine where to search next, for the item might well be somewhere near the wreck. If she can’t find it, she’ll start torturing her captives to find out if they have any useful knowledge about the amulet.

A shadow from the past, the Ghost Tower of Inverness has loomed ever larger in the mind of the great Seer of Urnst, Now he has convinced the Duke that an expedition should be organized to go to the ancient keep and recover its greatest treasure — the fabled Soul Gem. TSR 9038

One of the original D&D classics, "The Isle of Dread" is a hex crawl wilderness adventure. It focuses on surviving primitive beasts, dinosaurs, and pirates while uncovering the mystery of the island's inland city, where a great treasure awaits. From the cover: "This module contains maps and background material for the Isle, fifteen new monsters, and suggestions for further adventures. In addition, The Isle of Dread contains a map and background information for a large continent, and eleven smaller maps for encounters on the island itself. In this module, players will push their way through dark jungles and treacherous swamps to discover the lost plateau, and the final secrets of - the Isle of Dread!" TSR 9043

This material was originally published as three separate adventures: G1 (STEADING OF THE HILL GIANT CHIEF), G2 (THE GLACIAL RIFT OF THE FROST GIANT JARL), and G3 (HALL OF THE FIRE GIANT KING). Contained herein are referee notes, background information, maps, and exploration keys for three complete adventures using the ADVANCED DUNGEONS & DRAGONS rules. This module can be used alone or as the first in a series of adventures that includes Dungeon Modules D1-2 (DESCENT INTO THE DEPTHS OF THE EARTH), D3 (VAULT OF THE DROW), and Q1 (QUEEN OF THE DEMONWEB PITS). TSR 9058

Baron Rajiram’s forces have secured the Nelanther Isles and have scoured the Sword Coast for treasures. Now they have begun to explore a mysterious island that recently just popped into existence nearby. SEER seems to believe that an aboleth artifact is their goal. It is up to the adventurers, in competition with the baron, as well as aboleths, the Kraken Society, and the mysterious caretaker of the island, to locate the Eye of Xxiphu and avert catastrophic disaster.

The renegade magic-user Bargle is wanted, dead or alive. Rumor holds that he dwells in the bowels of a nearby abandoned keep, performing all sorts of foul sorcery. Only the truly brave, or perilously foolish, would dare to challenge Bargle in his own domain. Expanded dungeon of the BECMI red box sample dungeon.

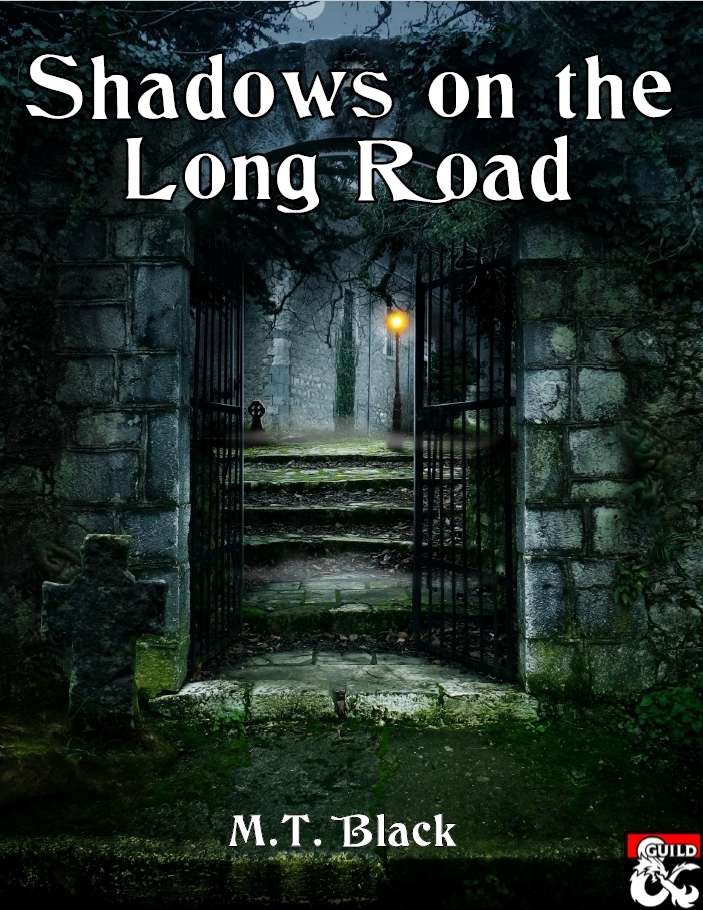
Travellers are going missing on the Long Road, on the 100 mile stretch between Triboar and Longsaddle. Our heroes investigate and discover a haunted mansion with a dark history and a gruesome secret. Their quest brings them to the very gates of hell itself, where an infernal abomination presents them with their greatest challenge yet... Inspired by a Clark Ashton Smith story.

For hundreds of years, Aknar Ratalla's tomb remained undisturbed, the Black Blade safely hidden within its vaults. Can a band of adventurers use the tomb's guardians and traps to keep it that way? Long ago, Aknar Ratella brought pain and desolation down upon the land. His reign of ruin was finally ended by an unlikely alliance of the forces of law: a band of devils and devas slew the warlord but were unable to destroy his dangerous weapons and relics. They chose instead to hide these potent artifacts of evil in a remote tomb, selecting a devil and a deva to stand guard over the tomb for the rest of time. For many centuries, the tomb stood unspoiled... but now, a new player has entered the scene. After infiltrating the tomb themselves, a band of adventurers must become its guardians and use its denizens and traps to prevent a monstrous gnoll chieftain from claiming the deadly artifacts hidden within for his own nefarious glory. Pgs. 58-80

Part 1 of an Expert-level quest into a hostile wilderness. This adventure takes place in the Known World of the D&D game, as outlined throughout the D&D game rule books and modules. The DM may find it useful to consult the Companion and Masters Sets, as well as most of the X-series of Expert Set modules. D&D Expert Set module X9, The Savage Coast, would be especially helpful, as Tortles of the Purple Sage could easily serve and continue that module's direction and plot like, adding a previously undescribed area (the Great Northway) to the Known World. The DM may also place the areas and events of this adventure within an existing campaign setting, as long as the geographical areas of the campaign match those set forth here. Pgs. 40-62

Only True Heroes Can Find Honor Among Thieves … They lurk in the Ralferst Forest, striking out at all who pass through, robbing traders, assaulting farmers, even killing with impunity. Working from a secret base deep in the forest, a band of thieves has struck fear into the heart of Brandon's Bridge, the little village at the crossing of the Azure River. But now a band of heroes has come, seeking glory and adventure - heroes that might just be up to the challenge of driving away the Thieves in the Forest. Thieves in the Forest is a beginner-friendly, introductory OGL adventure. It features: A wilderness adventure segment featuring the Ralferst Forest, a dense wood crisscrossed with paths and fraught with perils. The nature of the forest and paths makes it easy for less experienced players and GMs to deal with this non-dungeon environment. A double-sided, fold-out poster map (17" x 22") of the thieves' hideout - an ancient ruined temple - suitable for tabletop use with miniatures or counters, for easier handling of tactical combat. Maps created in Profantasy Software's Campaign Cartographer 2, and available for download on the Atlas Games website. GMs can customize and manipulate these maps themelves, if they own CC2, and integrate them into their own game worlds. Published by Atlas Games & Truant Spiele

“The Shadow Rift of Umbraforge” is a sequel to “Siege of Bordrin’s Watch” and the third part of the Scales of War Adventure Path. In “Siege of Bordrin’s Watch,” the PCs discovered that dark creepers had sold arms and tactical intelligence to the orc war chief Tusk, aiding him in his attack against the folk of the Stonehome Mountains. In this adventure, the PCs investigate the link between the orcs and the dark ones, stumbling into an armsrunning operation that takes them to the Shadowfell in order to finally confront the charismatic figure behind it. Pgs. 4-53

A special underworld encounter from DUNGEON Adventures! The toll may be higher than you can afford... To travel further into the Underdark the party must cross a bridge spanning a deep chasm. But to cross, they must pay the toll, or risk another route. Pgs. 47-54

Them Ogres Ain't Right... The Rise of the Runelords Adventure Path continues! The notorious Hook Mountain ogres, known for their violent and savage ways, have slaughtered the soldiers of Fort Rannick. The few surviving rangers need heroes to help them retake this key fortification before the ogres use it as a staging ground for further assaults on the region. Yet why have the ogres chosen now to launch this sudden attack? What sinister force grows in the surrounding wilderness, and what ties to the mysterious Sihedron Rune do the ogres of Hook Mountain hide? Are the rumors of an army of giants massing for war true?

It's all over (and literally so) after midnight. A mission with an unforgiving deadline. The characters must remove the magically-infused remains of a dead wizard and his medallion from a crypt. Pgs. 10-23

The Dwarven clans are in chaos, and a powerful host of goblins stand poised to sweep over the land in a wave of death and terror. Only the Axe of the Dwarvish Lords- one of the most powerful weapons ever created by the dwarven race- holds the key to ultimate victory against the massing humanoids. Can the PCs brave the labyrinth of an abandoned dwarven stronghold to find the Axe? TSR 11347

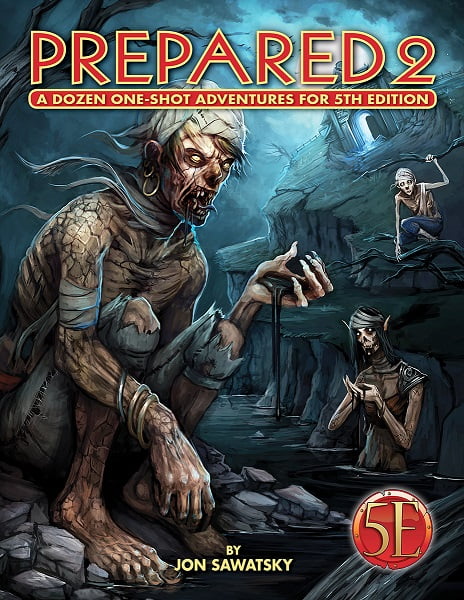
A great threat lopes toward a small city at the edge of a wasteland. One of the leviathans of the wasteland, a gigantic malevolent creature known locally as a “walker,” appears to be on a course directly through the city. The PCs are called to heroism by the city’s council, who have learned that the walker is being directed by a foul darakhul who has gained control of the creature and directs it from atop its shoulders! Scouts have discovered a portal used by the ghoul to teleport atop the walker. With a hastily scrawled map, the party must navigate the wild hills to locate the magical doorway. In this epic and deadly adventure, the party must navigate wild hills, locate a teleportation portal, and slay the Darakhul and his minions on teetering platforms built atop the shoulders of the walker.

Into the Drachensgrab Mountains! Hot on the trail of the marauding slavers, you and your fellow adventurers plunge deep into hostile hills. Spurred on by your past success, you now seek the heart of the slaver conspiracy. But hurry! Your must move quickly before the slavers recover from your previous forays and attack! This module was originally used for the official Advanced Dungeons & Dragons Tournament at Gen Con XIII and is the third of four in a series of related tournament modules. This module contains a challenging scenario, the tournament scoring system, plus nine pre-rolled, playtested tournament characters. Also included are large scale referee's maps, notes, and background information. A3 is a complete adventure in itself, but it is also a companion to A1 (Slave Pits of the Undercity), A2 (Secret of the Slavers' Stockade), and A4 (In the Dungeons of the Slave Lords). TSR 9041

The Lost Tombs, Volume 1 Derro swarm in the Abbor-Alz. The Doomgrinder windmill's blades approach their zenith. Strange sightings in Hardby and rumors of a bandit empire in the mountains have commoners and nobles concerned. The Circle of Eight hopes that the key to averting this disaster can be found in the mysteries of a group of five ancient crypts, the Star Cairns. But first someone has to find the fifth cairn.... Five separate adventure sites playable individually or linked together, The Star Cairns can provide a diversion for treasure-hungry adventurers - or can be used as the seeds for an extensive campaign. Although the adventures are designed for four to eight characters of levels 5-8, each section can be adjusted for weaker or stronger groups. TSR 9579