Into the Forsaken Temple's Crypt is a short adventure for four 10th-level characters. The adventure takes place in a buried temple crypt, which has been sealed for centuries. Dungeon Masters can adjust it for higher-level characters by widening the dead magic areas and increasing the number and power of constructs and undead that inhabit the complex. The PCs had just entered the Forsaken Temple's crypt in the last episode. Now they can begin to penetrate deeper into the crypt, discovering more of its hidden dangers.

In the kingdom of Keystone, at the mouth of the Manyforks River, stands the port city of Barnacus. It was founded two hundred years ago, and its strategic military and commercial location has made it the second most important city in the kingdom. The city is under the rulership of Haermond II, Duke of the province of Elcadan, a half-elf of high esteem who has been in charge for more than a century. His outstanding commercial politics have made the city very prosperous; almost every trade company in this part of the continent has a counting house in the port of Barnacus. Because of this prosperity, the city has suffered many pirate raids, and thieving activity is a fact of life for residents and visitors alike.

The final confrontation with the giant, King Snurre, and the entry of mighty adventurers into the caverns under his stronghold (DUNGEON MODULE G3, HALL OF THE FIRE GIANT KING) discovered the Dark Elves, the Drow, had instigated the giant alliance and its warfare upon mankind and its allied races. This module contains background information, a large-scale referee's map with a matching partial map for players, referee's notes, special exploration and encounter pieces, a large map detailing a cavern area, encounter and map matrix keys, and an additional section pertaining to a unique new creature for use with this module and the game as a whole. A complete setting for play of ADVANCED DUNGEONS & DRAGONS is contained herein. This module can be played alone, as the first part of a series of three modules (with SHRINE OF THE KUO-TOA, D2, and VAULT OF THE DROW, D3), or as the fourth part of a continuing series of modules which form a special progressive campaign scenario (DUNGEON MODULES G1, G2, G3, D1, D2, D3, and Q1, (QUEEN OF THE DEMONWEB PITS). TSR 9019

Trapped in the dungeons of the Slave Lords! The hardy adventurers must find a way out, with only their wits and courage to help them. But can they do it before everything is destroyed by the dreaded Earth Dragon? This module contains a challenging scenario for experienced players, the tournament scoring system, and nine fully-equipped playtested characters. Also included are large-scale referee maps, playing aids, notes, and background information. A4 is a complete adventure in itself, but can also be used in conjunction with A1 (SLAVE PITS OF THE UNDERCITY), A2 (SECRET OF THE SLAVERS' STOCKADE), and A3 (ASSAULT ON THE AERIE OF THE SLAVE LORDS). TSR 9042

The prince's godmother commissions you to retrieve the prince's jade crown, held in the tower of the vampire! The vampire's tower has three levels, and the three-level dungeon below 45 rooms. The party must be wary! Lethal traps abound. Marching order is important. A straight-forward dungeon crawl with many Gygaxian rooms and encounters. No roleplaying to speak of. Pgs. 4-18

Having put down a rising of giants, it was discovered that the motivating force behind their depredations was that of long-forgotten evil - the Dark Elves. Determined to seek out these creatures, a body of doughty adventurers mounted an expedition to learn the strength of the Drow and bring retribution to them (DUNGEON MODULE D1, DESCENT INTO THE DEPTHS OF THE EARTH). This module contains background information, a large-scale referee's map with a matching partial map for players, referee's notes, special exploration and encounter pieces, a large map detailing a temple complex area, encounter and map matrix keys, and an additional section pertaining to a pair of unique new creatures for use with this module and the game as a whole. A complete setting for play of ADVANCED DUNGEONS & DRAGONS is contained herein. This module can be played alone, as the second part of a series of three modules (with DESCENT INTO THE DEPTHS OF THE EARTH, D1, and VAULT OF THE DROW, D3), or as the fourth part of a continuing scenario (DUNGEON MODULES G1, G2, G3, D1, D2, D3, and Q1, QUEEN OF THE DEMONWEB PITS). TSR 9020, From 1978

An introductory adventure for AD&D. Discover the secret fortress! See if your character can survive the Trail by Fire! Use your own characters, or use the fully equipped characters that are provided. Also contains maps of the fortress and a detailed wandering monster table. Exploration into an underground military base, now occupied by monsters.

Indomitable it stood for centuries, a symbol of order in a world of chaos. Bastion of the pass through the Kamph Mountains, the very stones of the Keep of Adlerweg were the stuff of legends. What evil power had strength enough to take it? How were its defenses swept aside? Fell creatures now attend the battlements that overlook the only pass between Berghof and the sea. This is not a pretty problem to be solved by the militia of the local villages. These and more may be needed to withstand the mayhem stirred up by the fall of the keep. Indeed, if the Keep is not retaken, and retaken soon, the Hold of the Sea Princes itself may not be secure. Now is the time for heroic action. Aided by the Sentinel, former protector of the legendary Guardians of Adlerweg, have you the courage and the determination to rid the keep of its sinister occupants? UK3: "The Gauntlet" (1984), by Graeme Morris, is the third UK-series adventure and the second half of the two-part Adlerweg series. It was run as the final round of the GamesFair 1983 AD&D Open (and won by a RuneQuest fan!). It was then published in 1984. TSR 9111
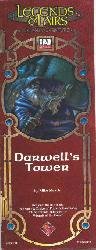
Darwell Umbruskor has long been known around town as an eccentric but ultimately harmless old sage. From what you've heard, he keeps odd hours, rarely speaks a word to anyone, and lets no one enter his tower save for a few servants. Though quiet and mysterious, Darwell has done nothing to around undue suspicion. Sir Jeffers, a crusading warrior who just made your acquaintance, claims otherwise. According to evidence he recently came across, Darwell Umbruskor is both a necromancer and a dedicated priest of an evil power. Published by Fantasy Flight Games

Sleepyhead. The only man who can stop the amphibian horde needs a wake-up call. The party must find a missing druid an bring his captures to justice. Pgs. 8-21

All's fair in love and rivalry. Some matches are made in heaven, but not this one. Pgs. 26-36
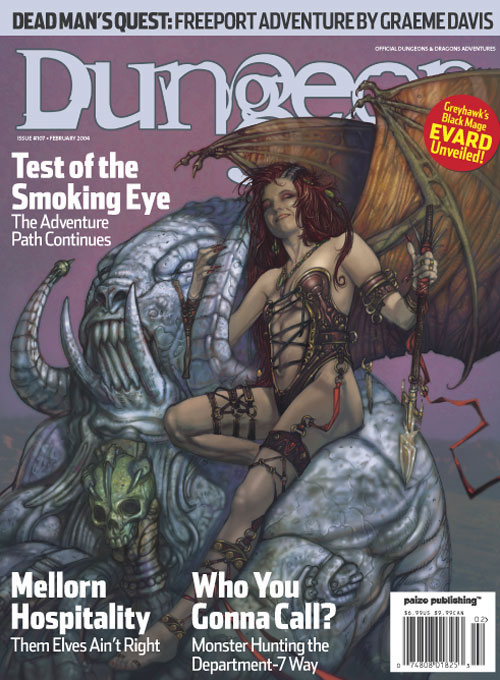
Every seven years, the elven village of Mellorell hosts the Festival of Life, an opportunity to trade, shop, and celebrate with the folk of nearby lands. But a dark secret that could cost the life of fairgoers draws the heroes into a plot that leads all the way to Hades. The core of the adventure is a short thirteen room lair with grimlock guards, a basilisk pet and Malifustal the Night Hag, who guards a portal to Hades. Pgs. 12-33

The whispered worries grow more fanciful and terrifying by the day... where has the loremistress gone?... what's wrong with the master smith?... who-or what-stalks the marketplace?... The questions need answers, and heroes are needed to do the asking! But the only thing worse than what hunts the mist-shrouded streets is what lies beneath them... Adventure in Dun Eamon: Demons roam the streets of the city of Dun Eamon, criminals rule the night and an important local power figure has gone missing. Can your heroes unravel the clues that lead through every social element of the city, into the hearts of its inhabitants and far below its streets in search of answers? Or are some mysteries better left unsolved? Uncover An Artifact: The Grey Citadel is a mini-campaign of urban detective work and dungeon exploration designed for four or more characters of 5th level. Set in a rain-soaked, rough-and-tumble frontier city, The Grey Citadel offers numerous colorful NPCs, a richly unique location, new monsters and magic items plus enough plot twists to provide hours of role-playing and door-kicking adventure where your wits must be as sharp as your swords!" This adventures mixes dungeon crawl with city investigation, keyed encounters and timed encounters.

If the PCs are to avert the Age of Worms, they must invade the heartland of Kyuss' power, the Wormcrawl Fissure, and destroy one of the world's most powerful dracoliches before the Wormgod awakens. "Into the Wormcrawl Fissure" is the eleventh installment of the Age of Worms Adventure Path, a complete campaign consisting of 12 adventures, several "Backdrop" articles to help Dungeon masters run the series, and a handful of poster maps of key locations. For additional aid in running this campaign, check out Dragon's monthly "Worm Food" articles, a series that provides additional materials to help players survive this campaign. Issue #343 of Dragon presents statistics for some extraplanar entities the PCs may wish to call upon to aid them in the Wormcrawl Fissure. Pgs. 54-89

The mists have led you deep into Glumpen Swamp to a den of great evil. Within, the unliving son of an unliving god awaits the peace of death that eternally eludes him. Will you grant him his rest, or realize the part he is to play in things to come? Part Seven of Misty Fortunes and Absent Hearts.
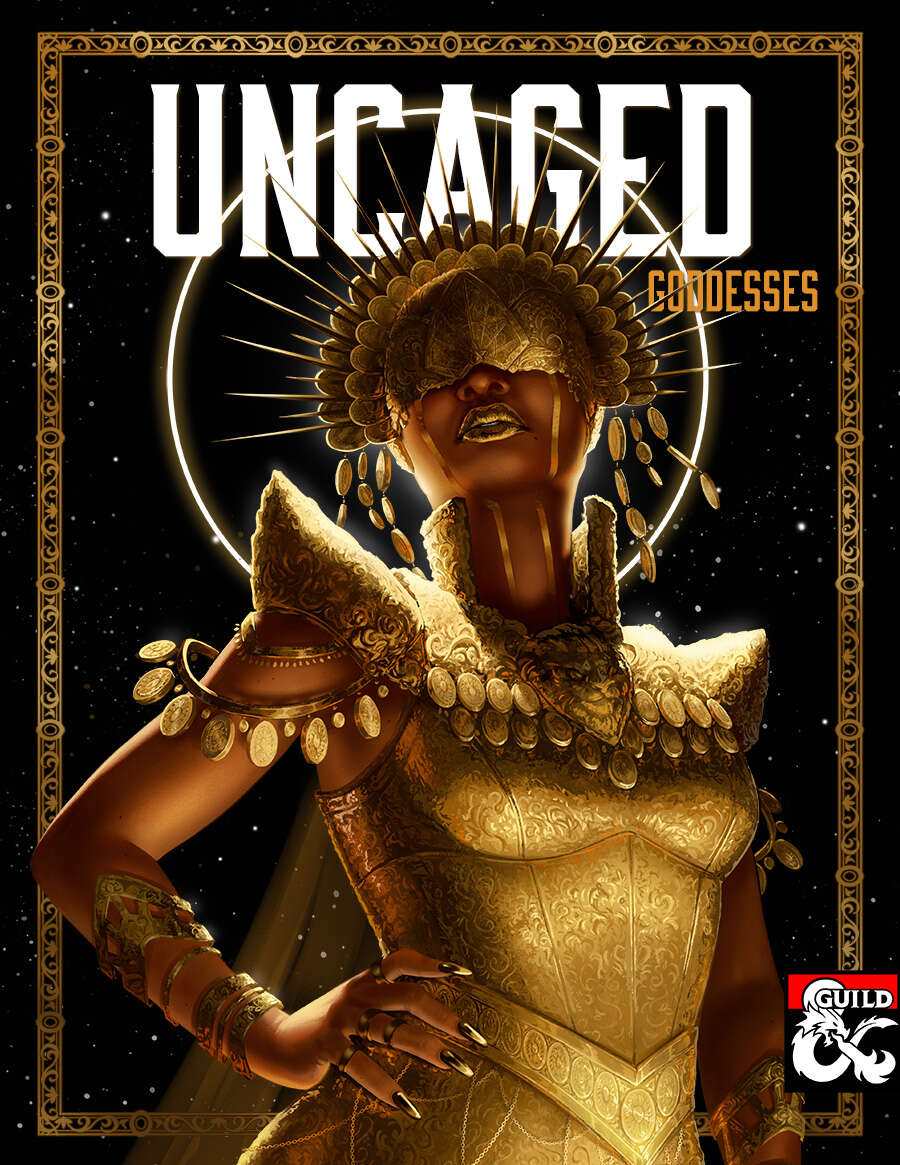
The kuo-toa are a piscine race with a psychic affliction that makes them behave erratically and invent gods when feeling threatened. That same affliction gives them the power to bring those gods to life. Blibdoolpoolp is the most widely worshipped, and thus most powerful, of their gods. Blibdoolpoolp views the kuo-toa as her children despite having been born after them. Like all good mothers, she nurtures and protects. One of her chief concerns is understanding the kuo-toa’s psychic affliction, which causes them to undermine themselves whenever they strive for greatness. She discovers that a corrupted elder brain deep in the Underdark has a connection to the race; though the connection gives them psychic powers, it also turns them into powerless thralls, explaining their self destructive behaviors. Constrained by the same leash on her children, Blibdoolpoolp seeks adventurers to destroy the elder brain. Its death would free the kuo-toa, but potentially at great cost: if the kuo-toa lose their powers, will Blibdoolpoolp die?

Agents for the Mayor of Kleine have discovered the stronghold of the Red Hand goblins deep within the Burning Hills. They have also discovered that the goblins are forming an alliance with local hobgoblin and bugbear tribes to sweep the humans out of Thunder Rift forever. The PCs must reach the lair before the hobgoblin and bugbear agents return to their own tribes. if the envoys do not return, the tribes will assume that the goblins murdered them and attack the goblins instead of the human settlements. In this way, the humans of Thunder Rift gain some unexpected allies against the Red Hand goblins. This is the most dangerous and demanding of the three adventures in this set. It is recommended that you play it after Red Hand Trail and Trouble Below. However, it can stand alone as an adventure in its own right if you wish. Part of TSR 1076 The Goblin's Lair

The lizard men are just pining for the fjords. A plague of locusts is bad enough, but when the locusts are each a yard long, the farmers need professional help! A swarm of giant locusts has been eating all the grapes and leaves from the vineyards of Vineyard Vale! In addition, lizard folk have attacked and destroyed several steads in the vale. The farmers are desperate, but what they don't know is that these events are linked! A mage known as Rhungold the Trickster has been orchestrating the attacks and locusts to try to scare the farmers off the land so he can claim it as his own. The players slowly piece the story together by investigating a fairly linear story through a cave, a marsh, and finally to a compound owned by the wizard Rhungold. Pgs. 6-16

Important: The adventure is 1e but it has monster conversion notes for D&D 4th edition The town of Highport, once a human community overlooking Wooly Bay from its perch on the northern coast of the Pomarj, fell prey to hordes of humanoids swarming out of the jungle-covered hills surrounding the settlement. Though the orcs, goblins, kobolds, ogres, and gnolls razed much of the place in their ferocious rampages, the smoldering ruins they left behind soon became a new kind of community, a place of trade between the humanoid “locals” and the unsavory human traders who have no compunction about doing business with them. Slaves are a commodity in ready supply in Highport’s market, since many pirates raid up and down the coast of the bay, putting fishing villages to the torch and filling their holds with captured refugees. Slavery has become a thriving business in the town, and rumors abound of a cartel of Slave Lords who run things from behind the scenes, filling their coffers in secret from the buying and selling of human chattel. The trade has become so prolific that the good folk to the north have grown tired of these depredations and decided to fight back. Forces of righteousness and honor have recently descended upon Highport, some openly and others in secret, in various attempts to destroy the machinations of the Slave Lords and abolish the abominable enterprise that has taken far too many loved ones from home and hearth. One such doughty servant of goodness is Mikaro Valasteen, a cleric of Trithereon. Mikaro slipped unnoticed past the crumbling walls of Highport with a single mission: to rescue and transport as many slaves to their freedom as possible. Mikaro and a handful of faithful assistants located a number of escaped slaves—as well as rescued a few more not sufficiently restrained and guarded—and shepherded them through the gates and beyond the reach of their humanoid tormentors, returning them to their lands and homes. This covert freedom brigade enjoyed remarkable success early on, since the servants of the Slave Lords were often lax in their vigilance and sloppy in their efforts to prevent loss of the “merchandise.” After one too many shipments never made its destination, the humanoids stepped up their security and the normal channels of escape from Highport closed to Mikaro and his team. He cannot risk exposure by smuggling the freed slaves through the gates as merchandise any longer, since shipments of goods are now regularly stopped and checked. No longer able to free the slaves in that manner, Mikaro began hiding his charges in an abandoned villa in a particularly rundown part of the town. Although they are safe for the moment, their numbers have grown unmanageable, and the priest fears it is only a matter of time before someone slips up and brings slavers to their doorstep. Ever more desperate to find a new means of escape from Highport, Mikaro has started work on a plan that is both daring and dangerous. He intends to use a series of old sewers coupled with natural caverns running beneath the town as an escape route to the sea beyond the walls. But he needs someone to clear out the creatures and pitfalls he knows lie within. Pgs. 2-27
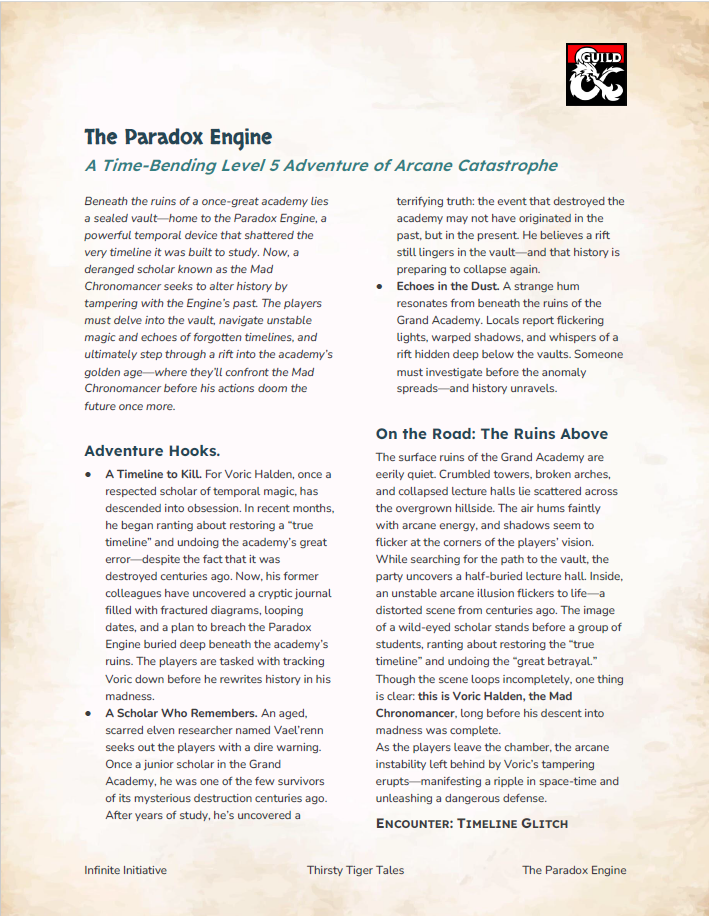
A Level 5 Adventure of Time-Bending Catastrophe Part of the Thirsty Tiger Tales series Beneath the crumbling ruins of a legendary arcane academy lies the Paradox Engine—a dangerous temporal device that shattered the very timeline it was built to study. Now, a deranged scholar known as the Mad Chronomancer seeks to rewrite history itself. In this time-twisting dungeon crawl, players must brave unstable magic, flickering echoes of the past, and a rift into the academy’s golden age—where they’ll confront the Mad Chronomancer before his actions doom the future forever. Two-timeline dungeon: Navigate the same vault in both past and present Puzzle rooms with lasting consequences Unstable combat environments and unique timeline hazards A solo boss fight that bends time against the players Includes the Temporal Warp Cloak, a rare magic item that glitches your image through time This one-shot is perfect for groups looking for a high-concept, low-prep adventure with puzzle-solving, combat variety, and an arcane twist.