
A beloved priest has gone missing, and sinister trouble stirs beneath the Church of St. Terragnis. Can the heroes rescue the victims of an age-old evil before it claims more innocent lives?

If absolute power corrupts absolutely, Matron Maelora best beware; her plans for total domination of the Underworld are already close to satisfactory completion, while attacks on the Upperworld have become increasingly successful. The other power-hungry drow families of Holoth may despise her but they know a true leader when they see one, and House Gullion has been revealed as the family to lead them all on the path to glory. With the entire Underworld in chaos and the Spider Goddess regularly communing with her chosen Matron, far greater dreams than mere regional conquest are within the grasp of the drow, as Maelora prepares her grand dark elf army for victory! With other mystical allies standing firm with the Matron, other Underworld races beneath her heel or cowering behind fortified walls, and every drow ready to play their part when she gives the word, what could possibly stop her from achieving her final triumph and fulfilling her destiny? But even the greatest of plans has a flaw if you look hard enough, and a party of stout heart and strong resolve can make a difference. At first, such a party may well believe it is on a smaller adventure, perhaps to win a few baubles or some small acclaim by rescuing a few kidnapped villagers. Soon, however, those adventurers will realise that much more is at stake, and that they are the ones who will need to make moves against the evil Matron Maelora and her increasing dominance if both the entire Underworld and Upperworld are to be saved. But how will they go about it? Can they ensure their own success when an entire city is standing against them? Only they have the chance to halt the Rise of the Drow! Published by AAW Games.

Part Two of the Umbral Aristocracy Trilogy. The treasure hunt has led to the City of the Dead. Beneath that well-manicured park is an ancient crypt where the treasure awaits you!

The PCs begin in the port city of Luskan, where they're hired on by a caravaning merchant to perform guard duty for the long, dangerous journey over the Spine of the World Mountains. If the heroes do well, they reach the small town of Targos, where they hear rumors of a dead mage's lost tower out on the tundra. In order to find it, the PCs must overcome numerous obstacles but may find allies in the peoples of the Ten-Towns region, including a barbarian prince, a sly halfling, and a unique ranger. Not all is as it seems, though, nor can all smiling faces be trusted. Can the PCs separate the truth from the lies, locate the Accursed Tower, determine all its secrets, and survive?

An expansion on the original Tomb of Horrors with plot and explanation. Contains a facsimile of the original adventure. The Dark Intrusion is causing the dead to rise from their graves. This is linked to a being known as the Devourer. Following the trail of Desatysso, a wizard who followed a similar quest, the players must enter the Tomb, and beyond that, the cursed City that Waits and the Fortress of Conclusion.
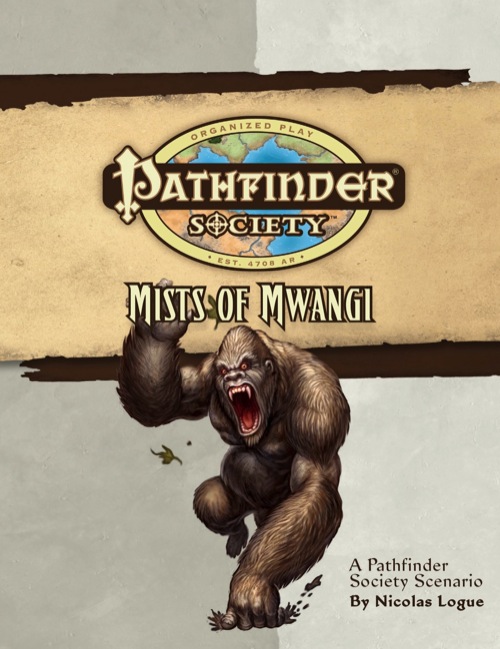
Pathfinder Lugizar Trantos recently returned from the Mwangi Expanse with haunted eyes and a pack full of strange idols. Absalom's famed Blakros Museum purchased his pieces and Lugizar vanished. The strange monkey idols he pulled from the misty jungles of Mwangi carry with them a fell curse, and now their power has laid claim to the museum. Can the Pathfinder Society uncover the source of the curse in time, or will the Blackros Museum be forever lost to the mists of Mwangi?

*THIS IS A D&D NEXT/5E PLAYTEST ADVENTURE* Imani, a Turmishan wizard and former adventurer, seeks the aid of heroes to infiltrate Dretchroyaster’s lair and recover the Diamond Staff of Chomylla—the key to powerful magic and wisdom locked away for thousands of years. In addition to his own sagely interest in the lore of lost Uvaeren, Imani recognizes the dangers of such powerful magic falling into evil hands. The dracolich has secured the staff in his lair’s cen- tral chamber, using ancient wards of protection that can be bypassed only by four artifact-idols once belong- ing to a cult of Bhaal. Each group of adventurers enters the dungeon through a different section of the dun- geon—a forgotten temple of Bhaal, a vast underground lake, a troglodyte village, or Dretchroyaster’s vaults. Dretchroyaster’s lair is no simple set of caverns and ancient ruins. It sits atop a source of great power and energy, which the dracolich and his Cult of the Dragon allies hope to use to unlock the secrets of the staff. Only by undertaking a unified assault against Dretchroyas- ter’s lair can the adventurers hope to recover the Diamond Staff and survive the dracolich’s fury. The adventurers must make their way through the lair and recover the Bhaalite idols that will help unlock the Diamond Staff, all the while dealing with the lair’s creatures and avoiding the dracolich as he pur- sues intruders. Entering the Chamber of the Diamond Staff, the heroes must overcome its magical wards and claim the staff before being slain by the dracolich and his servants.

Haedirn Lastlight is a respected elven wizard and sage. After the death of his lover Lyonthel, the elf has been overcome with grief and has locked himself away in his study- a small manor on the cliffs of Wailing Crag. Haedirn has not been seen for over a year now, and those that knew him are beginning to worry. Worse still, a band of ogres has been terrorizing the nearby town, slaughtering the town folk and haughtily boasting the elf wizard is dead. The PCs must put a stop to the ogres' attacks, make way to Wailing Crag to root out the rest of their gang, and lay Haedirn Lastlight's tortured remains to rest.

First the bandits attacked then the Roc carried away the guide. Since then you have blindly followed the camels hoping that their instincts would lead you to water or help of some kind. You and your friends are lost in a sea of sand. Plodding along in the shadow of the camels and doing your best to stay alert. Ahead the heat shimmers take shape. This time it is a castle. Blinking away the dryness in your eyes you realize that the tower is not a mirage but it is broken.

A nearly-penniless merchant wants heroes to secure and return priceless heirlooms. But can they do it with goblins all around, raiding and pillaging? Can the heroes reach a peaceful settlement with the raiders, or will they wreak mayhem and slaughter? Find out in Eastbarrow! This package (adventure, maps, and handouts within) forms a complete module for use with DUNGEONS & DRAGONS® 5TH EDITION RULES. It is especially designed for Dungeon Masters to initiate play with a minimum of preparation. Also includes full-sized maps for the VTT of your choice! Old School Look and Feel!

Ragvala, also known as the "Coinmaker," is an ancient gold dragon who wishes to mend his broken friendship with his old adventuring buddy. Recently, there are rumors that his friend’s old magical instrument has resurfaced in the Quivering Forest. Unable to change shape anymore, the dragon needs the help of skilled adventurers who can join him on his quest.

An omnious encounter with a fortuneteller sends a party of adventurers on a 200-mile journey across the Lands of Intrigue. While traveling throught the towns and terrain (detailed here for the first time) that lie in their path, they hear rumors and obtain clues about their mission. Their ultimate destination is Castle Spulzeer, a once proud stronghold that has become a den of terror. When the heroes enter the haunted keep, they meet a terrifying trio of residents: a madman armed with stolen magical power, a liche whose secret laboratory houses untold horrors and treasure, and a furious ghost bent on revenge. These three ensnare the party in their fight over an ancient weapon. Each will stop at nothing to keep it from the other two. The heroes must choose with whom they will ally - and the wrong choice could lead to their doom. Castle Spulzeer is an adventure complete in itself. However, as a crossover story, it offers every Dungeon Master a choice between two endings. The first leaves the party in the Realms. The second transports the characters to the Demiplane of Dread, where the plot continues in the Ravenloft adventure The Forgotten Terror. For 4 to 6 Characters of Levels 8-12 This conversion guide allows DMs to run the original module with 5th Edition rules. To use this conversion guide you will need a copy of Castle Spulzeer, originally available in hard-copy and now for sale in digital format on the DMs Guild. Visit Classicmodulestoday.com for instructions on creating your own classic module conversions and selling them on the DMs Guild. Castle Spulzeer was originally scheduled for publication by TSR in June 1997. Then, near-bankruptcy caused a total failure of TSR's schedule, resulting in no books being published from February through the very end of July. Some books would be delayed for over a year, and others would disappear altogether, but Castle Spulzeer was relatively lucky: it was just delayed four months, until October 1997. The reason may well have been its theming, and its crossover with the Ravenloft line, which made Castle Spulzeer a great Halloween release. Castle Spulzeer has an even more far-reaching connection: its ending can lead players to the demiplane of Ravenloft and The Forgotten Terror adventure. This was probably intended as a bit of advertising for Domains of Dread (1997), the third edition of Ravenloft which was released in August 1997. In other words: in their last days, TSR was working very hard to cross-market their products, but they didn't live long enough to see the success of the Spulzeer-Intrigue-Dread connection.
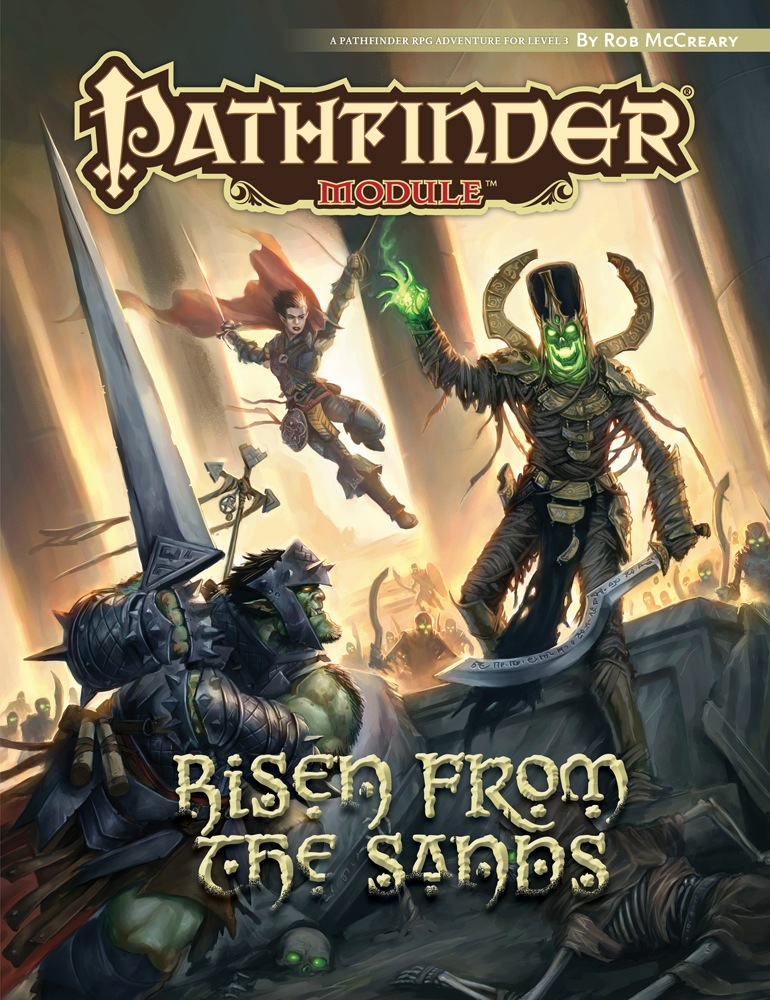
The deserts of Osirion—land of pharaohs and ancient tombs—hide not just untold wonders, but also unspeakable dangers. When the vast sand dunes part to reveal the ancient pyramid of the legendary Pharaoh of Sphinxes, glory seekers from across many nations race toward it, each fighting to be the first to claim its wonders. But the storied pharaoh doesn't rest quietly within this monument, and his tomb was designed to slaughter any who would dare trespass.

THE FIRST SET OF DUNGEONS ON DEMAND ADVENTURES! The first volume of Dungeons on Demand includes the first four dungeons: Bandit's Nest - Level 1 Adventure Dungeon Insidious Experiments - Level 4 Adventure Dungeon Fierce Tempers - Level 8 Adventure Dungeon Lord of Gloomthrone - Level 12 Adventure Dungeon It also includes the following supplements: New Twists on Old Monsters - Gaming Supplement Imbued with Magic - Gaming Supplement The bundle includes hundreds of pages worth of materials and supplements sure to keep your gaming sessions busy!
Was it destiny or something worse that destroyed the Order of the Opal Fist? A dungeon crawl designed for four 3rd level characters. The original article has a sidebar for scaling the adventure up or down. Pgs. 106-124

So you want to be a Mage of High Sorcery? To join the esteemed organization, you must travel to the Tower of Wayreth and undertake the most important event in your life—the harrowing Test of High Sorcery! If you can survive where so many aspiring mages have failed, you will forever bind your soul to the Gods of Magic and gain access to untold arcane secrets. The Test of High Sorcery is the perfect adventure for new and veteran players looking to experience Dungeons & Dragons in a new way! It is a solo adventure, where your choices have meaningful consequences, but it also provides balanced rules to play with a group or a Dungeon Master. This 154-page tome features: - A sprawling adventure that fits perfectly as an expansion to any Dragonlance campaign, Dragonlance: Shadow of the Dragon Queen, or as a stand-alone replayable experience - A tale full of sorcerous intrigue, featuring many new characters alongside iconic favorites like Fistandantilus, Takhisis, Fizban the Fabulous, and the Gods of Magic - Innovative Destiny and Trait mechanics make your choices really matter—and ensure every mage’s Test of High Sorcery is a unique experience - Over 60 possible outcomes to determine which Order of High Sorcery you join and provide compelling new plot hooks for your character during future adventures - Dozens of unique locations with rich stories and sorcerous challenges that Dungeon Masters can use to create their own version of the Test of High Sorcery - New magic items and stat blocks, with mechanics that support clever use of enemies’ weaknesses and the environment against them - Four gorgeous sample characters, with interactive character sheets designed to be new-player friendly so that you can jump right into the story - A detailed primer on the history of Krynn and how it relates to the Mages of High Sorcery - A community survey when you finish to let you see how you compare to other mages taking their Tests of High Sorcery

High in the Stonecrown Mountains, a new source of dark magic stirs, wakes, and spreads its wings to shroud the land in shadows. The Warlock of the Stonecrowns, an awnshegh regent who is as evil as he is powerful, is draining other regents' sources of magical power, choking their ability to cast the most powerful form of magic of all - realm magic! If that isn't enough, the Warlock threatens to close the only pass connecting the trade-kingdom of Cariele to the rest of Anuire. An army of orogs and ogres is gathering to the Warlock's banner: Are your heroes equal to the challenge of the twisted magic of the Warlock of the Stonecrowns? This open-ended, "adjustable" BIRTHRIGHT adventure is suitable for use with either mid-level (4-6) or high-level (7-10) player characters. TSR 3110

This is the "Vecna: Eve of Ruin" + "Phandelver and Below: The Shattered Obelisk" crossover you didn't know you've been waiting for. As dusk settles over the village of Phandalin, a palpable sense of unease grips the villagers. Rumors spread that a hilltop keep has inexplicably materialized on the outskirts of town, and worse yet, the sun fails to rise come morning. Unbeknownst to the townsfolk, a powerful cult of Vecna-worshipping vampires has arrived, and the only hope Phandalin has is a ragtag pack of werewolves and a few brave heroes ready to make their mark on the world. While this adventure can be run as a standalone module, it can also seamlessly serve as a prequel to "Vecna: Eve of Ruin" or as a side quest for "Phandelver and Below: The Shattered Obelisk." This module can also serve as a sequel to "Phandalin Werewolves: Beasts of Her Moon" which is exclusively available over at the dmsguild. Designed for 4-6 players with an average party level ranging anywhere from 4 to 7, this adventure aims to create a backstory of bad blood between the cult of Vecna and the PCs. It includes a monster folio, tokens, as well as maps from the esteemed Tessa Create Maps, Dyson Logos, and Elven Tower.

A terrible plague has swept through the city of Cairdus, and despite the local clergy’s best efforts, they have been unable to control the spread of the disease. Even those who seem cured often contract the disease again. The only thing that is making any headway are the special blessings given by the powerful Baron Velstaf, but he only grants these blessings for a price that few can afford. The Star of Olindor is an adventure designed for 7th-level rogue, or other character of similar abilities. The obstacles in the adventure are set up to encourage the use of stealth and trickery, and many rely on classic rogue skills. The adventure takes place in the city of Cairdus, the details of which have been intentionally left imprecise, so that it can be easily slipped into an existing campaign, or better yet the adventure can be altered to take place in any existing city. Part 1 of the Olindor Trilogy.
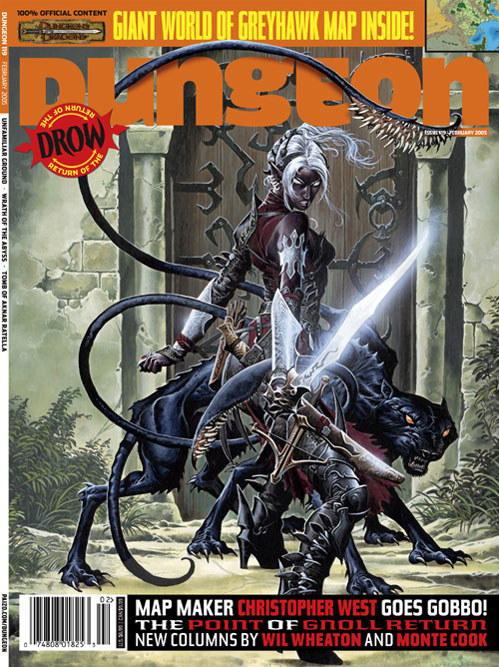
Hezzrack the imp escaped a prison of stone only by entering a prison of words. His only chance now is for a helpful group of adventurers to rescue him from certain servitude as a goblin adept's familiar. When his wizardly master's tower collapsed ages ago, the imp Hezzrack found himself trapped in the basement for a long, long time. After spending many years playing chess with himself and arranging macabre passion plays with the animated skeletons that survived the collapse, he finally found a way to escape. Unfortunately, that escape required signing a contract with a particularly unpleasant goblin adept; Hezzrack had managed to escape his prison of stone by leaping into a prison of servitude. If only a group of adventurers were to come along and take care of the goblin and release him completely! Pgs. 18-28