
Kalakeri: The Forbidden Temple is a gothic horror adventure for 4-5 characters of 7-8th level. It can be played over the course of 8 hours for a one-shot, but works better when played slowly over the course of two games. This is the third part of the Carnival of Lost Souls campaign. It can also be played as a standalone adventure. Kalakeri: The Forbidden Temple features: Exploration of the ancient Greater Vochalam temple with a powerful eidolon guardian. Lots of dangers and rival explorers are waiting for the characters, among them the priests of Osybus and Firan Zal’Honan himself! Intense social encounters with the leaders of major forces of Kalakeri: Ramya, Arijani and Reeva, and the possibility to align with them. Random encounter table for Kalakeri travels, and mechanic for quick resolution of random combat encounters. New custom monsters to make combat encounters truly memorable and exciting. High-quality maps, also available in universal vtt format. Check out previous adventures in the series: Lamordia: The Hardest of Hearts and Dementlieu: Dance with the Devil! And look out for the next adventure in the Carnival of Lost Souls series: Valachan: Hunter’s Moon! It will be released in the next month. Once all four adventures are out, we will also release a special Campaign Guide, which will explain in detail how to best set up and play the campaign. However, if you want to start your campaign right now, don’t worry - we have included a short appendix at the end of each adventure that will explain the basics! Disclaimer: We are a team of writers from Ukraine, so the unprovoked war and senseless aggression of the terrorist state of russia influenced our initial timelines significantly. However, we are now as safe as we can ever be under the constant threat of missile strikes, and determined to finish the whole series! And after that - who knows, maybe even more cool adventures will follow ;) Made in Ukraine
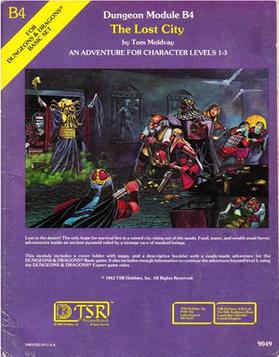
The Lost City is a low-level adventure, in which the only hope of the PCs' survival can be found in a ruined city slowly rising out of the sands. The adventure is set inside a huge step pyramid, with the lower pyramid only sketched out and the city itself described with a list of the major areas and a map. The adventure’s main villain is Zargon, a giant one-eyed monster and his minions. The entire double pyramid, not including the city, contains over 100 rooms. The module is designed to give novice Dungeon Masters experience fleshing out adventures and is only partially complete. Later TSR material hints that this adventure possibly takes place in Mystara, but the material is largely setting-neutral. TSR #9049
A Conspiracy of Doors is a Dungeons & Dragons adventure for five player characters of 11th level. It can serve as an introduction to Sigil, the City of Doors, as well as a group of adventurers' first taste of action at the paragon tier.

The heroes have been captured by Alaethryia, a blue dragon caught in a centuries-old war with a mummy lord. With Alaethryia at their backs, the heroes must put the mummy to rest and escape the Tomb of the Defiler in this classic dungeon crawl.

One of the original D&D classics, "The Isle of Dread" is a hex crawl wilderness adventure. It focuses on surviving primitive beasts, dinosaurs, and pirates while uncovering the mystery of the island's inland city, where a great treasure awaits. From the cover: "This module contains maps and background material for the Isle, fifteen new monsters, and suggestions for further adventures. In addition, The Isle of Dread contains a map and background information for a large continent, and eleven smaller maps for encounters on the island itself. In this module, players will push their way through dark jungles and treacherous swamps to discover the lost plateau, and the final secrets of - the Isle of Dread!" TSR 9043
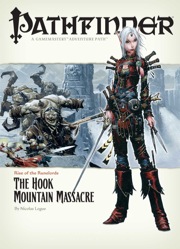
Them Ogres Ain't Right... The Rise of the Runelords Adventure Path continues! The notorious Hook Mountain ogres, known for their violent and savage ways, have slaughtered the soldiers of Fort Rannick. The few surviving rangers need heroes to help them retake this key fortification before the ogres use it as a staging ground for further assaults on the region. Yet why have the ogres chosen now to launch this sudden attack? What sinister force grows in the surrounding wilderness, and what ties to the mysterious Sihedron Rune do the ogres of Hook Mountain hide? Are the rumors of an army of giants massing for war true?

Let nothing end the Feast by the River. Let the celebration of our enemy’s vanquishing ring out night and day for eternity. Let the bones of our enemies and our prey mingle below our feet. This is your time, our time, the best time. —Queen Gellao on the eve of her victory over the followers of Dur; decreed at the River’s Bend feast hall

The necromancer Tal Lorvas has unearthed an underground tomb that dates back to the height of the ancient tiefling empire. Lorvas has been terrorizing the surrounding lands with his vile experiments, and now he hopes to find a ring, hidden in the tomb, that is tied to a ritual he wants to perform by the rise of the next full moon. The PCs must enter the tomb of Empress Nemeia, deal with the servants of the necromancer, and confront Tal Lorvas before he can claim the ancient relic and move one step closer to ultimate power over the undead. Pgs. 36-41

The PCs answer a call for heroes by the Church of Traladara, asking for help in finding an ancient relic- the Shield of Halav. This is located in a lost temple, and the PCs must locate this temple, and brave its dangers to recover the shield before two competing teams from other churches find it first. Part one involves setting up the adventure, doing research, following clues, and discovering the site of the lost temple. Part two; once the site is known (ruins under a modern town) the heroes must travel there and find the entrance. Part three is braving the lost temple, filled with traps, puzzles, and other dangers, to find the missing shield, and then culminating in a climatic showdown with the completing teams.
Five distractions within the castle walls - The party's help is needed by several of the denizens of the local castle. Role-play and skill challenges, a new magic item, and a new monster. Published by Limitless Adventures.

Vampire Church is a Fifth Edition plug-in adventure for four characters with an average party level (APL) of 5, 8, 11, or 14. This document offers details for each level and makes adjustments accordingly. A small church hides a dark secret: all of its priests are vampires. As a plug-in adventure, the adventure content serves as drop-in material for game masters who wish to add a dungeon to a preexisting campaign or need a side quest. If you need a hook for this adventure or already have a similar hook, the Vampire Church Hooks table offers details for introducing this adventure to your players.

Evil Reigns in the Elven Ruins Where elves once built the shining city of Myth Drannor, demons and devils now prowl in search of prey. Ancient evil slumbers beneath mossy stones, waiting for those foolish enough to venture within its grasp. Bold swordsmen, stealthy rogues, and skillful wizards have all met their end within the walls of Myth Drannor. But the lure of the city's magical treasures still draws heroes and villains alike to tempt death—or worse. Drawn by the dream of limitless magical power, the Cult of the Dragon has carved out a secret stronghold in the heart of the ruins. Using the power of a corrupted pool of radiance, the Cultists stand poised to attain their goal of subjugating all of Faerûn... unless a group of brave heroes can stop them first.

An expedition to the Amber Temple reveals another major minion of the enemy and uncovers a secret weapon that may help defeat them. Part Ten of Misty Fortunes and Absent Hearts.

The mine has been known as Tessount’s Folly for years, due to it producing nothing of value. Now Valmour, the youngest son of the mine’s late owner, has inherited the mine...and found something he should have left buried. Pgs. 56-81

Devastated in a war with a nearby wizards' school, the Fighters' Academy has since been surrounded by a foul and dank swamp - the Gloomfens. Since the climatctic battle between the wizards and fighters, the tower has decayed. The spirit of the head of the academy haunts the building, eternally plotting his revenge on the wizards who killed him. his loyal sutdents remain faithful to him even in death. Other foul undead have made their home in the rotting, spacious academy. From their lair, they make forays into farmsteads near the swamp in search of victims to feed their unspeakable appetites. The Problem of these terrible attacks by the savage undead will not stop until the evil that has found a home at the tower is burned from the face of the land forever. Will your party heed the call and help the town of Melinir? Will they be able to clear the former Academy of its undead? Towers of Evil is the second in a three part adventure, The Haunted Tower. Or, it can be ran as a stand alone adventure. The choice is up to you. Part of TSR 1081 The Haunted Tower

Kravenghast Necropolis is hidden in a valley that was formerly part of a now dead city. It consists of a small cemetery that sits atop an abandoned necromancer's laboratory. The necropolis has been refitted as a temple to Vecna, the undead God of secrets. The mausoleum in the cemetery contains a secret spiral staircase that leads to the underground laboratory. The temple is populated by a twisted cult of Vecna, led by the lich-priest Mauthereign. Pgs. 96-103
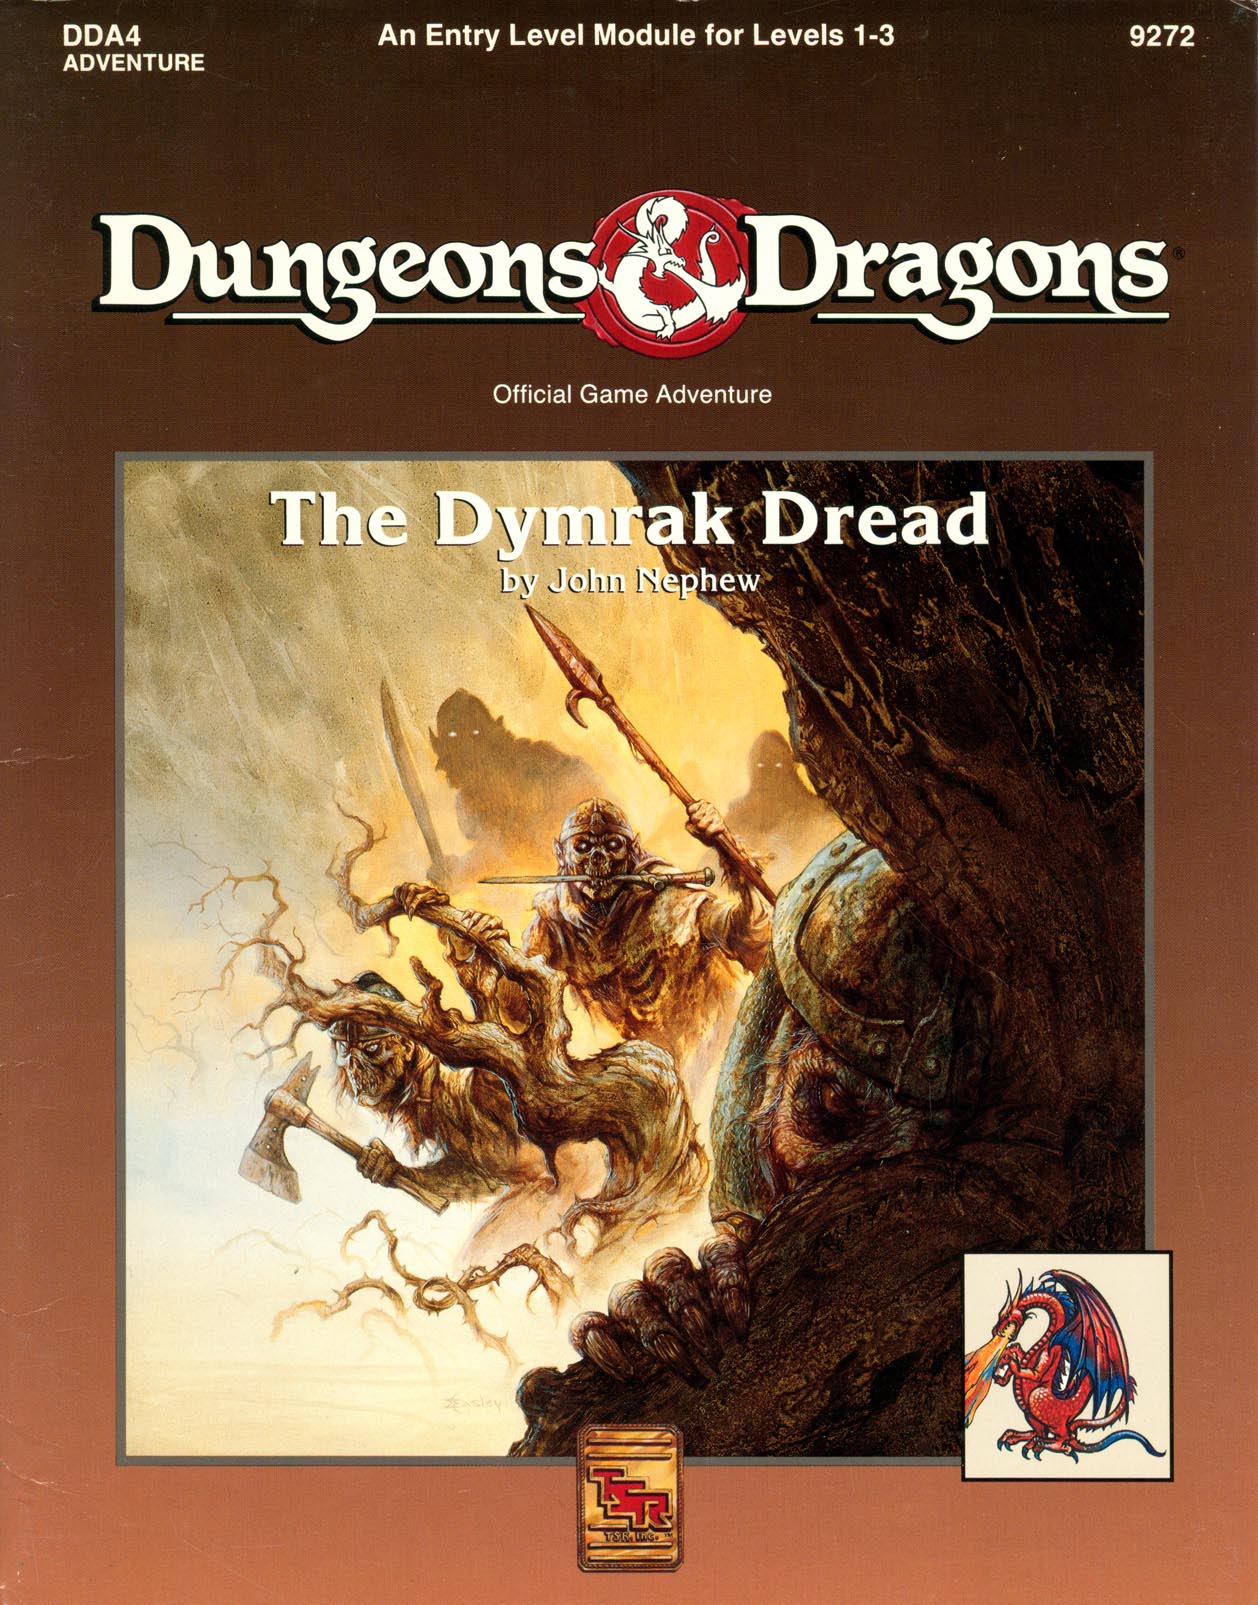
Adventure Lies Ahead, Deep in the Heart of the Dymrak Forest Are you ready to meet the Lord Forester's challenge: to put an end to needless death and destruction by doing away with the goblin war chieftain, Kosivikh, and his evil band of raiders? Eager to prove yourselves as new adventurers and to collect a sizable bounty, you travel to the goblins' dungeon in the Dymrak Forest - a place that has captivated your interest for years, a place where few have dared to venture. Only you and your fellow adventurers can put an end to the rampant bloodshed and return peace to the territory. This module is recommended especially for beginner Dungeon Masters and players who are interested in dungeon exploration. Can be used as a follow-up to the DDA3, Eye of Traldar module or it can stand alone Features easy-to-follow rules on dungeon adventuring in the heart of the Dymrak Forest. TSR 9272

When huge stones fall out of the night sky, A deadly curse settles over Gravencross. Help the village exorcise the Demon Stones. “The sun had set an hour ago, and the rain lashed down and the wind howled on the dark moor. A storm this late in the season was unusual, but this one seemed different. The clouds were more menacing, tinged with anger, the rain colder and more biting than usual. Skerrill had to find the lost calf and get him back to the farm before his father came back from the city on business. He’d been looking for two hours now, and he was right in the middle of the moor when the storm hit. He knew he should have turned back as soon as darkness fell, but then he was never the brightest boy in the valley. If only he had remembered to lock the farm gate. The calf was now likely dead anyway having stumbled among the boulders and rocks, panicking in the dark, and then fallen in a floodwater stream and drowned. Either way, he was in more trouble than he could imagine. Suddenly, a bright flash of white light and a roaring peal of thunder were preceded by an explosion as a huge object fell from the sky and impacted the ground of the moor no more than a stone’s throw from him. Dirt, mud, water, and debris erupted from the impact site, flying high into the air and then covering the moor for hundreds of feet all around. Skerrill was knocked to the ground instantly and covered in the fallout from the blast. His ears rang and his head spun, but he staggered to his feet in a daze. He stumbled to where the blast had happened only moments before, and in a depression in the ground lay a huge stone glowing orange as if hot. Skerrill passed out. Two more thunderous explosions crashed in the distance.”
Founded by a famous dragonslayer, the small town of Belhaim has become a sleepy rural community just off the beaten path, a settlement where everyone knows everyone and strangers are the talk of the town. But when Belhaim’s peace and quiet is shattered by the sudden collapse of the last standing tower of its founder’s castle, things quickly bloom out of control. Why were there bodies of kobolds amid the rubble? What’s the sinister secret behind the strange sounds of flapping wings in the night? And what’s happened to local wizard Balthus Hunclay, who’s not answering knocks on his door? The collapsed tower had long been an eyesore to the cantankerous old man—could he have had something to do with its destruction? And what of the rumors of strange stirrings in nearby Dragonfen? Has Belhaim’s ancient draconic nemesis returned?

Things are not right at Du Sharid Manor. Months ago, a deranged parish priest and his most devout followers formed a heretical cult. These self-proclaimed “Seekers of the White Heart” chose the desolate Wild Hills to practice their secret rites; but the strange goings on at the Wild Hills did not escape the prying eyes of the more pious villagers who set out to confront the cultists. Once there, the villagers witnessed something terrifying and unexpected. Since the events of that night, the cultists have vanished, but the remaining serfs of Du Sharid now live in constant paranoia. Your party has been hired by the local bishop to to learn the truth about what happened at Du Sharid Manor. For use with Swords & Wizardry (or the like) and designed for the experienced Referee, Jewel of the Lunar Rift is a first-level campaign-starter and an introduction to the Messoria setting. Included as a bonus are campaign journals from the author's own sessions.