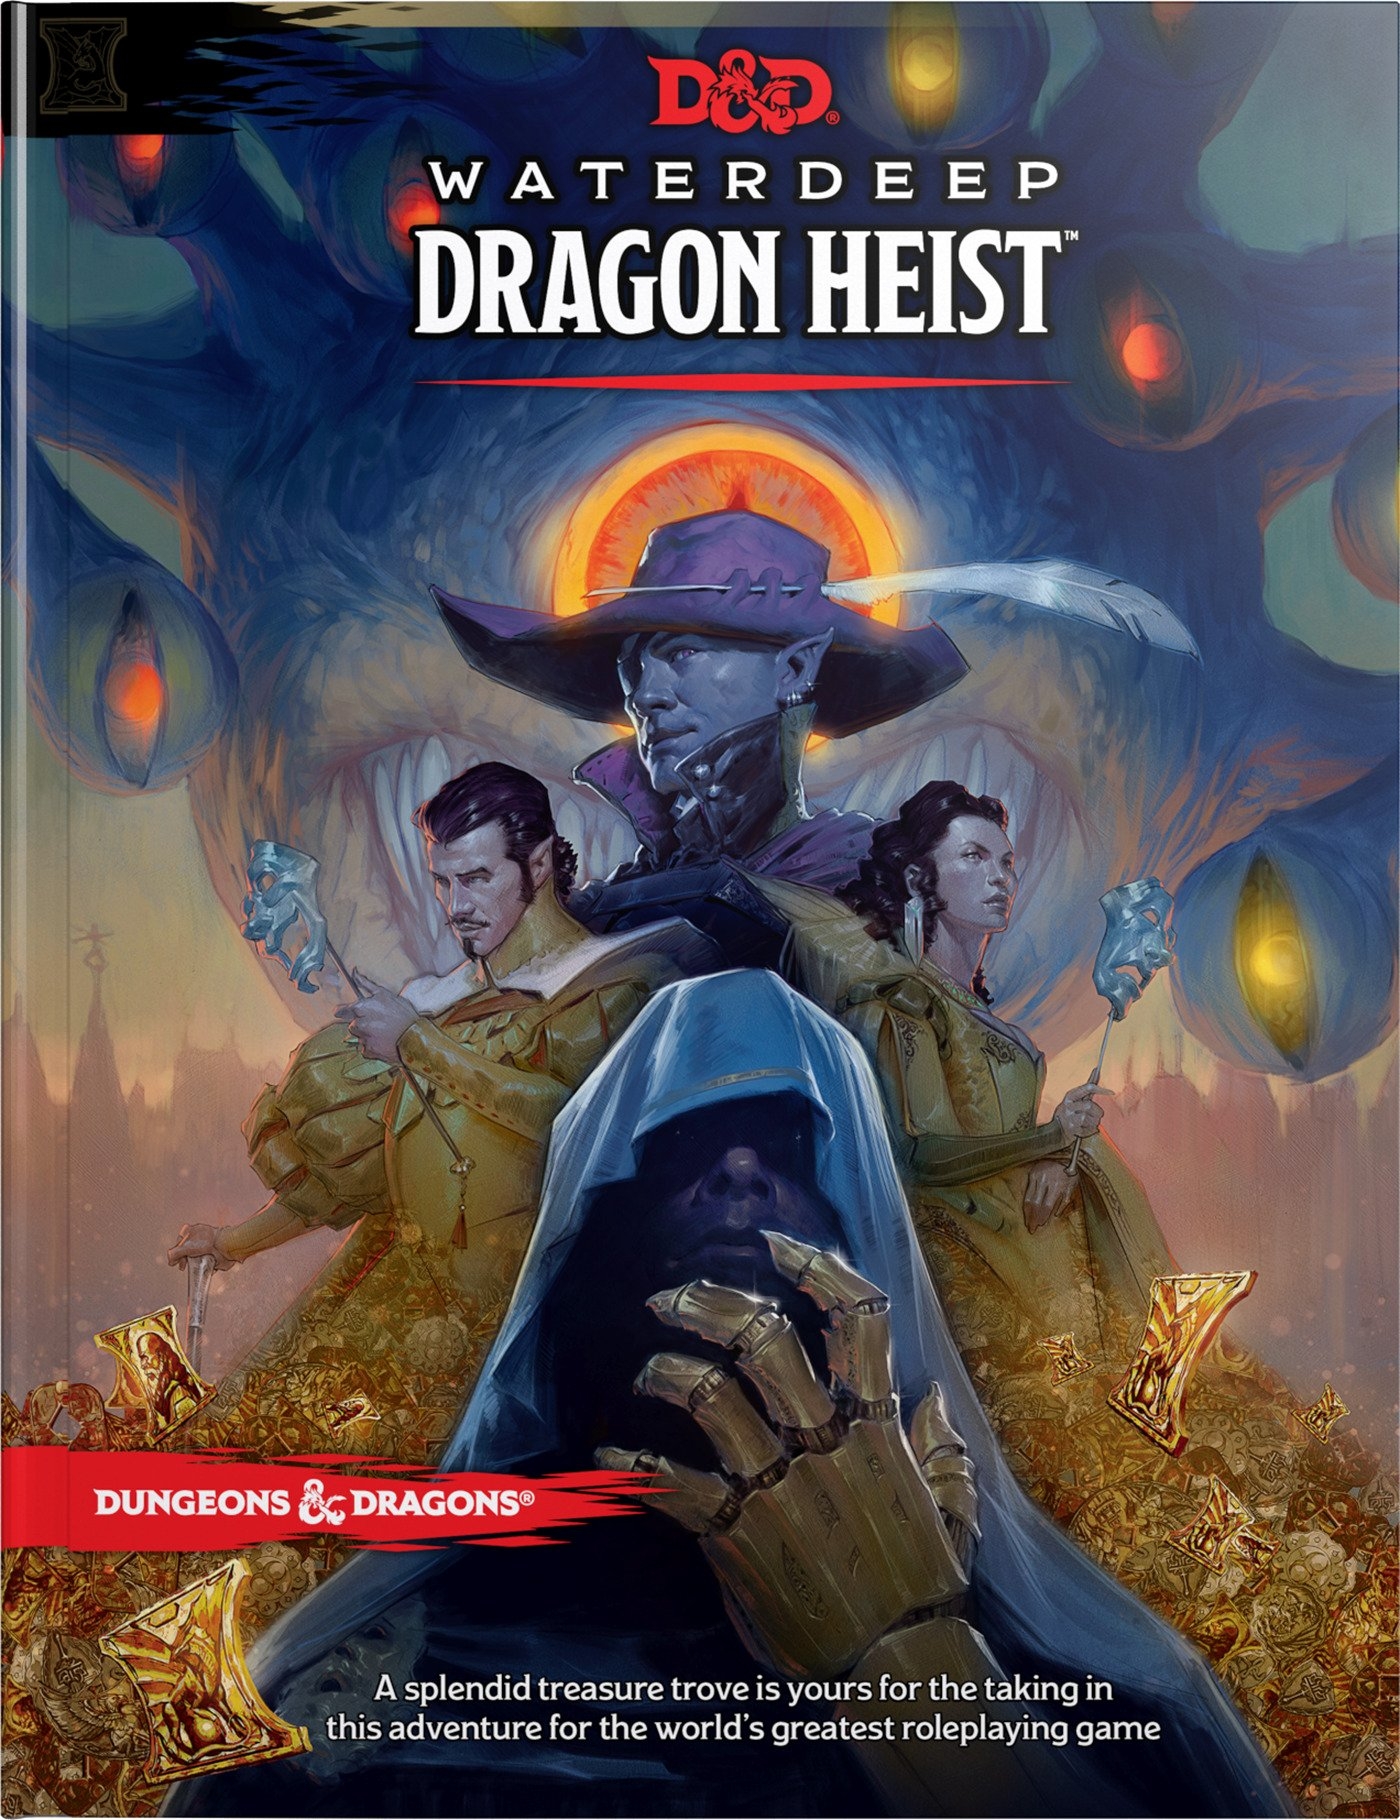
Welcome to Waterdeep! A fantastic treasure trove is yours for the taking in this adventure for the world's greatest roleplaying game. Famed explorer Volothamp Geddarm needs you to complete a simple quest. Thus begins a mad romp through the wards of Waterdeep as you uncover a villainous plot involving some of the city’s most influential figures. A grand urban caper awaits you. Pit your skill and bravado against villains the likes of which you’ve never faced before, and let the dragon hunt begin!

You and your associates have been contacted by Janko Milosh, fourth Earl of Tambish. Apparently, he has come into possession of a cursed item and he requires it be delivered to someone he trusts to examine it. With no mounts and none for sale, you better hope your boots are in good shape!
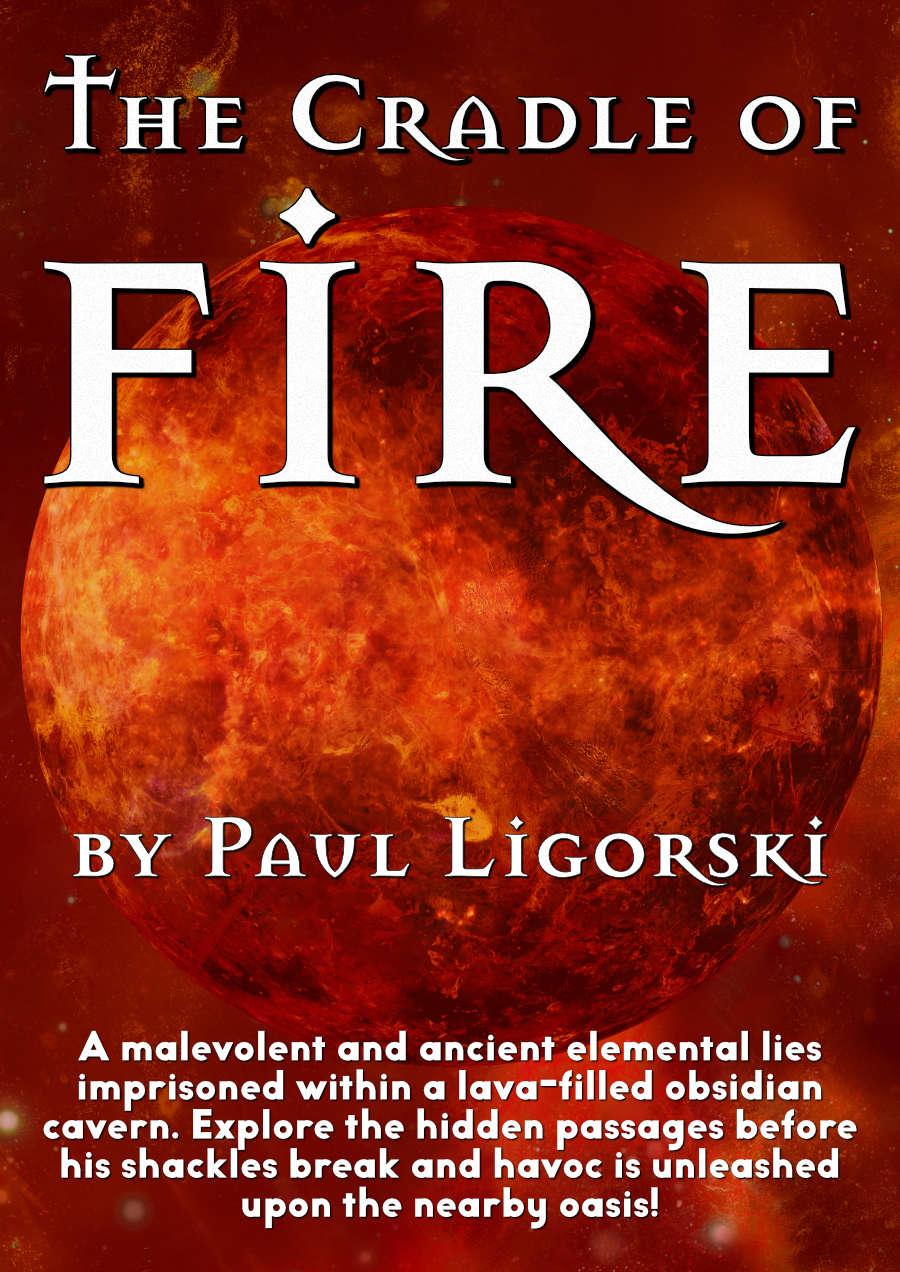
An oasis exploration and lava-filled obsidian dungeon crawl for 4-5 players of 5th to 6th level. Battle elemental evils, save captured sandworms, claim unique elemental magic items. A malevolent and ancient elemental lies imprisoned within a lava-filled obsidian cavern. Explore the hidden passages before his shackles break and havoc is unleashed upon the nearby oasis! 10 pages of oasis exploration and lava-filled dungeon peril! Statblocks for the life-cycle of desert sandworms, plus three unique elemental magic items like "Summer's Bane" - an armlet of compacted ice that grants the wielder a magical bow, and the "Embershard" - a dagger made from the jawbone of a red dragon that imbues the wielder with elemental magics. Run the adventure your way - drop the PCs off at the dungeon entrance and explore the perlious cavern, or let them cavort in the oasis before uncovering the lingering threat. We hope you enjoy the desert oasis and obsidian-carved dungeon crawl from the Heart of Arcana.

5e Solo Gamebooks presents Drums at Daggerford, the fifth in our continual series of solo adventures set in the Forgotten Realms. This quest enables you to experience D&D without a dungeon master! Simply roll up a level 5 PC and get playing. Drums at Daggerford is the way you must experience solo adventuring. Players and DMs beware, a new standard has been set. This solo adventure continues the story arc first begun in Death Knight’s Squire, developed further in Tyrant of Zhentil Keep & Citadel of the Raven, and left in The Tortured Land. Drums at Daggerford’s ability to echo a Tolkien spirit reverberates throughout the narrative no matter which path you may choose. But choose wisely because a razor’s edge separates peril from glory. Over a year in the writing, this latest instalment in our solo adventure series is a mini sandbox campaign that will give you anywhere up to 8 hours of solo adventuring enjoyment. Completionists and those who like to replay these adventures will get even more gametime. There are mysteries to be uncovered, items and sidekicks to be gained, codewords to unlock and villains to conquer! With lots of exploration, meaningful decisions, hard fights, and a variety of rewards and stories, Drums at Daggerford will continue to resonate with you long after solving the big mystery behind Krond Vikkurk’s malevolent plans.

War brews beneath the emperor's notice, nature convulses as unholy demons bring woe to entire prefectures, and hobgoblin mercenaries wearing powerful machine armor march in greater numbers than ever before. Will you rise to save the empire or is Soburin destined for destruction? Soburin is beset upon by dark forces from its ancient past—not only the evil mists that transform men into monsters, but now too the return of a potent necromancer set to bring about a reign of agony, despair, and death! In the looming crisis the immortals that have treated the world as their gaming set are gathering their agents and pawns, deploying unique warriors across the continent with goals as mysterious as they are. It is within this epic game of intrigue that the adventurers become entangled as they undertake quests for the governmental bengoshi in the Sukochi, Yokuba, Ikari, Hakaisuru, Fuson, and Gekido prefectures as well as visit the enigmatic Tsukisasu, city of oni. Demons begat by the entities that consumed nature plague the party during their travels as do a very special gang of smugglers, the gun-toting Mubo Brothers, and the bloody hobgoblin mercenary erikotera warriors suddenly far more populous across the countryside than ever before. By the time all is said and done the PCs take part in a furious mass battle, nail-biting race through an undead dungeon, and finally an epic fight against an ancient evil atop the Hone-Noroi bone tower before it all comes crashing down! This extensive adventure path takes characters from 3rd to 12th level and includes all previous Mists of Akuma modules (Scourge of Róbai Shita Temple, Feud Primordial, Fangs of Revenge, Cursed Soul of the Scorpion Samurai, Yai Sovereign of Storms, and Revenge of the Pale Master) paired together with connecting material that creates one intensive campaign sure to delight GMs and players for months on end! It would be exhausting to list everything that's inside of the 374 pages of Trade War—here are some quick highlights and if you think this book is for you, peruse the table of contents (below) and sample PDFs. Over 50 maps 90 different NPCs and monsters 6 highly-rated adventure modules ranging from straightforward dungeon crawls to sandboxes of intrigue and back (and 2 sidequests by Andrew Engelbrite and Dirk van de Rijt) 8 new class archetypes: survivalist barbarians, smuggler bards, acrobat monks, tumbler rogues, enigmatic eye warlocks, desperado warlocks, and wizards of the inside out 32 new martial arts stance feats including new weapons martial arts stances Hyperlinks throughout to make accessing statblocks from the core rules a breeze Rules for mass combat An epic 9-level bone dungeon inspired by Buddhist hells Mists of Akuma character sheets
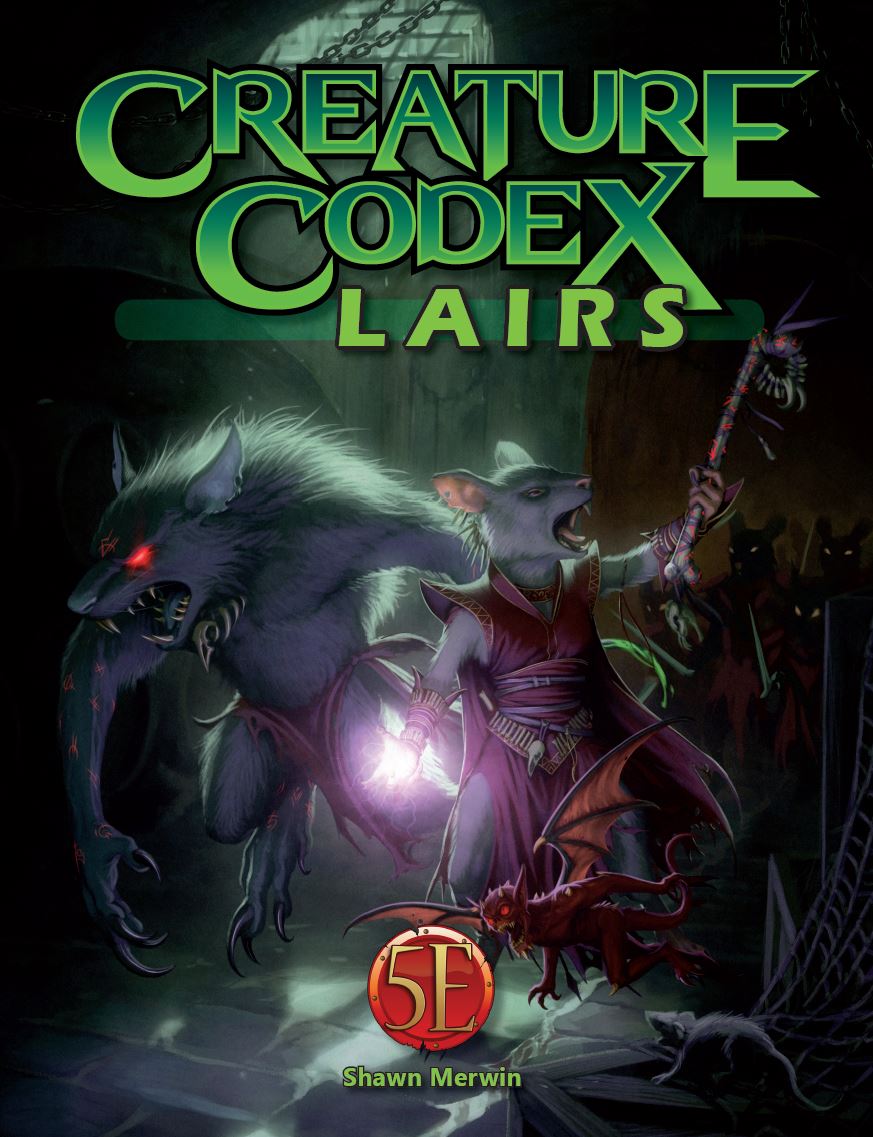
A venom maw hydra lair suitable for four or five 10th-level characters. The Red Craw Marsh, so called because of the delicious and plentiful red crayfish that live in the area, is a boon to the nearby village. More than a few intrepid souls brave the swamp each season to collect the crayfish. They either sell the crayfish to local establishments or ship them to nearby cities, where they earn a good price as the crayfish is a delicacy among the wealthy. The villagers have established a tentative peace with a clan of trollkin that inhabit the swamp. The crayfish collectors pay a small fee to the trollkin, who allow them to ply their trade in the marsh without (much) interference. It is a tense but profitable relationship for all involved. A powerful creature has moved into the marsh, however, threatening the delicate balance. When a venom maw hydra decided to move to the area of the marsh between the human and trollkin villages, it brought along a number of creatures that worship and serve it. This hydra and its allies have killed some of the crayfish hunters and some of the trollkin. Each side, unfortunately, believes that the other has broken the truce, thus stirring up animosity and putting both groups on the verge of war.

The party approaches the Dwarven Kingdom of Narol'Duun, where things are far different than in your typical dwarven empire. The first major difference is that Narol'Duun is split into three distinct categories of dwarven tribes based on the main type of ore that they mine and refine. The dwarves take on characteristics of these ores - the Cobalt Dwarves having a tinge of blue to their hair, the Copper Dwarves having tough skin and beards of shining reddish-brown, and the skin of the Iron Dwarves is a deep grey in color. These dwarves engage in trade and drink, but the one thing that they are sure to never do is breed outside of their respective tribes. To be found in a relationship with a dwarf of another tribe is to be exiled to the surface - a punishment worse than death for most of these dwarves. On this particular adventure, the party finds themselves caught up in a case of forbidden love between a royal member of the Cobalt Dwarf family - Nadom Glintstone - and a simple merchant woman from the Copper Dwarf tribe by the name of Lajeera Copperfist. They have been doing their best to keep their love a secret for they both know the risks, but the Cobalt King, Norgith Glintstone, has suspicions and is deeply afraid of the damage such a scandal could have on his family's reputation. He doesn't want to draw any attention to the situation, so it is difficult to find a dwarf of his own tribe that could look into it further, so when the party comes along he sees it as a perfect opportunity. He will hire the party to look into the situation with Nadom, offering grand rewards in exchange for the truth if they can provide proof. The party will be torn between multiple threads of possibility in this adventure – telling Norgith the truth about his son's affair with Lajeera, helping Lajeera to permanently change her form to that of a Cobalt Dwarf so they can be together, or perhaps even trying to end the tribalistic ways of the dwarven kingdoms all together. This is a heavily role-playing based adventure, perfect for those who would rather talk their way through a difficult situation than cut their way through it, but there is still some combat along the way depending on the party’s choices. This story will decide if love can win out against all odds or if the temptation of coin is greater than the happiness of others.

Let nothing end the Feast by the River. Let the celebration of our enemy’s vanquishing ring out night and day for eternity. Let the bones of our enemies and our prey mingle below our feet. This is your time, our time, the best time. —Queen Gellao on the eve of her victory over the followers of Dur; decreed at the River’s Bend feast hall
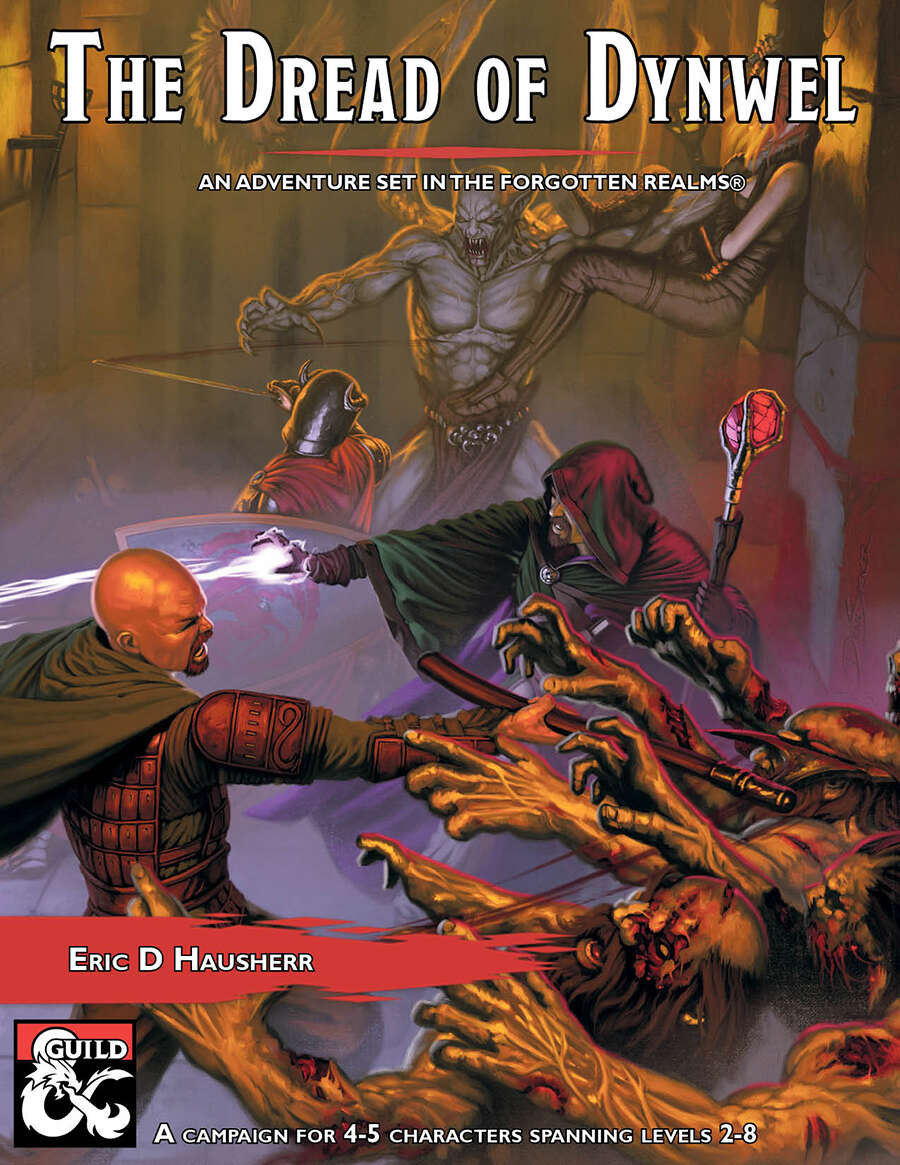
The Dread of Dynwel is an adventure set in the Forgotten Realms and optimized for 4-5 players. The characters start as a down on their luck but somewhat experienced crew of adventurers with a wanted poster which pays a much-needed gold reward. Soon, events in the Sunset Vale are revealed as more dangerous than they seem, sweeping the characters along with them. From the heights of the Sunset Mountains, the alleyways of Scornubel, and depths of the Reaching Wood: The Dread of Dynwel covers levels 2 through 8 and features material which can be played as a full campaign or dropped into an ongoing one.
Zor von Finklestein has purchased an aging cargo vessel and filled it with food for suffering Mulmaster. Now you only need to make sure the vessel comes into port

"I can’t stand to lose again..." The small farming village of Devil’s Run is about to have its yearly pumpkin festival. Unbeknownst to many, Old Pete Barker, a pumpkin farmer of many years, was having difficulty growing his pumpkins. Pete doesn’t have an ample water source, unlike Molly Simms, his primary rival for the festival's coveted largest pumpkin award, whose farm lays near a stream. Fixated on winning the grand prize, Old Pete made a deal with a dark force, the Feeder of Desires, but the deed cost him and the village dearly. “Plant me in the ground and I will make you strong." Peter Barker's body transformed into a vine-like creature with a jack-o-lantern head, and he now ‘waters’ his thriving pumpkin fields with the blood of kidnapped villagers, binding them below the earth while the pumpkin vines burrow into their flesh and feed. These vines have started to enter the town, creating pumpkin-vine creatures which snatch villagers and drag them to his underground lair. Will the adventurers save the village of Devil's Run and put a stop to Pete's pumpkin-patched plots? Let the Pumpkin Festival Commence! ►2– to 4–hour adventure for three to five characters ►Scalable for 3rd—7th level (optimized for 5th) ►5 beautifully mapped areas for your adventurers to explore ►7 new monster stat blocks, including the Pumpkin Terror, Vine Hound, and pumpkin-headed Pete Barker himself! ►Ripe for Halloween, Thanksgiving, or Fall adventuring! PDF Purchaser Bonuses ►HDR map files for each area (both gridded and gridless) ►Virtual Tabletop Tokens for the monsters Also for Roll20 and Foundry VTT

𝐓𝐡𝐢𝐬 𝐚𝐝𝐯𝐞𝐧𝐭𝐮𝐫𝐞 𝐢𝐬 𝐚 𝐜𝐨𝐧𝐭𝐢𝐧𝐮𝐚𝐭𝐢𝐨𝐧 𝐨𝐟 𝐭𝐡𝐞 𝐨𝐫𝐢𝐠𝐢𝐧𝐚𝐥 𝐬𝐚𝐦𝐩𝐥𝐞 𝐝𝐮𝐧𝐠𝐞𝐨𝐧 𝐟𝐨𝐮𝐧𝐝 𝐢𝐧 𝐭𝐡𝐞 𝟏𝟗𝟕𝟕 𝐁𝐚𝐬𝐢𝐜 𝐑𝐮𝐥𝐞𝐛𝐨𝐨𝐤, 𝐤𝐧𝐨𝐰𝐧 𝐚𝐬 𝐭𝐡𝐞 𝐓𝐨𝐰𝐞𝐫 𝐨𝐟 𝐙𝐞𝐧𝐨𝐩𝐮𝐬. It includes the hinted at, deeper dungeons and darker secrets of Zenopus. This adventure details the Tower of Zenopus located in the map found in Ghosts of Saltmarsh and is a quick side bar for adventurers level 1-3. It has been 50 years since anyone has seen or heard from Zenopus. Rumors abound concerning cultists and marshland creatures roaming near Portown. Could it be that Zenopus is behind it all? Return to the dungeon that started it all. Additional material based on Dr. J. Eric Holmes’ original sample dungeon. More levels, more monsters, more treasure await under the Tower of Zenopus! 4 new dungeon levels included!
Explore a cult-ridden village in this adventure for 2nd-level characters set in the world’s greatest roleplaying game! Syra Fallbrook, a talented blacksmith, is due to be executed. Her only crime was trying to prevent the Cult of the Engine from taking and sacrificing her daughter, Ariadne, in a dark ritual beneath the town. The party find Bleakwash a closed off and inhospitable town, with zealous cultists and downtrodden citizens so tightly entwined that nobody trusts anybody else, and nobody can be trusted. Eventually, the quest takes them to the dungeon beneath the town, a dank, sodden crypt where the cult’s enigmatic leader seeks to awaken The Engine Of Salvation. This second-level adventure is perfect for new DMs and players alike. Visit the grim portside town of Bleakwash, save Syra and her daughter, investigate a dark cult, and do battle in the salt-crusted catacombs! Included in this adventure: A quest to clear a town of corrupting influence. An open-ended investigation in a full town map. Broken, sea-washed catacombs. 5 random encounters to support you during travel. Approx. 4 hours of fun. A gripping adventure for 2nd-level players. Visit the grim shores of Bleakwash for a holiday you'll never forget!

The denizens of the Old City have made some unusual sightings in the festering refuse pits on the outskirts of the city, and while such reports are seldom taken terribly seriously, the mysterious disappearance of a beloved figure in the poor part of Port Nyanzaru has folks on edge. Can you get to the bottom of this? Part One of The Rot from Within Trilogy.

Martin's Fortune is a short classic horror quest that can be easily put in any (low) fantasy setting. This adventure scenario features a dark and trilling backstory and several handouts for your players. The quest is very much in the horror element and there are advices on how to approach the horror scenes. Adventure Synopsis: Martin Wesley, decedent of a faithful servant of Lord Amren Stieber recruits the players to pillage the Lord's lost tomb. Searching for the tomb reveals that forgotten history leaves its traces to this very day. The forest around Amren's resting place is cursed and veiled in darkness. When the party finally arrives to the Lord's tomb, they discover that it is something more - a jailhouse. Their prize will have to be earned in blood. Even when they vanquish the undead fiend, they can't be too safe, for the Lord's madness has become immortal. Published by: Adventurer's Inn
Pursued by wolves and worse, the party must fight a running battle to take refuge at the relative safety of the Bittermoon Inn, a decrepit old inn high in the mountains. But night is falling, can they uncover the secrets of the inn and use them to survive the night? This adventure can be played as a stand alone one-shot, or can be used as a drop-in side quest to almost any campaign. It is suitable for a party of about 5 characters at the First Tier (Levels 1-4). The players must fight a running battle with wolves to reach Bittermoon, then they must discover the secrets of the inn before escaping through a smuggler's tunnel. Finally they must face off against their unseen opponent at Skull Cavern. There are four encounter maps included with this title.

"Can you solve the Labyrinth within 13 hours and get back what was stolen from you?" A 4-Hour Adventure for Tier 1 characters optimized for APL 3 taking place in the Feywild Domain of Delight, Labyrinth, where everything seems possible and nothing is what it seems. This adventure takes place when the characters have been abruptly teleported into the Feywild Domain of Delight, Labyrinth. The Kobold King has given the characters thirteen hours to solve the labyrinth, or they will lose what he stole from them forever. "It's only forever, not long at all..." Pillars of Play: Skill challenges and exploration. Minimal/optional combat. Content warning: Non-consensual theft Adventure Inspiration: Jim Henson's Labyrinth (1986)

Mother Haggle is an elderly crone who runs a Lost & Found Emporium on the edge of the Misty Forest. The old lady pays her mercenaries well, and attracts all kinds of talent to send on her various errands. Mother Haggle doesn't deal in world shaking problems, but it's uncanny how often simple tasks like "fetch that cow" or "bring me a boggle" end in embarrassment, grievous injury or death. As she always says, it really can't be helped. Using the streamlined Plausible Complications and Unlikely Disasters layout, Mother Haggle's adventures are one-sheet wonders ready to pick up and play with groups of the specified level. Mother Haggle wants her cow back. It seems to get lost a lot, but she doesn't care how much she has to spend as long as her darling gets home safe. Included in Mother Haggles's Notice Board - The Missing Cow are six standalone bovine adventure seeds in which Mother Haggle's cow needs rescuing. She should really keep that cow in a better pen, or lock the gate or something, but who needs common sense when you have money and mercenaries?

The trail leading from the Fane of the Whispered Fang has grown cold, but you can still taste the machinations of the yuan-ti in Chult’s humid, stagnant air. Because of this, you must venture deeper still into the jungle and petition the aid of an unlikely ally—the fabled Ramshackle King. His assistance is crucial to the effort to save Chult! A Four-Hour Adventure for 11th-16th Level Characters.

The people of Northwood’s Rest need help. Winter is coming, and something’s been slaughtering the livestock. Surely it must be the orcs of the Northwood! Heroes are needed to hunt them down. Will you answer the call? Welcome to Hunted! The latest adventure from the critically acclaimed platinum best-selling author Tony Petrecca. Hey, that’s me! I’ll stop with the 3rd person talk now. My last release, Killer Kobolds, was all about unadulterated, non-stop run and gun action, and quite purposefully contained absolutely no moral quandaries. Its theme was simple - Kidnapping Kobolds needed killing… now go! The result was an absolute blast, but with Hunted! I wanted to explore notably different themes. With Hunted! Exploration, investigation, and role play go hand in hand with unexpected twists and turns to present an adventure I’m quite proud of. Worry not, action hounds, as there’s plenty of combat to be had, but with Hunted! mindless murder hobo’s need not apply. Set in the frontier town of Northwood's Rest, a simple thorpe on the edge of a forest, Hunted! lends itself to easy insertion into any campaign setting and would make an excellent side quest for Storm King's Thunder. With direct tie ins to Acererak, Hunted! fits naturally within any Tales of the Yawning Portal campaign. Scaled for a party of 4-6 adventurers of levels 5-7, Hunted! can be easily tweaked to accommodate parties of lesser or greater strength. Featuring gorgeous cartography by Ennie award winner Elven Tower Cartography, beautiful art, a bevy of new creatures, new locations, several potential plot twists and a fun new magic item, Hunted! should provide six to ten hours of outstanding Dungeons and Dragons 5th Edition adventuring fun.