
The Vault of Pallon the Pious is an adventure for four 2nd level PCs. A famous pirate captain came to worship a lawful god in his final years. After a lifetime of plundering, pillaging, scuttling, and murdering along the coastline, the fear-inspiring Pallon the Merciless rebranded himself as Pallon the Pious. But, a history of violence is a hard thing to reconcile, and the salty old dog slowly succumbed to madness. His most precious possession was a set of scales that reflected perfectly his own inner conflict. The Scales of Misjudgement are buried deep in the treasure room of his crazed rock-island vault.

Beneath the frozen waves, an ancient power stirs. In the icy north, ships vanish without a trace, drawn toward a massive drifting iceberg. Legends speak of a powerful artifact buried within—one that calls to the sea and those who sail upon it. But the glacier is no ordinary formation; its tunnels are filled with lurking predators, yeti clans, and an ancient Icebound Hydra whose severed heads regrow as living ice. Can your party brave the treacherous depths, uncover the iceberg’s secrets, and escape with their lives? Or will they too be claimed by the frozen tide? Inside This Adventure: ✅ A perilous arctic dungeon crawl with chilling environmental hazards. ✅ A tense nautical encounter with eerie Will-o'-Wisps and a Sea Hag ambush. ✅ A monstrous final battle against the Icebound Hydra, a regenerating beast of frost and fury. ✅ A cursed artifact—the Shard of Dominion, which grants power but demands a terrible price. ✅ Multiple adventure hooks for easy integration into your campaign. This adventure is part of Thirsty Tiger Tales, an upcoming collection of exciting one-shots for D&D 5e! Perfect for a one-shot or a side quest in any high-seas or arctic-themed campaign. Pay What You Want for the first month! Suggested price: $1.00 Will your party conquer the frozen depths, or will they become yet another legend swallowed by the ice?
The characters are introduced to the coup occurring in Whitehorn and are tasked with warning a friend, whose family is involved, about it. (characters can choose one instrument as a reward)

The Haunt Unlock the secrets and drive back the evil from Montarthas Manor In ages past, an ancient town was lost and destroyed to a seige of orcs. Only one building survived and to this day, the manor is the only still standing building to be seen for miles around. Some say it is haunted, a few whisper of great treasures within, whilst others whisper that it is the manor itself that lives! No one knows for sure, only that a great evil haunts its halls. Do you dare enter Montarthas Manor? Published by P.B. Publishing
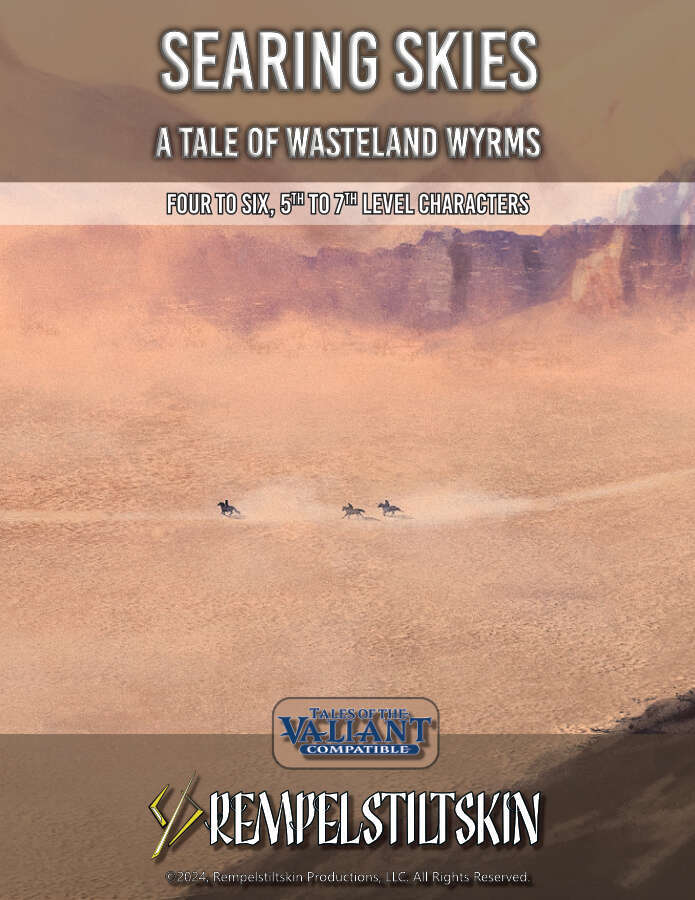
Draconic adventures in the scorching sands! In the desert, the Wyverns gather and move in prides. Their power is fearsome alone, but together almost unstoppable. Their eggs are valuable and sought after by thrill seekers, culinary connoisseurs, and purveyors of exotic pets and mounts. Two large groups—big game hunters looking for trophies and native desert nomads whose culture practices conservation of the Wyverns—are set to clash at a Wyvern Nest. A Sorceress wishes to stop all exploitation of the bestial dragons. These three groups require adventurers to succeed. But who will the adventurers side with? And what of the ruthless mercenary group The Furious Few? This Tales of the Valiant Compatible Adventure Module Toolkit Provides: • one regional map and four location maps to adventure in • Desert Wyvern Ecology and statblocks for various stages of development • Details of the three major factions vying for control of the eggs • A ruthless party of rivals for your players' characters • Over 60 NPC bios to help populate the desert and craft your tale. • Desert Environment rules and hazards

This heist adventure that takes place almost entirely at Fort Bones. It is split into five scenes: Karrnathi Opening. The characters meet Vedim ir’Durna, a noble from the region who is willing to help the player characters infiltrate the Fort. Guild Handler Lhara introduces their prize: a necromantic artifact called the Queen of Night, tied to the plane of Mabar. Valenar Gambit. Whether by wit or stealth, the characters find their way inside the walls of Fort Bones. They might use the incoming Valenar attack as a distraction, find a secret entrance, or plant themselves on a visiting dignitary’s staff. Castling. Safely inside, the characters must figure out when the artifact is unguarded, and find their way into the castle’s inner sanctum. Check. The characters must navigate their way past a magical vault door, then descend into the crypts. The Queen of Night is guarded by a terrifying construct. Endgame. With the artifact in their hands, will the characters be able to escape with their lives?

"The Clockwork Tower" is an azza gremlin lair suitable for five 3rd level characters. This adventure can be completed in one session.

SEER has been rescued along with Ulcaster, the infamous Archmage that founded a wizard's school that is now in ruins in the foot hills of the Cloud Peaks. However, while leaving to get the two to safety a cloud ship arrived, unloading a shipload of pirates on the ruins. SEER knows what the are after and needs the heroes to stop them and their leader.

After turning himself into a manticore, the self-style wizard-artiste, Mortzengersturm, moved to the crystalline peak of Mount Geegaw to practice his transformation magic without interference. You've been hired to snatch his most prized artifact, the Whim-Wham Stone--or at least some of its eldritch light. A menagerie of magic hybrids, a self-absorbed vampire, more than a few hippogriffs, and of course, the mad manticore himself await! It's like a Rankin-Bass stop motion special--except it could end in a total party kill.
:strip_icc()/pic4011257.jpg)
This scenario sees the adventuring party given an important quest to collect a number of broken magical seals and to light a number of magical braziers, all of which once protected the crypts of Kelemvor. In so doing, they can help to quell a devastating uprising of undead — organized by a powerful lich named Idris bent on destroying the city of Neverwinter. “The Crypts of Kelemvor” is a one-shot Dungeons & Dragons adventure for characters of levels 3 to 5, adapted from a quest in Neverwinter online.

Encounters in the Savage Wilderness contains 19 encounters / mini-adventures, a few new creatures and items, and downloadable maps. We've also added suggestions on how to use the encounters in Eberron.

A short plug in adventure that can be used as part of a larger campaign or run as a one shot for 3-4 Tier I or II characters. The Twin Temple was once a place where the people of the city can come to and get help and guidance, but change has come to the Twin Temple now. The characters seek to find what poisons this well and how they can get to the bottom of it and who is responsible. This adventure is ideal for for 3-4 tier I and II characters. Playable as a one shot or the start of a larger campaign. The characters are sent to investigate the Twin Temple and see if they can find the root cause of trouble with various clues and encounters in most rooms this adventure is customizable and adaptable to fit into most campaigns as needed.

The party has been hired to retrieve some honey from the some bees. Sounds simple right? Too bad these bees are monstrously large! A four-hour adventure for 3rd level characters. For 5th edition Dungeons and Dragons. Includes a 5th edition writeup of two creatures: the senmurv and the groundling.

A Kobold Christmas is a festive one-shot perfect for an adventuring group looking for a little bit of chaotic fun this holiday season. Set in the town of Finnick, play as a group of kobolds working their way out of the sewers and into the home of Sanderklauzen the Red in the pursuit of riches and revenge. Perfect for seasoned (pun intended) and new DM's alike, A Kobold Christmas is a level 3 stand alone adventure, suited for a group of 3 - 5 adventurers if you have 4 to 6 hours to play.

A fiend lurks among the Black Blade goblins. A shapeshifting barghest fashioned by the General of Gehenna to exact revenge on all goblin-kind. It’s aim: to kill as many goblin leaders as possible… A masked goblin approaches the party asking for help. Two tribe leaders are dead. But a rival for chief has control of the crime scene. Will the party discover the barghest among the goblin ranks? Can they stop this imposter before it strikes again? Adventure Overview The adventure’s story is spread over 4 parts and takes approximately 4 hours to play. The adventure begins with a Call to Action scene. Part 1: Goblin Politics. Krill sends his emissaries to implore help from any strong intermediary. The party is asked to investigate the murder of Thrawn in Dringly’s lair. This is Story Objective A. Part 2: The Opposition. Gain entry into Dringly’s lair and investigate the murder of Thrawn. Gather enough evidence to find the killer. This is Story Objective B. Part 3: To The Lair! Now that the players have determined the barghest (Yeep) is to blame, they need to get to Krill’s lair quickly as he is in imminent danger. This is Story Objective C. Part 4: The Barghest.When the players arrive at the lair, they need to get to Krill and expose and defeat the barghest. This is Story Objective D. Adventure Background A barghest named Yeep has begun its onslaught of attacks against the Black Blade goblins. Starting with Chief Gnar, then his second in command Thrawn, the barghest is moving methodically down the line of command. Krill is now chief. But he has some problems: Two leaders of the Black Blades are dead. Who killed them and why? Is he next? Dringly, the next in command, has decided to take his lair for himself, declaring himself Chief of the Black Blades. Who are the Black Blades? The Black Blades are a tribe of goblins in the local area. They are known for dipping their blades in a dark black substance. It is rumored these blades are poisonous. The Black Blades regularly attack passersby on the road to rob them. The Black Blades have two lairs, one run by a chief who leads the whole tribe, and another overseen by a boss lieutenant. The Black Blades have a well-established pecking order which is how Krill stands to become chief. The next in line is Dringly, who has also declared himself chief and wants Krill dead. Krill suspects that there is something suspicious about two leaders being killed within a day of each other, but he has already burned Gnar’s body without any investigation. He needs to investigate the body of Thrawn, but it is in Dringly’s lair. Krill wishes to avoid direct confrontation with Dringly at the present for three reasons: 1) Any violence would only kill his own tribe members and further divide the lairs. 2) He believes there is still hope for negotiation to reunite the Black Blades. 3) He believes that if he were to attempt negotiations himself, Dringly would kill him. This adventure features: Two maps. Ready for your favorite Virtual Tabletop. A full color pdf. A black and white pdf. One custom monster, a reprint of barghest, all others available in the Monster Manual. Four hours of entertainment involving: roll playing a goblin bard, investigating a murder scene, tracking down a barghest before it strikes again. Applicable to any setting.
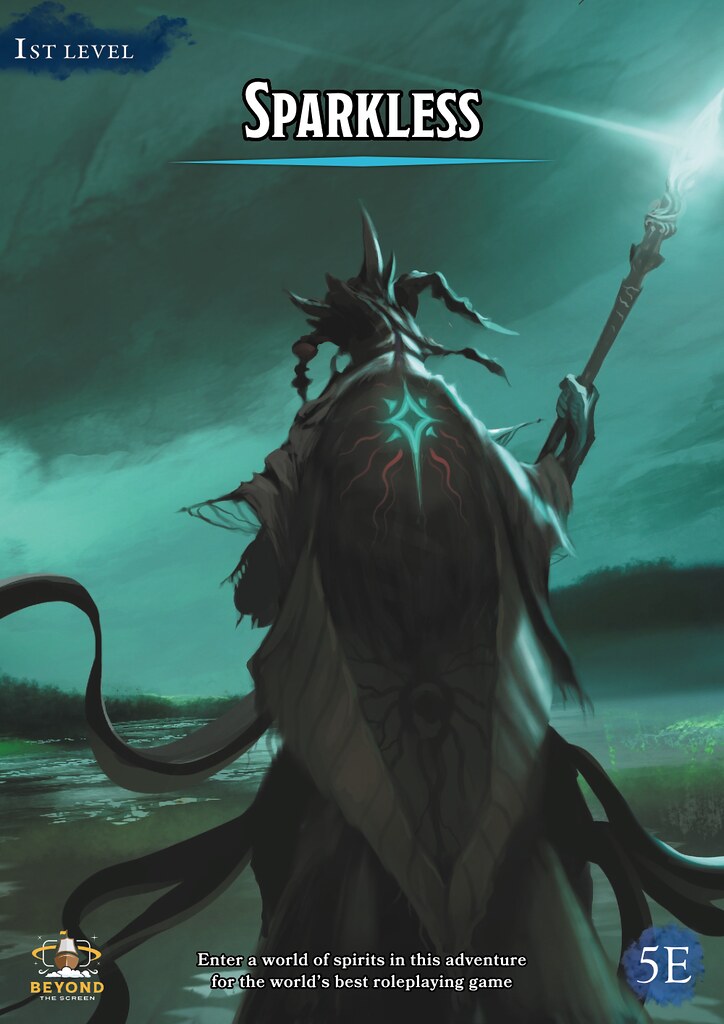
I am sorry child. The world is unfair. You are not like the rest of them. And you never will be. Sparkless is a 5E adventure set in a world of spirits and filled with exploration, conflict and magic. This adventure is designed for characters of 1st level and should provide enough content for two or three game sessions. In this supplement, you will find everything you need to take your players on a dangerous journey through mist-covered swamps to unearth forgotten knowledge and save a lost child. Content Warning: While no children are harmed in this adventure, it features a kidnapped newborn as a major driving force of the story. Before running this adventure with your friends, consult them and make sure they feel comfortable with exploring this theme in their game. The supplement contains 3 encounter maps and 2 dungeon maps. Each map is available in high resolution for print, and a lower resolution perfect for VTT. You can also download each of the maps without a grid and customize it to your liking! Sparkless contains plenty of new 5E compatible material including: 5 creatures, 3 magic items, 1 spell, and a new playable race: The Reclaimed. A new design that lets you keep some of your old race features and get access to new ones! Published by Beyond the Screen

𝐓𝐡𝐞 𝐬𝐞𝐜𝐨𝐧𝐝 𝐚𝐝𝐯𝐞𝐧𝐭𝐮𝐫𝐞 𝐢𝐧 𝐭𝐡𝐞 𝐔𝐩𝐫𝐢𝐬𝐢𝐧𝐠 𝐒𝐚𝐠𝐚. An orcish emissary is travelling the lands south of the dwarven stronghold of Nirzumbil, attempting to keep the tribes in line and focused upon harassing the dwarves. If the PCs can defeat the emissary before he can complete his rounds, they might be able to splinter a part of the orcish alliance. A sandbox-style adventure for a party of 4th level player characters. Includes 5th edition writeups of the giant stag beetle and the krenshar.

In the beginning, a pair of sphinxes — one male and one female — guarded a desert temple in relative peace. They watched over a vault that held a magical ring that could change the world. The androsphinx — Bazymoros — succumbed to corruption; he denounced the trickster god who created him. Bazymoros forged a pact with the demon god, Baphomet, becoming violent and sought to claim the item in the name of his patron. In an effort to save the world, the gynosphinx Asmuzi defeated him. She locked Bazymoros away, never again to see the light of day. The androsphinx remained as an example of what not to become. It has been so long since this battle that much of the knowledge of Bazymoros has disappeared from the collective memory of the races that inhabit the world. All that remains is the knowledge of the dangerous gynosphinx made from the flesh of human and creature. . . and the treasure she keeps.

Inside this full-color, 124-page anthology you’ll find four best-selling Adventurer’s League quests for level 1-10 characters set in the hobgoblin fortress of Glip Dak. Also included are instructions on how to weave these adventures into an ongoing story arc as part of your campaign. Tier 1 (Level 1-4): Glip Dak (CCC_GLIP-01-01) The Kroth Magg hobgoblins run the trade city of Glip Dak in the Troll Hills of Thar. From there they have taken control of the trade routes along the northern Moonsea. A young noble has been captured for refusing to pay their tariffs and his house looks to hire adventurers to rescue him. Beneath Glip Dak (CCC_GLIP-01-02) A series of unusual heists has both the thieves’ guild and city guard scrambling to uncover the culprits before the burglaries destabilize the thriving trade within the city, threatening the budding kingdom the Kroth Magg have fought and died to forge. Citadel of Vlaakith (CCC_GLIP-01-03) The adventurers are tasked with rescuing a group of heroes who vanished in the pearlescent fortress that manifested on the border between the Kroth Magg kingdom and the Varkonin empire in the Steppes of Thar. Tier 2 (Level 5-10): Blue Scales (CCC_GLIP-02-01) A behir has been hired to destroy the herds of aurochs necessary to feed the hobgoblin city of Glip Dak. Patrols and scouts continue to go missing, forcing the hobgoblins to hire mercenaries to track this behir as they recall their troops to the capital to maintain order as food riots break out.

A mind flayer has called for a massive conference of monsters in the Underdark beneath Hillsfar. Trolls, umber hulks, demons, and more have answered the illithid's call. To infiltrate this gruesome menagerie, you must embrace the monster within yourself.