
Important: The adventure is 1e but it has monster conversion notes for D&D 4th edition The town of Highport, once a human community overlooking Wooly Bay from its perch on the northern coast of the Pomarj, fell prey to hordes of humanoids swarming out of the jungle-covered hills surrounding the settlement. Though the orcs, goblins, kobolds, ogres, and gnolls razed much of the place in their ferocious rampages, the smoldering ruins they left behind soon became a new kind of community, a place of trade between the humanoid “locals” and the unsavory human traders who have no compunction about doing business with them. Slaves are a commodity in ready supply in Highport’s market, since many pirates raid up and down the coast of the bay, putting fishing villages to the torch and filling their holds with captured refugees. Slavery has become a thriving business in the town, and rumors abound of a cartel of Slave Lords who run things from behind the scenes, filling their coffers in secret from the buying and selling of human chattel. The trade has become so prolific that the good folk to the north have grown tired of these depredations and decided to fight back. Forces of righteousness and honor have recently descended upon Highport, some openly and others in secret, in various attempts to destroy the machinations of the Slave Lords and abolish the abominable enterprise that has taken far too many loved ones from home and hearth. One such doughty servant of goodness is Mikaro Valasteen, a cleric of Trithereon. Mikaro slipped unnoticed past the crumbling walls of Highport with a single mission: to rescue and transport as many slaves to their freedom as possible. Mikaro and a handful of faithful assistants located a number of escaped slaves—as well as rescued a few more not sufficiently restrained and guarded—and shepherded them through the gates and beyond the reach of their humanoid tormentors, returning them to their lands and homes. This covert freedom brigade enjoyed remarkable success early on, since the servants of the Slave Lords were often lax in their vigilance and sloppy in their efforts to prevent loss of the “merchandise.” After one too many shipments never made its destination, the humanoids stepped up their security and the normal channels of escape from Highport closed to Mikaro and his team. He cannot risk exposure by smuggling the freed slaves through the gates as merchandise any longer, since shipments of goods are now regularly stopped and checked. No longer able to free the slaves in that manner, Mikaro began hiding his charges in an abandoned villa in a particularly rundown part of the town. Although they are safe for the moment, their numbers have grown unmanageable, and the priest fears it is only a matter of time before someone slips up and brings slavers to their doorstep. Ever more desperate to find a new means of escape from Highport, Mikaro has started work on a plan that is both daring and dangerous. He intends to use a series of old sewers coupled with natural caverns running beneath the town as an escape route to the sea beyond the walls. But he needs someone to clear out the creatures and pitfalls he knows lie within. Pgs. 2-27

Along the windswept sea coast are several natural stone columns, sacred to the Sea Goddess Pelagia. One of these pillars is the tower of a reclusive wizard, a devout follower of Pelagia. But the wizard has gone missing, and the locals suspect foul play. Surely a powerful wizard must have many enemies! A band of fledgling heroes is tasked with entering one of the Pillars of Pelagia to contend with all manner of magical defenses, while uncovering cryptic clues to the wizard’s disappearance planted by an unknown benefactor. The insidious evil plot they uncover could spell eventual doom for the surface world. But the Pillars are sacred to Pelagia, and the Sea Goddess herself might just play a minor role, aiding the heroes as they attempt to thwart a nefarious plot.

(From DM's Guild) The Shrine of Marthammor Duin is a short excursion meant to supplement an ongoing Princes of the Apocalypse campaign. At it's core however, this is a traveller shrine that could be devoted to a deity in your homebrew games or any of the other god's of travel in the Dungeons and Dragons pantheons. It includes one new monster, two new items, a shrine map, and a printable player handout for your adventure. This short series of encounters was created to help Tyar-Besil feel more like a real place that was integrated into the surrounding lands and not just a dungeon filled with mad cultists. It also provides a nice opportunity for you to deliver some of the campaign’s back story to your players in an organic way. It will be particularly fun to run with groups that have a dwarf in them who can translate the native dwarven text in the shrine for the rest of the party and connect with the kingdom of Besilmer.

Madness in Freeport, the final part of the Freeport Trilogy, details the final confrontation between the PCs, the Brotherhood of the Yellow Sign, and Sea Lord Milton Drac. In Part One, the Drac invites the PCs to the Grand Lighthouse Ball. Careful investigation can reveal the secret purpose of the lighthouse. In Parts Two and Three, the PCs must recover a powerful artifact to thwart the Brotherhood's plans. They must pass through an infamous pirate's hidden caves, then search a sunken temple of the serpent god Yig. In Part Four, the heroes must enter the Grand Lighthouse, AKA Milton's Folly, in a race against time to stop the Brotherhood's world-shaking master plan from coming to fruition. (Bibliographic note: This adventure was originally written for v.3.0, and later updated to the v.3.5 rules. The revised versions of Death, Terror, and Madness in Freeport were reprinted in an omnibus edition, along with two shorter filler adventures, as The Freeport Edition: Five Year Anniversary Edition.)

Forlorn is a dreary yet dangerous place, a land of secrets and whispers. Visitors can expect to find no safe rest, no respite from the terrible creatures that plague this land. The skies are perpetually overcast and the land is damp with rain. By night, sheet lightning illuminates the sky in ghastly colors. Even if the intrepid adventurers who come to explore Forlorn know that the lord of this domain is forever trapped within his strange castle, they should take small comfort from it. Servants of Tristen ApBlanc roam freely, and the land itself is horribly twisted. The encounters in this book are designed to offer an introduction to Forlorn and provide clues about both its lord and his home. Melancholy Meetings is intended to be used before the castle adventure book, Eve of Sorrows, but it's not necessary for the PCs to experience all of the encounters in this book before embarking upon the next. Included in Castles Forlorn - https://www.adventurelookup.com/adventures/castles-forlorn TSR 1088, from 1993
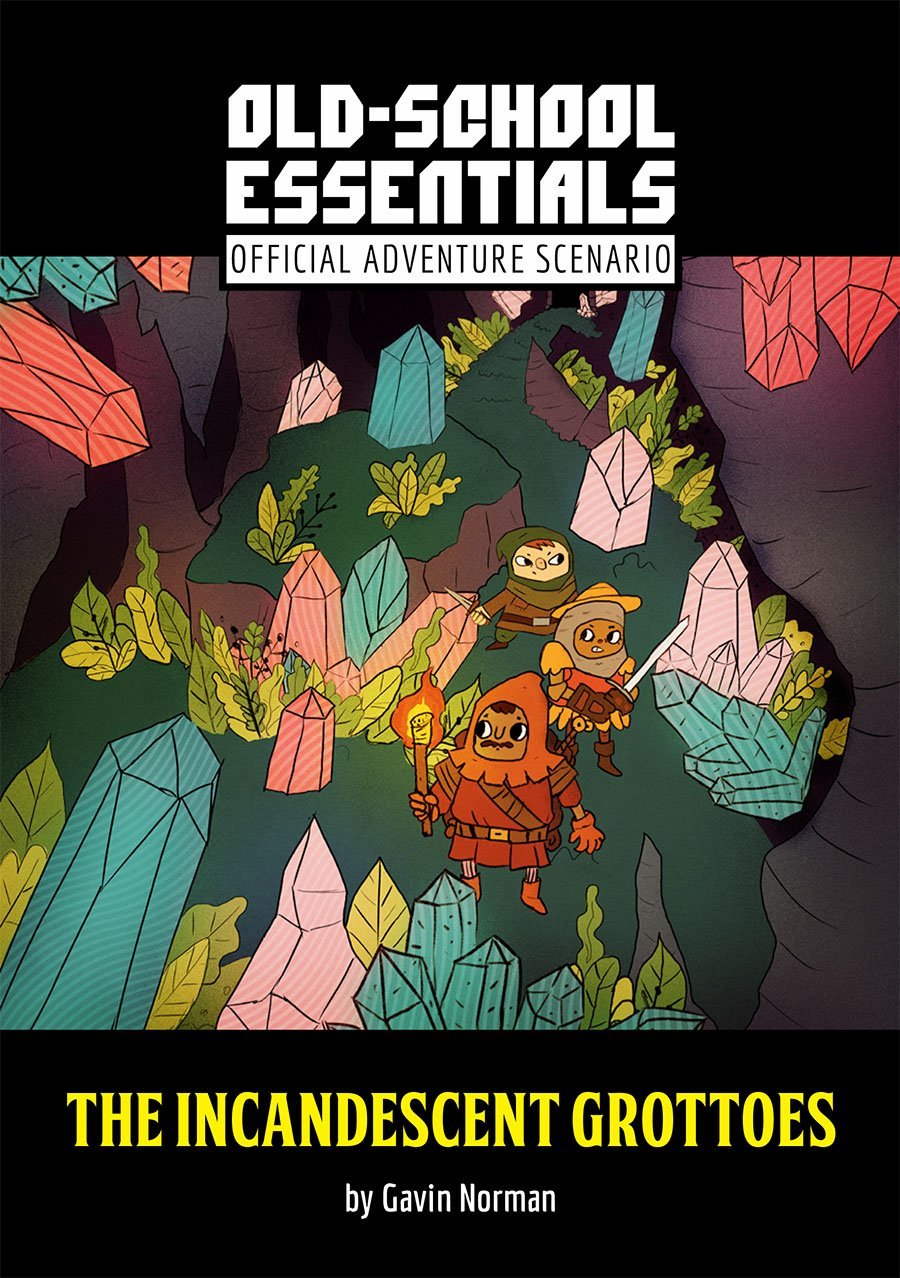
A bubbling stream cascades into a hole in the earth, leading to a series of underground watercourses and scintillating grottoes. Adventurers who delve within may discover odd mosses and fungi, a ruined temple complex, and the lair of a crystal-eating dream dragon.

Adventuring in the Principality of Lockerbie continues with Issue in the Canyon. Your party has enjoyed the advantages of being considered a hero but as the days’ progress, it is back to normal in Gormell. After having a bit of ale at the local tavern you notice a wagon caravan has arrived in town and the people are abuzz over their arrival. Noticing that some of employees are a little beat up, you find yourself in the sheriff’s office being told of a brazen, humanoid attack on the merchants. Looks like you just found a job opportunity!

Nothing's more dangerous than a vengeful dwarf except, perhaps, a greedy one. En route somewhere in a barren wilderness, the PCs find a couple of dwarves--one is burying his brother who was killed by a stone giant; but not all is as it seems. "The module can be placed in any temperate wilderness setting. Players who excel at role playing may find the adventure more rewarding than hack-and-slash types. At least one character should possess a silver or magical weapon." Pgs. 16-17

The party approaches the Dwarven Kingdom of Narol'Duun, where things are far different than in your typical dwarven empire. The first major difference is that Narol'Duun is split into three distinct categories of dwarven tribes based on the main type of ore that they mine and refine. The dwarves take on characteristics of these ores - the Cobalt Dwarves having a tinge of blue to their hair, the Copper Dwarves having tough skin and beards of shining reddish-brown, and the skin of the Iron Dwarves is a deep grey in color. These dwarves engage in trade and drink, but the one thing that they are sure to never do is breed outside of their respective tribes. To be found in a relationship with a dwarf of another tribe is to be exiled to the surface - a punishment worse than death for most of these dwarves. On this particular adventure, the party finds themselves caught up in a case of forbidden love between a royal member of the Cobalt Dwarf family - Nadom Glintstone - and a simple merchant woman from the Copper Dwarf tribe by the name of Lajeera Copperfist. They have been doing their best to keep their love a secret for they both know the risks, but the Cobalt King, Norgith Glintstone, has suspicions and is deeply afraid of the damage such a scandal could have on his family's reputation. He doesn't want to draw any attention to the situation, so it is difficult to find a dwarf of his own tribe that could look into it further, so when the party comes along he sees it as a perfect opportunity. He will hire the party to look into the situation with Nadom, offering grand rewards in exchange for the truth if they can provide proof. The party will be torn between multiple threads of possibility in this adventure – telling Norgith the truth about his son's affair with Lajeera, helping Lajeera to permanently change her form to that of a Cobalt Dwarf so they can be together, or perhaps even trying to end the tribalistic ways of the dwarven kingdoms all together. This is a heavily role-playing based adventure, perfect for those who would rather talk their way through a difficult situation than cut their way through it, but there is still some combat along the way depending on the party’s choices. This story will decide if love can win out against all odds or if the temptation of coin is greater than the happiness of others.

Cargo ships are being dashed against the rocks west of Hulburg, lured off course by a mysterious light. Is this the work of ordinary thieves, or are more nefarious forces at work? Wreckers is a stand-alone adventure that premiered at Kumoricon in Portland, Oregon in October of 2017. Includes: Adventure .pdf in English and Spanish Magic Item Certificate .pdf All maps as high-res .jpg
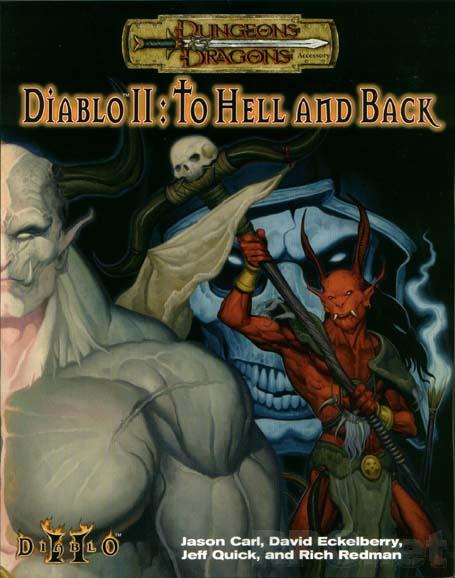
Bringing Diablo II to the tabletop. The legendary Diablo and Diablo II computer games come to life with the release of the tabletop Diablo II: To Hell & Back roleplaying adventure. All a player needs is the Dungeons & Dragons(r) Player's Handbook (0786915501-8/00) to accompany the Diablo II game. Every level and all 4 acts of the computer game are represented in the tabletop mega-adventure, which will also include 64 pages of monsters, information for levels 1-30, and over 60 maps!

Something is plaguing the farmland around the village of Oxdale, out in the middle of nowhere. The beast visits regularly and carries off an animal, disappearing into the hill country north of the village. Word is that it is also buzzing around the new goblin camp to the northwest. It wasn't too big of a deal until it tried to carry off a village youngling; now the mayor and the citizens want it dealt with immediately. (Spoiler - the beast was sent by a gentleman vampire who doesn't like hunting for himself. Find him in his cave or encounter him once he ventures to the village to find out what happened to his machine, should it go missing.) The Draining Caverns of the Winged Beast is a one-shot 5e adventure for a party of four 5th or 6th level characters. This adventure can be slotted into most 5e adventures (maybe with some reflavoring if it's a frozen setting), or stand alone as its own adventure. This adventure includes: The adventure PDF, with several combat encounters, and opportunities for exploration and roleplaying encounters Four maps - one region, one village, and two battlemaps, both in the adventure and as separate JPEGs Random encounter table for trekking through the hill country One magic dagger held by the vampire.

The cries of battle echo in the rustic wilderness, as a pair of fey sisters defend the ancient Briarwood against invaders. When the town of Bur Hollow sends militia men to support their fey allies, they disappear without a trace. The adventurers must enter the Briarwood and save them!

"Ribbons of blood dance through the air, tracing wide crimson arcs before fraying into thousands upon thousands of bright red droplets. The cheerful tavern atmosphere evaporates in a moment, rent apart by screams and cries. A woman with grey hair stands near the bar, grasping at the dagger in her throat with fingers made slippery by blood. She sways and collapses. More screams. A man stands before her. He is holding the hilt of the dagger, but lets it slip from a gory hand as the woman falls. He freezes for a moment, then spins and sprints away, knocking aside people as he goes. A young, flaxen-haired woman at the back of the tavern cries out, “Stop him! Stop him!” as he approaches the entrance – the entrance where you and your comrades are standing. What do you do?" A lonely outsider murders a popular village local before a room full of witnesses. But could he be innocent? The Lurker Beneath Red Larch is a 4-6 hour adventure for characters of 3rd-4th level. It is full of roleplaying, problem solving and challenging combat encounters.

At the end of the Hateful Wars, Lord Sandor led his army into the Barrier Peaks in pursuit of a host of goblins and orcs. He and his army vanished, and now a group of adventurers follows his footsteps to discover what doom fell upon him and his men. Pgs. 30-46

Through seven gates lie seven realms. In seven realms stand seven guardians. With seven guardians lie seven symbols. From seven symbols comes one key. Alpahaks the Dark desires that key, by which he plans to release death and chaos into the realms of man. Your party may be all that stands between life and death. Will you heed the lunatic ravings of a dying madman? Travel to the top of Guardian Mesa, and enter the Septahenge. Gather the mystic symbols, create they key, and defeat the Carnifex, before it's too late... TSR 9174

Myriad, a city originally devoted to magical research, has been hidden and isolated for nearly a thousand years. Now, it has rejoined the world and an unseen struggle is taking place within its walls. A party of adventurers has been invited to enter the city and assist in its reintegration. Myriad's secrets, however, run deep and dangerous.

The Ghost Tribe of Orcs were driven from their home under Wyvern Tor by some terrible evil. They marched to Phandalin and attacked only to be defeated. Then, the heroes journeyed to the orc’s former settlement beneath Wyvern Tor and found the source of the orc’s sardonyx and the umber hulk that drove the orcs out. Now, the party has to go deeper to deal with the terror from the Underdark that caused all of this excitement.

Horrors in the Dark The origin of the ShadowGate is lost in antiquity. Some claim it as the work of devils, others cannibal cultists or even demon lords. Not long after its discovery it was boarded up by the priests of the local church, and then fortified by paladins. Of late something has emerged from the portal. It remains trapped within the divine defences, but for how long?

You have travelled to the legendarily festive town of Hamlet Court for the world famous Midwinter festival. You’re not in town long before you discover that the previous night, the annual Villager vs. Kobold snowball fight turned violent, putting a dampener on the festive mood. Madam Mayor looks solemn as she asks you to investigate exactly what has turned the long peaceful Snowbolds violent. She suggests you head to their Snow Cavern and fix the issue before it ruins Midwinter