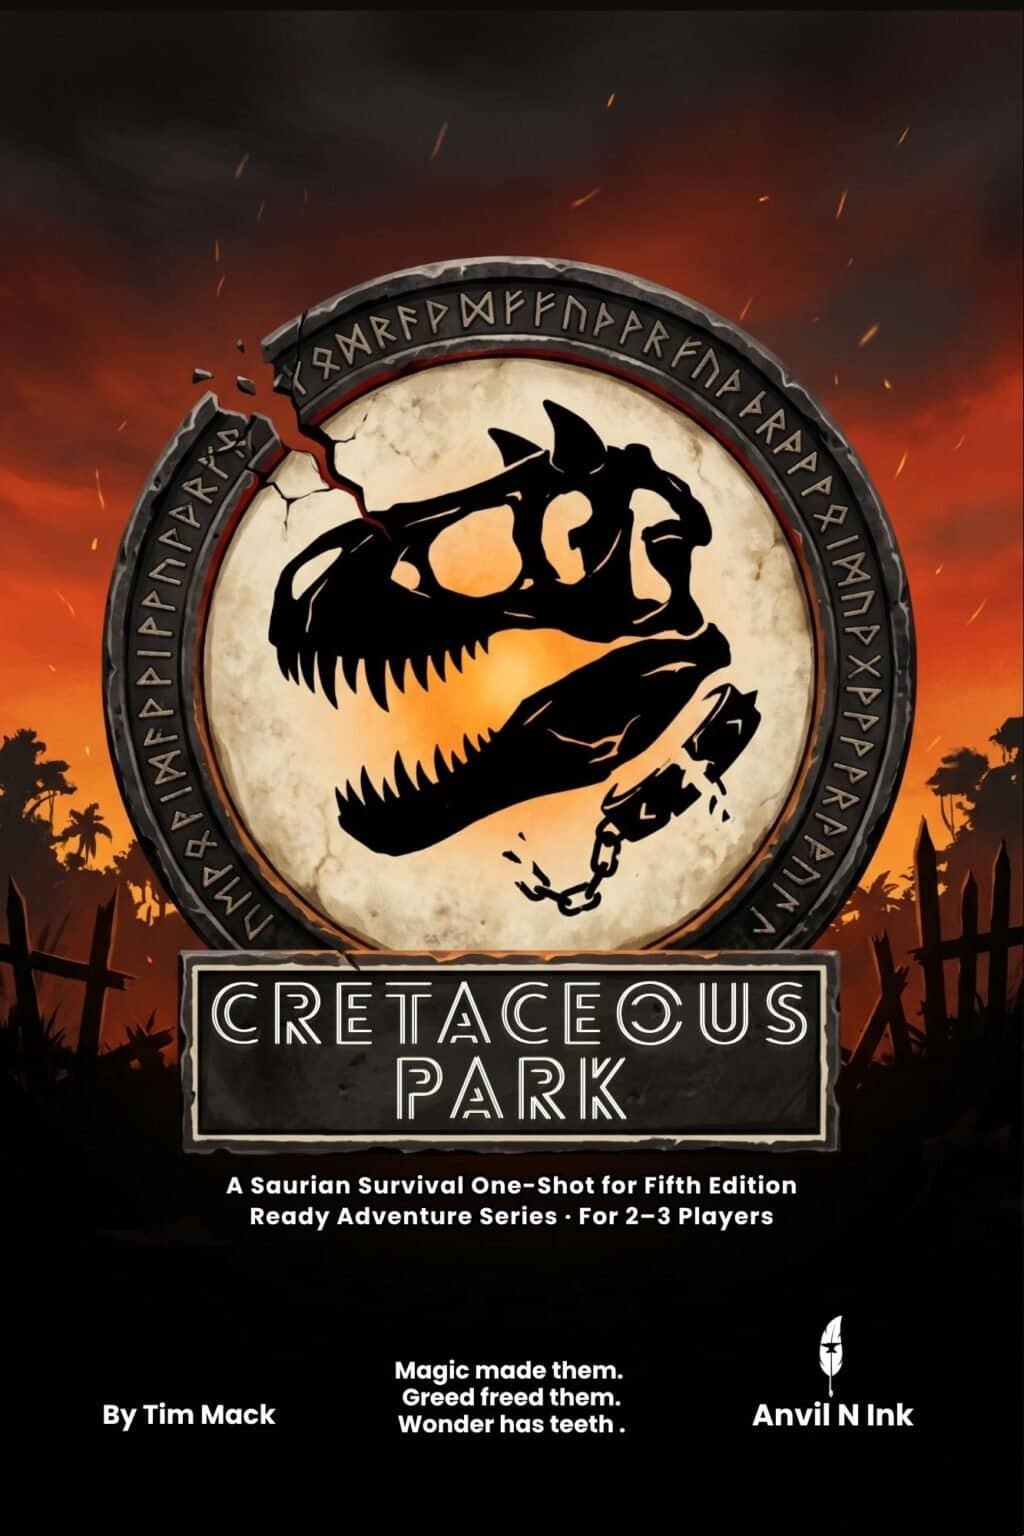
Silas Cusk built a menagerie of magically reconstructed saurians on a tropical island and sold tickets to it. The party arrives as VIP guests on preview day — the same morning Cusk's former partner steals the diamond that powers every containment ward on the island. The wards go dark, the cages open, and the island has two hours before its magical foundations give out and it slides into the sea. A complete, ready-to-run one-shot for a small table: 2–3 players, levels 2–3, one 2–3 hour session, zero prep. Eighteen named scenes across four acts, with a branching second act (a subterranean stealth route or an exposed aerial one) that reconverges so nothing is gated behind the choice. A visible 0–10 tension meter — the Containment Instability Index — climbs as the island fails and sets the severity of the finale. The apex predator is not a villain: it is a construct whose control collar overloaded when the diamond was stolen, and it is in agony, not hunger. The three-phase boss has a discoverable weak point and ends in a single-round choice between three fully written endings — destroy the island's heart, restore containment, or free the beast — none of them clean. Includes 8 SRD 5.1 creature stat blocks, 4 NPCs, 4 ready-made characters (any two form a viable party), 6 battle maps, 6 opening hooks, 6 contingencies, and 5 campaign seeds. Every encounter is tuned and stress-tested for the worst-case small table.

Beneath the frozen waves, an ancient power stirs. In the icy north, ships vanish without a trace, drawn toward a massive drifting iceberg. Legends speak of a powerful artifact buried within—one that calls to the sea and those who sail upon it. But the glacier is no ordinary formation; its tunnels are filled with lurking predators, yeti clans, and an ancient Icebound Hydra whose severed heads regrow as living ice. Can your party brave the treacherous depths, uncover the iceberg’s secrets, and escape with their lives? Or will they too be claimed by the frozen tide? Inside This Adventure: ✅ A perilous arctic dungeon crawl with chilling environmental hazards. ✅ A tense nautical encounter with eerie Will-o'-Wisps and a Sea Hag ambush. ✅ A monstrous final battle against the Icebound Hydra, a regenerating beast of frost and fury. ✅ A cursed artifact—the Shard of Dominion, which grants power but demands a terrible price. ✅ Multiple adventure hooks for easy integration into your campaign. This adventure is part of Thirsty Tiger Tales, an upcoming collection of exciting one-shots for D&D 5e! Perfect for a one-shot or a side quest in any high-seas or arctic-themed campaign. Pay What You Want for the first month! Suggested price: $1.00 Will your party conquer the frozen depths, or will they become yet another legend swallowed by the ice?

When you wander the wilderness you run into the strangest things. Nestled in the middle of a few mountains in a volcanic basin is a strange temple structure. This is the final resting place of the legendary warlord Khan Sing. A hero among the plainsmen, this ruler was believed to have grabbed power with the assistance of a magic weapon known as the “Blood Mace”. Will the party’s investigation find this mysterious artifact?
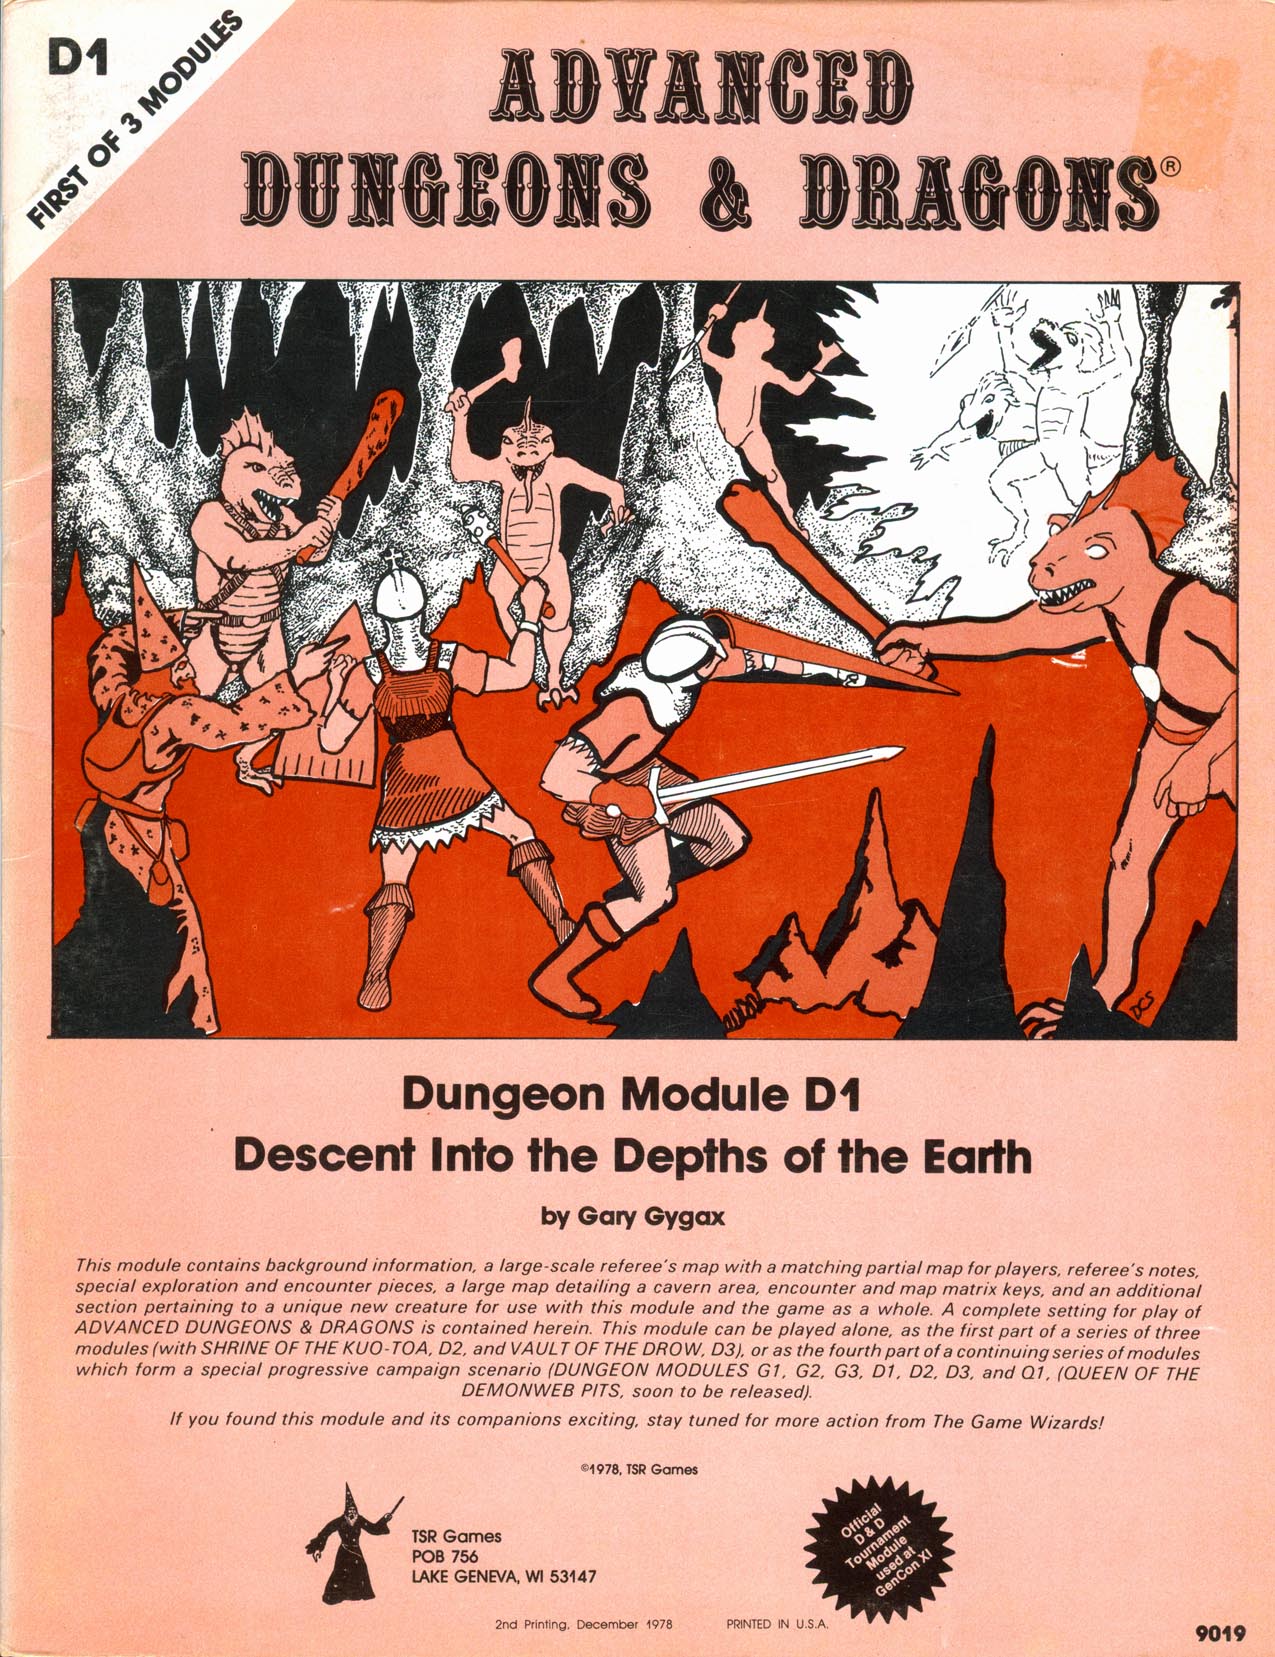
The final confrontation with the giant, King Snurre, and the entry of mighty adventurers into the caverns under his stronghold (DUNGEON MODULE G3, HALL OF THE FIRE GIANT KING) discovered the Dark Elves, the Drow, had instigated the giant alliance and its warfare upon mankind and its allied races. This module contains background information, a large-scale referee's map with a matching partial map for players, referee's notes, special exploration and encounter pieces, a large map detailing a cavern area, encounter and map matrix keys, and an additional section pertaining to a unique new creature for use with this module and the game as a whole. A complete setting for play of ADVANCED DUNGEONS & DRAGONS is contained herein. This module can be played alone, as the first part of a series of three modules (with SHRINE OF THE KUO-TOA, D2, and VAULT OF THE DROW, D3), or as the fourth part of a continuing series of modules which form a special progressive campaign scenario (DUNGEON MODULES G1, G2, G3, D1, D2, D3, and Q1, (QUEEN OF THE DEMONWEB PITS). TSR 9019

Madness in Freeport, the final part of the Freeport Trilogy, details the final confrontation between the PCs, the Brotherhood of the Yellow Sign, and Sea Lord Milton Drac. In Part One, the Drac invites the PCs to the Grand Lighthouse Ball. Careful investigation can reveal the secret purpose of the lighthouse. In Parts Two and Three, the PCs must recover a powerful artifact to thwart the Brotherhood's plans. They must pass through an infamous pirate's hidden caves, then search a sunken temple of the serpent god Yig. In Part Four, the heroes must enter the Grand Lighthouse, AKA Milton's Folly, in a race against time to stop the Brotherhood's world-shaking master plan from coming to fruition. (Bibliographic note: This adventure was originally written for v.3.0, and later updated to the v.3.5 rules. The revised versions of Death, Terror, and Madness in Freeport were reprinted in an omnibus edition, along with two shorter filler adventures, as The Freeport Edition: Five Year Anniversary Edition.)
Synopsis: A swamp village is plagued by swarms of insects; several villagers have died from it. It turns out that the local herbalist is actually a vampire who takes the form of a swarm of mosquitoes. Talk to villagers and get rumors, visit the herbalist, suffer through some dreams, get ambushed by the herbalists minions, chase him into the basement to kill him and rescue the villagers. The mosquito vampire and, maybe, the role play involved in convincing the villagers to dig up the graveyard (to find empty coffins filled with sand!) should be fun. The rest of this is pretty simple.
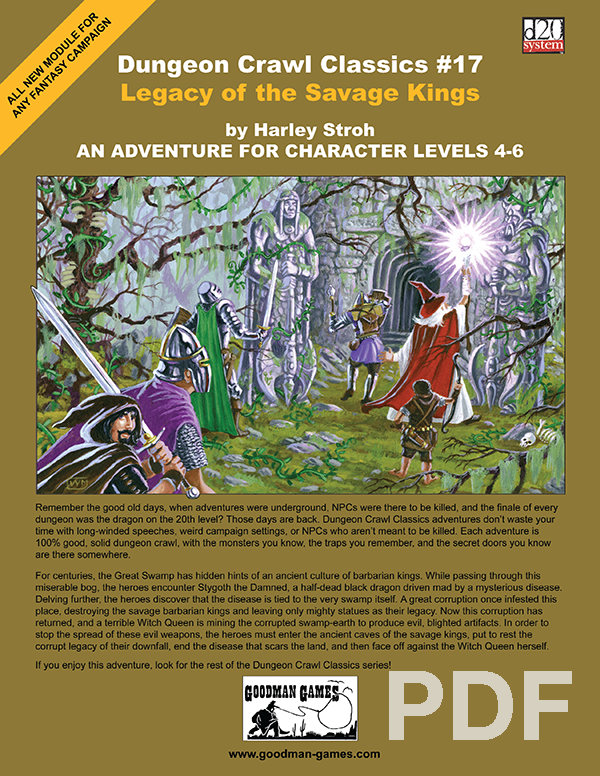
For centuries, the Great Swamp has hidden hints of an ancient culture of barbarian kings. While passing through this miserable bog, the PCs encounter Stygoth the Damned, a half-dead black dragon driven mad by a mysterious disease. Delving further, the heroes discover that the disease is tied to the very swamp itself. A great corruption once infested this place, destroying the savage barbarian kings and leaving only mighty statues as their legacy. Now this corruption has returned, and a terrible Witch Queen is mining the corrupted swamp-earth to produce evil, blighted artifacts. In order to stop the spread of these evil weapons, the heroes must enter the ancient caves of the savage kings, put to rest the corrupt legacy of their downfall, end the disease that scars the land, and then face off against the Witch Queen herself.

Beneath the fetid roots of a noisome swamp linger the pathetic remnants of a once proud and noble tribe. Laid low by a powerful narcotic administered by their ambitious (but wildly paranoid) mistress, the lizardfolk of the Dark Oak are but a shadow of their former greatness. Now, in the fetid caverns below the slumbering body of a diseased treant she plots to bring bloody slaughter to the folk of the nearby villages before her followers forget their proud heritage and sink into a lethargy from which there is no escape.

This scenario was presented to Gryphcon's 30th anniversary last year. The party finds themselves coming to the Triland on their way to Taco Del Toro. This island chain is unique in that it has a land mass made of clouds, hovering over the island. Upon landing, your group discovers that the governor's child has been abducted by a Cloud Giantess. Time for your hero hats...

After basking in the glory of your accomplishments, you learn of a problem with a caravan attack. A group of possibly Goblins have brazenly attacked the Hamlet of Kako, burning it to the ground. The information comes from a local farmer that witnessed the carnage. Pack your gear…time to go back to work in the Principality of Lockerbie!

"Gnolls have captured the heroes! After stripping the characters of all equipment except their armor and clothing, the gnolls drag them to an expansive briar maze known as the Twisted Thickets and set them loose. Then, armed to the teeth, the gnolls hunt down their prey. The characters must survive the hunt and outwit their pursuers. Stripped of your armor and weapons, you are cast into the Twisted Thicket and hunted like rabbits. If you want revenge, you must first survive Yeenoghu's evil Hunters. After dealing with the gnoll hunters, the heroes can try to reclaim their lost equipment and exact revenge on the tribe, which lairs in the caves beneath Dead Gnoll’s Eye Socket." Pgs. 2-14

A gnomish settlement is plagued by inexplicable earthquakes, the wrath of an Earth Elemental. Can the heroes save the gnomes? Do the greedy gnomes deserve to be saved? "Valanche's Eye" was inspired by a desire to write an adventure which blurs the line of who the bad guy actually is, or indeed whether or not there's a really tangible villain. It takes the "patron hires adventurers to clear dungeon" trope and twists it – the patron turns out to be a pretty rotten bastard, and the monsters in the dungeon are just trying to live their lives. It starts when gnome gem-miners strike the mother lode of emeralds and sapphires, only to find themselves run off their claim. First they accidentally broke through to the Elemental Planes of Earth and Fire, and mephits burst out to annoy them. When they were just about done dealing with the mephits, they disturbed an earth elemental who just wants to be left alone, and emeralds are its favorite snack. The mine boss hires the adventurers to come kill all the elementals. But should they?

Settling down as the sky turns black with rest, you gather by the heated campfire and swap stories to pass the night. You hear tales of wonder and worry, descriptions of distant lands, plants, and beasts. Exchanged this night are stories of thieving travellers, worried giants, and godly squabbles. Ever wanted small stories to make travel more interesting than random encounters? Ever just wanted to run shorter games? Maybe you’re just low on prep time for your next session. In this volume of campfire tales you’ll find eight half-a-session length adventures that help with all these classic DM worries. Also included is an in-depth appendix of fauna, flora, locations, and more to help boost your game.

The Ghost Tribe of Orcs were driven from their home under Wyvern Tor by some terrible evil. They marched to Phandalin and attacked, only to be defeated. Now the heroes will go beneath Wyvern Tor to discover the terror that chased out the orcs and perhaps find the source of the orc’ssardonyx. Journey to Beneath Wyvern Tor is the third of four parts in the After Lost Mine series. It will play out the journey to the orc’s former cave settlement and then into the darkness beneath. Part IV will have the party deal with the terror from the Underdark that drove out the orcs.

Into Wonderland is a book detailing an adventure in the Feywild, a setting for Dungeons and Dragons 5th Edition. This book provides player options, encounters, variant rules, and a campaign of expeditions into the unknown centred around the city of Endercoast that has been spirited away from the Material Plane. To survive, you'll need to balance the needs of the displaced city with the mercurial whims of four powerful archfey. What's Included? - Endercoast, a city plucked from its roots and replanted in the Feywild - Quirks of the Feywild, including four powerful archfey, a guide for creating new archfey, rules for travel using emotional truth instead of maps, chaotic seasonal and magical effects, pranks, consequences for getting lost, and 14 weird stops along the way - New races - New subclasses - New backgrounds - New feats - New spells - Fantastical questlines taking a party through the courts of the archfey and on magical journeys inspired by the fairy tales of the Brothers Grimm - A whole heap of chaotic encounters with strange fey creatures - Dozens of new monsters, including 8 ancient beasts, 3 dangerous plants, 4 extremely powerful archfey, a bunch of NPCs based on the new subclasses of the book, creepy new fey like the darkwood stalker and the time vulture, a powerful hag, and more

(From DM's Guild) The Shrine of Marthammor Duin is a short excursion meant to supplement an ongoing Princes of the Apocalypse campaign. At it's core however, this is a traveller shrine that could be devoted to a deity in your homebrew games or any of the other god's of travel in the Dungeons and Dragons pantheons. It includes one new monster, two new items, a shrine map, and a printable player handout for your adventure. This short series of encounters was created to help Tyar-Besil feel more like a real place that was integrated into the surrounding lands and not just a dungeon filled with mad cultists. It also provides a nice opportunity for you to deliver some of the campaign’s back story to your players in an organic way. It will be particularly fun to run with groups that have a dwarf in them who can translate the native dwarven text in the shrine for the rest of the party and connect with the kingdom of Besilmer.

A monastic community of elves and orcs worshipping a divine daughter of both Corellon and Gruumsh tried to bring peace and reconciliation between the two races. For their trouble, they were wiped out by zealots and erased from history. Centuries later, their mountaintop temple is rediscovered -- and rumor has it that two artifacts hearkening back to the very origin of elvenkind and orcdom are concealed within....

Some dozens of leagues to the north and west of the STEADING OF THE HILL GIANT CHIEF (Module G1 of this series), amidst the tallest mountain peaks, is the stronghold of Grugnur, Lord of Frost Giants. As frost giants have been amongst those who have been in the reaving bands, the party is to deal with them as the hill giants have been dealt with. Death and destruction are to be meted out to the frost giants in the same measure they gave to the peoples below. This module contains background information, referee's notes, two level maps, and exploration matrix keys. It provides a complete module for play of ADVANCED DUNGEONS & DRAGONS, and it can be used alone or as the second of a three-part expedition adventure which also employs DUNGEON MODULE G1 (STEADING OF THE HILL GIANT CHIEF) and DUNGEON MODULE G3 (HALL OF THE FIRE GIANT KING). TSR 9017
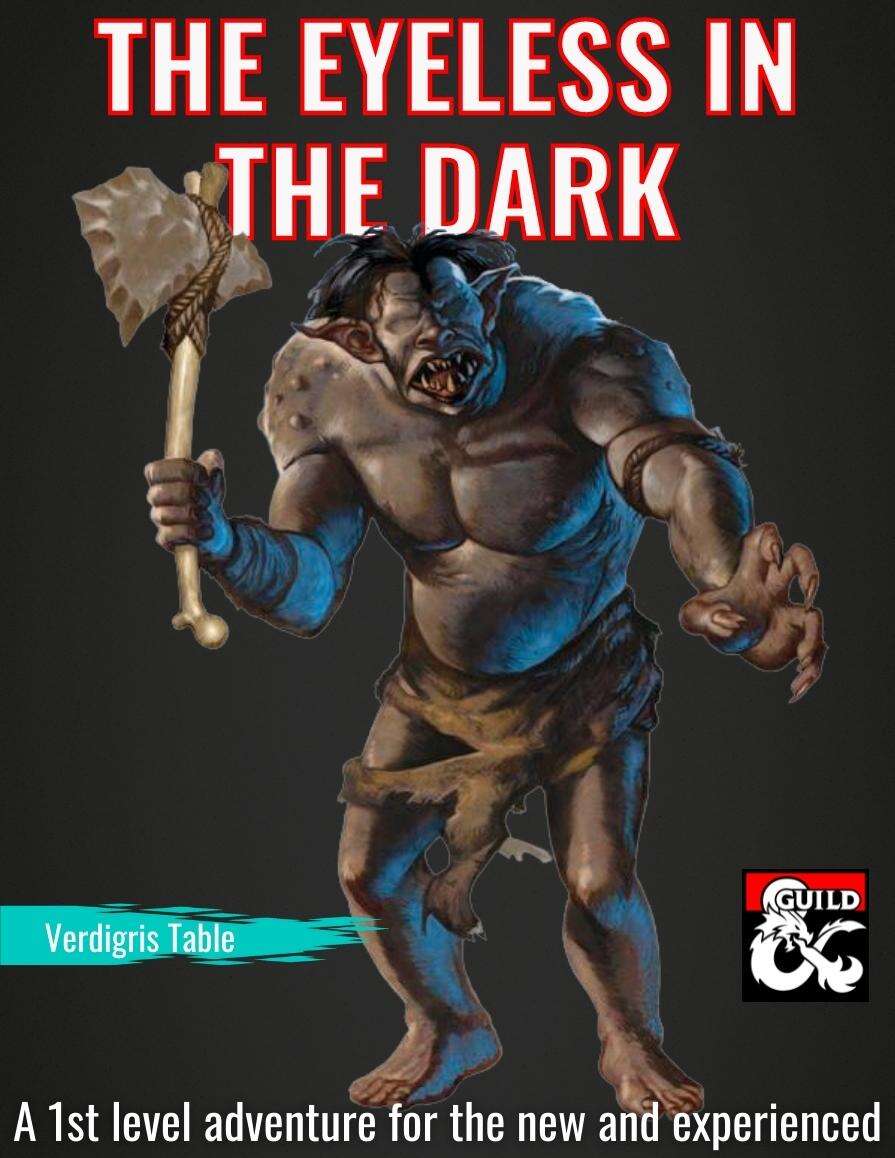
A cave-in at the dwarven mine exposed a passage into the eerie, alien world that lies deep below the surface. Monsters poured out of the darkness and killed many before the surviving miners made it back into the light. Now they seek brave adventurers to face the dangers down in the dark depths. As a one shot or the first adventure of a new campaign, The Eyeless in the Dark carries new and experienced players away from the light of the ordinary surface world and down into the fantastical dark depths where here there be monsters. Chock full of adventure, as well as design notes for Dungeon Masters that will help novice and veteran DMs provide their players with an exciting and memorable game night, and leave them eager for the next session. Use this adventure in combination with the Integrated Hill Encounters and/or the Forest and Grasslands to create an open world sandbox of adventures that can fill many sessions of a campaign.
Watch your step. Out-of-this-world adventure. An odd box falls by a watch tower and its up to the party to discover what it is and why its here. Pgs. 22-29