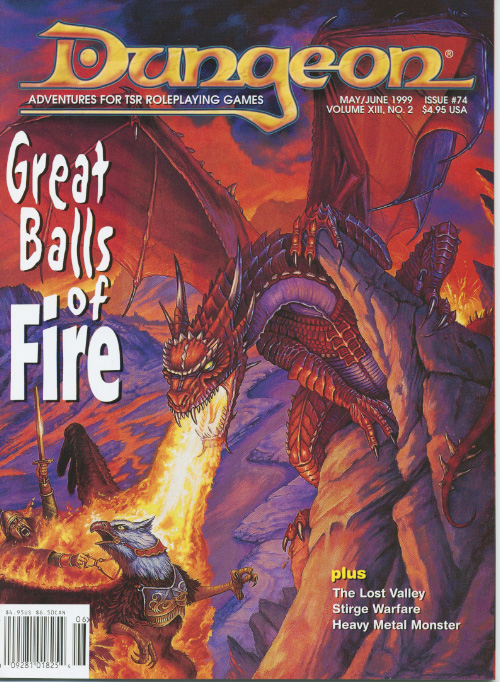
Pirates and powderkegs. An undersea menace has the merchants of Scalabar up in arms. A strange sea monster is plaguing the trade ships near Scalabar, a coastal city. You have arrived in Scalabar at the behest of Sora Calhaigne. The lady of House Calhaigne needs brave heroes to investigate the loss of her galleon, the Morning Star. She has reason to believe that the sea monster is not what it seems. Includes a list of random city encounters, a keyed map of the port city, Scalabar, as well as a simple overland map of the Scalabar coast, a map of a typical two-story warehouse, a keyed map of the pirate caves, and a keyed map of the ship Thresher. Pgs. 10-27
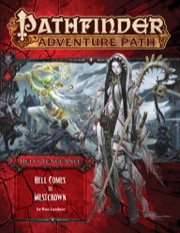
Cheliax's largest city, Westcrown, has fallen to the Glorious Reclamation, and the evil adventurers are sent to reclaim the metropolis in the name of House Thrune. Armed with the legendary weapon they created from a gold dragon's head, the nefarious characters confront the Glorious Reclamation's forces and break its siege of a nearby Hellknight citadel. Once the army is defeated, the villains enter Westcrown, where they must undermine the chivalrous knights' rule of the city. Finally, they face the founder and Lord Marshal of the Glorious Reclamation to end the rebellion and restore the Thrice-Damned House of Thrune's rule over the empire of Cheliax.

5e Solo Gamebooks presents Tyrant of Zhentil Keep by Paul Bimler, a 160+ page solo adventure for Dungeons and Dragons Fifth Edition. This adventure is designed for one 3rd-level PC of any race or class, without a DM. Tyrant of Zhentil Keep continues the narrative of The Death Knight’s Squire (the first solo adventure in this series) but can be played as a standalone also. It follows the story of your PC as they continue their journey across Faerun, a lone adventurer wandering wherever the wind takes them. Eventually, it takes them to Zhentil Keep in the Moonsea Region, a strange city, full of secrets. There they begin a quest which takes place over two books, this being the first one, part 2 being Citadel of the Raven. Tyrant of Zhentil Keep is a mini-sandbox in gamebook form, with multiple sidequests and locations to explore. Everything leads towards a central story arc that becomes clearer as the book progresses. Where Death Knight’s Squire had a clear-cut mission at its core, this adventure is pure exploration at first, similar to how a game with a Dungeon Master might commence. The nature of your quest becomes clearer as you advance, collecting snippets of information and encountering various NPCs and locations. The adventure builds upon The Death Knight's Squire in several ways, introducing new combat sheets, sidequests and even audio sound FX embedded in the PDF! You have two ways to approach playing this adventure. You could print out the maps booklet and use actual tokens or miniatures (you’ll need access to a printer for this), or you can load individual .png files of the maps (included) into Roll20 or similar applications and place and move tokens on your device.

Curtain Call: A Sharn Adventure is an introductory Eberron adventure. This is a great adventure for new Dungeon Masters to Eberron and includes sidebars to help DMs and players get familiar with the world of Eberron. A paying job in Sharn to find out what happened to a missing noble turns into a myriad of street chases, personal grudges, spy agencies, cultists, and charlatans as you take an exciting tour through the City of Towers.

The hidden masters of the Ebon Triad have something special planned for the culmination of the Champion’s Games: a foul ritual designed to transform the arena into a stage of enormous carnage to honor their dark overgod. To stop them, the PCs must explore the dark complex of the arena’s master, and destroy his pet monster before it’s too late. An Age of Worms Adventure Path Adventure for 9th level characters. "The Champion's Belt" is the fifth installment of the Age of Worms Adventure Path, a complete campaign consisting of 12 adventures, several "Backdrop" articles to help Dungeon masters run the series, and a handful of poster maps of key locations. For additional aid in running this campaign, check out Dragon's monthly "Worm Food" articles, a series that provides additional materials to help players survive this campaign. Check out issue #337 of Dragon for guidelines on what they can purchase in the Free City. Pgs. 30-62

Ages ago, a religious order known as the Druun practiced rituals from inside sacred oak groves, ceremonial pools, and stone henges. In time, the Church of Law and Order suppressed the Druunic teachings, and the ancient holy sites were lost, forgotten, or converted to other uses. One such former site is located in the capital city of Dolmvay in the center of a small neighborhood known as Whiteoak Square. This neighborhood has recently been experiencing a strange phenomenon: At night, small dancing lights have been seen floating throughout the neighborhood. The residents were afraid of this sorcery at first, however, the lights seem to exude a feeling of peace and contentment, and the locals have grown used to them. How it Started: A few weeks ago, a butcher named Walton Brand was clearing out his cellar when he stumbled upon a secret underground passage that led to an ancient Druun hall. This hall was filled with lost relics, arcane lore, and forgotten treasures of the Druun. Walton told his friends, Loomis the Baker and the chandler Stefan of Walsbury, and the three men began sneaking away from their wives at night to dress in Druun finery and pretend to be men of wealth. A harlot named Red Kirsten was hired to attend them as they drank, feasted, and cavorted in the sacred hall. Unbeknownst to the revelers, the Druun hall still retained some of its magical powers and their merriment awakened the ancient guardian spirits of the grove. These creatures, known as faerlings, are the lights that have been seen dancing throughout the neighborhood. The faerlings were given life by the revelers' glee, and they project that joy and happiness onto the other residents of the neighborhood. This glee, however, is about to turn to horror. . . Oak Grove Whispers is a Labyrinth Lord™ adventure designed for 3-6 characters of 1st-3rd levels (about 10 levels total). The adventure is broken up into three chapters that take place in a small neighborhood located in the capital city of Dolmvay (the Labyrinth Lord is free to substitute any medium- to large-sized city from his own campaign world). Oak Grove Whispers involves a mixture of roleplaying, investigation, and dungeon crawling, so a diverse range of classes is recommended. As the adventure is set in a civilized city, the characters must also be careful their interaction with NPCs does not land them on the wrong side of the law. Published by Small Niche Games

One of Freeport's most popular holidays is Swagfest, which celebrates the success of the infamous Great Raid conducted by the city's earliest Sea Lords. This year, Captain Lydon is sponsoring the festivities. While the PCs participate in various contests, they also have to deal with potentially deadly interruptions. Bibliographic note: "Holiday in the Sun" was originally written for v.3.0; this version can be found for free at at: http://freeronin.com/gr_files/focus05a.pdf The adventure was updated to the v.3.5 rules as part of The Freeport Trilogy: Five Year Anniversary Edition.

This guide describes how to run a one-session festival for your players. It combines a black market, costumes, and various activities suitable for different PC skills. The setting is a beach at night near a coastal town or city, but it can be easily adapted for other locations. It is suitable for players with little experience, and characters of any level. It makes a good first session for new players since they can try various skills without risk.
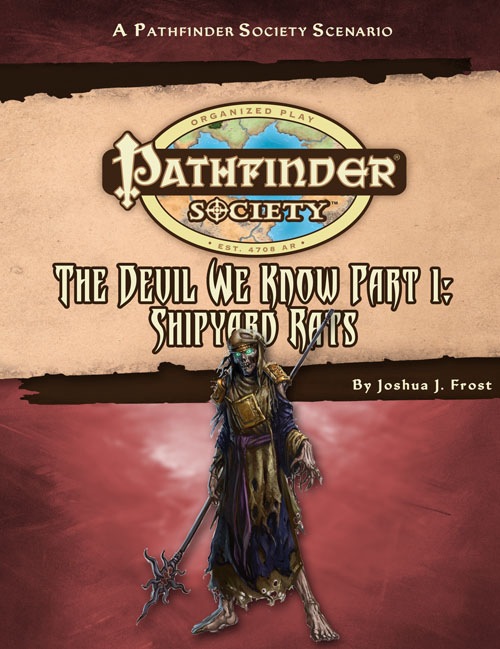
Part 1 of the "The Devil We Know" campaign arc. Shipyard Rats is a Pathfinder Society Scenario designed for 1st to 7th level characters (Tiers: 1–2, 3–4, and 6–7). When simultaneous kidnappings of Pathfinder and Aspis Consortium agents rock Cassomir's Imperial Naval Shipyards, the Society orders you to join forces with hated Aspis agents to solve the mystery. Can you work together with the enemies of the Society to uncover the source of the kidnappings, or will you perish in the shipyards of Cassomir?

The Knolls is the second largest city in the Duchy of Bast and a frequent spot for the adventurers going through the Filbar Quest (FQ) series. At over 60 pages this setting can easily appear in any campaign. Welcome to the city that Baron Tamar Wizzel rules and is a safe haven for adventurers of any level.
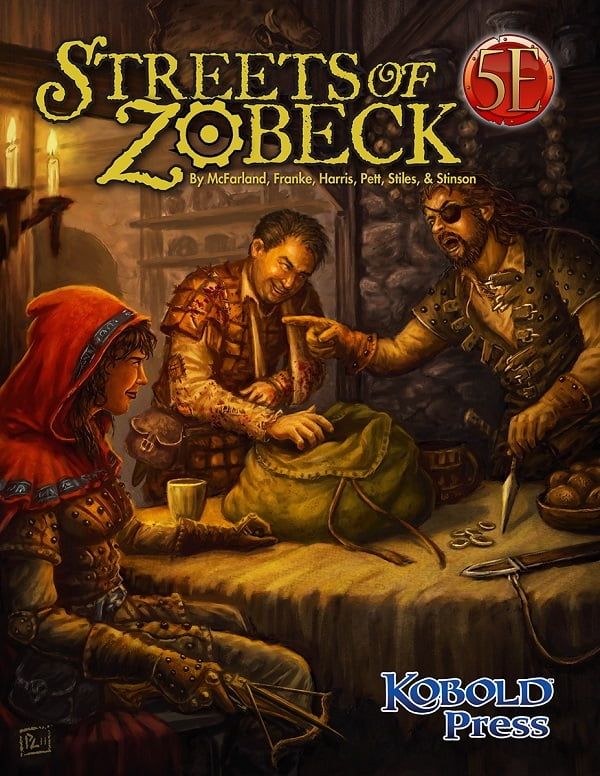
Multiple groups seek a thug’s girlfriend through the streets and alleys of Zobeck. The adventurers’ lives may depend on finding her first.

What is the Lost Lands? The Lost Lands is the home campaign world of Necromancer Game's and Frog God Game's own Bill Webb. This campaign has been continuously running since 1977. Many of the adventures published by Necromancer Games and Frog God Games are directly inspired by this campaign. They have evolved over the decades, and more material continues to flow from it as the dice keep rolling. Sages and wizards of legend speak of the Lost Lands—many of the players who have lived and died in Bill's campaign over the years now have a place in history (in the books). Frac Cher the dwarf, Flail the Great, Bannor the Paladin, Speigle the Mage, and Helman the Halfling are well known to the fans of Bill's work. This is the game world, and these are the adventures in which the players of these famous characters lived and died. Hundreds of players over the past 35 years have experienced the thrills and terrors of this world. The Sword of Air is the centerpiece of the Lost Lands. Currently, this epic tome consists of several parts: 1. The Hel’s Temple Dungeon—kind of like Tomb of Horrors on crack. This six-level, trap-and-puzzle infested dungeon formed the basis of Bill's game through his high school and college years. Clark Peterson’s very own Bannor the Paladin spent several real life months in the place, and, sadly, finished the objective. This is where the fragments of the fabled Sword of Air can be found…perhaps. 2. The Wilderness of the Lost Lands extending to the humanoid-infested Deepfells Mountains and providing detail about the nearby Wizard’s Wall. This so-called “wall” was raised by the archmages Margon and Alycthron harnessing the Spirit of the Stoneheart Mountains to raise the land itself, creating a massive escarpment to block invaders from the Haunted Steppes. These archmages are actual player characters from the early 1980s who live on in the legends of the Lost Lands. Over 70 unique encounter areas are detailed, and each one is a mini-adventure in itself. New wilderness areas may be added based on bonus goals described below! 3. The Ruined City of Tsen. Legend has it the city was destroyed by a falling meteor. This place forms an aboveground dungeon area the size of a city, with over 100 detailed encounter areas. It’s a very dark place…even at noon. 4. The Wizard’s Feud—This campaign-style adventure pits the players in a long-running series of intrigues and battles between two archmages. Which side will they take? Their actions all play into the overall quest, and could well determine which side wins. Law and Chaos are not always what they seem, and if the wrong decisions are made, the entire ordeal could fail. Remember, one of the wizards WANTS Tsathogga to win. 5. New monsters, new demons, new spells, and new rules for various aspects of play. 6. The Tower of Bells. This dungeon is the result of the workshop Bill ran at PaizoCon 2013, where the participants assisted him in building an old-school dungeon. Visit the tower and discover the secrets of the “artist” within. Beware: those entering may never come out!

While strolling through the streets of Kak you notice a pair of men laying in the alley. Upon closer inspection you notice that one of the dead men has a unique tattoo. Peering closer you notice that this man, dressed as a pirate, has a tattoo of an island with an “x” on it! Once this tattoo is discovered the PCs will need to locate a ship to head off on a treasure hunt. Finding a ship captain that is familiar with Xodus Isle will not be difficult but trusting the captain…well that’s a different story entirely.

The plague-stricken Copper District of Waterdeep's Southern Ward needs your help. What is causing the plague? Can it be stopped? Are you the right person for the job? Published by Arcana Games.
The insurgent agent Adan, a spy in Alvedara, came across plans for an upcoming assault on Bodrun, the largest remaining dwarven clanhold in the South. Though the dwarves were unknown to him, this Sarcosan rebel decided that he must do his best to get word to these allies in the mountains. He stole the plans and abandoned his cover identity, fleeing east along the Eren and hoping to find succor in the Forest of the Sahi before his trek into the Kaladruns. He didn’t make it that far. A legate spyhunter was on his tail within hours of his departure, and with his stronger mount and divinatory magic, was sure to run him to ground on the Horse Plains of Erenhead. Adan hoped to throw off the scent of his tracker in the town of Malima, where he had contacts and might be able to wait out the legate in a safehouse. Unfortunately, the situation in Malima had worsened since Adan had last been there, and it had become a place of exile for Alvedarans with the plague. It was a question of choosing the lesser of two evils: plague and possible death in Malima, or torture, betrayal, and certain death at the hands of the legate. Adan chose to hide in Malima, but contracted the plague while hiding from his pursuers. Though unable to contact the outside world, Adan sent his familiar, a raven, eastward in the hopes that it would reach a dwarven settlement that could send agents to aid him. The raven made it to the Hagaran Observatory in the Forest of the Sahi, where the PCs have been assisting the sages of the observatory. Midnight Runner Up - Gen Con 2005

Many years ago, Evard came to Duponde to destroy his rival Vontarin, a powerful wizard who lived in a manor at the edge of town. The two mages met near the walls of the abbey of St. Avarthil and dueled all night long with black spells, laying the old monastery in ruins with their magic. In the morning, the surviving friars found Evard dead in the wreckage and buried him in the town’s graveyard. Vontarin was never seen again. Now, almost fifty years after his death, Evard’s final curse is about to descend on the town and everyone within it. Also available in Dungeon Magazine #219 Pgs. 30-90

Whilst spending time in Doorstep, the settlement that has grown up around the gates of Gauntlgrym, the town is attacked by an overwhelming force of orcs and you are pushed back into the city. You and your companions are offered an opportunity to escape the mountain through the trap laden, kobold infested, Red Wing Warrens and get help for the besieged city.
Lo! The corpse of poor, departed Scholar Zubayr, washed up on the shores of the River of Sand, lies in the charnel house…destined to become dinner for a cult of cannibals. Though distasteful in the extreme, this isn’t your concern—except that Princess Karima Gamila, the most beautiful gnoll in Per-Bastet, has begged you to rescue her friend’s body and help discover his fate. Still unmoved to action? Know then, adventurer, that the Scholar was hot on the trail of lost treasure! If you can claim his body from the cult and decipher the clues he left behind, long-buried riches and powerful magic might be yours. But nothing is simple in this city of dark wonders: others converge on the charnel house in pursuit of wealth, vengeance, or both. Can you out-fight and outwit vile cultists, undead catfolk, a cunning werecrocodile gnoll, and the deadly secrets that lie buried beneath the River of Sand? Set in the city of Per-Bastet in the Southlands Campaign Setting, it is meant for play either as the thrilling sequel to Cat and Mouse, or as a standalone treasure hunt! Also available in Pathfinder format.

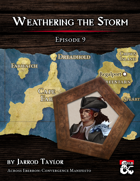
The Iron Route, an important trade road east of Phlan, is beset by competing bandits. An exiled Black Fist officer leads his band of mercenaries turned cloaked ruffians, while a mysterious dragonborn sorcerer commands screaming savages from the north. In this war over the trade route, the beleaguered merchants are the victims, and Phlan suffers from a lack of supplies. It’s up to adventurers to strike out and reopen this vital route.
Provost Faurious has procured an Aethervane, an astrolabe-like instrument tied to Kythri that's used to navigate manifest zones. Unfortunately for the Provost, the Riedran ship that was carrying the Aethervane across the Sea of Rage to deliver it to their agent in Regalport fell victim to piracy. The player characters are dispatched to Regalport to meet up with the Provost’s agent there and petition High Prince Rygar for more information about the stolen cargo. When the characters dock in Regalport, they meet the Provost’s contact and are ushered into a meeting with High Prince Rygar. Wishing to show his intolerance for piracy, Rygar charters one of his own ships for the party’s use as they investigate the stolen cargo. Upon arriving at the crash site of the stolen cargo, the party is set upon by a fleet of pirates known as the Wind Whisperers. When things turn sour, a new surprise reveals itself as an unnatural storm rolls in, a stolen airship at its heart. The Wind Whisperers have found a way to convert the Aethervane to serve their own purposes. Seeking aid from Rygar and House Lyrandar, the heroes chase after the pirates by sail and airship. As they do, they are bedeviled by the Chaos Fleet—strange ships sailed by an even stranger crew that are drawn to the Aethervane and the chaos it brings. In a final airborne confrontation, the party boards the rogue airship and retrieves the sought-after artifact, with a chance to salvage or sink the stolen vessel in the process…