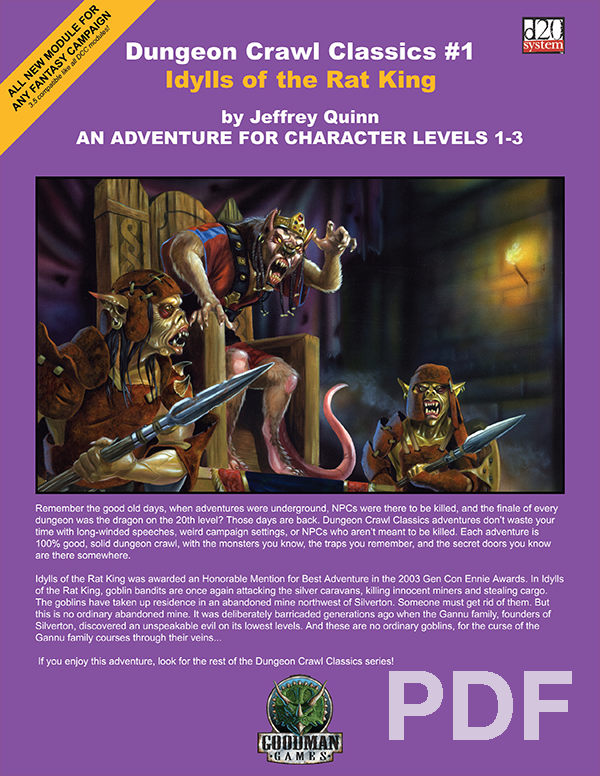
Remember the golden days of role-playing, when adventures were underground, NPCs were there to be killed, and the finale of every dungeon was the dragon on the 20th level? Well, those days are back. Dungeon Crawl Classics feature bloody combat, intriguing dungeons, and no NPCs who aren’t meant to be killed. Each adventure is 100% good, solid dungeon crawl, with the monsters you know, the traps you fear, and the secret doors you know must be there somewhere. In Idylls of the Rat King, goblin bandits are once again attacking the silver caravans, killing innocent miners and stealing cargo. The goblins have taken up residence in an abandoned mine northwest of Silverton. Someone must get rid of them. But this is no ordinary abandoned mine. It was deliberately barricaded generations ago when the Gannu family, founders of Silverton, discovered an unspeakable evil on its lowest levels. And these are no ordinary goblins, for the curse of the Gannu family courses through their veins…

Citadel by the Sea is an AD&D gaming module for 4-8 characters, each of 1st to 3rd level. The fewer the characters available, the higher their levels should be. Characters should be well equipped, with at least one magical weapon apiece, but do not need any particular game experience. It is recommended that at least one ranger character and one elf character be members of the adventuring party, and that no player character be a half-orc. The Dungeon Master should read the entire module carefully before running this adventure; the events are laid out in the approximate order in which characters would normally encounter them, and the text builds the adventure as one reads through it.

Protect the Future! At the height of Netheril's power, the fortress of Spellgard held many great secrets of the Empire of Magic. Now, only ruins remain... and one last guardian, the near-mythical Lady Saharel, whose prophetic visions draw the desperate and the doomed from across Faerun. But a dark presence in one of Spellgard's intact towers wants to control the power of prophecy for itself and remake the future in its own image.

Lost Tombs, Volume 2 The lich Lyzandred: a madman, an undead archmage, a survivor of the twin cataclysms that destroyed tow great empires. His name invokes fear in the hears of the smallest children, the bravest warriors, and the wisest sages. Like a malicious cat, the lich toys with all who stumble into his maze, tormenting them with strange puzzles and obscure riddles, monsters and demons, weird traps and dangerous magics. All who enter the crypt of Lyzandred find themselves scarred with his rune, proof of their visit -- and their folly. But there is a method to the madness of Lyzandred, a purpose to his twisted games. If you're lucky, you might even live to learn about it. The Lost Tombs series begins with Star Cairns (Volume 1) and concludes with The Doomgrinder (Volume 3). Each adventure is playable separately, or they can be linked to form an epic-length story. TSR 9580

A chance encounter on the road marks the heroes as targets for an evil cult attempting to cause the rebirth of the lich god Vecna in the domain of his arch-foe, Kas. This act will free their master from his misty prison and allow him to gain vengeance upon his enemy at the same time. To learn more of the cult’s mysterious plans, the characters explore a cache of ancient lore in Tor Gorak, the major city in Tovag. Clues lead them right to the heart of Cavitius, Vecna’s own domain. There, they must discover the secret way into the Shadowed Room, an ancient library that no longer exists in time or space yet can still be reached by using an arcane ritual. Learning this secret brings the heroes into conflict with Vecna’s priesthood and their powerful servants. TSR 9582

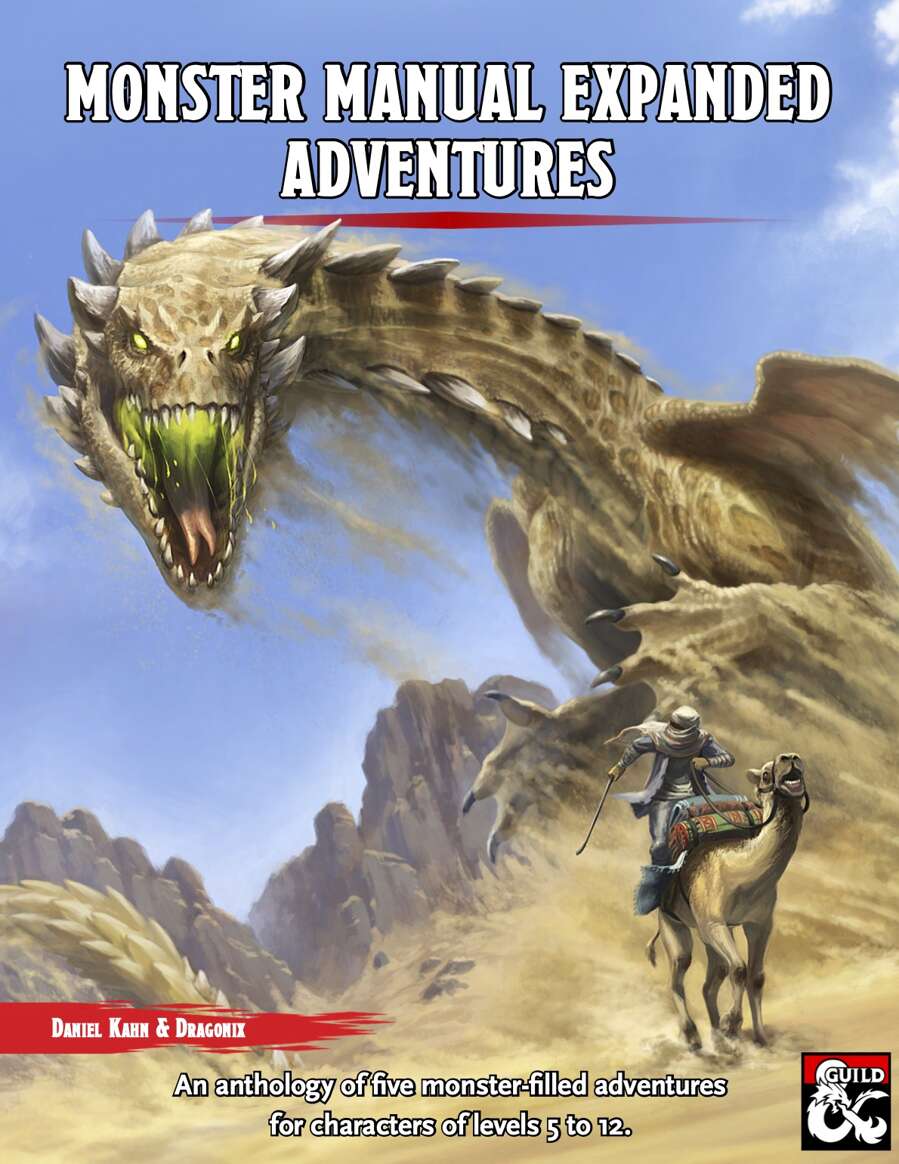
Legend tells of a long-dead empire of sphinxes, ruled over for millennia by a great queen named Ankharet. She fell into darkness and her empire was shattered, as her subjects rebelled and cast her down. Unable to kill her, it is said that they bound her with great magic and buried her in a tomb, to wait for the foretold heroes who would be able to slay her and end her evil forever. Their empire in ashes, the sphinxes scattered to roam the world in bitter freedom, save a single great androsphinx. On the edge of the mysterious Barren Hills, between the mountains and the Great Desert, there is a gigantic statue of a crowned gynosphinx, ancient beyond reckoning. At its feet, a great androsphinx known as Khubsheth the Prophet has dispensed counsel and prophecy to all who come to him for longer than mortal records can tell. The heroes have come to visit Khubsheth, whether for counsel, prophecy or out of curiosity, but as soon as he lays eyes on them, he attacks! Upon his defeat, he tells them that they are the heroes foretold by the legend of Ankharet. Ankharet ruled over a long-dead empire of sphinxes, but she fell into darkness. Her subjects rebelled and cast her down, but were unable to kill her. It is said that they bound her with great magic and buried her in a tomb, to wait for the foretold heroes who would be able to slay her and end her evil forever. Kubsheth the Prophet tells the heroes that they must enter the tomb of the long-dead sphinx queen, kill her, and destroy her cursed crown, an artifact of tremendously evil power. As his blood seeps into the sands, a doorway opens at the base of the statue, leading down into darkness…
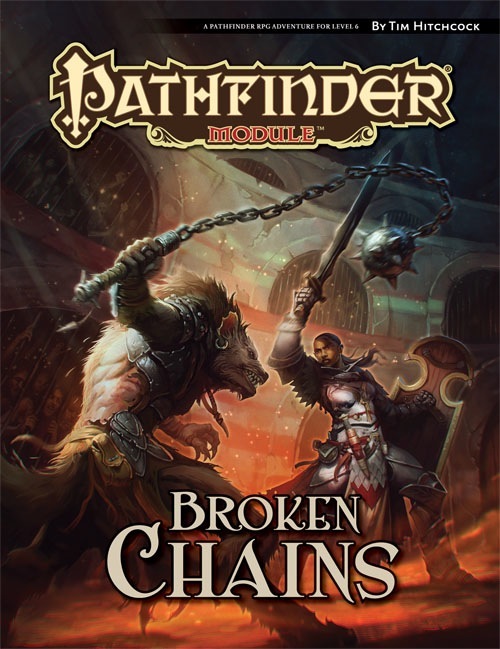
The slave markets of Katapesh may be an unsavory sort of business, but the trade metropolis’s enigmatic law enforcers have few qualms with the legal act of selling and buying flesh. Other factions, including the abolitionist Eagle Knights of Andoran, have their own opinions on the matter, however, and frequently send undercover agents into dangerous territory to break up slave rings. When one such Eagle Knight goes missing while investigating an underground slave operation beneath the dilapidated Twilight Gate district, it’s up to the PCs to delve an abandoned (but hardly uninhabited) qanat beneath Katapesh and discover her dire fate. Yet not everything is as it seems in the dank slave caverns under Twilight Gate, and clues hint that the slavers may have even more loathsome connections than initially suspected.

Since time immemorial, you and your people have toiled in the shadow of the cyclopean ruins. Of mysterious origins and the source of many a superstition, they have always been considered a secret best left unknown by folk of your hamlet. But now something stirs beneath the crumbling blocks. Beastmen howl in the night and your fellow villagers are snatched from their beds. With no heroes to defend you, who will rise to stand against the encircling darkness? The secret of Chaos are yours to unearth but at what cost to sanity or soul? An introductory adventure for the Dungeon Crawl Classics Role Playing Game, Sailors on the Starless Sea pits a mob of 0-level adventurers against legacy of the Chaos Lords and their corrupted hordes. Delving beneath the crumbling ruins, the characters discover ancient crypts, a starless sea, and an ancient ziggurat, where death and treasure await in equal measure!

For months, the dreams of the people of Emystrell have become dark and terrible. It seems their nightmares have come to life as in recent weeks, people have mysteriously gone missing, vanishing in the night without a trace! Everyone is too paralyzed by their own despair to do anything or venture far from the safety of their homes. Emystrell is on the brink of collapse. The baron is offering a handsome reward to anyone who can show proof of the end of whatever evil curse that has taken hold of their town. This adventure is designed for a party of 3-5 heroic characters from the 2nd to 3rd level. It has elements of mystery and investigation in the first section which can be detailed and highly involved for groups that enjoy the process of searching for clues and solving mysteries or just as easily glossed over for groups that are more tactics focused. The second section of the adventure features the dungeon: a labyrinthine complex of an ancient elven crypt which the thieves guild has used as a base of operations for a decade...until the serpent worshipping cult arrived. The third section of this book is the detailed map and notes on the town and surrounding area of Emystrell. Roleplaying notes are kept light to allow for room for your own interpretations and details to NPCs remain as free to do with as you choose unless I felt inspired and hoped to give you a cool idea. This adventure has hooks for Dungeon Masters interested in a larger campaign involving the sinister plots of the Yuan-Ti (snake people) as well as other interesting adventure hooks (such as the giants in the nearby mountains or the stolen gem: The Eye of the Dragon). These plot points are intentionally left vague for you to fill in the gaps based on what your players seem interested in. You are invited to use this as a launch point adventure to lead your heroes on a larger adventure that might someday set them against an Anathema Serpent demigod, or it may simply be the adventure that begins their journeys and the evil of Yargoth stops here at Emystrell. If your campaign is set in a pre-published setting, this town of Emystrell can be replaced or fit into any campaign with a few tweaks to local gods and names. If you are playing in Dragonlance, you could replace Yargoth the Dread Serpent with Tiamat, or Dendar in Fearun. The local goddess, Tyr, could be the Tyr from the Forgotten Realms or even Norse myth if that is your campaign setting.

The Legend of the Black Monastery Two centuries have passed since the terrible events associated with the hideous cult known as the Black Brotherhood. Only scholars and story-tellers remember now how the kingdom was nearly laid to waste and the Black Monastery rose to grandeur and fell into haunted ruins. The Brothers first appeared as an order of benevolent priests and humble monks in black robes who followed a creed of kindness to the poor and service to the kingdom. Their rules called for humility and self denial. Other religious orders had no quarrel with their theology or their behavior. Their ranks grew as many commoners and nobles were drawn to the order by its good reputation. The first headquarters for the order was a campsite, located in a forest near the edge of the realm. The Brothers said that their poverty and dedication to service allowed them no resources for more grand accommodations. Members of the Black Brotherhood built chapels in caves or constructed small temples on common land near villages. They said that these rustic shrines allowed them to be near the people they served. Services held by the Brothers at these locations attracted large numbers of common people, who supported the Black Brotherhood with alms. Within 50 years of their first appearance, the Black Brotherhood had a number of larger temples and abbeys around the kingdom. Wealthy patrons endowed them with lands and buildings in order to buy favor and further the work of the Brothers. The lands they gained were slowly expanded as the order’s influence grew. Many merchants willed part of their fortunes to the Black Brotherhood, allowing the order to expand their work even further. The Brothers became bankers, loaning money and becoming partners in trade throughout the kingdom. Within 200 years of their founding, the order was wealthy and influential, with chapters throughout the kingdom and spreading into nearby realms. With their order well-established, the Black Brotherhood received royal permission to build a grand monastery in the hill country north of the kingdom’s center. Their abbot, a cousin of the king, asked for the royal grant of a specific hilltop called the Hill of Mornay. This hill was already crowned by ancient ruins that the monks proposed to clear away. Because it was land not wanted for agriculture, the king was happy to grant the request. He even donated money to build the monastery and encouraged others to contribute. With funds from around the realm, the Brothers completed their new monastery within a decade. It was a grand, sprawling edifice built of black stone and called the Black Monastery. From the very beginning, there were some who said that the Black Brotherhood was not what it seemed. There were always hints of corruption and moral lapses among the Brothers, but no more than any other religious order. There were some who told stories of greed, gluttony and depravity among the monks, but these tales did not weaken the order’s reputation during their early years. All of that changed with the construction of the Black Monastery. Within two decades of the Black Monastery’s completion, locals began to speak of troubling events there. Sometimes, Brothers made strange demands. They began to cheat farmers of their crops. They loaned money at ruinous rates, taking the property of anyone who could not pay. They pressured or even threatened wealthy patrons, extorting money in larger and larger amounts. Everywhere, the Black Brotherhood grew stronger, prouder and more aggressive. And there was more… People began to disappear. The farmers who worked the monastery lands reported that some people who went out at night, or who went off by themselves, did not return. It started with individuals…people without influential families…but soon the terror and loss spread to even to noble households. Some said that the people who disappeared had been taken into the Black Monastery, and the place slowly gained an evil reputation. Tenant farmers began moving away from the region, seeking safety at the loss of their fields. Slowly, even the king began to sense that the night was full of new terrors. Across the kingdom, reports began to come in telling of hauntings and the depredations of monsters. Flocks of dead birds fell from clear skies, onto villages and city streets. Fish died by thousands in their streams. Citizens reported stillborn babies and monstrous births. Crops failed. Fields were full of stunted plants. Crimes of all types grew common as incidents of madness spread everywhere. Word spread that the center of these dark portents was the Black Monastery, where many said the brothers practiced necromancy and human sacrifice. It was feared that the Black Brotherhood no longer worshipped gods of light and had turned to the service of the Dark God. These terrors came to a head when the Black Brotherhood dared to threaten the king himself. Realizing his peril, the king moved to dispossess and disband the Black Brother hood. He ordered their shrines, abbeys and lands seized. He had Brothers arrested for real and imagined crimes. He also ordered investigations into the Black Monastery and the order’s highest ranking members. The Black Brotherhood did not go quietly. Conflict between the order and the crown broke into violence when the Brothers incited their followers to riot across the kingdom. There were disturbances everywhere, including several attempts to assassinate the king by blades and by dark sorcery. It became clear to everyone that the Black Brotherhood was far more than just another religious order. Once knives were drawn, the conflict grew into open war between the crown and the Brothers. The Black Brotherhood had exceeded their grasp. Their followers were crushed in the streets by mounted knights. Brothers were rounded up and arrested. Many of them were executed. Armed supporters of the Black Brotherhood, backed by arcane and divine magic, were defeated and slaughtered. The Brothers were driven back to their final hilltop fortress – the Black Monastery. They were besieged by the king’s army, trapped and waiting for the king’s forces to break in and end the war. The final assault on the Black Monastery ended in victory and disaster. The king’s army took the hilltop, driving the last of the black-robed monks into the monastery itself. The soldiers were met by more than just men. There were monsters and fiends defending the monastery. There was a terrible slaughter on both sides. In many places the dead rose up to fight again. The battle continued from afternoon into night, lit by flames and magical energy. The Black Monastery was never actually taken. The king’s forces drove the last of their foul enemies back inside the monastery gates. Battering rams and war machines were hauled up the hill to crush their way inside. But before the king’s men could take the final stronghold, the Black Brotherhood immolated themselves in magical fire. Green flames roared up from the monastery, engulfing many of the king’s men as well. As survivors watched, the Black Monastery burned away, stones, gates, towers and all. There was a lurid green flare that lit the countryside. There was a scream of torment from a thousand human voices. There was a roar of falling masonry and splitting wood. Smoke and dust obscured the hilltop. The Black Monastery collapsed in upon itself and disappeared. Only ashes drifted down where the great structure had stood. All that was left of the Black Monastery was its foundations and debris-choked dungeons cut into the stones beneath. The war was over. The Black Brotherhood was destroyed. But the Black Monastery was not gone forever. Over nearly two centuries since its destruction, the Black Monastery has returned from time to time to haunt the Hill of Mornay. Impossible as it seems, there have been at least five incidents in which witnesses have reported finding the Hill of Mornay once again crowned with black walls and slate-roofed towers. In every case, the manifestation of this revenant of the Black Monastery has been accompanied by widespread reports of madness, crime and social unrest in the kingdom. Sometimes, the monastery has appeared only for a night. The last two times, the monastery reappeared atop the hill for as long as three months…each appearance longer than the first. There are tales of adventurers daring to enter the Black Monastery. Some went to look for treasure. Others went to battle whatever evil still lived inside. There are stories of lucky and brave explorers who have survived the horrors, returning with riches from the fabled hordes of the Black Brotherhood. It is enough to drive men mad with greed – enough to lure more each time to dare to enter the Black Monastery.

Few planes possess the raw malevolence of the Infinite Layers of the Abyss. It is a place of random violence, appalling cruelty, and pure, unadulterated wickedness. Here, unreasoning malice rules, and countless demons torture and murder for the joy of it. The Abyss is innovative in its wretchedness, with each fleeting moment birthing new and awful psychotic acts of utter evil. Those who brave its depths find no relief from its corrosive nature, nor respite from the cancerous seeds of evil blooming within all who tarry here; they find only anguish, pain and if they're lucky, sudden, abrupt death. "Into the Maw" is the ninth chapter of the Savage Tide Adventure Path, a complete campaign consisting of 12 adventures appearing in Dungeon magazine. For additional aid in running this campaign, check out Dragon magazine's monthly "Savage Tidings" articles, a series that helps players and DMs prepare for and expand upon the campaign. Issue #356 of Dragon magazine features an expanded list of strange and exotic magical items that could be purchased from the mercane merchants encountered during "Into the Maw." In order to rescue a friend, the PCs must sail into the Abyss and infiltrate a prison built by the Prince of Demons. Pgs. 48-85
If the drought doesn't get you, the goblins will. The river has mysteriously run dry and the farmers' crops are in peril. Locals are convinced a nearby tribe of goblins are responsible, and have offered a reward to anyone brave enough to sort it out. While they were correct about the goblins causing the drought, they were wrong about the reason. The chief of the goblin tribe is an enthusiastic fisher and a particular fish, Salvel the Talking Trout has continually eluded him. This adventure has a humourous tone and emphasises role-playing and negotiating. Pgs. 8-21 & 49

The king requests your presence in the honorable kingdom of Norwold. If you're worthy, you may be appointed lord of a dominion filled with friendly villages, sturdy fortresses, and raging band of monsters. Raging bands of monsters? Well, yes, and you may have to lead your forces into a war or two. But you'll be ready for the challenge. You'll be ready for treacherous spies who conspire to steal you land. You'll be ready for a foul band of giants that raids your dominions. And you'll be ready for the inevitable clash of empires, the outcome of which may alter the fate of millions. You'll be ready! Won't you? Test of the Warlords includes a complete campaign setting, several new NPCs, and dungeon and wilderness encounters, and guidelines for running a war between empires. TSR 9117
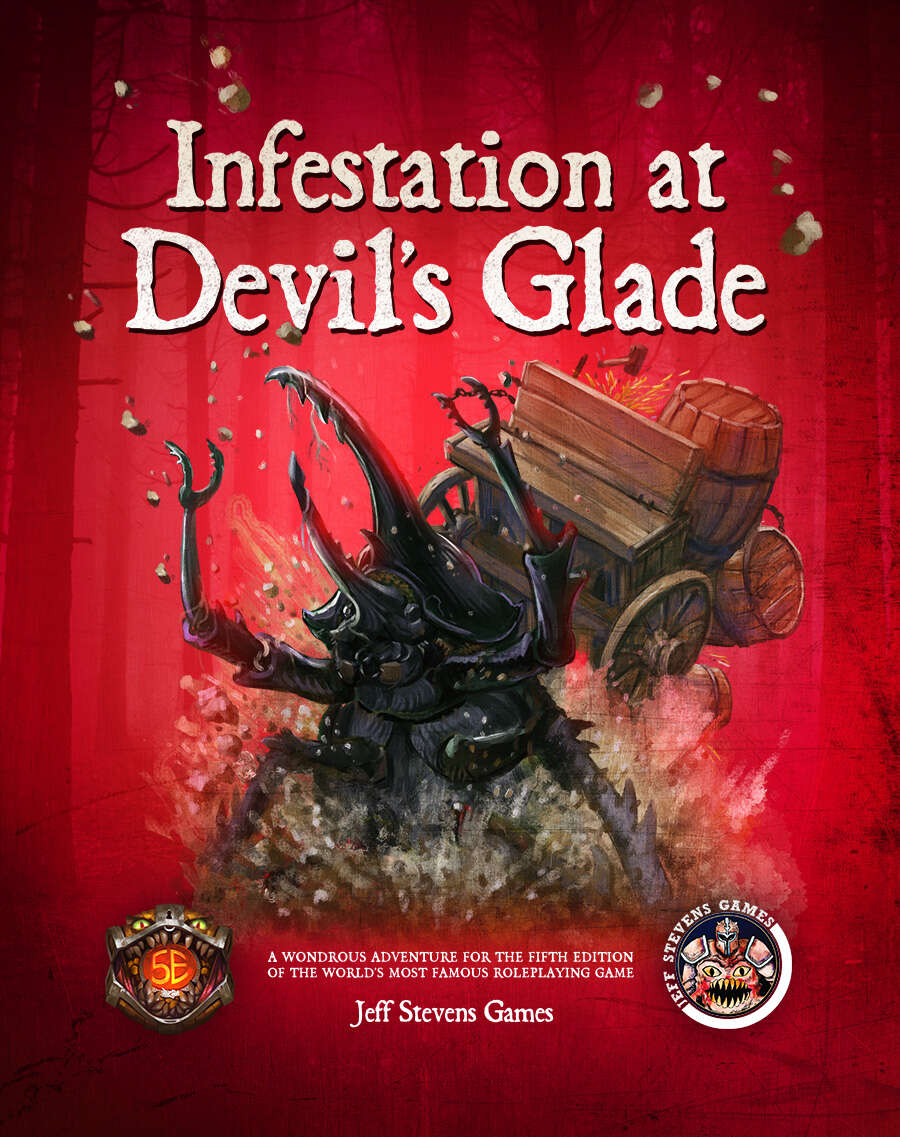
The town of Devil's Glade is under attack! Swarming insects have driven the residents out of their homes and businesses, and giant insects patrol the town square. Who or what has brought these creepy-crawlies to Devil's Glade? What's their motive? Are your heroes brave enough to put an end to the infestation? Infestation at Devil's Glade is a 2- to 4-hour adventure designed for four to five characters of 1st to 4th level, and is optimized for 2nd level characters. Scaling Suggestions are included, allowing you to play this adventure with characters of 5th to 6th level. Infestation at Devil's Glade isn't just a short adventure. We provide you with a location to which your heroes can return, or even use as a home base. The Supplement Includes: Adventure. The main adventure focuses on the heroes cleaning the town of the infesting insects and the villains who brought them. Beginning at The Fork (a tavern where many of the residents have made camp), the characters learn about the infestation of Devil's Glade, and are hired to look into the matter. NPCs. The adventure is filled with fun and engaging NPCs. During the characters' time at The Fork, they have the opportunity to talk with NPCs, help them, and learn more about the infestation. After the heroes return Devil's Glade to normal, the merchants and residents return, giving your characters unique shops to explore and quests to complete. Cursed Mask. The crux of the problem - a cursed mask that slowly transforms the attuned creature into a giant, insect monstrosity, and gives them power over insects. To end the infestation, the adventurers must confront the partially transformed person wearing the mask. Shops & Services. Devil's Glade contains shops and services the characters can explore, including therapeutic mud baths, a diner specializing in eggs, a trinket shop, a candle maker, and a dentist. Side Quests. We provide several side quests for before and after the main adventure, allowing you to increase the main adventure's run-time, and provide you with material for after the main adventure. Maps. The adventure contains maps for the main locations and major side quests. Each map is hand-drawn by Jean Lorber. Art. NO AI! The book is filled with fantastic, original artwork by Matt Morrow Art. Also Included: Map Files. Both grid and non-grid maps are included and available to download. Special VTT Tokens and Assets. Several custom tokens and art assets are included for VTT play.

Mimic Madness is a psudeo-adventure with four interesting mimic encounters. These four encounters are structured in a way that they can be used together as one adventure, or each individually dropped into any adventure from EL4 to 7. The encounters vary the mimic's tactics significantly, such as by having them we a weapon rack that wields the weapon it holds, pretending to be animated furniture using its ability to speak, and pretending to be a floor covering a pit; none of them rely on the typical chest or door mimics. Pgs. 24-25

The hidden masters of the Ebon Triad have something special planned for the culmination of the Champion’s Games: a foul ritual designed to transform the arena into a stage of enormous carnage to honor their dark overgod. To stop them, the PCs must explore the dark complex of the arena’s master, and destroy his pet monster before it’s too late. An Age of Worms Adventure Path Adventure for 9th level characters. "The Champion's Belt" is the fifth installment of the Age of Worms Adventure Path, a complete campaign consisting of 12 adventures, several "Backdrop" articles to help Dungeon masters run the series, and a handful of poster maps of key locations. For additional aid in running this campaign, check out Dragon's monthly "Worm Food" articles, a series that provides additional materials to help players survive this campaign. Check out issue #337 of Dragon for guidelines on what they can purchase in the Free City. Pgs. 30-62
Genius rogue artificer Ichabod Russet hired ten of his most brilliant colleagues to collaborate and build the greatest automaton yet invented: a clockwork beholder. He dreamed their invention would catapult him into stardom and wealth. In a secret mountain laboratory under Ichabod's direction, each scientist devoted themself to developing one ray for the creature's mechanical eyes -- but when the mysterious tenth ray was added to the automaton, it became too powerful. The clockwork beholder broke free during QA testing and destroyed half the lab. Only a few of the artificers escaped to tell the tale, and for the most part, they're keeping their mouths shut.

This adventure takes place in the Moonsea of Faerûn. The players have been brought to Melvaunt to search for the missing scions of the city's great families. To the north, in Thar the orc tribes converge on the ruined fortress of Xul-Jarak, flocking to the banner of a charismatic warlord. There, he intends to sacrifice the scions of the great families of Melvaunt in a bloodritual to Gruumsh. The players will escape Melvaunt, search along the wilderness of Thar for the Fortress of Xul-Jarak, and then explore the dungeons of the ruined fortress and hopefully rescue the scions before they are sacrificed. There also is a Web Enhancement by Eric Cagle on the archives of wizards of the coast's website designed to scale the adventure to level 8. For example, it replaces the Owlbear with a Tyrannosaurus. This is an easy to scale adventure with much of the player's difficulty coming from intelligently avoiding problems, choosing how to approach each floor in the most tactical way, and quickly adjusting when something goes wrong. The adventure has sidebars including common orc battle cries (In Orc!), ready to use orc names, weather and random encounter table in Thar, a description of what happens if the party fails or partially succeeds, and suggested minis for each of the encounters. There is even an extended description of the bloodspear ritual, an event the party is not meant to encounter in a normal run. The appendix is detailed for all the humanoid characters including the scions and their equipment, the named villains, and variety of unnamed orcs the party will encounter. The fortress also offers an opportunity to introduce the players to the Underdark and the Zhentil Keep. There is a passage to the Underdark the players can accidentally explore, and return to later. Emissaries from Zhentil Keep have come to watch the ritual and have their own motivations. These npcs provide an opportunity for exposition and role playing at a point which otherwise might be combat heavy, acting as a valve for the first floor - helping or hurting the party with subtle magic should the difficulty be off.

A Slumbering Serpent Hidden in the thick rainforest of Serpent Isle is a crumbled yuan-ti citadel. These foul snakefolk have been dormant for decades, but have been awoken in order to fill out some foul prophecy. Delving deep into their most sacred temple; Oss’Ithek, is the only way to uncover the dark secret which they hold so dear. Do you have the nerve to face the serpent?
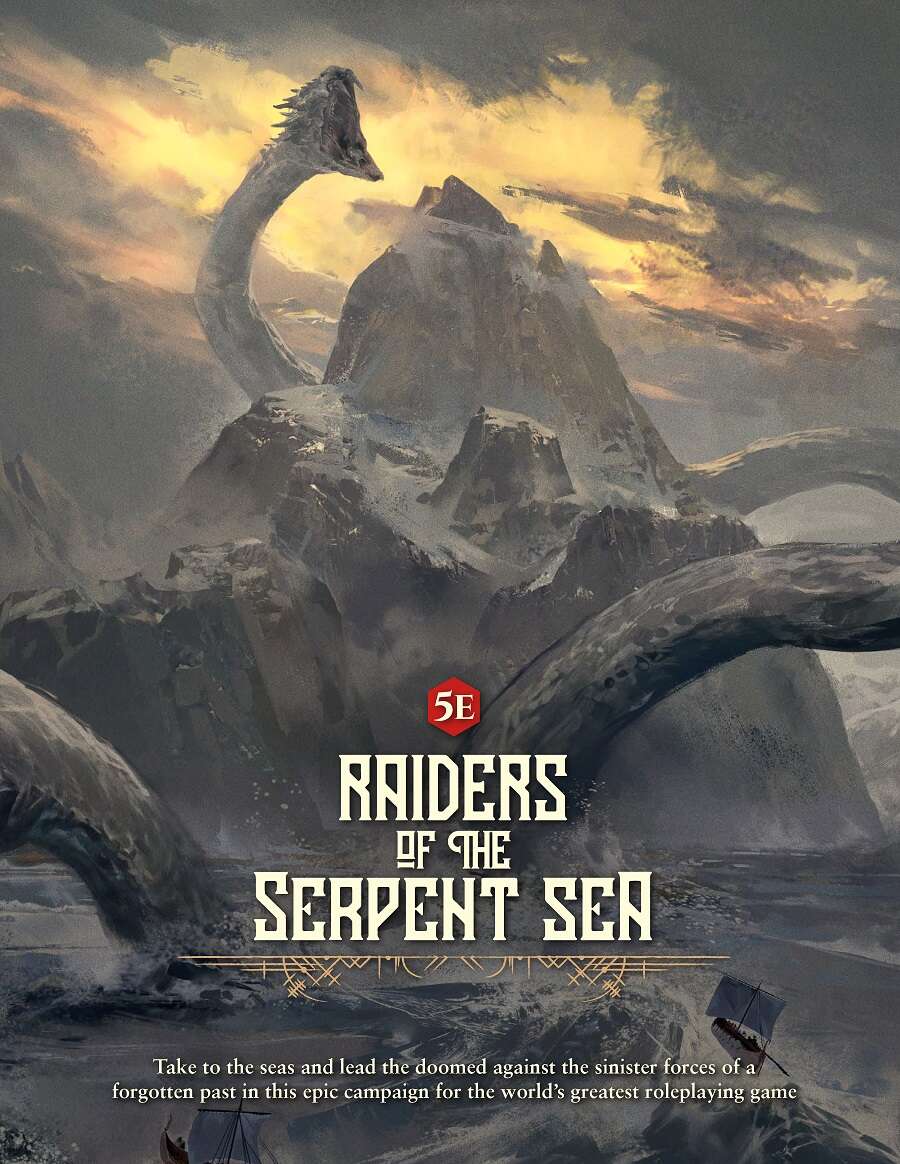
From the lead designer of Dragon Age Origins, in partnership with the creators of Odyssey of the Dragonlords, comes Raiders of the Serpent Sea! Take to the seas of Grimnir and battle against the sinister forces of a forgotten past in an epic campaign for the 5th Edition of the world’s greatest roleplaying game! Guide 4-6 players through tumultuous waters as they become heroes across a campaign that will take them from 1st to 16th level. Raiders of the Serpent Sea is a blend of high fantasy and a darker world of grim seafaring raiders. Grimnir’s clans constantly fight to survive in this doomed world filled with ancient and fantastic creatures - giants, sea serpents, saber-toothed tigers, and the world-devouring Yoten. Nowhere is safe, danger and glory abound! The Raiders of the Serpent Sea Campaign Guide PDF includes almost 500 pages of epic adventure and supplemental material with full-color maps and illustrations that breathe life into the campaign world.