
With a series of torrential rains, the soaked soil has weakened and an opening to a forgotten tomb has been discovered. You and your associate prepare to venture into the lost Kalar's Crypt! This scenario is useful for a beginning campaign or just a side adventure when most of the group can't participate.

"I was taken by the evil dogs while camping near Agav's bog. They dragged me into their lair, and it wasn't until I escaped that I knew the truth of the place: a great and bony wing buried in the side of a hill. They chained me in the dark with a candle made from foul wax and forced me to dig at the marrow. Their bonds were poorly made, and I fled several days later while they slept. What purpose did they have in mining that marrow? I cannot say..." The Marrow Mines are dug in and around the fossilized wing of an unnamed leviathan. A small pack of kobolds lives and works in the mines, which are heavily trapped. The kobolds defend the area fiercely and patrol the region around the mine. At night, a handful of urds make aerial surveys of the territory. The urds live in the deep reaches of the wing's tips.

Faced with an unusual alliance of giants raiding the countryside, the party must venture into the steading of hill giant chief Nosnra and uncover maps to the locations of the other giant strongholds. “Steading of the Hill Giant Chief ” can be run as a stand-alone adventure, or you can play it as the first part of a four-part series that continues with “Warrens of the Stone Giant Thane” (Dungeon 198), “Glacial Rift of the Frost Giant Jarl” (Dungeon 199), and “Hall of the Fire Giant King” (Dungeon 200). The adventure is part of the Against the Giants series originally by Gary Gygax, hence the writing credit.

A Beholder Love Story A dwarven mineshaft has become the new home of the heartbroken beholder Sindryl. Discover who could be wicked enough to separate Sindryl from his love Prix'am, put a stop to their plot, and restore Prix'am's missing heart. A 3-6 hour Dungeons & Dragons 5th Edition adventure for Tier 2 characters. This adventure includes: 2 New Monsters (including 1 New Beholder!), 3 New Magic Items, New NPCs, a Minecart Skill Challenge, Romantic Random Encounters for the Underdark!

You wake up in a dark room with a group of friends. You don't know how you got here and your thoughts seem distant, echoing in your mind. The note you find reminds you your mission: retrieve the flower of oshadis and escape this temple alive. Culitsts and traps stand between you and freedom.

For 1000 years, the Pyramid of Amun-re has lain undisturbed. Now the ghost of the once-great Pharaoh pleads with adventurers to venture into his tomb, foil the devious traps within, and free his soul. A classic dungeon crawl, with mazes and quality lore. No one has ever returned from the tomb of Amun-re: his Star Gem must still lie unclaimed! You will need all your cunning, imagination, strength and magic -- just to survive! TSR 9052

In Heart of Nightfang Spire, the player characters are drawn to investigate Nightfang Spire, a lonely stone tower in a barren land. The vampire lord Gulthias, servant of the great dragon Ashardalon, has returned to the tower which was once the main cult temple of Ashardalon. The vampire prepares for the dragon's return by awakening the other cultists who had preserved themselves as undead creatures. Gulthias is a vampire and a level 13 wizard.

This adventure is the ninth part of the Shackled City Adventure Path that began with "Life's Bazaar" (Dungeon #97) Wherein a group of diverse and talented allies learns the folly of not working together against a common foe.

When old ruins are discovered, rumors swirl about the lost owner's magical blade. This scenario involves an overland crossing and a dungeon delve and none of it will be easy for the players.

Chaos reigns outside Roslof Keep, and the spread of the violet corruption runs deep within Mithelvarn's Dungeon. Now, the Company of the Ivory Scimitar must not only face the challenges of the Roslof delve, but will also find the dangers of the Kelmalin Wildlands must be overcome as well if they are ever to get to the bottom of the deadly plague that ravages the land. Time is running out, and only those brave enough will be able to face the horrors of the Glade of the Burning Dead and the dark recesses of The Hill. This adventure is formatted to both 1E & 5E gaming rules. Also available in PDF.

Far above the village of Barovia sits Castle Ravenloft, the home and fortress of vampire lord Strahd Von Zarovich. Legends claim that Strahd flies with the bats and runs with the wolves to terrorize the countryside. Ancient tales also tell of dungeons and catacombs deep under the castle. Other stories recall the great halls, treasures, and glory of Ravenloft in centuries past. "House of Strahd" is a revision of the classic gothic horror tale I6: Ravenloft, one of the most popular adventures ever produced for the AD&D game. This version is updated for the AD&D 2nd Edition rules, and those from the Ravenloft campaign set. Count Strahd is now more powerful, and his castle is even more terrifying! TSR 9418

Many centuries ago, the dwarven kingdom of Sarphil stretched out across the Galena Mountains east of the Moonsea. They dug for the precious metals hidden beneath the rocky terrain, and they established numerous cities and settlements to aid in their excavation and manufacturing efforts. This was during the early days of Myth Drannor, the elven kingdom in the forest of Cormanthor, and the dwarves and elves initially clashed as each sought resources and expanded their territories. Myth Drannor and Sarphil eventually settled their differences, and many dwarves moved into the elven city to offer their services and expand their knowledge. In the Galena Mountains, Sarphil continued to flourish. Unfortunately, these days of prosperity did not last long. The last great king of Sarphil was lost in the dwarven city of Mount Throndor, beneath the mountain peak of the same name, and Sarphil withered under bitter clan disputes since no single family could claim legitimate lineage over the fragmented kingdom. What happened under Mount Throndor has been a mystery for thousands of years. Many attempts have been made to reclaim the lost riches and legacy of the last Sarphilan king, but powerful wards have prevented intrusion under the mountain, wards erected by the dwarves of Sarphil. Were the wards built to keep outsiders from intruding – or to keep something inside from escaping? An enterprising dwarven leader wants to find out, but she is going to need some help from a band of heroes. Horrors of Mount Throndor is a Dungeons & Dragons adventure of exploration, darkness, and terror featuring a lost dwarven city overrun by forces from the Far Realm and the journey to cleanse it once and for all. The adventure is designed for a group of 11th-level characters, and successful completion of the adventure should put the characters at 16th level. Here There Be Monsters Mount Throndor has become infested with madness from the Far Realm. During their journey to penetrate the ward and through the city itself, the characters are going to face gibbering horrors, unpredictable slaadi, fanatic stone giant cultists, degenerate star spawn horrors, mutant derro, undead dwarves, and countless golems. The ancient breweries of Mount Throndor have produced alementals who slither in the darkness, and a great dwarven war juggernaut named Big Hans stomps through the city. Legendary Villains and Epic Moments Though it has been sealed, Mount Throndor is not empty. The characters have opportunities to meet, interact with, and (likely at least) combat against powerful foes within the legendary dwarf city. A dwarf lich, a Far Realm spider goddess, an iron-encased demilich, and a melted flesh derro warlock monstrosity all await, along with a mind-bending force - Great Cthulhu! The characters have a chance to face an avatar of Great Cthulhu in the dwarven depths in the final confrontation of the adventure to free Mount Throndor and rid Faerun of a Far Realm invasion! An Adventure of Exploration Mount Throndor is a big, sprawling complex, a dwarven city with two major strongholds, a bridge system spanning a massive underground lake, and a deep mining complex. The scale is difficult to grasp and convey. Previous examples of adventures featuring these elements have included maps - usually lots of them, great spawling maps connected at ends to make huge subterranean dungeons. It is the classic image of a D&D dungeon crawl, and the map is a key component to its visualization. However, in this adventure, the maps are handled differently. There are certain areas, ususally outside the dwarven city itself, that include maps that are suitable for use at the game table, either in theater of the mind style or grid-and-miniatures. Mount Throndor itself is presented with an abstract map, and exploring it utilizes the exploration procedure outlined in Appendix A. Characters traverse the huge subterranean system using this abstract system, and during their travels they are going to run into random encounters and sites with more interesting and complex encounters.
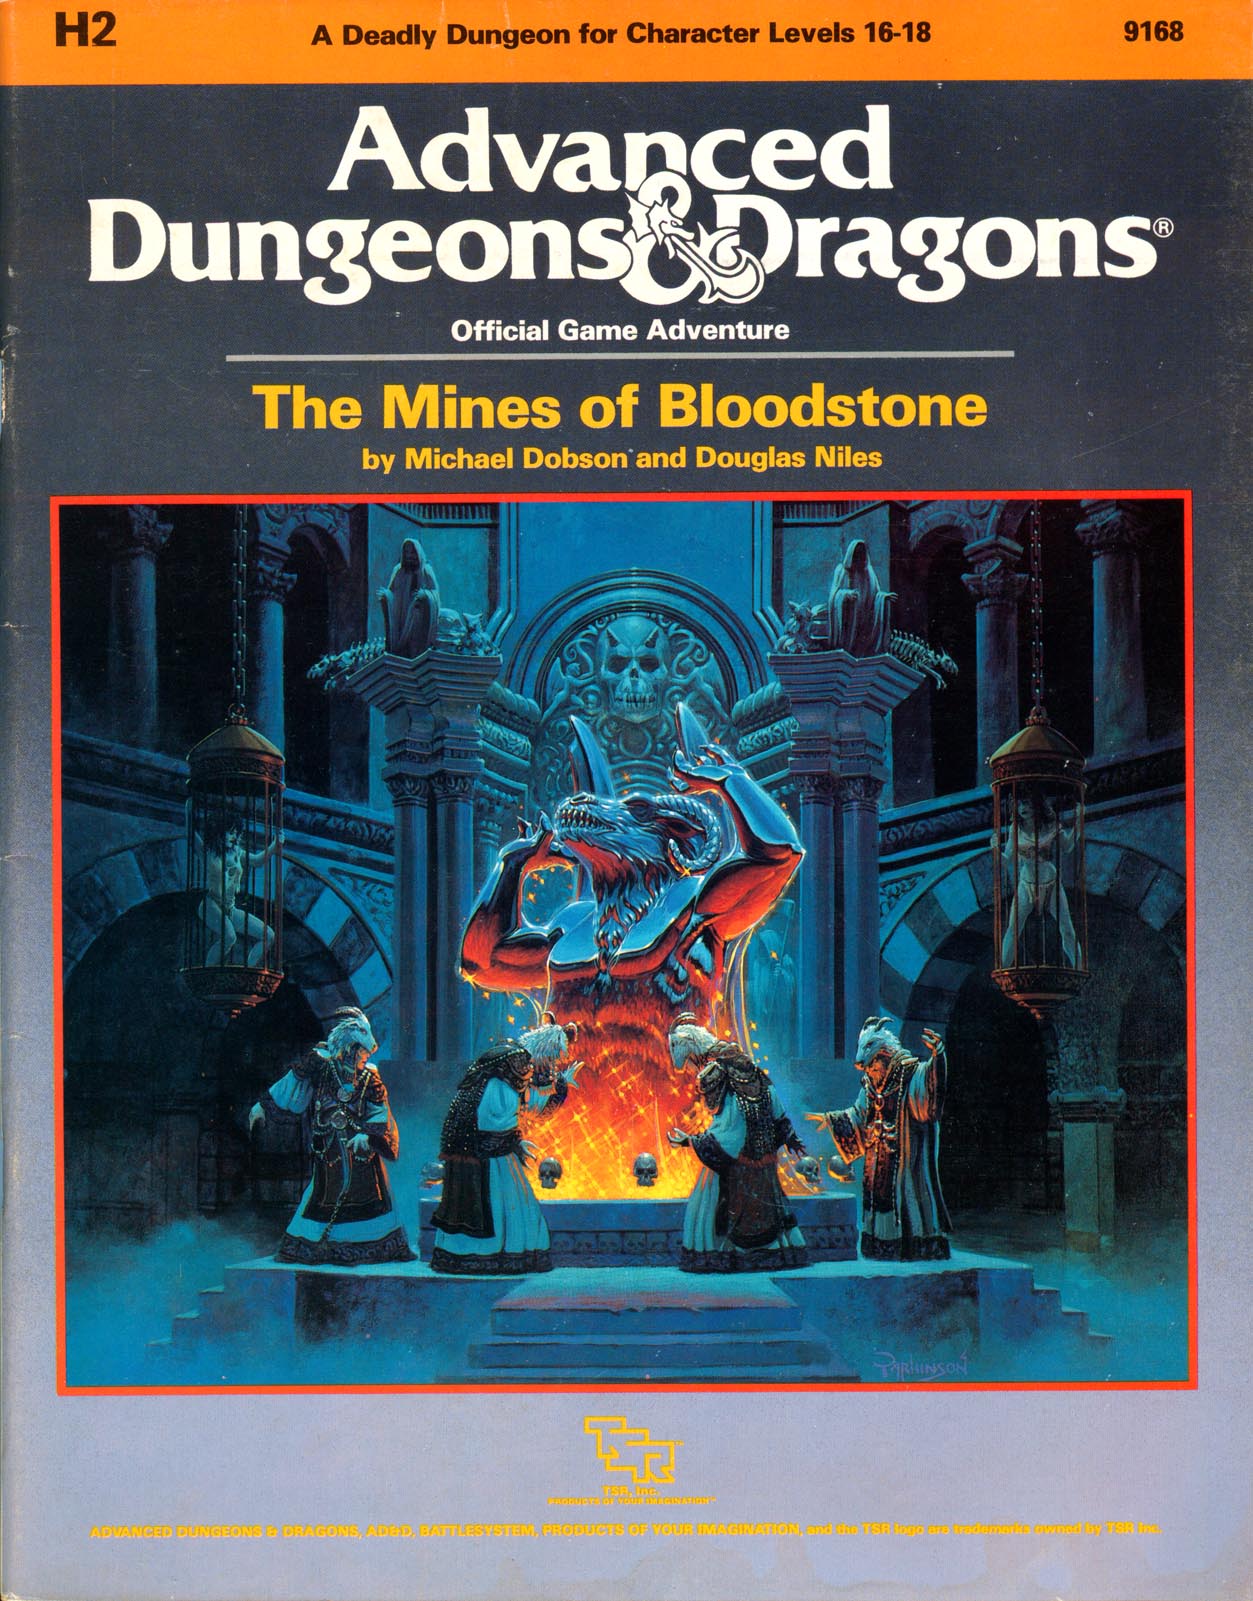
The most deadly dungeon ever devised! High-level characters brave the unexplored corridors of Deepearth to confront perhaps the most feared adversary in the AD&D game. The second chapter of the Bloodstone Pass saga follows the conclusion of the desperate war against the bandit army. A cold and bitter winter drives the villagers to the edge of starvation, and numerous horrors strike the town of Bloodstone Pass. Join the adventure as the heroes explore the depths of the ancient bloostone mines, now inhabited by fearsome demons. There they hope to uncover the fantastic treasures rumored to exist in the unknown darkness. But deep within the mines, all is not what it seems.... This module uses the new rules from the Dungeoneer's Survival Guide and Wilderness Survival Guide. The adventure also includes optional BATTLESYSTEM scenarios fought entirely underground. These supplementary products are not required to play the adventure, however. TSR 9168

𝐓𝐡𝐢𝐬 𝐚𝐝𝐯𝐞𝐧𝐭𝐮𝐫𝐞 𝐢𝐬 𝐚 𝐜𝐨𝐧𝐭𝐢𝐧𝐮𝐚𝐭𝐢𝐨𝐧 𝐨𝐟 𝐭𝐡𝐞 𝐨𝐫𝐢𝐠𝐢𝐧𝐚𝐥 𝐬𝐚𝐦𝐩𝐥𝐞 𝐝𝐮𝐧𝐠𝐞𝐨𝐧 𝐟𝐨𝐮𝐧𝐝 𝐢𝐧 𝐭𝐡𝐞 𝟏𝟗𝟕𝟕 𝐁𝐚𝐬𝐢𝐜 𝐑𝐮𝐥𝐞𝐛𝐨𝐨𝐤, 𝐤𝐧𝐨𝐰𝐧 𝐚𝐬 𝐭𝐡𝐞 𝐓𝐨𝐰𝐞𝐫 𝐨𝐟 𝐙𝐞𝐧𝐨𝐩𝐮𝐬. It includes the hinted at, deeper dungeons and darker secrets of Zenopus. This adventure details the Tower of Zenopus located in the map found in Ghosts of Saltmarsh and is a quick side bar for adventurers level 1-3. It has been 50 years since anyone has seen or heard from Zenopus. Rumors abound concerning cultists and marshland creatures roaming near Portown. Could it be that Zenopus is behind it all? Return to the dungeon that started it all. Additional material based on Dr. J. Eric Holmes’ original sample dungeon. More levels, more monsters, more treasure await under the Tower of Zenopus! 4 new dungeon levels included!

Ra’s Evil Grin challenges adventurers of at least 11th level who are seeking a powerful magic item—the globe of Arden. If a different item suits your campaign better, another appropriate powerful item can be substituted as the final objective. This dungeon culminates in a battle with Dendorandra, a lesser marilith known as a dark daughter. As a lead-in to this adventure, the GM may use a map from another treasure hoard showing the location of the globe (detailed more fully in “The Legend of the Globe of Arden,” below) or a priestly tome describing Arden, the long-dead avatar of Ra, and the wondrous powers of an unknown artifact called the globe of Arden. Such a tome might mention that the globe emits rays as intense as those of the sun, destroying all they touch. In any event, characters should need to consult with sages and oracles to determine the location and history of the globe and dungeon. A sage could also provide a map to the dungeon’s location, referenced in the “The Legend of the Globe of Arden,” below. We set the dungeon on a small, remote island far across the sea, but you can relocate it to suit your campaign. This dungeon provides numerous puzzles, a few traps, and only two monsters. Those monsters, though few in number, should challenge and threaten even the most combat-hardened party—particularly after the party encounters all the vicious creatures that inhabit the Island of the Globe.
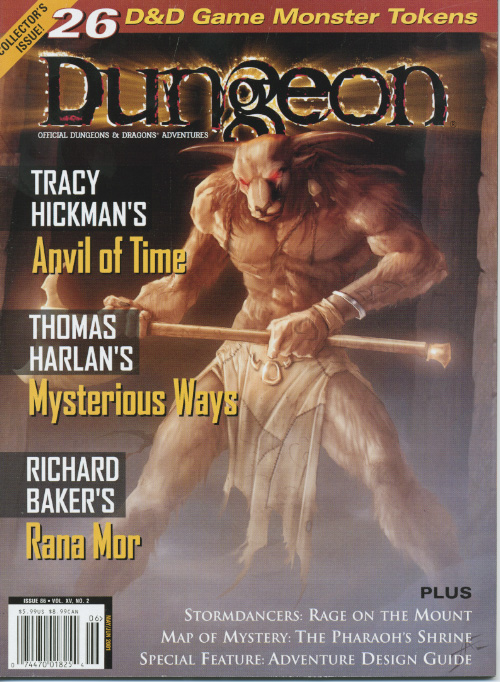
"Mysterious Ways" is a D&D adventure set in the Holy Land (Israel and Jordan) during the time of the Crusades (1114 A.D.) in an alternate-Earth setting. This is a world where the portals to otherworldly realms, particularly the Lower Planes, are closed--sealed shut by the power of the True Cross, a holy relic sought by evil thieves who would see the gates to the Lower Planes flung open. Magic exists in this alternate world, but it is less prevalent than in other D&D campaign settings. This paucity of magic serves the core of the adventure's storyline and should be preserved, if possible. This adventure is designed for a party of four 7th-level player characters (PCs). It is recommended that the party include at least one lawful cleric or paladin. Consult the "Adapting the Adventure" sidebar for ways to incorporate the adventure into generic D&D campaigns and modify it for higher or lower levels of play. Pgs. 84-112

What is the Lost Lands? The Lost Lands is the home campaign world of Necromancer Game's and Frog God Game's own Bill Webb. This campaign has been continuously running since 1977. Many of the adventures published by Necromancer Games and Frog God Games are directly inspired by this campaign. They have evolved over the decades, and more material continues to flow from it as the dice keep rolling. Sages and wizards of legend speak of the Lost Lands—many of the players who have lived and died in Bill's campaign over the years now have a place in history (in the books). Frac Cher the dwarf, Flail the Great, Bannor the Paladin, Speigle the Mage, and Helman the Halfling are well known to the fans of Bill's work. This is the game world, and these are the adventures in which the players of these famous characters lived and died. Hundreds of players over the past 35 years have experienced the thrills and terrors of this world. The Sword of Air is the centerpiece of the Lost Lands. Currently, this epic tome consists of several parts: 1. The Hel’s Temple Dungeon—kind of like Tomb of Horrors on crack. This six-level, trap-and-puzzle infested dungeon formed the basis of Bill's game through his high school and college years. Clark Peterson’s very own Bannor the Paladin spent several real life months in the place, and, sadly, finished the objective. This is where the fragments of the fabled Sword of Air can be found…perhaps. 2. The Wilderness of the Lost Lands extending to the humanoid-infested Deepfells Mountains and providing detail about the nearby Wizard’s Wall. This so-called “wall” was raised by the archmages Margon and Alycthron harnessing the Spirit of the Stoneheart Mountains to raise the land itself, creating a massive escarpment to block invaders from the Haunted Steppes. These archmages are actual player characters from the early 1980s who live on in the legends of the Lost Lands. Over 70 unique encounter areas are detailed, and each one is a mini-adventure in itself. New wilderness areas may be added based on bonus goals described below! 3. The Ruined City of Tsen. Legend has it the city was destroyed by a falling meteor. This place forms an aboveground dungeon area the size of a city, with over 100 detailed encounter areas. It’s a very dark place…even at noon. 4. The Wizard’s Feud—This campaign-style adventure pits the players in a long-running series of intrigues and battles between two archmages. Which side will they take? Their actions all play into the overall quest, and could well determine which side wins. Law and Chaos are not always what they seem, and if the wrong decisions are made, the entire ordeal could fail. Remember, one of the wizards WANTS Tsathogga to win. 5. New monsters, new demons, new spells, and new rules for various aspects of play. 6. The Tower of Bells. This dungeon is the result of the workshop Bill ran at PaizoCon 2013, where the participants assisted him in building an old-school dungeon. Visit the tower and discover the secrets of the “artist” within. Beware: those entering may never come out!

You don't know where - or what - you are. You wake up in a dungeon. But how did you get there, and why? This adventure is for a solo paladin character, on a quest to gain a war horse. The character is suffering from amnesia and believes him/herself to be a normal fighter to begin. The quest begins with the character in the middle of an adventure in a dungeon, but not remembering how they got there. After defeating several undead including an intelligent zombie leader, the paladin gains a magic stone to summon a paladin mount. Pgs. 28-35

Your sleek cloudskate skims across the Skysea. It is midnight. All day long, the glass sea soaked up the scorching desert sunlight. Now, that heat lifts your ship a few inches off the glass and fills its sails. The only sound you hear is the soft swish of the diamond-edged rudder as it cuts a path across the Skysea. One thousand years ago, the wizard Martek knew that you would come to find his Sphere of Power. Now, one of his glowing Star Gems shows you the way. The starlight, reflected in the glass beneath you, flickers peacefully. Suddenly, the Skysea before you bursts up into a thousand shards of splintered glass, showering into the moonlight! A horrible creature is silhouetted against the moon. You strain against the rudder to keep your ship upright. Too late! Your cloudskate tips onto one runner, and then tumbles over, skidding to a stop on the glass. As your companions struggle to right the ship, you turn and face the monster. You must hold the creature back to give them time. Without the ship, none of you can get off the glass before the sun rises in the morning. Martek's prophecy spoke of heroes, tests, and dangers. Are you the heroes? What are the tests? What dangers and riches lie ahead? This adventure can be played by itself, or as the third and final part of the Desert of Desolation series. For character levels 7-9. TSR 9054
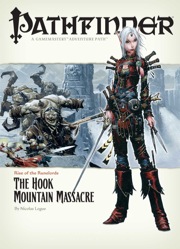
Them Ogres Ain't Right... The Rise of the Runelords Adventure Path continues! The notorious Hook Mountain ogres, known for their violent and savage ways, have slaughtered the soldiers of Fort Rannick. The few surviving rangers need heroes to help them retake this key fortification before the ogres use it as a staging ground for further assaults on the region. Yet why have the ogres chosen now to launch this sudden attack? What sinister force grows in the surrounding wilderness, and what ties to the mysterious Sihedron Rune do the ogres of Hook Mountain hide? Are the rumors of an army of giants massing for war true?