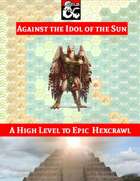
Do you want to run or play an adventure where characters start at level 13 instead of ending at level 13, and actually get to progress to 20 like the rules say they should? Do your players like to travel far and wide, exploring a huge unknown area? Do your players like to change their plans on a whim, and travel somewhere other than where they told you they planned to go last session? Do your players feel like fighting against an empire at odds of 20,000 to 1? Do your players want to commit occasional acts of sky piracy? Do you want an adventure that is designed to handle players using Scrying, Transport Via Plants, and Teleportation on a daily basis? If you answered yes to some of these questions, this adventure may be for you. Check out the detailed preview packet, which includes a campaign log showing how this adventure has actually played out. WARNING: FULL OF SPOILERS; VERY LONG. Against the Idol of the Sun is an epic hexcrawl campaign designed for high-level play. Adventuring parties should start at about level 13, and will likely end the campaign at level 20 with multiple Epic Boons. As a hexcrawl, there is no set adventure path that the party must follow. There is only one encounter that's even close to plot-mandatory aside from the climactic battle. Anything else can be skipped or handled in any order. The players are free to move about the map in any direction at any time, limited only by the risk of enemy action and encounters. The DM, meanwhile, is encouraged to have foes react to and actively hunt the PCs once they become a threat. Along the way, they may find and explore a number of dungeons, including a millenia-old laboratory in the grips of a time distortion, several mines that were abandoned for good reason yet may hold wealth within, and other challenges appropriate for high-level characters. This module is heavy on Exploration and Combat, but the Social aspect of D&D also is necessary as the player characters meet new peoples, work to convince them that they can make a difference, motivate them to action, and create overall plans for the NPCs and factions to follow off-screen to support the players in their main assaults. The key set piece encounters, which are optional but highly probable, involve attacking well-defended temples in the centers of enemy cities. Planning for these attacks will require paying attention to reconnaissance, timing, the use of allies, how to enter, and how to exit and break contact succesfully when dealing with enemies that fly faster than most player characters can walk. The adventure does not include artwork, and the maps are basic.

Delbert's friend Thordyn has been wrongfully arrested and placed in quarantine inside the Lazar's Walls, where all those who have contracted King's Evil are banished to. It is your missing to infiltrate the settlement, and free Thordyn. The task will not be simple, as a crime syndicate rules the Lazar's Walls with an iron fist.

The Jail of Gundavold is a scenario designed for a solo player but adjustable enough for a party size if needed. After a foray into the wilderness Ruins of Borgdell, you found yourself ambushed with a bag tossed over your head. After a grueling trek across uncertain terrain you find yourself in jail. Are you smart enough to get yourself out of this mess?

The wedding was meant to unite poweful families from Everlund and Silverymoon. "Til death do us part" comes sooner for some couples than others when undead hordes and a feral demilich are uninvited guests. The Dead Wedding is a short, 3 to 5 hour adventure for characters level 14 to 16. The adventure contains maps for Moonshadow Keep and the crypt of the demilichess Regetta Arch Therm, deadly traps, and RP hooks that enable players to use high-level non-combat abilities.

A fiend lurks among the Black Blade goblins. A shapeshifting barghest fashioned by the General of Gehenna to exact revenge on all goblin-kind. It’s aim: to kill as many goblin leaders as possible… A masked goblin approaches the party asking for help. Two tribe leaders are dead. But a rival for chief has control of the crime scene. Will the party discover the barghest among the goblin ranks? Can they stop this imposter before it strikes again? Adventure Overview The adventure’s story is spread over 4 parts and takes approximately 4 hours to play. The adventure begins with a Call to Action scene. Part 1: Goblin Politics. Krill sends his emissaries to implore help from any strong intermediary. The party is asked to investigate the murder of Thrawn in Dringly’s lair. This is Story Objective A. Part 2: The Opposition. Gain entry into Dringly’s lair and investigate the murder of Thrawn. Gather enough evidence to find the killer. This is Story Objective B. Part 3: To The Lair! Now that the players have determined the barghest (Yeep) is to blame, they need to get to Krill’s lair quickly as he is in imminent danger. This is Story Objective C. Part 4: The Barghest.When the players arrive at the lair, they need to get to Krill and expose and defeat the barghest. This is Story Objective D. Adventure Background A barghest named Yeep has begun its onslaught of attacks against the Black Blade goblins. Starting with Chief Gnar, then his second in command Thrawn, the barghest is moving methodically down the line of command. Krill is now chief. But he has some problems: Two leaders of the Black Blades are dead. Who killed them and why? Is he next? Dringly, the next in command, has decided to take his lair for himself, declaring himself Chief of the Black Blades. Who are the Black Blades? The Black Blades are a tribe of goblins in the local area. They are known for dipping their blades in a dark black substance. It is rumored these blades are poisonous. The Black Blades regularly attack passersby on the road to rob them. The Black Blades have two lairs, one run by a chief who leads the whole tribe, and another overseen by a boss lieutenant. The Black Blades have a well-established pecking order which is how Krill stands to become chief. The next in line is Dringly, who has also declared himself chief and wants Krill dead. Krill suspects that there is something suspicious about two leaders being killed within a day of each other, but he has already burned Gnar’s body without any investigation. He needs to investigate the body of Thrawn, but it is in Dringly’s lair. Krill wishes to avoid direct confrontation with Dringly at the present for three reasons: 1) Any violence would only kill his own tribe members and further divide the lairs. 2) He believes there is still hope for negotiation to reunite the Black Blades. 3) He believes that if he were to attempt negotiations himself, Dringly would kill him. This adventure features: Two maps. Ready for your favorite Virtual Tabletop. A full color pdf. A black and white pdf. One custom monster, a reprint of barghest, all others available in the Monster Manual. Four hours of entertainment involving: roll playing a goblin bard, investigating a murder scene, tracking down a barghest before it strikes again. Applicable to any setting.
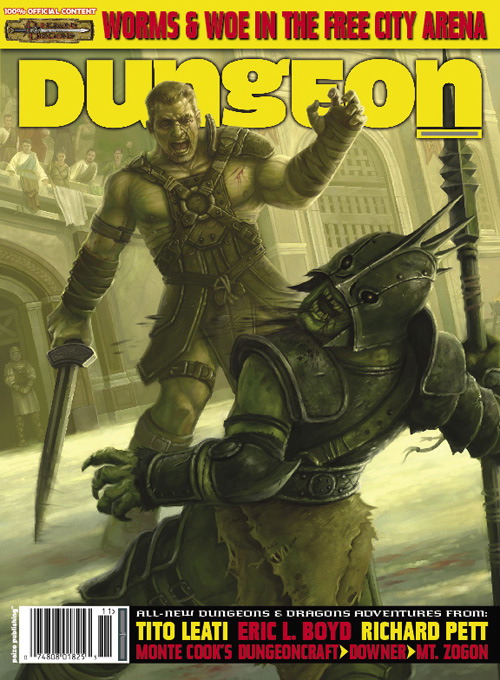
The hidden masters of the Ebon Triad have something special planned for the culmination of the Champion’s Games: a foul ritual designed to transform the arena into a stage of enormous carnage to honor their dark overgod. To stop them, the PCs must explore the dark complex of the arena’s master, and destroy his pet monster before it’s too late. An Age of Worms Adventure Path Adventure for 9th level characters. "The Champion's Belt" is the fifth installment of the Age of Worms Adventure Path, a complete campaign consisting of 12 adventures, several "Backdrop" articles to help Dungeon masters run the series, and a handful of poster maps of key locations. For additional aid in running this campaign, check out Dragon's monthly "Worm Food" articles, a series that provides additional materials to help players survive this campaign. Check out issue #337 of Dragon for guidelines on what they can purchase in the Free City. Pgs. 30-62

The nephew of a once famous adventurer decides to make a name for himself and bites off more than he can chew. Short on options, and worried for his nephew’s life, he needs your help. Travel to the ruins of Dhonin's Lookout atop Standiac Hill to find and rescue the young adventurer. Uncover a plot that could lead to the destruction of the village of Millvein, and even more dire future consequences. Includes: A 3-4 hour adventure for 1st level characters Map of the village of Millvein 2 DM maps Stat blocks for all monsters the players might encounter. The adventure continues in Into the Underdark - Part 2 The Spider's Den
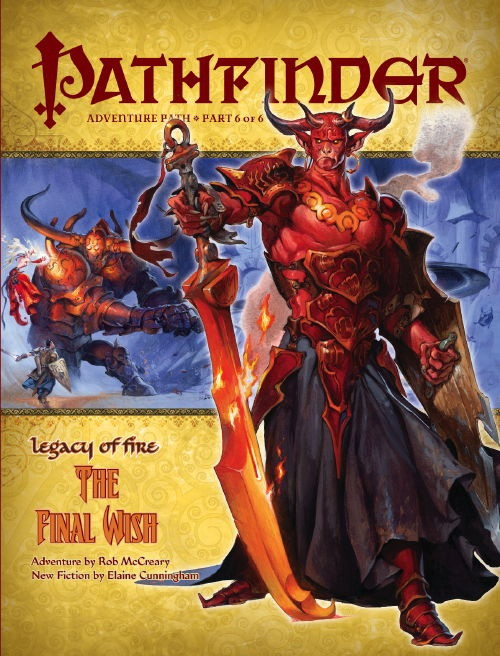
Fear and ruin grip the land as the long-imprisoned army of a mad genie renews its ancient war. From the streets of the exotic city of Katapesh to the shadow of cursed Pale Mountain, this horde of immortal warriors leaves only fire and ruin in its wake. Empowered and perverted by the granting of wild wishes, this seemingly invincible legion strangles the realm in its fearful grasp as an obsessed general stokes the embers of an age-old devastation. Can the PCs save Katapesh from both a burning tyrant and the resurrection of a living apocalypse? Find out in this, the climax of the Legacy of Fire Adventure Path! This volume of Pathfinder Adventure Path includes: ◆ “The Final Wish,” an adventure for 14th-level characters, by Rob McCreary. ◆ Accounts of the Spawn of Rovagug, the titanic spawn of the god of destruction, by Clinton Boomer. ◆ The magic of genies and insights into the power of wishes, by Wolfgang Baur. ◆ Pathfinder Channa Ti’s last-ditch efforts to prevent a dark god from entering the world, in a climactic Pathfinder’s Journal by New York Times bestselling author Elaine Cunningham. ◆ Seven new monsters by Adam Daigle, Rob McCreary, and F. Wesley Schneider.

Amid the gales and snowy Earthspur Mountains, the tumbling ruins of the ancient Tempest Mage's tower brood over the village of Windy Valley. When a kidnapper flees into the ruins, it's up to a group of adventurers to apprehend the rogue and save his victim from the vault below. Published by Cold Iron Conventions and Draxtar Games.
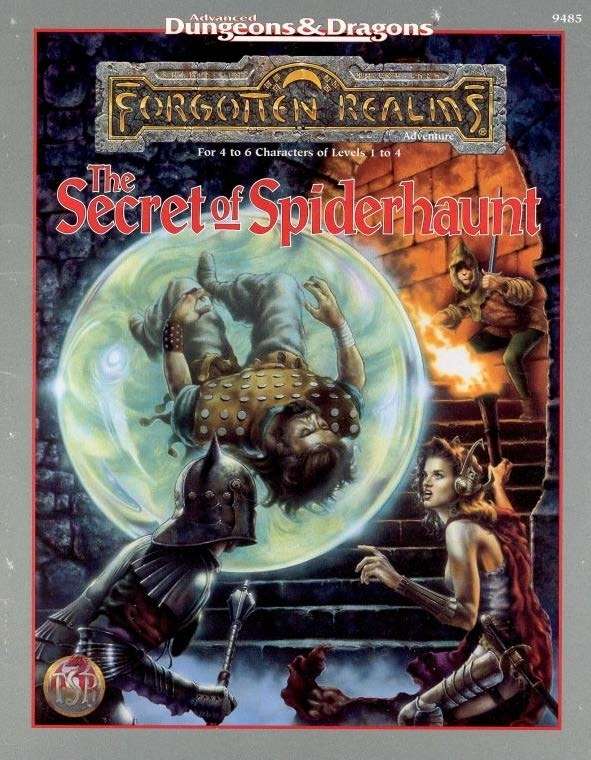
The infamous Sword of the Dales has always held a certain fascination in the eyes and hearts of the citizens of the Dalelands. Thus, it was no surprise when Randal Morn, rebel leader of Daggerdale, led an expedition into the crypt of a long-dead wizard to recover the weapon. Shaevyn the weapons-mage had created the Sword long ago, and it stood to reason that the blade would be waiting within his tomb. Perhaps the Sword of the Dales woulld allow Randal Morn to rule Daggerdale once again. But Randal Morn never returned from that fated party. Only tales of terror told by a lone survivor held any clues as to Randal's fate. A brave hand of heroes accomplished what Randal Morn's group failed to do in part one of this adventure trilogy, "The Sword of the Dales." Battling through the tomb's undead inhabitants, those heroes reached the burial crypt of Shraevyn. There, resting in the center of the coffin, was the Sword of the Dales, its azure glow filling the chamber. However, there was no sign of Randal Morn. Only a note signed by his hand held any clue as to his fate. "Seek me in Spiderhaunt," it proclaimed. "The fate of Daggerdale is in your hands." This is the second part of a trilogy of modules that began with "The Sword of the Dales." The saga concludes with "The Return of Randal Morn." TSR 9485

The power of prophecy is given to few. Wise are they who guard this gift well, for those who thirst after such knowledge are not always men of principle. Bastion of destiny, the Tower of the Heavens stands silhouetted against the star-studded night sky. From within his darkened observatory, perched like an eyrie on the highest turret, a figure in white charts the course of a shooting-star as it disappears behind the snow-capped peaks of the Tegefed mountains. The old man smiles grimly to himself; the event foretold has come to pass! Power, glory, riches - it takes years to acquire them. The uncanny accuracy of their predictions has brought all these and more to the sages of the Tower of the Heavens. But what is hard to win is often easier to lose, and the future of the tower now hangs in the balance. For it is written that the day of reckoning draws nearer when a star falls.... TSR 9120
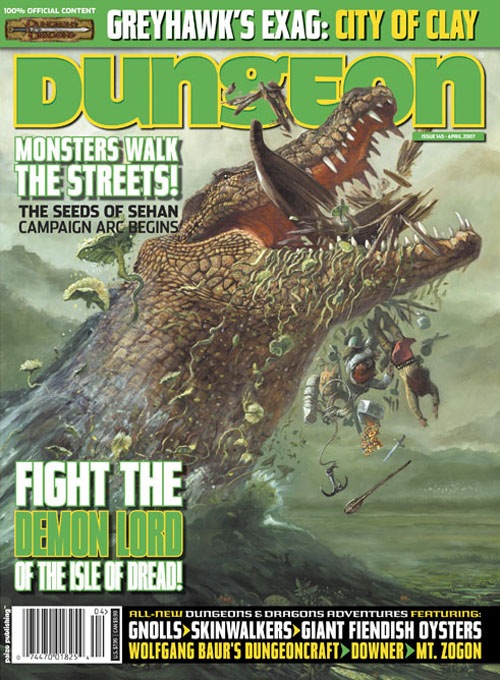
A horrific drug has seized the population of the strange city of Exag, yet confronting its source only reveals the true extent of a dire new threat. Part one of the Seeds of Sehan campaign arc, this is a D&D adventure for 8th-level characters.

In ruins since the eruption of Mt. Hotenow, Thundertree is finally being rebuilt. The Lords’ Alliance is particularly interested in restarting a lucrative logging trade, but the bureaucratic wood-elf ambassador of Neverwinter Wood isn’t convinced. A mission to check on construction at New Thundertree and help with diplomacy quickly turns into an exciting dungeon delve as the entrance to an ancient temple is discovered! Can your party survive long enough to learn the mystical secrets of Thundertree’s past and claim its riches? Includes maps and a new magic item! The Lost Temple of New Thundertree one-shot is designed for 5th-7th level characters. This thrilling adventure is well-suited for parties who have completed Lost Mine of Phandelver or are roaming the Sword Coast region (ie: Neverwinter, Phandalin, Helm's Hold, Port Llast, Triboar, etc.) as part of Dragon of Icespire Peak or Storm King’s Thunder, but these campaigns are certainly not required. Though it takes place in Thundertree, the adventure can easily be moved to other settings. Content warning: undead; water hazards; tentacles

Under the Temple Crypt is the first in a series of site-based, Swords & Wizardry** compatible, “micro modules” that can be dropped into just about any campaign (especially a sandbox-style campaign). No underlying story-hook or rationale for exploring the site is given here. This dungeon assumes that there is a temple somewhere with a mysterious walled-in doorframe in the basement crypt. The walled-in doorframe predates the temple itself and leads to ancient subterranean structures that hint of an older civilization as well as an expansive underworld.

What it says on the tin! You are after GLAXORZIS, THAT SORCEROUS CREEP, who wronged you somehow. Kidnapped your friend, stole your shiny artifact, played a stupid prank on you. Follow him underground into a complex of 21 rooms spread out over three levels. This is a barebones thingie, printable/foldable as a pocketmod. No stats. For fantasy adventure games where you die in a hole. Published by: Eldritch Fields

Recent earthquakes have unearthed a small section of a lost dwarven fortress. The dwarves are long gone, but rumors suggest they might have left treasure or weapons behind. After a journey into the Underdark, the characters find a barred iron door bearing the names of several ancient dwarven clans. Pgs. 90-95

You and your associates have been contacted by Janko Milosh, fourth Earl of Tambish. Apparently, he has come into possession of a cursed item and he requires it be delivered to someone he trusts to examine it. With no mounts and none for sale, you better hope your boots are in good shape!

It’s a beautiful autumn day. The sun is shining off of leaves that are turning gorgeous shades of red and orange and yellow. What could possibly spoil the Otari Fall Farm Faire and Festival on such a day? That’s exactly what farmer Bum Tuggles thought as his precious pig, Hamilton, won the blue ribbon for finest hog in the show. The answer was simple — goblins! Goblins rushed the faire, their cackles and roars filling the air as they slaughtered without mercy. They sowed chaos and fear while a small group went straight for Hamilton. For some reason, they didn’t kill him; they took him. Now farmer Tuggles is offering a handsome reward for anyone that can track down these goblins, and bring him back his pig. Can you…Save his bacon? Save His Bacon is a short Pathfinder Second Edition adventure designed for four to first-level adventurers. Save His Bacon contains: A custom map of the upper level of an abandoned dwarven mine Custom Hazards Unnumbered and ungridded maps for use in your favorite VTT

Delve into the depths of the tomb of the long forgotten elven king to bring the eternal peace onto its disturbed dwellers. A 4-hour adventure for two 4th level characters. Small Party Adventure: Though the party size of 3–5 characters is considered optimal in D&D, there are times when you can only gather one or two players at most. This adventure is designed exactly for such occasions.

The fabled mines of Dhol Kuldhir once showered the Dalelands, Cormyr, and points beyond with precious gems and expertly crafted jewels. Operating from a hidden complex in the Thunder Peaks, their exquisite craftsmanship was said to rival that of even Thunderholme. Almost as quickly as it rose to prominence it vanished, along with all of the dwarven miners, crafters, and untold riches. Some speculate that the mine ran dry, and the inhabitants abandoned it for a more plentiful location. Others believe that they probably fell victim to one of the many goblin tribes plaguing the area. The truth, however, is much more grave. Centuries later, the nearby town of Keen is beset upon by unlikely thieves, the local innkeeper charges a small band of unlikely allies to investigate the string of burglaries. What they uncover leads them to the long-lost dwarven mine. In the darkness, they will have to brave insidious traps, cunning monsters, and the dreaded new lord of Dhol Kuldhir.