
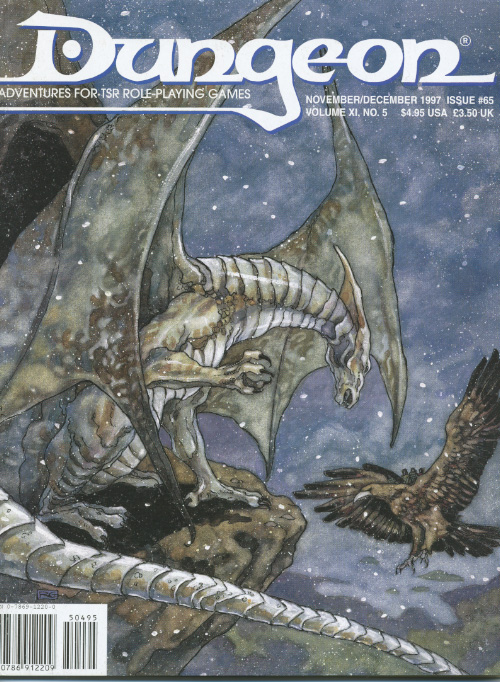
In Mulcrow, food - not music - soothes the savage beast. The adventure begins in the town of Griffondale whre the PCs encounter Jelmark, an emissary of the Duke of Mulcrow. Jelmark hires the party to help the witch Rudwilla prepare a special stew for a cantankerous bugbear chief who lives in the Rockforge Mountains. Bruggh the bugbear demans the stew once a year on his birthday.-- from the adventure. Pgs. 34-48
The best of intentions. Pay your taxes or go to jail - and don't even thing about using magic. Pgs. 8-23

5e Solo Gamebooks presents Drums at Daggerford, the fifth in our continual series of solo adventures set in the Forgotten Realms. This quest enables you to experience D&D without a dungeon master! Simply roll up a level 5 PC and get playing. Drums at Daggerford is the way you must experience solo adventuring. Players and DMs beware, a new standard has been set. This solo adventure continues the story arc first begun in Death Knight’s Squire, developed further in Tyrant of Zhentil Keep & Citadel of the Raven, and left in The Tortured Land. Drums at Daggerford’s ability to echo a Tolkien spirit reverberates throughout the narrative no matter which path you may choose. But choose wisely because a razor’s edge separates peril from glory. Over a year in the writing, this latest instalment in our solo adventure series is a mini sandbox campaign that will give you anywhere up to 8 hours of solo adventuring enjoyment. Completionists and those who like to replay these adventures will get even more gametime. There are mysteries to be uncovered, items and sidekicks to be gained, codewords to unlock and villains to conquer! With lots of exploration, meaningful decisions, hard fights, and a variety of rewards and stories, Drums at Daggerford will continue to resonate with you long after solving the big mystery behind Krond Vikkurk’s malevolent plans.
Shadows in the forest deepen as an Oracle among the Yuirwood's half-elf inhabitants fire tells the reemergence of the Duskwalker, an ancient and corrupt star elf wizard. Missing travelers and lost goods all point to a circle of standing stones within the forest. Perhaps, like it's counterparts elsewhere in the Yuirwood, this stone henge allows for travel to travel to another place - but where? And what growing darkness awaits those bold enough to find out?

Fresh-faced and more than a little hung-over our newly graduated mage of the great Dunromin College of Magic and his friends step into the tea-room next to the Porter’s Lodge and ask for something for a headache. Within minutes they find themselves accosted by the smiling figure of Malcolm Darkstar, Bursar of the College and owner of the tea-rooms, keen to ask them a favour… This is an introductory level set of scenarios designed to take a starting-level party on their first exciting adventures; The Lost Son; The Return of the Cauldron of Millent and the Murder at the Red Barn

For over a hundred years, Skyhold Tower has floated harmlessly above the lands of Faerun. But now it is plumeting toward the earth - directly at Neverwinter! Our heroes have been urgently recruited to enter the tower and avert disaster - but can they uncover the shocking secret of Skyhold Tower before it's too late?
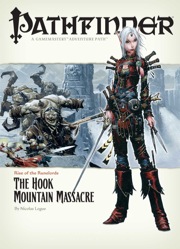
Them Ogres Ain't Right... The Rise of the Runelords Adventure Path continues! The notorious Hook Mountain ogres, known for their violent and savage ways, have slaughtered the soldiers of Fort Rannick. The few surviving rangers need heroes to help them retake this key fortification before the ogres use it as a staging ground for further assaults on the region. Yet why have the ogres chosen now to launch this sudden attack? What sinister force grows in the surrounding wilderness, and what ties to the mysterious Sihedron Rune do the ogres of Hook Mountain hide? Are the rumors of an army of giants massing for war true?
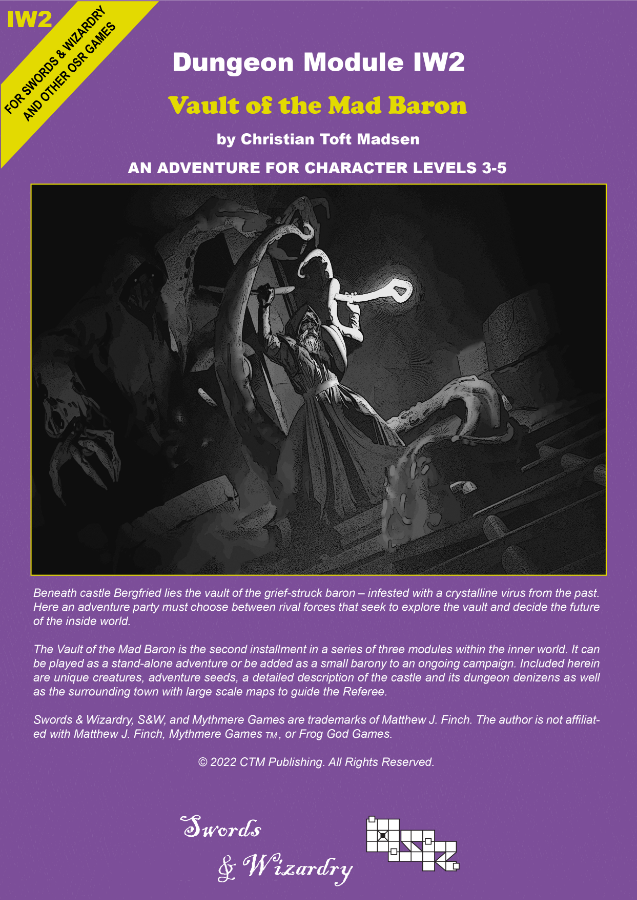
Beneath Castle Bergfried lies the vault of the grief-struck Baron – heavily infested with a crystalline virus from the past. Here an adventure party must choose between rival forces that seek to explore the vault and decide the future of the Inside World. ‘Vault of the Mad Baron’ is the second installment in a series of three modules in the Inner World. It can be played as a stand-alone adventure or be added as a small barony to an ongoing campaign. The scenario can be used with Swords & Wizardry or any other early variant of game rules and is suitable for PCs level 2-5. Inside you will find: A 60+ page old-school module with a layout optimized for fast and easy interfacing. An adaptable barony complete with town, castle and dungeon. Unique districts with encounters and sights. 6 major factions fully detailed with headquarter, plans, and missions for the PCs. Detailed description of a castle and associated dungeon levels. Downloadable maps for both players and the Referee. Locations allowing the PCs to travel to another era within the setting. Unique new creatures and magic items.

All of the Treasure, None of the Traps is an adventure that includes a single gauntlet of traps that contains twelve traps; meaning that it has either one or twelve encounters. The adventure consists of a long, twisting corridor with all of the traps set off, but these traps are reset by the PCs when they reach the center of the area. Pgs. 32-34

The Sea Witch is a short adventure for four 10th-level characters. The difficulty of the adventure can be adjusted by changing the level of main antagonist (Black Molly, the sea hag pirate) or by altering the number of her ogre servants. To tailor the encounter to groups of different levels, refer to table 4-1 in Chapter 4 of the DUNGEON MASTER’S GUIDE. The adventure is set off a lightly populated coastline known as Misty Bay, but adapts easily to any coastal region in existing campaigns. The sea hag known as Black Molly is a notorious pirate who has plagued the coastal cities for the better part of a decade. A successful Knowledge (local) check (DC 15) will reveal that Molly and her ogre crew have a filthy reputation as merciless killers who delight not only in plundering vessels for their riches, but also in destroying the ships themselves and sending all hands to the bottom of the sea. Now the villain and her followers have seized control of the Old Lighthouse of Misty Bay located off a lightly populated coastline. For generations the lighthouse beacon has protected the fishermen of this region, warning them of the dangerous rocks that lurk just below the level of the high tides. Recently, the hag has put out the beacon, darkening the lighthouse; misery and destruction are sure to follow as ships start to blunder into the rocks. Blackmail is apparently Black Molly’s aim in this venture: She conveyed a message to the nearest shore community, the fishing village of Poisson, demanding the princely sum of 50,000 gp. Until she receives this ransom, she intends to hold the lighthouse and its beacon hostage. The fate of the human keepers who tend the lighthouse is unknown to the seaside communities at this time, but they fear the worst. The Sea Witch is ostensibly a rescue mission: The PCs are pitted against the evil of Black Molly and the brawn of her savage ogre crew. It is the heroes’ task to retake the lighthouse and, if possible, free its captives from the clutches of their jailer. What neither the PCs nor the shore communities yet realize is that while she 1would be pleased to have the gold, Black Molly is in fact after bigger treasure. Molly has no intention of giving up the lighthouse — at least, not until she finds what her master sent her here for. Lying on the sea floor practically at the base of the rock on which the lighthouse sits is the wreck of the war galley Flying Cloud, which according to popular legend was captained by a cleric who wore around his neck an amulet of the planes. Black Molly wants this prize, but so far she hasn’t been able to find it. She’s scoured the wreck without finding any sign of the magic item. Now she’s trying to determine where to search next, for the item might well be somewhere near the wreck. If she can’t find it, she’ll start torturing her captives to find out if they have any useful knowledge about the amulet.

Aumvor is aware of the intruders and sends a warning with a powerful fire ball. Satisfied that the party has lost interest, Aumvor returns to his vault where he can safely leave his remains and travel the planes in search of greater power. Perhaps the PCs that survive the blast may have the upper hand. Growing closer to the final chapter, the party of adventurers will find that the only way out is into the tank for a swim. Aumvor the Undying has hidden here in this dungeon for centuries, waiting for his chance to resurface as the emperor of Netheril. The time has passed slowly and Aumvor’s powers are waning. He has hidden phylacteries well, but what use will they be if he has no vessel I which to dwell. Aumvor makes a final effort to kill the party before returning to his vault to wait in ambush for them. In “𝐏𝐚𝐫𝐭 𝟓 The Lower Tower”, you will find the secret at the bottom of the tower, 16 exciting and deadly encounters, and a lot of zombies floating in cadaver soup. Ever fight zombies while swimming and dodging specters? Here is your opportunity. Also coming soon, Roll 20 Map Pack for The Tower of Bondage.

The Dwarven clans are in chaos, and a powerful host of goblins stand poised to sweep over the land in a wave of death and terror. Only the Axe of the Dwarvish Lords- one of the most powerful weapons ever created by the dwarven race- holds the key to ultimate victory against the massing humanoids. Can the PCs brave the labyrinth of an abandoned dwarven stronghold to find the Axe? TSR 11347

In part one of the Randal Morn Trilogy, "The Sword of the Dales," the legendary leader of Daggerdale, Randal Morn, was captured by unknown assailants as he sought to regain the great weapon for which that adventure was named. A stalwart band of enthusiastic heroes was recruited to ride to his aid, yet all they recovered was the Sword itself and a message: "Seek me in Spiderhaunt Wood." In the second part of the trilogy, "The Secret of Spiderhaunt," those same adventurers found Randal and freed him briefly, yet he was almost as quickly torn from their grasp by an agent of the evil Zhentarim, seeking to end the threat of Randal Morn's return to power. In this final episode, the heroes must follow the kidnapper's trail and rescue Randal Morn again before the Zhentarim finish interrogating him and the axe falls upon his neck. Armed with the Sword of the Dales and aided by a powerful spirit that lives within the weapon, the heroes must march into the heart of Zhent-occupied Dagger Falls, free Randal Morn, and save the city from utter destruction. The job is dangerous - perhaps more than the heroes can handle - yet those who would live in songs and legends cannot concern themselves with living to a ripe old age! This is the final part of a trilogy of modules that began with "The Sword of the Dales" and "The Secret of Spiderhaunt." TSR 9488

A Beholder Love Story A dwarven mineshaft has become the new home of the heartbroken beholder Sindryl. Discover who could be wicked enough to separate Sindryl from his love Prix'am, put a stop to their plot, and restore Prix'am's missing heart. A 3-6 hour Dungeons & Dragons 5th Edition adventure for Tier 2 characters. This adventure includes: 2 New Monsters (including 1 New Beholder!), 3 New Magic Items, New NPCs, a Minecart Skill Challenge, Romantic Random Encounters for the Underdark!
The Cult of the Dragon leads the charge in an unholy crusade to bring Tiamat back to the Realms, and the situation grows more perilous for good people with each passing moment. The battle becomes increasingly political as opportunities to gather allies and gain advantage present themselves, all centered in Waterdeep. Continuation of Hoard of the Dragon Queen.

Beneath the blood moon, a dark monastery appears for one night atop a high plateau. Inside its walls, the mighty black lotus flower reaches its full bloom. Can the characters steal inside the monastery, defeat its sorcerous guardians, and claim the blossom before the sun rises? Monastery of the Shadow Sorcerers is a fiendish sword-and-sorcery adventure and includes: -An extra-planar monastery brooding beneath the blood moon -Sorcerer-monks who move like smoke and strike with fire and blade -Combat cards for each monster, PC, and special treasure -High-quality digital maps for use with virtual table tops

Buried in fire, but hardly dead. Only the Keep survived the destruction of Koralgesh, but few adventurers will survive the terrors that now stalk the lost Keep's halls. Players hear rumours of the Keep at Koralgesh and then traverse it to acquire the treasure within. Pgs. 45-64

Hot on the trail of Selise Teshwave and Baron Rajiram, the adventurers must enter newly exposed mountain excavations in the Galena mountains. Swift action must be taken to prevent the Baron from obtaining a powerful weapon from this ruin. Meanwhile, the mysterious Teshwave siblings, Abigail and Char, are hot on the trail of their older sister. This is Adventurer's League legal adventure set near the Galena Mountains. This module first premiered at Carnagecon 2018. Part Two of the Storm Series.

Giants have been raiding the lands of men in large bands, with giants of different sorts in these marauding groups. Death and destruction have been laid heavily upon every place these monsters have visited. This has caused great anger in high places, for life and property loss means failure of the vows of noble rulers to protect the life and goods of each and every subject -- and possible lean times for the rulers as well as the ruled. Therefore, a party of the bravest and most powerful adventurers has been assembled and given the charge to punish the miscreant giants. This module contains background information, referee's notes, two level maps, and exploration matrix keys. It provides a complete module for play of ADVANCED DUNGEONS & DRAGONS, and it can be used alone or as the first of a three-part expedition adventure which also employs DUNGEON MODULE G2 (GLACIAL RIFT OF THE FROST GIANT JARL) and DUNGEON MODULE G3 (HALL OF THE FIRE GIANT KING). TSR 9016

The Iron Route, an important trade road east of Phlan, is beset by competing bandits. An exiled Black Fist officer leads his band of mercenaries turned cloaked ruffians, while a mysterious dragonborn sorcerer commands screaming savages from the north. In this war over the trade route, the beleaguered merchants are the victims, and Phlan suffers from a lack of supplies. It’s up to adventurers to strike out and reopen this vital route.