
Marek the Stalwart, Paladin of the Knights of the Eternal order has stolen a powerful magical artifact. Fleeing the order’s keep he has left several slain paladins of the order in his wake. Our adventurers have been charged with returning Marek, preferably alive, and the artifact to the Knights of the Eternal Order so he can face trial for his crimes This adventure is designed for 4-6 characters of level 4-5. I would love to hear any feedback you have after looking over/running the adventure. Cover art provided by Marco Ortiz https://www.facebook.com/marcosartcommissions/

Devastated in a war with a nearby wizards' school, the Fighters' Academy has since been surrounded by a foul and dank swamp - the Gloomfens. Since the climatctic battle between the wizards and fighters, the tower has decayed. The spirit of the head of the academy haunts the building, eternally plotting his revenge on the wizards who killed him. his loyal sutdents remain faithful to him even in death. Other foul undead have made their home in the rotting, spacious academy. From their lair, they make forays into farmsteads near the swamp in search of victims to feed their unspeakable appetites. The Problem of these terrible attacks by the savage undead will not stop until the evil that has found a home at the tower is burned from the face of the land forever. Will your party heed the call and help the town of Melinir? Will they be able to clear the former Academy of its undead? Lair of the Vampire Lord is the third in a three part adventure, The Haunted Tower. Or, it can be ran as a stand alone adventure. The choice is up to you. Part of TSR 1081 The Haunted Tower
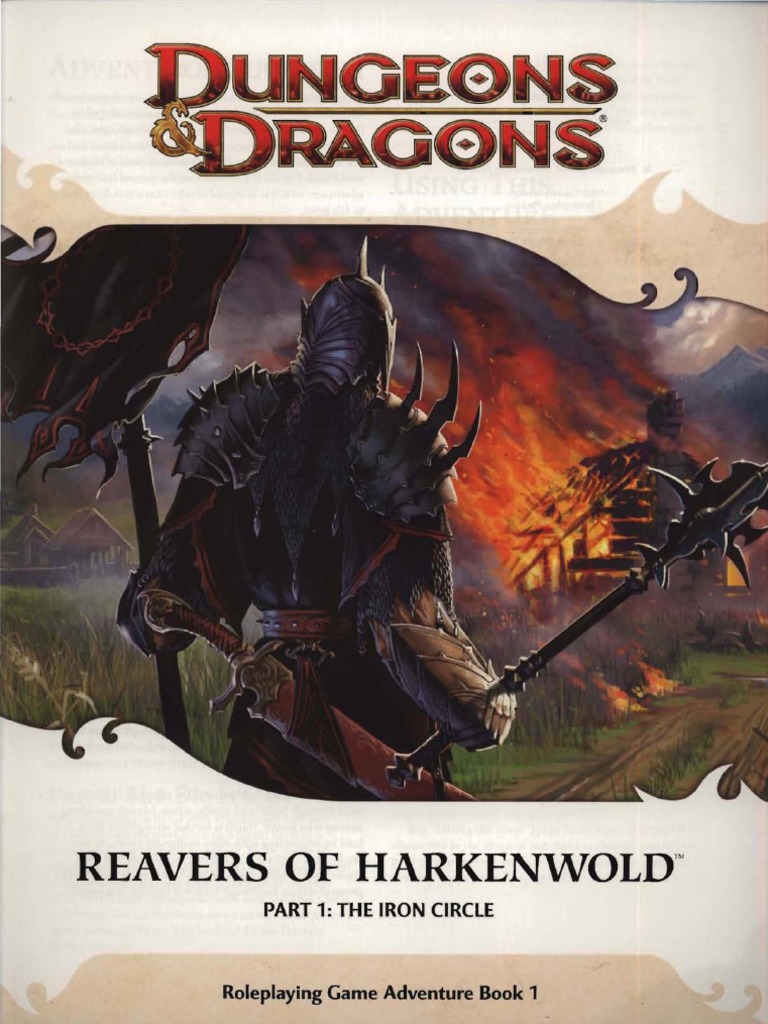
Reavers of Harkenwold pits the heroes against the Iron Circle, a company of cruel mercenaries that has seized control of the small land of Harkenwold. In this adventure, the heroes become daring rebels and lead the folk of Harkenwold against their oppressors.
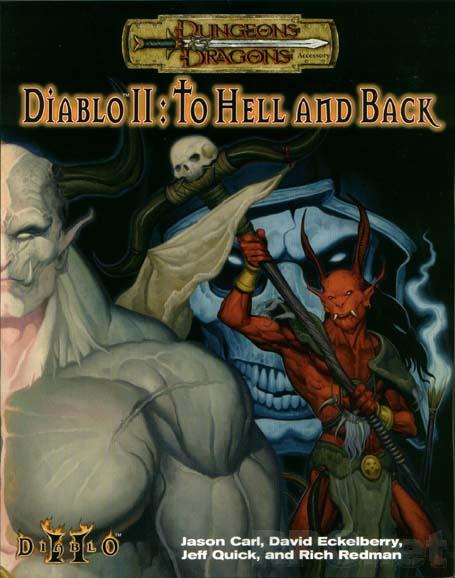
Bringing Diablo II to the tabletop. The legendary Diablo and Diablo II computer games come to life with the release of the tabletop Diablo II: To Hell & Back roleplaying adventure. All a player needs is the Dungeons & Dragons(r) Player's Handbook (0786915501-8/00) to accompany the Diablo II game. Every level and all 4 acts of the computer game are represented in the tabletop mega-adventure, which will also include 64 pages of monsters, information for levels 1-30, and over 60 maps!

The outpost of Fort Dolor has experienced an unprecedented stretch of peace in recent times. Then nearly the entire garrison disappears on a supposed routine patrol, and the town— still on the frontier— is left nearly defenseless. Can the adventurers dig to the bottom of the mystery at Fort Dolor before they, too, disappear? Pgs. 82-103

"The adventure begins with the PCs lost in the streets of Sigil's Lower Ward." --from the module. The PCs are approached by a tiefling telling them about a job. The tiefling's employer wants the heroes to search for a child who is rumored to be some sort of chosen one from an ancient prophecy. Includes a map of Durkayle's Stronghold, a map of the Black Sail Tavern, a map of the Screaming Tower, and an isometric map of Zactar Cathedral.

Deicide is a campaign designed to begin with a party of four to six 1st-level characters, who should advance to 20th level by its conclusion. The Gods have abandoned Faerûn. Bringing loved ones back from the dead hasn’t been done in centuries, and communion with the deities is a spiritual exercise only. Holy warriors and messengers have lost their powers and have all but completely disappeared. In this bleak world, wars are frequent, crime runs rampant, and hope has faded. Rumours are abound of a mysterious crime lord taking control of the underworld. Monsters roam the lands and every road is increasingly more dangerous. Without guidance, the many civilizations of this world are plagued by greed and corruption. The only way forward is to bring the Gods back, or to take their place in the heavens. Deicide takes place across two islands, Aurora and Limdorkal. These landmasses are the westernmost islands of the Moonshae Isles, an archipelago located roughly 400 miles west of the region of Amn and to the southwest of the Sword Coast. Surrounding the Sea of Moonshae, these islands feature a wide array of cities, civilizations, climates, terrains, and monsters. Limdorkal is famously a harsher environment, home to exotic races, whereas Aurora is almost entirely dominated by the human kingdom. Elminster Aumar, the famous Old Mage of Faerûn, once visited these islands and claimed it surprising how such diverse environmental systems erupted here, and how varied were the people inhabiting them. While the Sword Coast is part of Faerûn, a continent of Toril in the Forgotten Realms, feel free to adapt these islands to any setting of your choice, such as Ravenloft, Eberron, Ravnica, or even on your homebrew world. The story told here happens some hundreds of years after the beginning of 5th Edition, and the Overgod Ao is trapped inside an artifact, which limits the workings of gods around Toril. The characters will be able to learn more about the missing Gods, about a mythical folklore artifact known as the Wand of Wonders, which carries the powers of the Gods, and about the crime lord Kaiser Soze. Through their adventures, they will be able to visit other realms, planes, and dimensions, as well as come into contact with different races and civilizations. In the end, it is up to them whether to ally with the Crime Lord, and whether to release the Gods or keep their power for themselves. This campaign can work as a loose set of modular adventures, which can be easily picked separately and played as one-shots of different levels. Even their locations on the map might be moved, and events happening in particular towns can happen on others. The adventures include dungeon crawls, murder mysteries, sandbox urban quests, exploration on land and in the seas, inter-planar travelling, among others.
The town of Sandpoint, Varisia, Inner Sea Region has put out a bounty on the nearby tribe of Licktoad Goblins in retribution for the goblins raiding traders and travelers near the quiet town. The party takes up the bounty and ventures into the swamp; eventually finding the goblin village in ruins and it's inhabitants scared in it's burned huts. The party finds out; either through investigation of the ruins or the goblins themselves; that a group of skeletons with eastern arms and armor had ransacked the village and took a stash of fireworks that the goblins stole from an old shipwreck. The party then makes it to this cave and finds it empty except for a half dozen skeletons. Further in past the skeletons is their leader, a skeletal samurai who fights the party in an attempt to defend his treasure. The treasure turns out to be a letter that reveals that secrets of the Kaijitsu family; the same family their good friend Ameiko who runs the Rusty Dragon inn belongs to; that lies in wait in the abandoned town of Brinewall to the northern boarder of Varisia. Ameiko along with several other important NPCs with a caravan north. It's recommended that GMs create encounters for the caravan trip north as it's essentially 3 weeks of travel with nothing in it. It's also recommended that GMs completely ignore caravan rules; they're not flushed out and they're not fun to run. The party and the caravan reaches the abandoned town of Brinewall where their friend Ameiko becomes possessed and is thrown into a coma; where the other NPCs agree to take care of her while the party explores the town and castle. The castle is a three floor behemoth of a dungeon populated by Dire Corbies, Troglodytes, and various other monsters all under the leadership of Kikonu, an Yamabushi Tengu Oni. The goal of exploring Brinewall Castle is to find the two keys to the vault; one of which is on the Yamabushi Tengu while the other is on a Half-Fiend Decapus that lives in the basement of Brinewall. Once the PCs enter the vault they find the Amatatsu Seal; one of the seals that cement authority to one of the ruling houses in Minkai of Tian Xia; as well as several visions that show that Ameiko Kaijitsu is the rightful heir to be ruler of Minkai and that they'll need to travel north to do so. Such ends the first book of six.
The invisible enemy. Rats, cats, and double-drats. Six months ago, the residents of Luskwald heard rumors from passing merchants of a possible goblin incursion into the region. News from the nearest city confirmed speculations that goblin tribes were massing in the distant hills. Worried about the future of his small community, the Laird of Luskwald commissioned a stonemason and several carpenters to rebuild a damaged keep two miles north of the village. The repair crew worked for weeks restoring the keep's fallen walls, while waiting nervously for the first goblin to show its ugly head. For the first several days the restoration proceeded according to schedule, but in the weeks that followed several 'accidents' led many to believe the keep was cursed or haunted. In the past week three of Luskwald's villagers have died, each the victim of a grisly assassin whose identity remains a mystery. Several citizens have heard or seen peculiar things over the last several days, leading them to believe that Luskwald has been cursed, or worse, ravaged by angry spirits--perhaps sent by a greater evil that dwells within the ruined keep! Pgs. 34-52
Darwell Umbruskor has long been known around town as an eccentric but ultimately harmless old sage. From what you've heard, he keeps odd hours, rarely speaks a word to anyone, and lets no one enter his tower save for a few servants. Though quiet and mysterious, Darwell has done nothing to around undue suspicion. Sir Jeffers, a crusading warrior who just made your acquaintance, claims otherwise. According to evidence he recently came across, Darwell Umbruskor is both a necromancer and a dedicated priest of an evil power. Published by Fantasy Flight Games

A Scarred Lands Adventure. Maghiel has learned the location of the staff of Zuvys and has devised a way to use its power to aid her in summoning some strange fiends known as the “Mouths of Vangal”. What purpose she has in mind, what part this plays in her plan, only she can say. She has sent her henchman, a twisted wizard named Anuzor Okalis, to fetch the staff of Zuvys by whatever means necessary. Anuzor has used his magic to charm, disable, or destroy the Order of Silver guardians, and has penetrated the inner sanctum of the shrine. A Vengeance of the Shunned Side Quest The Staff and the Secret Shrine is a side quest that can be played standalone or used with the Vengeance of the Shunned campaign. Over 20 community content creators have banded together to bring a full-length campaign to the Slarecian Vault! Vengeance of the Shunned takes your adventurers across Ghelspad on a quest to end the greatest threat to the world since the Titanswar! This campaign offers adventures from levels 1-15, and will be releasing new content weekly ALL SUMMER LONG! Vengeance of the Shunned continues with A Titanic Feast by Jeremy Hochhalter! Published by Onyx Path Publishing

While at times cliché there are few adventures better than an old fashioned trek into the ruins of a deserted castle. This adventure pits a new adventurer against the decades old remains of a hilltop castle that is “haunted”. The old keep was the site of a mighty battle years before that swayed the power in the area but now it is the crumbling remains of the once powerful Baron Sancrist. While the old fortress is supposed to be deserted the area farmers and villagers swear they have seen the dead walk the parapets in the moonlight. Well you wanted adventure….here it comes!

This week’s Filbar offering is a mid-level adventure with the party headed out towards the frontier. As they move towards high adventure, adventure finds them first! Keldor Keep is the last bastion of civilization on the frontier but has recently come under attack. With its defenders scattered it falls to the party to save the fortress and protect the border! A hit at Who’s Yer Con 2016, this adventure is more than enough challenge for a group of 4-6 level characters!

Alphatia, the most ancient empire, land of the arcane and obscure secrets. It has grown for centuries and its might now overshadows the cauldron of civilization. Some say the Alphatians come from elsewhere, but no one knows for sure. Beyond the scope of mortals broods an evil mastermind, still in darkness. Once a betrayed emperor of ancient Alphatia, now an entity of the Sphere of Entropy, he seeks revenge on the greatest empire and on the race of man. His plots brought a deathly fog on all of Norworld. Perhaps it will extend to the southern nations. The matter is grave, so much that lords of the spheres have now to show their might. For them, it is time for mortals to intervene. Man defends his cause for him to earn divine favor. A great armada has been raised and able commanders must be found. Prove your worth, and the eternal portals of the spheres may open for you. TSR 9159

The Submerged Spire of Sarpedon the Shaper lies to the west of the Isle of the Dismemberer. On the northwestern shore of this island, crumbling steps spill from the shore directly into the sea. There, a seaweed choked stone path can be glimpsed winding down into the depths. At low tide, a quarter mile along the path, a lone onion dome may be seen poking through the waves. In the twilight of the sorcerer lords, The Submerged Spire was the jewel of the Shattered Isles. Within his submarine redoubt, Sarpedon penetrated ever deeper into the organic mysteries. Now, its for- lorn dome the roost of seagulls, its secrets slumber beneath the waves.

Giants have been raiding the lands of men in large bands, with giants of different sorts in these marauding groups. Death and destruction have been laid heavily upon every place these monsters have visited. This has caused great anger in high places, for life and property loss means failure of the vows of noble rulers to protect the life and goods of each and every subject -- and possible lean times for the rulers as well as the ruled. Therefore, a party of the bravest and most powerful adventurers has been assembled and given the charge to punish the miscreant giants. This module contains background information, referee's notes, two level maps, and exploration matrix keys. It provides a complete module for play of ADVANCED DUNGEONS & DRAGONS, and it can be used alone or as the first of a three-part expedition adventure which also employs DUNGEON MODULE G2 (GLACIAL RIFT OF THE FROST GIANT JARL) and DUNGEON MODULE G3 (HALL OF THE FIRE GIANT KING). TSR 9016
During a brief stop-over at a wilderness stronghold, a simple trip to a local provisioner reveals foul play! The shop has been broken in, and the shopkeeper is missing. But the place has not been burglarized. The heroes are thrust into an investigation. Clues discovered by the heroes’ hint at larger corruption that festers among the border lands surounding the stronghold. What sinister forces lurk beneath the keep?

Beneath the blood moon, a dark monastery appears for one night atop a high plateau. Inside its walls, the mighty black lotus flower reaches its full bloom. Can the characters steal inside the monastery, defeat its sorcerous guardians, and claim the blossom before the sun rises? Monastery of the Shadow Sorcerers is a fiendish sword-and-sorcery adventure and includes: -An extra-planar monastery brooding beneath the blood moon -Sorcerer-monks who move like smoke and strike with fire and blade -Combat cards for each monster, PC, and special treasure -High-quality digital maps for use with virtual table tops
Centuries ago, the despotic Alphaks, ruler of Alphatia, was banished to another world. From his own sphere of entropy he learned to manipulate men, and now seeks revenge against the human race. The volatile region of Norworld, a perennial battleground between Thyatis and Alphaita, draws Alphaks's attention. The already existing frictions, small-time political players, and petty vengeances are the sparks Alphaks will use to ignite a huge war that will destroy man-kind. This is an adventure of politics and diplomacy, of treachery and treason. Only courageous and bold actions can save Norworld from the horrors of war and liberate its people from oppression. The Vengeance of Alphaks may be played as a sequel to module M1, Into the Maelstrom, or separately. The D&D Master Set Rules are necessary for running this game. TSR 9148

The Sea Witch is a short adventure for four 10th-level characters. The difficulty of the adventure can be adjusted by changing the level of main antagonist (Black Molly, the sea hag pirate) or by altering the number of her ogre servants. To tailor the encounter to groups of different levels, refer to table 4-1 in Chapter 4 of the DUNGEON MASTER’S GUIDE. The adventure is set off a lightly populated coastline known as Misty Bay, but adapts easily to any coastal region in existing campaigns. The sea hag known as Black Molly is a notorious pirate who has plagued the coastal cities for the better part of a decade. A successful Knowledge (local) check (DC 15) will reveal that Molly and her ogre crew have a filthy reputation as merciless killers who delight not only in plundering vessels for their riches, but also in destroying the ships themselves and sending all hands to the bottom of the sea. Now the villain and her followers have seized control of the Old Lighthouse of Misty Bay located off a lightly populated coastline. For generations the lighthouse beacon has protected the fishermen of this region, warning them of the dangerous rocks that lurk just below the level of the high tides. Recently, the hag has put out the beacon, darkening the lighthouse; misery and destruction are sure to follow as ships start to blunder into the rocks. Blackmail is apparently Black Molly’s aim in this venture: She conveyed a message to the nearest shore community, the fishing village of Poisson, demanding the princely sum of 50,000 gp. Until she receives this ransom, she intends to hold the lighthouse and its beacon hostage. The fate of the human keepers who tend the lighthouse is unknown to the seaside communities at this time, but they fear the worst. The Sea Witch is ostensibly a rescue mission: The PCs are pitted against the evil of Black Molly and the brawn of her savage ogre crew. It is the heroes’ task to retake the lighthouse and, if possible, free its captives from the clutches of their jailer. What neither the PCs nor the shore communities yet realize is that while she 1would be pleased to have the gold, Black Molly is in fact after bigger treasure. Molly has no intention of giving up the lighthouse — at least, not until she finds what her master sent her here for. Lying on the sea floor practically at the base of the rock on which the lighthouse sits is the wreck of the war galley Flying Cloud, which according to popular legend was captained by a cleric who wore around his neck an amulet of the planes. Black Molly wants this prize, but so far she hasn’t been able to find it. She’s scoured the wreck without finding any sign of the magic item. Now she’s trying to determine where to search next, for the item might well be somewhere near the wreck. If she can’t find it, she’ll start torturing her captives to find out if they have any useful knowledge about the amulet.