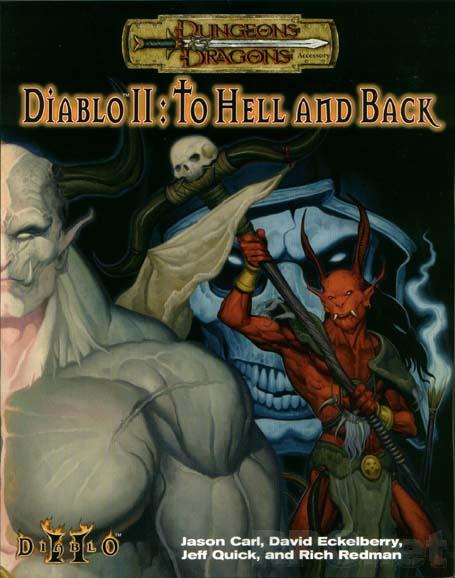
Bringing Diablo II to the tabletop. The legendary Diablo and Diablo II computer games come to life with the release of the tabletop Diablo II: To Hell & Back roleplaying adventure. All a player needs is the Dungeons & Dragons(r) Player's Handbook (0786915501-8/00) to accompany the Diablo II game. Every level and all 4 acts of the computer game are represented in the tabletop mega-adventure, which will also include 64 pages of monsters, information for levels 1-30, and over 60 maps!
The Dungeon of Graves, is nothing more and nothing less than a good, old–fashioned, First Edition dungeon crawl updated for the 5th Edition Roleplaying Game. Very difficult, it should strike fear into the hearts of the most stalwart adventurers. It offers an abundance of traps, tricks, and monsters. We hope that you find this module as fun and exciting as those thousands of players who have ventured into (and not as often out of) the endless caverns and mazes of Rappan Athuk—The Dungeon of Graves. Rappan Athuk is a difficult dungeon. Even the upper dungeon levels should not be attempted by a party of less than six mid-level characters.

Long ago, a small but mighty humanoid kingdom existed in what is now the local wilderness. Bugbear and ogre warriors fought brutal wars of expansion, earning great fame and amassing considerable fortunes from their predations. Those who died in battle were buried in large tomb complexes dug into hillsides and honored as patrons of the living. Among these tombs was the large tor known as Hightower. Though it was neither the largest nor the most famous of the kingdom's tombs, Hightower did represent a typical example of this kind of structure. As happens to all such nations, the cruel humanoid kingdom eventually fell to a more powerful foe that razed all its cities and outlying fortifications. Of the tombs, only Hightower escaped destruction -- largely because it was an unimportant monument in a remote location. A few tribes of humanoids that survived the devastation tried to use it as a fortress, but the humans with whom they clashed defeated them soundly and sealed the entrance with a huge, round stone to ensure that the tor could no longer be used as a base. Since then, Hightower has served as a landmark for travellers in the know, but it has otherwise been largely forgotten. But the electrical storms that have plagued the area in recent days have been quite severe, and a few weeks ago, a stray lightning bolt broke open the stone seal. Tonight, yet another terrible storm is sweeping through the wilderness, driving all creatures to take shelter where they can find it. Hightower looms on the horizon, and its door is no longer blocked. Will the PCs dare to enter its silent halls?
In this town, nothing goes like clockwork. A voice in the darkness offered him power, with only one string attached: first he had to find some adventurers. A fiend and minions of the plane of fire have set up shop beneath a small town, and have been attracting evil minions to their lair! In this town of Jenkel, the religious leader (named Broderick) is secretly under the influence of the demon and has been doing her will out of his own greed for power. A tilted pyramid appeared in the town years ago, and is actually the tip of a tower buried in the town. The tower leads to a dungeon and a shrine where the party can fight off the demon and rid the town of the evil influence. Pgs. 18-31

There is no particular overarching story here, just a prospect gate keep dungeon you can drop into your own sandbox and run as you see fit. This adventure is formatted to both 1E & 5E gaming rules.

The Frog People were never a threat before, more of a nuisance really, they would show up once a year steal a few things and drink some ale. Then they would be gone. This year though they did not leave and now they are taking people! The town needs help and it has found it in you and your friends.

This tower is said to be as old as time itself. It is also said to be sentient, ready to challenge any group that passes through its doors to determine if they are worthy. While brute strength is enough for some floors, others require a bit more elegance and cleverness, so a diversity is as much a strength as anything else. The spiraling top of this tower looms high in the sky, waiting for the right group of adventurers to climb to the top and claim victory. This dungeons contains alternating floors of combat challenges and puzzle challenges, so if your players are fans of such challenged then this is the dungeon for you! Note: This dungeons uses lots of puzzles included in the book. The monsters will have to be adjusted according to the party's levels.

A proud paladin’s quest for glory against marauding orcs ends in tragic failure with his disappearance and presumed death. Worse still, an artifact of his faith entrusted to him has gone missing. Can the adventurers reclaim the artifact and force an end to the hostilities, or will the brightest beacon of good in the Western Heartlands be extinguished? Pgs. 28-43

A storm of unparalleled fury has been ravaging the peaks of the Earthspur Mountains for a tenday, and the Monastery of the Yellow Rose sits in its eye for now. Some monks have fled the monastery to the safety of Mulmaster and beseech you to convince their more obstinate brothers to retreat to the city before the eye of the storm shifts, and the monestary is in terrible danger. Can you brave the elements and convince the monks to escape?

The Adventurers arrive at a drow outpost in the Underdark. They must either dispose of the drow or ally with them against the invading legions of Orcus!
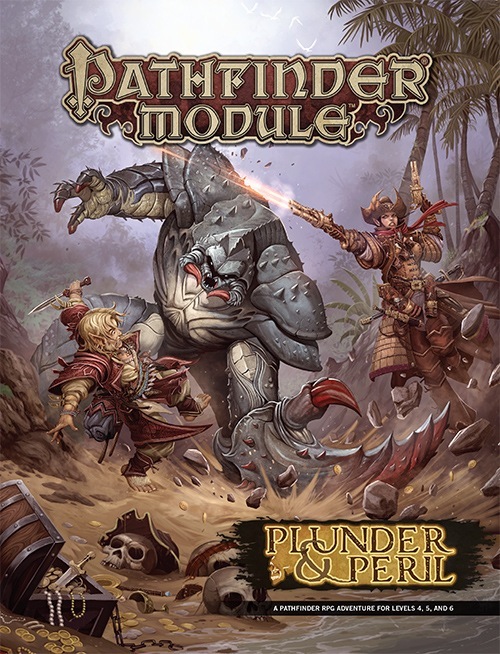
Tall tales of hidden riches are common in the pirate-infested taverns of the Shackles, but when Captain Varossa Lanteri claims to know the location of the secret treasure hoard of legendary Captain Jemma Redclaw, it seems she may be telling the truth. Captain Lanteri hires the PCs on as crew to help her assemble the magic key that will open the door to Redclaw’s treasure... and the ancient cyclops stronghold in which it’s hidden! Can the PCs survive long enough to claim their share of the lost loot, or will their enemies—or their allies—send them to a watery grave?

A One-on-One Competition Module for Thieves Level 8 Your peaceful evening has been interrupted by an unusual request. As a thief, your skills are unmatched, but can you rise to the challenge of thieving for a powerful and frightening wizard? Do you have a choice? The Gem and the Staff is a special One-on-One competition module designed for one player and on Dungeon Master. The Module contains two separate scenarios, so you can switch roles with the other player after the first adventure. Scoring sheets and encounter summaries are provided for each adventure to make running competitions quick and simple. Character figures and a map book are also provided to help visualize the adventures. The player's maps are designed so you can see the rooms as they would appear. Complete DM's Maps are included. TSR 9050

Thail Donnodol, an eleven scholar, has been imprisoned for crimes he did not commit. The law is no refuge. Only by breaking into the fortress prison of Granite’s End can the player character save Thail from a lifetime of misery. There’s only one problem: Thail Donnodol does not want to be saved. At least not until he finds the Vengeance of Olindor. Part 3 of the Olindor Trilogy.
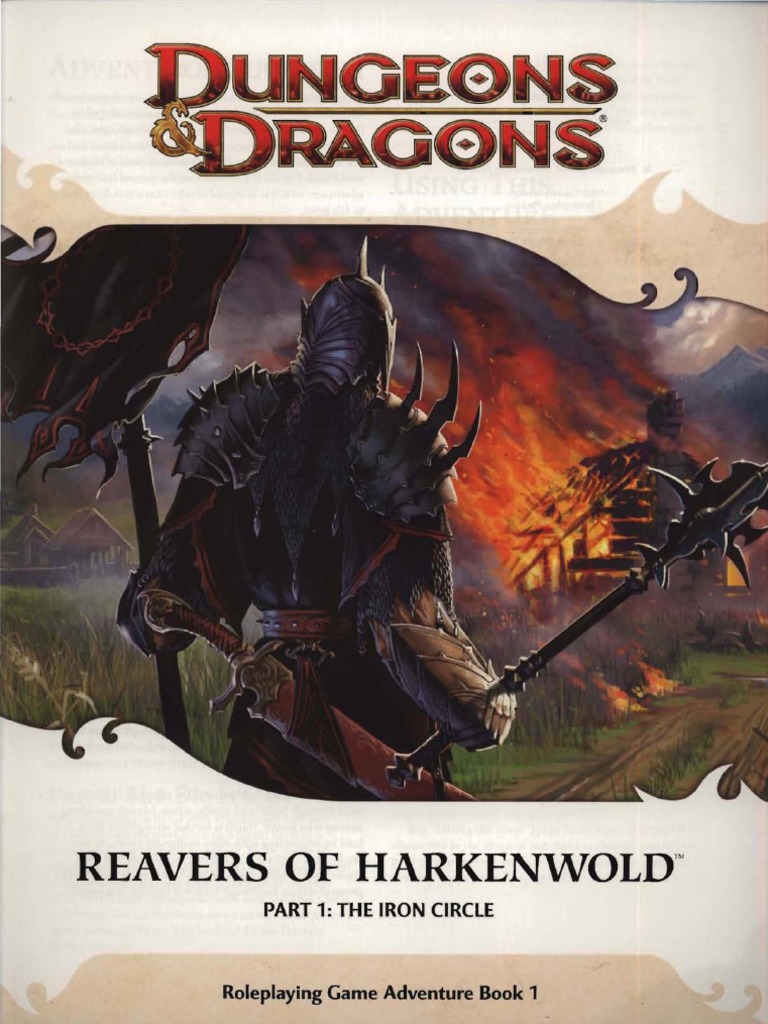
Reavers of Harkenwold pits the heroes against the Iron Circle, a company of cruel mercenaries that has seized control of the small land of Harkenwold. In this adventure, the heroes become daring rebels and lead the folk of Harkenwold against their oppressors.

A Beholder Love Story A dwarven mineshaft has become the new home of the heartbroken beholder Sindryl. Discover who could be wicked enough to separate Sindryl from his love Prix'am, put a stop to their plot, and restore Prix'am's missing heart. A 3-6 hour Dungeons & Dragons 5th Edition adventure for Tier 2 characters. This adventure includes: 2 New Monsters (including 1 New Beholder!), 3 New Magic Items, New NPCs, a Minecart Skill Challenge, Romantic Random Encounters for the Underdark!
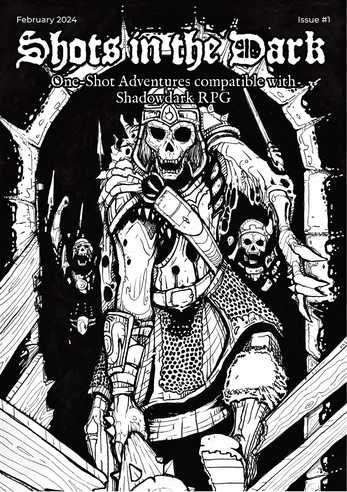
"The broken outline of Cear Ferros emerged on the horizon. Its ancient walls stand silent and looming as you approach them, casting long and eerie shadows across the land." An adventure through a cursed castle crawling with undead in search of missing merchants. For Shadowdark Published as part of the Shots in the Dark collection.
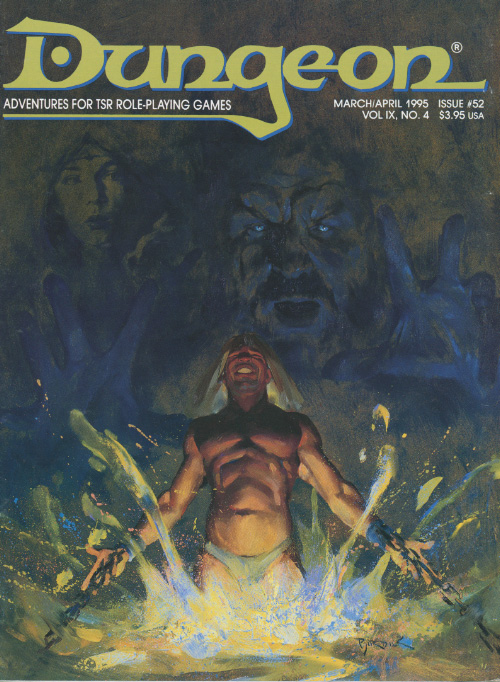
The heroes have spent the last several days in the quiet, secluded town of Relvaunt. Relvaunt's vineyards, wines, and scenic beauty are the subject of bards's songs, and many travelers journey long miles to visit them. Another site receives far fewer visitors--several miles east of town, partially obscured by woods and hills, stands the wondrous Castle Freitstein. As the heroes depart the town in search of adventure, an elderly couple approaches them. The woman suddenly clutches her chest and collapses in the street and the old man calls out to the heroes for help. Includes castle random encounter chart, a map of castle grounds and isometric castle level maps (four main levels, a tower level and a cellar level).

A quick-paced exploration of the magic tower, home to the great Solomon, the Master Conjurer, an expert in fiendology. Adventurers have to find Control Orbs to disable the tower's security system before it destroys them, and discover the secrets of the tower in the process. Their progress will be ushered by a seemingly helpful entity with nefarious intent - Zarloxar, the blue Abishai. The success of adventurers could also finally spell freedom to the fiend... or not if players, under stress, will realize the trickery in time. Part of "Detailed Encounter" series - each "Detailed Encounter" - features new monsters with unique stat blocks, new magic items, a custom battle map, and detailed NPCs. It also has story hooks and advice enough, to quickly turn it into a separate adventure!
Now bound to Queen Abrogail by infernal contracts, the villainous adventurers are tasked with destroying the Glorious Reclamation's headquarters in the former citadel of the Hellknight Order of the Godclaw, where they face a gold dragon ally of Iomedae herself! Only if they can survive the terrible onslaught of this fearsome foe and secure the citadel from the revolutionaries can the vile characters succeed at their quest—to perform an evil ritual, using the dragon's head to craft a legendary weapon capable of defeating the Glorious Reclamation's army of valorous knights once and for all.

Blinsky's Toyshop is our take on what happens to Blinsky and Piccolo during, or after the Curse of Strahd campaign. Blinsky, the toymaker in Vallaki with the cute monkey wearing a pink tutu, received a large inheritance from a long-time client. The client, Obtavius Swat, a retired adventurer and avid collector of toys, left his entire estate to Blinsky. The estate included coin, precious gems, art, and his collection of toys, some made by Blinsky and others he acquired during his travels. Blinsky used the fortune to pay a wizard to create a small island in the middle of Lake Zarovich, located just outside of Vallaki. He then paid masons and workers to build a fantastic new toyshop, which he designed to be an experience for both the young and old alike. Though the number of children in Barovia was increasing, mostly imparted to the devil Strahd’s downfall, Blinsky wanted to touch the inner child of the adults in the city. He wanted happiness. He wanted smiles. He named the castle Blinsky’s Toyshop of Marvels. One of the toys, a small silver tiara kept in a black satin-lined ivory jewelry box, was such a lovely piece. Blinsky couldn’t stand the thought of leaving it in the box. He already had enough gold and losing the small tiara wouldn’t be a large loss, so he decided to give it to his monkey – Piccolo (see Creatures of the Toyshop). He smiled at the thought of her running around in her pretty, shiny tiara. Sadly, as Barovian luck would have it, trapped inside the tiara is the sole of an evil gnome wizard named Aribetha Strangge. In his old age, Obtavious Swat forgot that he and his fellow adventurers used the tiara to imprison the gnome’s soul. Yesterday, when Blinsky placed the tiara on Piccolo’s head, silver tendrils cascaded from the tiara and into poor Piccolo’s skull, allowing Aribetha to control the monkey. Now, Aribetha has incapacitated Blinsky in the toyshop’s tower, brought many of the toys to life, and imprisoned or killed many of the workers and customers. The adventure includes costumes (which the character may wear), Strahd Hand Puppets, and a possessed Piccolo.