
Part 3 of the Shackled City Adventure Path "Wherein a tribe of the Sea Mother's children suffer for sparing the life of a mad prisoner they probably should have eaten." Synopsis: The adventure begins with an Umber Hulk attack in the middle of the city. The fame gained by assisting during the attack allows them to gain the notice of a representative of Davked Splintershield. The group is asked to rescue Zenith Splintershield from a Kuo-Toan temple in the Underdark. But to find it, they have to visit Crazy Jared to locate an entrance to it. Upon journeying to Crazy Jared's, they fight Hookface's offspring. After more travelling, they are able to descend into the Underdark. Once they find the Kuo-Toan temple, they must fight through many hard challenges, only to realize that Zenith is not a prisoner, but instead is a prophet. Zenith does not go willingly, and so must be captured. Pgs. 28-61

In this adventure, the heroes face the sinister Baron Metus, the vampire who took the life of Van Richten's son, Erasmus. Metus, with Daclaud Heinfroth, has been doing the bidding of the ghost of Madame Radanavich in her quest to destroy Rudolph van Richten. But Metus has his own reasons for seeing van Richten destroyed as well. Included in Bleak House: The Death of Rudolph van Richten TSR 1141

Designed for a party of five characters of at least 9th level, this adventure will challenge players seeking a powerful magic item of the GM’s choosing. A sphere of annihilation has been provided and is woven into several elements of the adventure, but any appropriately powerful item can be substituted if something else suits your campaign better. Though the adventure is designed to test every type of character class, a rogue who can deal with traps is essential, as is a wizard or sorcerer of at least 9th level. Larger groups will have an easier time; parties of four or fewer characters will be in for a very bad time unless you mitigate some of the tower’s more lethal traps and encounters. This adventure culminates in an encounter with devils and a sphere of annihilation. The sphere of annihilation is hidden deep within the tower-and-dungeon complex of Crane the Sorcerer. Originally set atop a high mountain in a secluded and wild part of the world, the tower and dungeon can be relocated to meet the situation in your campign. Crane, an introvert, stayed as far away from civilization as possible, as is detailed below. The tower above the dungeon doesn’t present many difficulties for a group of powerful characters or alert players. It might lull PCs into a false sense of security before they enter the areas where they’ll really be put to the test.
After successfully protecting the crown in Part 1, the city council asks you to find and stop the demonic force infecting the thieves guild. Continuation from part 1 found in Polyhedron #22 Pgs. 13-20

A One-on-One Competition Module for Thieves Level 8 Your peaceful evening has been interrupted by an unusual request. As a thief, your skills are unmatched, but can you rise to the challenge of thieving for a powerful and frightening wizard? Do you have a choice? The Gem and the Staff is a special One-on-One competition module designed for one player and on Dungeon Master. The Module contains two separate scenarios, so you can switch roles with the other player after the first adventure. Scoring sheets and encounter summaries are provided for each adventure to make running competitions quick and simple. Character figures and a map book are also provided to help visualize the adventures. The player's maps are designed so you can see the rooms as they would appear. Complete DM's Maps are included. TSR 9050
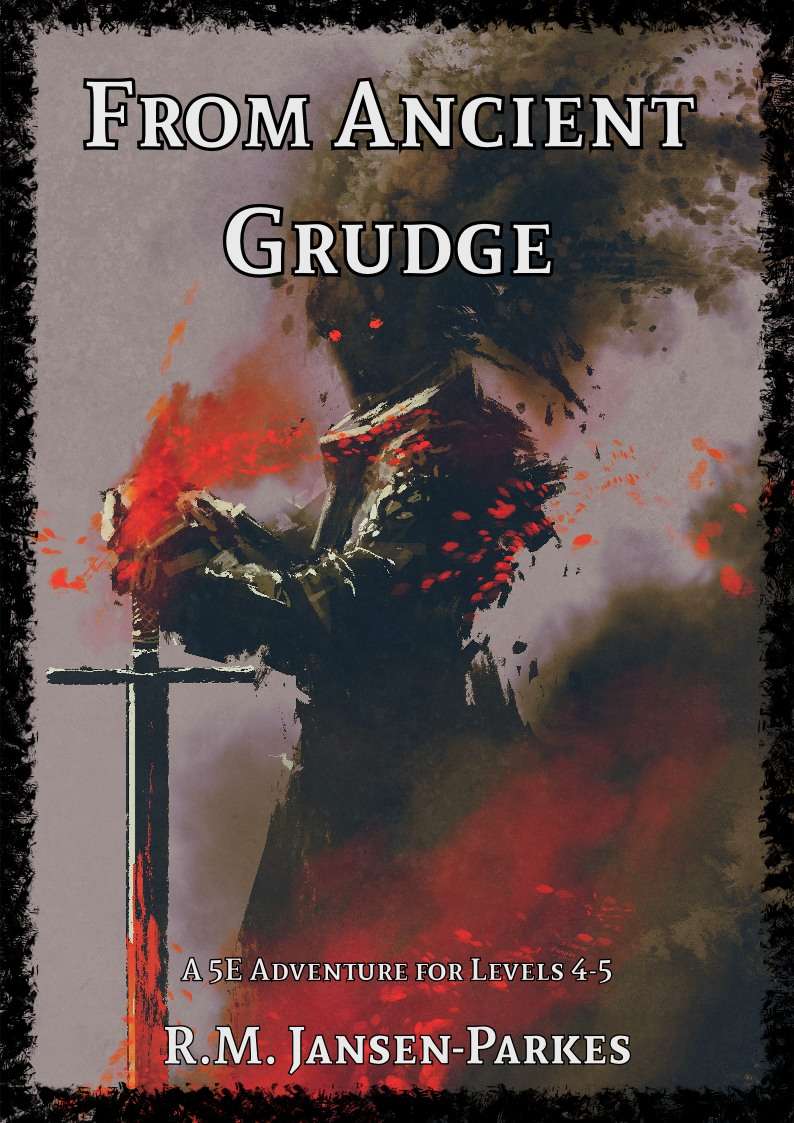
A Star-Crossed Tragedy. When the party is hired to investigate a haunted castle, they’re drawn into a tale of hatred, love and betrayal stretching back more then 300 years. Will they be able to free the ghosts haunting Arevon Castle, or will they find themselves just another footnote in its long history of misery?

Deep beneath the keep of Castle Greyhawk, a really nasty device is creating mutated, unpleasant monsters that are running wild throughout the castle and the twelve-level dungeon beneath. The call has gone out for heroic, fearless, and perhaps foolish adventures to out-hack, out-slash, and sometimes even out-think hordes of doughmen, headless mice, manic bee queens, really bad dead things, burgermen, crazed chefs, and movie moguls. If they survive these and much odder obstacles, the characters still have to find the nasty monster creator and put it out of business. Castle Greyhawkcontains 13 detailed levels for adventuring and exploration. Each is a separate adventure written by different author and each has its own unique brand of baffling weirdness. Some levels involve solving puzzles and some require good old hacking and slashing. The adventure can be played separately or all together as a grand quest to free Castle Greyhawk from the evil, rotten hordes that are plaguing it. The common theme of this dungeon is that no joke is so old, no pun so bad, and no schtick so obvious that it can't be used to confuse and trip up PCs! 13 Adventures for Character Levels 0 to 25. TSR 9222

This heist adventure that takes place almost entirely at Fort Bones. It is split into five scenes: Karrnathi Opening. The characters meet Vedim ir’Durna, a noble from the region who is willing to help the player characters infiltrate the Fort. Guild Handler Lhara introduces their prize: a necromantic artifact called the Queen of Night, tied to the plane of Mabar. Valenar Gambit. Whether by wit or stealth, the characters find their way inside the walls of Fort Bones. They might use the incoming Valenar attack as a distraction, find a secret entrance, or plant themselves on a visiting dignitary’s staff. Castling. Safely inside, the characters must figure out when the artifact is unguarded, and find their way into the castle’s inner sanctum. Check. The characters must navigate their way past a magical vault door, then descend into the crypts. The Queen of Night is guarded by a terrifying construct. Endgame. With the artifact in their hands, will the characters be able to escape with their lives?
Everybody's a fool for a lost kid. He wanted power but settled for scraps - for now. The outcast wizard Lertol has adopted two leucrotta, and their team is ambushing passing travelers and robbing them with no-one the wiser. The players first fall into this trap when the leucrottas mimic a lost child and a search party in the middle of a night at camp. If the players leave to investigate the voices, the wizard loots the camp while they are gone. The players can then follow the wizard back to his lair and get their treasure back. Pgs. 48-49 & 28

THRESHOLD! The northernmost town in the Duchy - and your last stop before your adventures begin. Threshold, the gateway to mysterious castles, lost temples, deadly caves and caverns. You have heard the stories and legends, now you wish to see for yourself. This product provides a complete campaign adventure that will take beginning characters from 1st all the way to 3rd level and possibly beyond, drawn from the first nine modules of the B-series adventures. See individual adventure entries for Boss, Common Monster and Items lists. TSR 9190

Things are darkest before they go totally black. He wears black, hires orcs, and looks depraved - but don't be fooled. He's far more dangerous than he seems. Thaddigren Dentiata recently arrived in the village of Sisak, and within 3 months had constructed a great tower on the outskirts. The villagers have become more wary of him, since he employs the help of orc henchment (albeit polite ones), and also is suspected of using dark magic. Since then, livestock has begun disappearing from the surrounding pastures, and two drunk men fell upon a terrible fate when they went to investigate the tower secretly. One was killed and the other remains missing. The villagers have confronted Dentiata, but he and his henchmen politely turned aside their questioning. The players arrive just after one of the town elders was taken by orcs from the village after trying in vain to rally the rest of the townspeople. The players will spend some time in the village gathering information and then attack the tower itself, ending in a final battle with the evil wizard. The module provides details on all buildings in the town as well as all NPCs and stores. Pgs. 6-24

Giants have emerged from their strongholds to threaten civilization as never before. Hill giants are stealing all the grain and livestock they can, while stone giants have been scouring settlements that have been around forever. Fire giants are press-ganging the small folk into the desert, while frost giant longships have been pillaging along the Sword Coast. Even the elusive cloud giants have been witnessed, their wondrous floating cities appearing above Waterdeep and Baldur’s Gate. Where is the storm giant King Hekaton, who is tasked with keeping order among the giants? The humans, dwarves, elves, and other small folk of the Sword Coast will be crushed underfoot from the onslaught of these giant foes. The only chance at survival is for the small folk to work together to investigate this invasion and harness the power of rune magic, the giants’ weapon against their ancient enemy the dragons. The only way the people of Faerun can restore order is to use the giants’ own power against them.
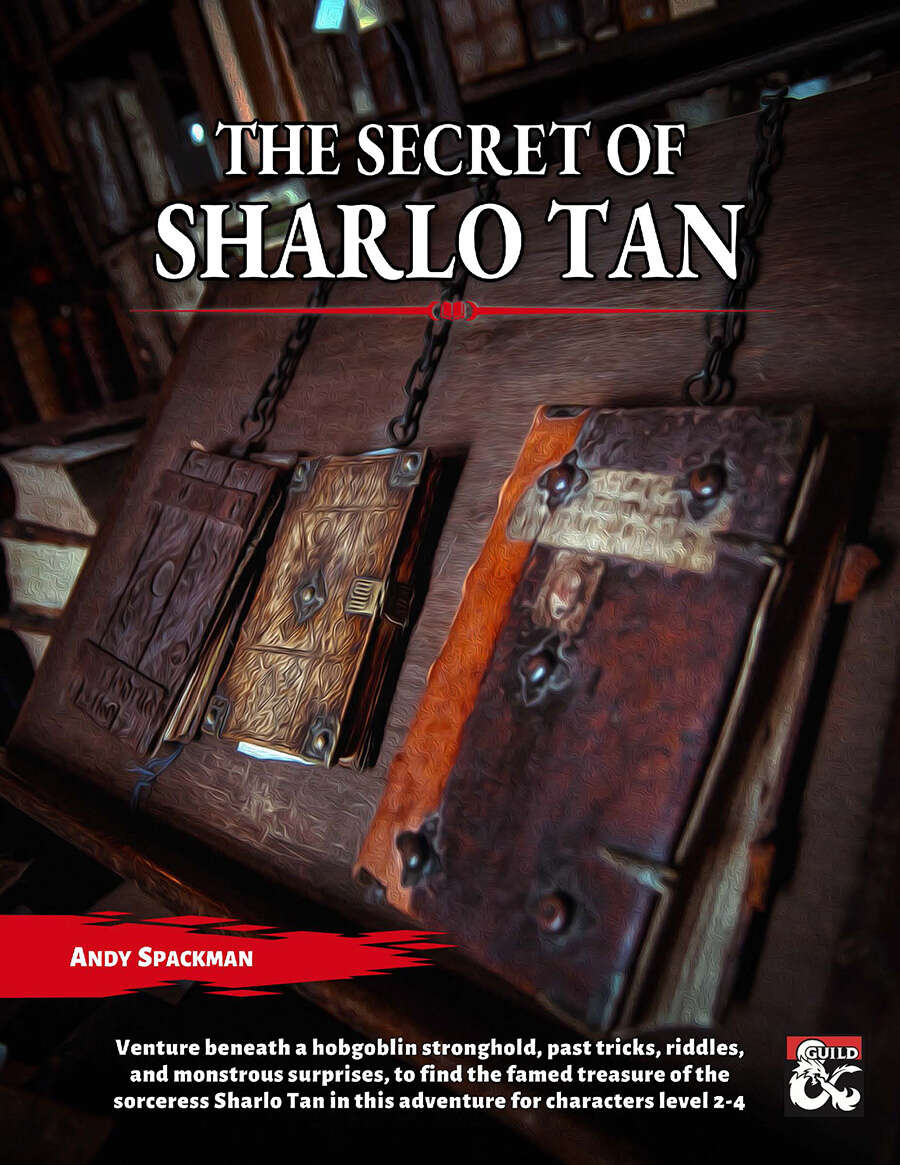
Sharlo Tan was a sorceress. She was a scholar. She was a spy. And she left behind a legendary trove of treasure, guarded by riddles, secrets, and the passage of time. But it isn’t an ancient rumor that has the people of Rivesby on edge. The hobgoblins of the Lamellar Banner have encamped less than a day’s march away, and no one knows what has brought them out of their stronghold. In this richly detailed adventure, players can choose whether to play peacemaker or treasure hunter, explorer or exterminator. But they won’t be the only ones playing games, as they encounter creatures and NPCs who have their own conflicts and motivations. The Secret of Sharlo Tan is a mid-length adventure for levels 2-4 that easily plugs into any 5e campaign. It’s particularly suited to those who love witty books, solveable riddles, and nuanced interactions, but it readily accommodates smash-mouthed impatience as well. Depending on playstyle, it can fill 2-4 play sessions of 3-4 hours. The adventure includes: * 40-page fully illustrated PDF with player handouts * 3 stat blocks * 4 dungeon maps in DM and unmarked versions * 11 all-new magic items

This short adventure is set in the Ravenloft domain of Lamordia where the PCs find themselves trying to save a beautiful maiden from the mad scientist, Dr. Victor Mordenheim, who is trying to restore life to his dead wife. TSR 9336
"Orcs have returned to the once quiet border province of Blackmarch. The Bleak Tower and its meager garrison are all that stand against the tide. Their only hope lies in a ragtag band of adventurers willing to venture into the perilous maw of Ironwood Gorge..." "Ironwood Gorge is a fantasy role-playing adventure for 4-8 characters of levels 2-5, designed for older editions of the world's most popular fantasy role-playing game and its clones such as Labyrinth Lord and OSRIC. The material is also easily adaptable to any other class and level based fantasy role-playing game. Ironwood Gorge serves as part two in the Blackmarch sequence of adventures, but is built to function just as well as a one-off adventure, a drop-in-a-hex location for sandbox games, or as a kick start to a new campaign. The module includes keyed maps detailing both the Bleak Tower: a living, breathing refuge for adventurers; and Ironwood Gorge: a cave complex with over 100 keyed areas of traps, monsters and mayhem. The module is illustrated throughout with original artwork and includes appendices detailing new monsters, magic items, and spells. Whether you are looking for an out-sized adventure to usher the hardiest characters to the intermediate levels, or a fully-realized location to plunder for maps and ideas, Ironwood Gorge is a treasure from the old-school of gaming..." An alternative to B2 - Keep on the Borderlands

Displace Beast Maze is an adventure that has one long encounter that is a combination of a puzzle (maze) and combat encounter (Displacer beast). The Displacer beast tentacle's ability to attack through the maze walls, knowledge of the layout, and hit-and-run tactics make the labyrinth both a useful and possibly deadly lair for the creature. Pgs. 27-29

The kingdom of Dunador is in trouble. Since the king, Halfred of Dunthrane, was killed in a hunting accident, the land has hovered on the brink of civil war. Crown Prince Edmund, at 18 only half-trained and quite unprepared to assume the throne, has yet to be crowned. Currently he is on a pilgrimage to the holy shrine of Nevron in the province of Andevar. While the uncrowned king is far from home, anarchy reigns in Dunador. Throughout the realm, plots are brewing and evil hands are eagerly clutching at the sword of treason. Inevitably the focus of these intrigues is in the troubled province of Andevar to the north. For it is here that the young Prince has journeyed and here that he must be crowned. In this dark hour Dunador has but one faithful servant: Hollend, chief advisor to the old king. Painfully aware of all that is at stake, Hollend has sought the aid of a brave party of adventurers in a desperate bid to tip the scales in favor of truth and justice. But, even as the party secretly enters Andevar, the forces of evil strike with blinding speed and ruthless determination. TSR 9163

5e Solo Gamebooks presents Drums at Daggerford, the fifth in our continual series of solo adventures set in the Forgotten Realms. This quest enables you to experience D&D without a dungeon master! Simply roll up a level 5 PC and get playing. Drums at Daggerford is the way you must experience solo adventuring. Players and DMs beware, a new standard has been set. This solo adventure continues the story arc first begun in Death Knight’s Squire, developed further in Tyrant of Zhentil Keep & Citadel of the Raven, and left in The Tortured Land. Drums at Daggerford’s ability to echo a Tolkien spirit reverberates throughout the narrative no matter which path you may choose. But choose wisely because a razor’s edge separates peril from glory. Over a year in the writing, this latest instalment in our solo adventure series is a mini sandbox campaign that will give you anywhere up to 8 hours of solo adventuring enjoyment. Completionists and those who like to replay these adventures will get even more gametime. There are mysteries to be uncovered, items and sidekicks to be gained, codewords to unlock and villains to conquer! With lots of exploration, meaningful decisions, hard fights, and a variety of rewards and stories, Drums at Daggerford will continue to resonate with you long after solving the big mystery behind Krond Vikkurk’s malevolent plans.

In response to a new but as-of-yet-unnamed threat, the factions have called upon adventurers to venture into the jungle in search of a location for a new base of operations. As such, you have been charged with scouting several locations to assess their viability. Surely something so trivial as a scouting mission couldn’t go wrong?
The abandoned Tower of Ulvarum Orvernus stands atop an asteroid nearly a quarter mile in diameter, located roughly 5 million miles from the planet’s surface. The asteroid maintains Earth-like gravity and a breathable atmosphere, with habitable temperatures. This is all sustained through the harnessed power of a bound Air Elemental and Earth Elemental. If either of these Elementals are freed, the asteroid’s environment will quickly become inhospitable. The PCs may find themselves drawn to the asteroid through a forgotten portal, seeking a way to return home. Alternatively, they might be lured there by rumors of a powerful item or hidden knowledge within the tower’s extensive libraries. A multi-level tower filled with traps and strange encounters including animated armor, alien plant life, giant spiders, and a doppelganger.