
A nearly-penniless merchant wants heroes to secure and return priceless heirlooms. But can they do it with goblins all around, raiding and pillaging? Can the heroes reach a peaceful settlement with the raiders, or will they wreak mayhem and slaughter? Find out in Eastbarrow! This package (adventure, maps, and handouts within) forms a complete module for use with DUNGEONS & DRAGONS® 5TH EDITION RULES. It is especially designed for Dungeon Masters to initiate play with a minimum of preparation. Also includes full-sized maps for the VTT of your choice! Old School Look and Feel!
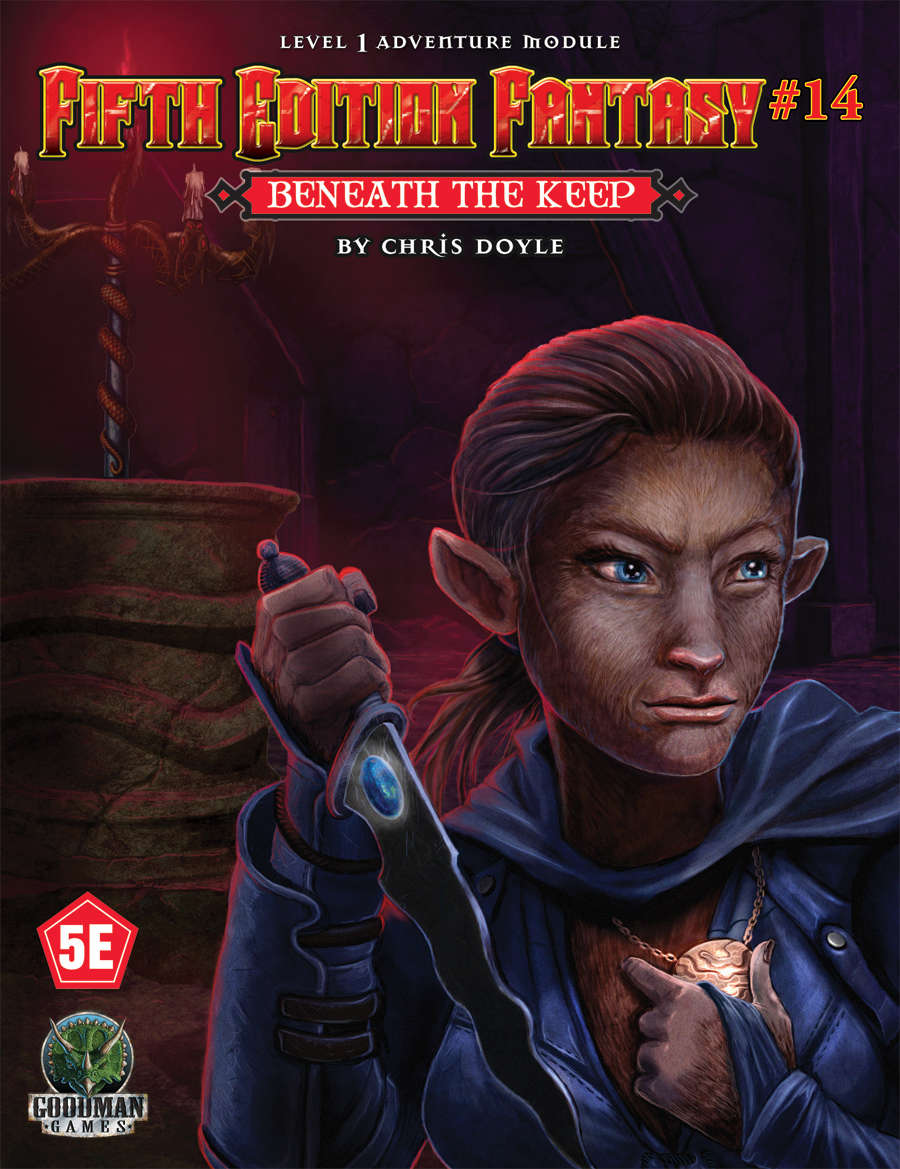
During a brief stop-over at a wilderness stronghold, a simple trip to a local provisioner reveals foul play! The shop has been broken in, and the shopkeeper is missing. But the place has not been burglarized. The heroes are thrust into an investigation. Clues discovered by the heroes’ hint at larger corruption that festers among the border lands surounding the stronghold. What sinister forces lurk beneath the keep?

Thane Tinewiner’s daughter has been kidnapped just before her betrothal and her love slain! Who will avenge this mockery? Can the girl be brought back alive? Is your PC brave enough to face this challenge alone? Surely a handsome reward will be at stake but more so the fame of saving a damsel in distress and the honor to go with it. Few clues are available and most of the Thane’s military are on the hunt for the woman so you’ll need a little bit of luck if you are to grab the honors and save the day.

5e Solo Gamebooks presents Drums at Daggerford, the fifth in our continual series of solo adventures set in the Forgotten Realms. This quest enables you to experience D&D without a dungeon master! Simply roll up a level 5 PC and get playing. Drums at Daggerford is the way you must experience solo adventuring. Players and DMs beware, a new standard has been set. This solo adventure continues the story arc first begun in Death Knight’s Squire, developed further in Tyrant of Zhentil Keep & Citadel of the Raven, and left in The Tortured Land. Drums at Daggerford’s ability to echo a Tolkien spirit reverberates throughout the narrative no matter which path you may choose. But choose wisely because a razor’s edge separates peril from glory. Over a year in the writing, this latest instalment in our solo adventure series is a mini sandbox campaign that will give you anywhere up to 8 hours of solo adventuring enjoyment. Completionists and those who like to replay these adventures will get even more gametime. There are mysteries to be uncovered, items and sidekicks to be gained, codewords to unlock and villains to conquer! With lots of exploration, meaningful decisions, hard fights, and a variety of rewards and stories, Drums at Daggerford will continue to resonate with you long after solving the big mystery behind Krond Vikkurk’s malevolent plans.

The characters have finally escaped from the maze and returned to complete the mission they originally started-they must infiltrate the tower of King Ovar and end his evil reign. Will the characters discover the secrets of the missing queen and the wizard Zayene's influence? Or will they perish in dragon fire?

A wealthy sea-trader hires the PCs to solve a pirate problem and recover stolen supplies. Almost 100 pirates have made base in a treacherous cove. When the PCs arrive, most of the pirates are at sea on a mission. A large host of pirates remain in the base and force PCs to be creative with their approach, as a direct attack would be met with an overwhelming swarm of pirates. Unknown to the player's as they scheme is that the ship will soon return with its massive crew. The treasure cave is guarded by the dead sailors foolish enough to try and steal from the captain, who is the only one who can enter the cave safely. Players must be creative to deal with the pirates in the base and the approaching ship while still securing the plundered supplies in the treasure cave.
While traveling a mountainous road, the party hears a "song, echoing faintly through the hills around you--a single, achingly beautiful feminine voice that burns its sorrow straight into your gut. The words are Elvish, but you don't have to speak that language to understand the sense of loss and heartache that fills every note." --from the adventure. Includes map of the tower.

The Alchemist's Eyrie takes the characters into a fortified dwarven tower, where they are sent to recover some needed items. When they arrive, they discover the tower has been captured recently by a warband of renegade lycanthrope dwarves. Between the interlopers and the remaining traps set by the late owner, the characters may find themselves in deep, despite the lack of head clearance.
What's happened to the Pearl Tower -- an ancient lighthouse built to warn ships away from a treacherous reef? Ships are disappearing, and the busy part of the trading season is just about to start. Could someone have taken over the lighthouse and wrecked the ships?
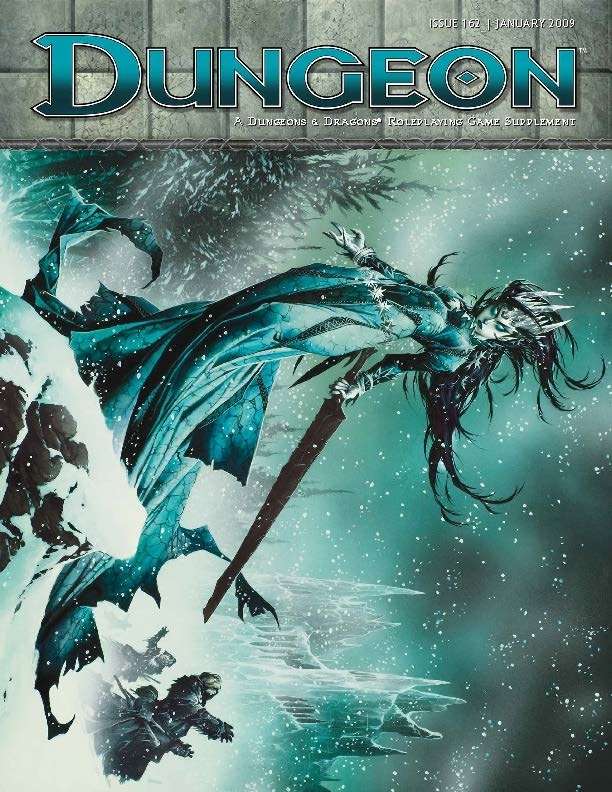
A cold winter wind blows from the Scourge Mountains, but its origins are not of this world. And with it come horrifying stories of a fey who walks the land. Cold, beautiful, and deadly, she turns every mortal she touches into a statue of ice, and she seems determined to blanket the entire north in a blanket of frost. It is the Winter of the Witch…and if the archfey Koliada is not stopped, it could be the world’s last. “Winter of the Witch” starts with the PCs receiving an urgent but somewhat cryptic message from the skeletal knight, Sir Keegan. They find the skeletal knight a helpless victim of an aggressive interrogation by an undead minion of Orcus and his demonic thugs, who are attempting to extract the location of something called the Sun’s Sliver from the stubborn knight. The PCs fight their way into deep ruins, defeat the demon lord’s toadies, and retrieve the Sun’s Sliver. Once the PCs have recovered the Sun's Sliver, they must confront the Winter Witch in Winter's Heart, the witch's icy sanctum in the Feywild. Only there can they confront the cold-hearted archfey and save a section of the world from a wintery doom.

The village of Sacrabad is a wretched place. Dark rumors abound concerning its steward, “His Lordship” Nim Sheog, who rules the place through terror and cruelty. Merchants who have passed through Sacrabad tell tale of how chaos thrives while the good folk wallow in misery. Nim’s guard are no more than a well-paid gang of thugs, hired to enforce his relentless and often bizarre laws and what’s worse, they seem to be in league with a nearby band of goblins, The Yellow Fang, who are often left to terrorize the villagers without reprisal. It is rumored that Nim keeps the rightful and lawful lord of Sacrabad locked away in the dungeons of the keep, the ominous Black Tower. An imposing structure that once afforded the village protection, the Black Tower has become a symbol of tyranny. But there is hope on the horizon. Hope in the form of a secret society who conspire to rescue the rightful lord and overthrow Nim and his guard. Can our heroes champion the cause? Tyranny of the Black Tower is a short (single session) adventure module. It is a classic “rescue operation” complete with a strong villain and espionage intrigue. It is an ideal one-shot adventure with room for expansion into an ongoing campaign. Bonus side-trek hooks and a bonus dungeon are included as a means to build up low-level parties. This module is setting-generic and can be dropped just about anywhere in the multiverse. Published by Verisimilitude Society Press
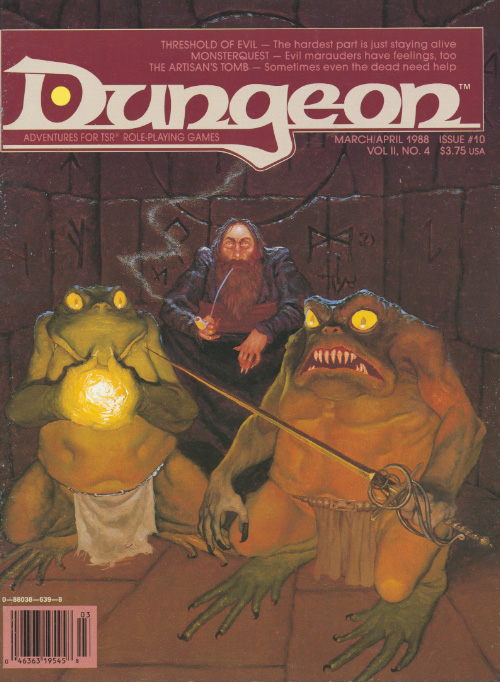
Stepping through a door can mean a grand adventure - or a horrifying death. The shortest distance between two points is not always a straight line. A number of magic towers connected by failing teleportation magic. Abandoned in ages past, other creatures now make the towers their homes and provide challenges to parties of varying levels. Pgs. 34-42

This is a trapped corridor which can be dropped into any castle, dungeon, ruin or underground adventure. It features full rules on how to scare the living be-jesus out of your adventurers and have sone great fun with them too. Get ready... as the 'Umber Eyes' is ready to receive you...
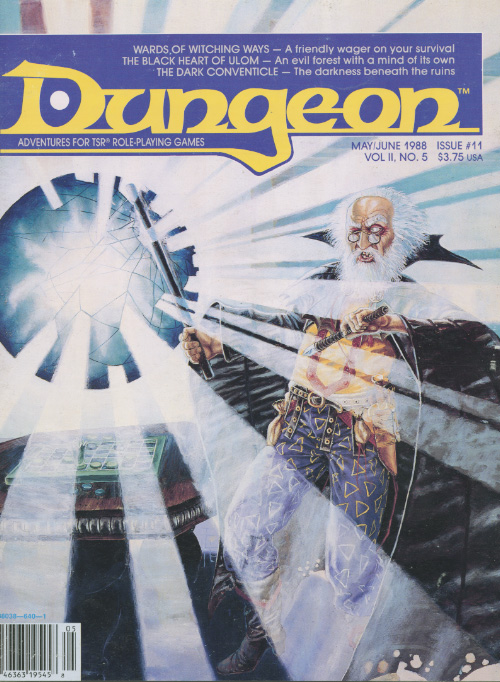
Surviving the shipwreck is easy; living through the wizardly bet afterward is not. Their game could mean your lives. A storm caused the PCs' vessel to sink and is now forcing them to seek shelter in the keep on the remote isle. Their goal is to locate a boat or some other means of transportation to return to the mainland after the storm has passed. But first, they must survive the tests and traps the island's inhabitants have set for them. Pgs. 45-64

The water pounds the base of the cliff with the relentless power of time. Jagged rocks appearing and disappearing in the foam of the sea like gnashing teeth. Above it all on the top of the black cliff sits a small house and the dark light tower. The magistrate has sent your party to investigate why the light has gone dark.

All of the Treasure, None of the Traps is an adventure that includes a single gauntlet of traps that contains twelve traps; meaning that it has either one or twelve encounters. The adventure consists of a long, twisting corridor with all of the traps set off, but these traps are reset by the PCs when they reach the center of the area. Pgs. 32-34

This new version of the classic adventure is completely updated to 3.5 edition. In The Lost Vault of Tsathzar Rho, a defenseless village asks the characters to slay an out-of-control ogre. Sounds easy enough. But the ogre, who used to be nothing more than a nuisance, has become crazed and psychotic. When the characters arrive at its cave, they find a subterranean portal has connected the cave to a much larger underground complex. Something in that complex has transformed the ogre and many other local creatures into fiendish marauders. In fact, it’s the lost vault of Tsathzar Rho, an ancient wizard and prophet of the Outer Gods, who are gathering their foul minions for battle.
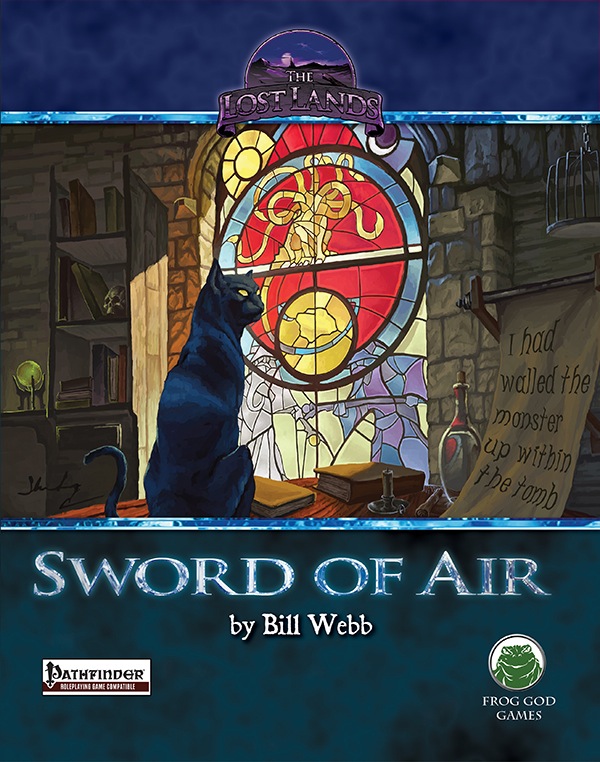
What is the Lost Lands? The Lost Lands is the home campaign world of Necromancer Game's and Frog God Game's own Bill Webb. This campaign has been continuously running since 1977. Many of the adventures published by Necromancer Games and Frog God Games are directly inspired by this campaign. They have evolved over the decades, and more material continues to flow from it as the dice keep rolling. Sages and wizards of legend speak of the Lost Lands—many of the players who have lived and died in Bill's campaign over the years now have a place in history (in the books). Frac Cher the dwarf, Flail the Great, Bannor the Paladin, Speigle the Mage, and Helman the Halfling are well known to the fans of Bill's work. This is the game world, and these are the adventures in which the players of these famous characters lived and died. Hundreds of players over the past 35 years have experienced the thrills and terrors of this world. The Sword of Air is the centerpiece of the Lost Lands. Currently, this epic tome consists of several parts: 1. The Hel’s Temple Dungeon—kind of like Tomb of Horrors on crack. This six-level, trap-and-puzzle infested dungeon formed the basis of Bill's game through his high school and college years. Clark Peterson’s very own Bannor the Paladin spent several real life months in the place, and, sadly, finished the objective. This is where the fragments of the fabled Sword of Air can be found…perhaps. 2. The Wilderness of the Lost Lands extending to the humanoid-infested Deepfells Mountains and providing detail about the nearby Wizard’s Wall. This so-called “wall” was raised by the archmages Margon and Alycthron harnessing the Spirit of the Stoneheart Mountains to raise the land itself, creating a massive escarpment to block invaders from the Haunted Steppes. These archmages are actual player characters from the early 1980s who live on in the legends of the Lost Lands. Over 70 unique encounter areas are detailed, and each one is a mini-adventure in itself. New wilderness areas may be added based on bonus goals described below! 3. The Ruined City of Tsen. Legend has it the city was destroyed by a falling meteor. This place forms an aboveground dungeon area the size of a city, with over 100 detailed encounter areas. It’s a very dark place…even at noon. 4. The Wizard’s Feud—This campaign-style adventure pits the players in a long-running series of intrigues and battles between two archmages. Which side will they take? Their actions all play into the overall quest, and could well determine which side wins. Law and Chaos are not always what they seem, and if the wrong decisions are made, the entire ordeal could fail. Remember, one of the wizards WANTS Tsathogga to win. 5. New monsters, new demons, new spells, and new rules for various aspects of play. 6. The Tower of Bells. This dungeon is the result of the workshop Bill ran at PaizoCon 2013, where the participants assisted him in building an old-school dungeon. Visit the tower and discover the secrets of the “artist” within. Beware: those entering may never come out!

To stop a devastating rampage of giants across the land, the party must venture into the lair of the stone giant thane Arnak to uncover the truth about why he has broken his peace with the neighboring dwarves. In the process, they will have the opportunity to retrieve important symbols of the fight against the giants and uncover a dangerous excavation. The adventure is part of the "Against the Giants" series originally by Gary Gygax, hence the writing credit.

The increasingly erratic behavior of Lady Selyse, Knight Captain of the small, but strongly held frontier outpost Fort Selsmire, is provoking unrest among her soldiers and fear from passing supply caravans. Many whisper of how the Captain now goes without sleep for days at a time, pacing the walls of the keep long into the night. Despite these rumors, the party has found employment at Fort Selsmire, conducting additional patrols of the nearby forests. While patrolling, they find evidence that may lead to the strange creature who seems to be provoking the Captain to madness. Pgs. 69-73