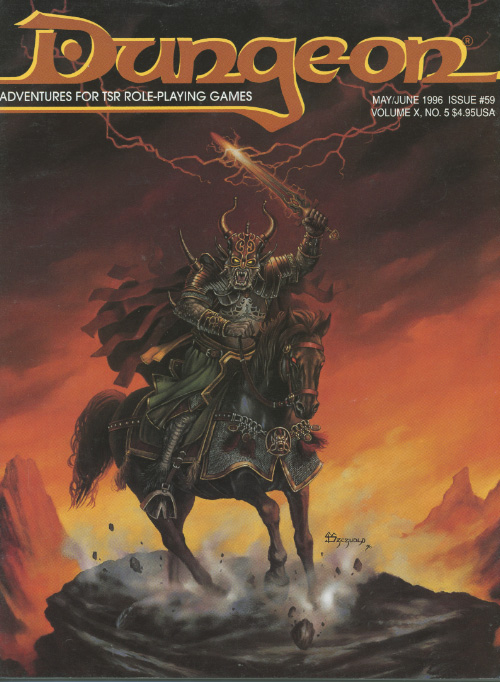
"When the adventurers decide to help a man who has lost his memory, little do they realize he’s Gethirah Kugothan, the notorious anti-paladin! Can the man they know as “Michael” leave his evil past behind and become a champion of good? The answer lies in Gethirah’s former stronghold, a magnificent castle perched atop a waterfall." - Christopher Perkins From the magazine: "The Forgotten Man" is an AD&D adventure designed for 4-5 PCs of levels 6-8 (about 35 total levels)... This adventure focuses on Gethirah Kugothan (also known as Michael), a formerly evil man whose memory has since taken up residence in a church of the god of rebirth and renewal. The premise of the adventure hinges on the possibility that such a man can be turned from the path of evil and become good. The main goal of the PCs is to keep Gethirah from becoming the man he used to be.
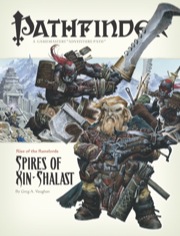
A Runelord Rises! The Rise of the Runelords Adventure Path concludes! The Runelord of Greed, Karzoug the Claimer, stirs in the legendary city of Xin-Shalast. There are more forces than an ancient evil wizard at work in this remote corner of Golarion, a place where the boundaries between reality and nightmare are unnaturally thin. Karzoug's minions have awakened as well, among them giants and dragons and devils and worse. Could there be an even deeper evil poised to emerge from the darkness at the dawn of time? Can the Rise of the Runelords be stopped?
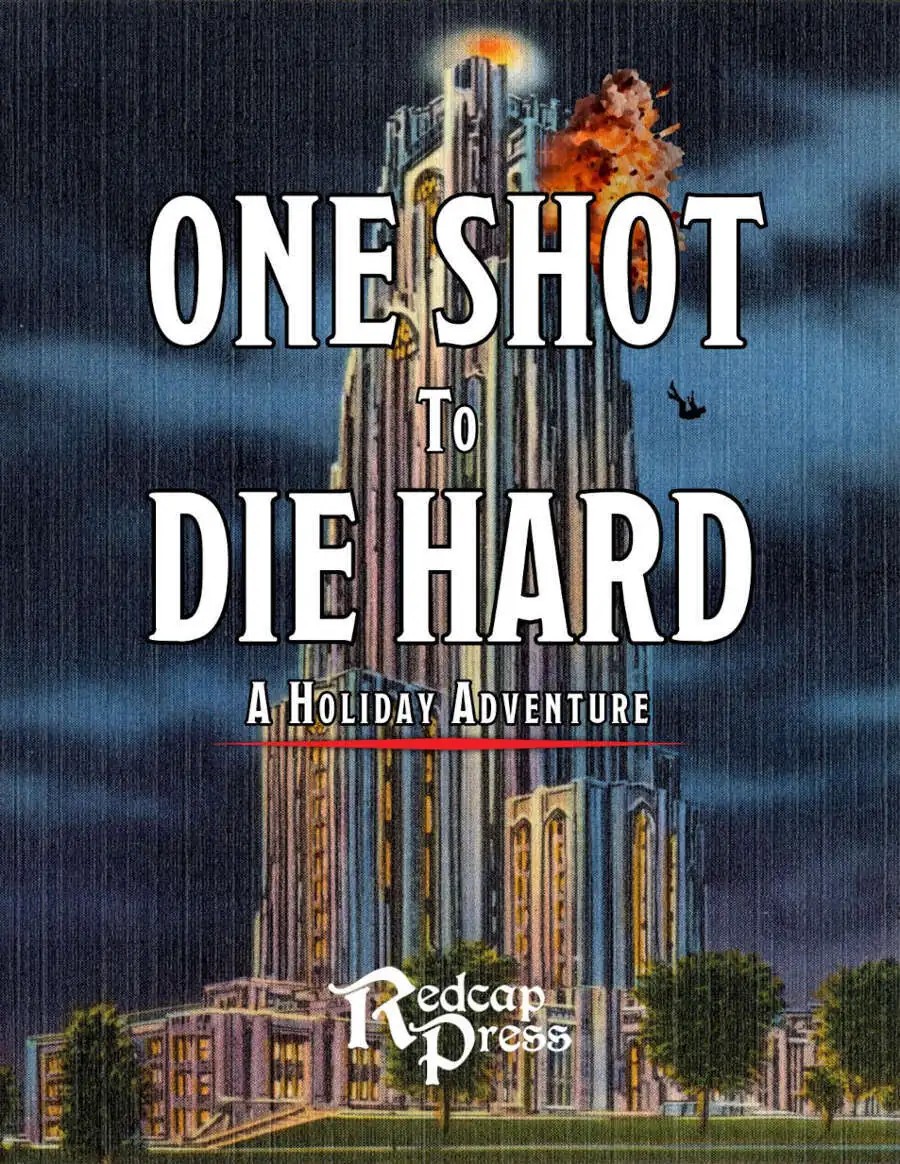
Throw your party into an action movie in this pulse-pounding, single-session adventure inspired by Die Hard. This adventure sends your party to celebration of the winter solstice, on the top floors of an archmage's tower. When a group of mercenaries led by a revenge-seeking criminal mastermind crash the party and take the guests hostage, the adventurers are plunged into their own real-life action movie. Yipee Ki-Yay! General Features - Designed for a level 3 party - Playable in 3-4 hours (and playtested) - Gritty and dangerous; the party starts without any weapons or spellcasting and must ambush the mercenaries to arm themselves. - Includes 8 new magic items and 3 new stat blocks. - 7 fully-mapped floors of the wizard's tower, modeled after the floorplans of the real-life building where the original Die Hard was filmed. Why Players Will Love It - Your choices matter! This is not a linear adventure by any means. You're dropped in a dangerous situation, deprived of your gear, and what happens next is up to you. - You're in an action movie! Ever wanted to crawl around air ducts or up elevator shafts, or swing from a roof and smash through a window? Now you can! - Deadly, but with a safety net. The first to die gets a fun surprise, and stays in the game. - Fun loot! If you continue with these characters after this adventure, you'll have some fun new toys to play with. - It's Die Hard! If you're a fan of the movie, you'll be a fan of this adventure. Why GMs Will Love It - It's flexible and easy to run, and rewarding without being overcomplicated. - A quick-reference page contains all the information you might need at a moment's notice, including suggested on-the-fly combat encounters, NPC names, and a cast list with roleplay suggestions for each character. - A plot checklist to help keep you on track during the game. - Most importantly, information is right where you expect to find it.

Dark Water Trap is a mini-adventure that has a single encounter that involves Duergar using darkness and anti-darkvision to get the player to fall into a Pit trap full of water, so that the party will drown. The encounter either works as a standalone (Ie. the Duergar have been causing trouble), or as a part of a larger adventure or dungeon, Duegar or otherwise. Pgs. 26-27

This new version of the classic adventure is completely updated to 3.5 edition. In The Lost Vault of Tsathzar Rho, a defenseless village asks the characters to slay an out-of-control ogre. Sounds easy enough. But the ogre, who used to be nothing more than a nuisance, has become crazed and psychotic. When the characters arrive at its cave, they find a subterranean portal has connected the cave to a much larger underground complex. Something in that complex has transformed the ogre and many other local creatures into fiendish marauders. In fact, it’s the lost vault of Tsathzar Rho, an ancient wizard and prophet of the Outer Gods, who are gathering their foul minions for battle.

A One-on-One Competition Module for Thieves Level 8 Your peaceful evening has been interrupted by an unusual request. As a thief, your skills are unmatched, but can you rise to the challenge of thieving for a powerful and frightening wizard? Do you have a choice? The Gem and the Staff is a special One-on-One competition module designed for one player and on Dungeon Master. The Module contains two separate scenarios, so you can switch roles with the other player after the first adventure. Scoring sheets and encounter summaries are provided for each adventure to make running competitions quick and simple. Character figures and a map book are also provided to help visualize the adventures. The player's maps are designed so you can see the rooms as they would appear. Complete DM's Maps are included. TSR 9050

The Triad Series comes to a head with the party be called upon to again save the land. While successes against both the Goat and Lion branches of the triad have been successful, the toughest group, the Dragons, has formed the army and is moving against the forces of good. Can your party meet the force that General Barsoon has assembled?

You and your cohorts have their first adventure under their belts and are now recognized heroes of the realm! You plan on building your reputations but one of your henchmen has promised his love that he would marry her. You and your group are happy to attend and quickly discover that danger lurks everywhere as bandits crash the celebration.

Roots of Evil, the conclusion to the adventure begun in From the Shadows, delves into the horrific origins of Strahd von Zarovich, master vampire. This 96-page adventure module features Strahd in his final showdown with Azalin the lich, the two most powerful lords of evil in RAVENLOFT® realm. Player characters return to the popular Castle Ravenloft and discover never before known facts about the vampire's roots and origins. The outcome impacts the RAVENLOFT® realm for years to come! TSR 9413
Between the settled human lands and the orc-filled mountains rests the barony of Honshar. The residents have grown used to occasional orc raids, but now they find themselves facing a full-scale war. As if that wasn't bad enough, the orcs have kidnapped an important political figure from Honshar, along with a crucial magical item - the Silver Key. Unless the key is recovered, it could be Honshar's undoing. Both the key and the hostage are being held in the orc city of Krimba-hai, so getting them back will be tricky. However, there is a plan.... TSR 9508
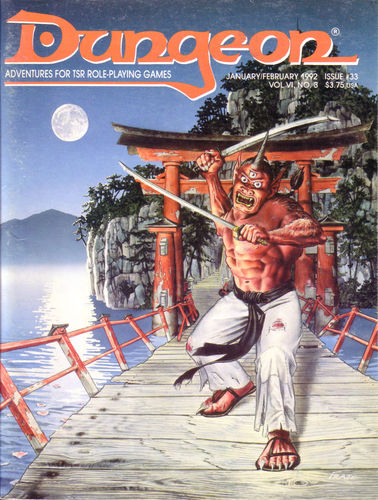
The orcs remember Tarran Kratys. Today he wishes they had not.

There is no particular overarching story here, just a prospect gate keep dungeon you can drop into your own sandbox and run as you see fit. This adventure is formatted to both 1E & 5E gaming rules.

The Ghost Tower is a companion adventure made to go along with the events unfolding in Folio #19 (WS6 Duel on The White Ship). It contains the information needed to run a side adventure that will help characters get to the White Ship temple Complex. The deck of the White Ship is filled with peril, and the stamina of the characters has already been worn down just getting to it. However, a single tower, and its now crumbling bridge, might allow the characters to skirt the bulk of the wandering monsters on the deck and get to the temple complex intact, but only if the tower proves less deadly... This adventure is formatted to both 1E & 5E gaming rules.

The Sea Witch is a short adventure for four 10th-level characters. The difficulty of the adventure can be adjusted by changing the level of main antagonist (Black Molly, the sea hag pirate) or by altering the number of her ogre servants. To tailor the encounter to groups of different levels, refer to table 4-1 in Chapter 4 of the DUNGEON MASTER’S GUIDE. The adventure is set off a lightly populated coastline known as Misty Bay, but adapts easily to any coastal region in existing campaigns. The sea hag known as Black Molly is a notorious pirate who has plagued the coastal cities for the better part of a decade. A successful Knowledge (local) check (DC 15) will reveal that Molly and her ogre crew have a filthy reputation as merciless killers who delight not only in plundering vessels for their riches, but also in destroying the ships themselves and sending all hands to the bottom of the sea. Now the villain and her followers have seized control of the Old Lighthouse of Misty Bay located off a lightly populated coastline. For generations the lighthouse beacon has protected the fishermen of this region, warning them of the dangerous rocks that lurk just below the level of the high tides. Recently, the hag has put out the beacon, darkening the lighthouse; misery and destruction are sure to follow as ships start to blunder into the rocks. Blackmail is apparently Black Molly’s aim in this venture: She conveyed a message to the nearest shore community, the fishing village of Poisson, demanding the princely sum of 50,000 gp. Until she receives this ransom, she intends to hold the lighthouse and its beacon hostage. The fate of the human keepers who tend the lighthouse is unknown to the seaside communities at this time, but they fear the worst. The Sea Witch is ostensibly a rescue mission: The PCs are pitted against the evil of Black Molly and the brawn of her savage ogre crew. It is the heroes’ task to retake the lighthouse and, if possible, free its captives from the clutches of their jailer. What neither the PCs nor the shore communities yet realize is that while she 1would be pleased to have the gold, Black Molly is in fact after bigger treasure. Molly has no intention of giving up the lighthouse — at least, not until she finds what her master sent her here for. Lying on the sea floor practically at the base of the rock on which the lighthouse sits is the wreck of the war galley Flying Cloud, which according to popular legend was captained by a cleric who wore around his neck an amulet of the planes. Black Molly wants this prize, but so far she hasn’t been able to find it. She’s scoured the wreck without finding any sign of the magic item. Now she’s trying to determine where to search next, for the item might well be somewhere near the wreck. If she can’t find it, she’ll start torturing her captives to find out if they have any useful knowledge about the amulet.
:strip_icc()/pic684151.jpg)
This is the second episode of The Black Tower, designed for use with Rolemaster or AD&D. The first part of the scenario appeared in issue 1 of ADVENTURER.

The lord of a local realm is having his council members systematically killed or cast out for treason with little to no evidence to support the claims. This has been occurring for some time and a local shaman by the name of Borjah thinks he knows the cause. In his visions, he has seen a strange spirit shifting the shadows, a puppet master using the lord as its personal servant by warping his mind. This entity is slowly gaining power in the city and increasing its dominance over Lord Kestyl. Borjah attempted to warn the council of this corruption, but all those he informed ended up dead a few days later, so now he is taking matters into his own hands . . . with a bit of help from some willing adventurers of course. Borjah has a few strands of Lord Kestyl's hair, enough to create a strange potion for the party to consume. A potion that will link their minds to that of the lord and be able to fight back against the corruption that has taken hold. All they need to do is wait until his mind is at its most vulnerable . . . when he is asleep. Then, and only then, they can plunge into the mind of this once nobleman and drive back the forces of darkness that threaten to destabilize the entire political landscape of the area. The potion is powerful. Dying while in this dream state cause such severe mental trauma that it usually results in the death of that individual in the real world, so the party will need to be careful. The rules of the normal world don't necessarily apply in the realm of dreams, and as they close in on the entity things are sure to grow more and more chaotic and illogical. Find out if your players have what it takes to fight back against an invisible evil using nothing but their strength of will!
Into the shadows. You must brave the perils of the Shadow World to keep a tighmaevril weapon from the wicked clutches of the Gorgon. PCs are recruited to help a noble and his halfling friend find a weapon with immense power, called bloodsilver. Includes a sidebar for adapting the adventure to another setting, an overland map, and a map of the ruins Pgs. 8-31 & 69
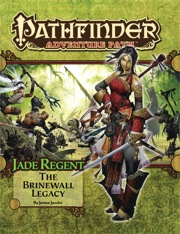
The town of Sandpoint, Varisia, Inner Sea Region has put out a bounty on the nearby tribe of Licktoad Goblins in retribution for the goblins raiding traders and travelers near the quiet town. The party takes up the bounty and ventures into the swamp; eventually finding the goblin village in ruins and it's inhabitants scared in it's burned huts. The party finds out; either through investigation of the ruins or the goblins themselves; that a group of skeletons with eastern arms and armor had ransacked the village and took a stash of fireworks that the goblins stole from an old shipwreck. The party then makes it to this cave and finds it empty except for a half dozen skeletons. Further in past the skeletons is their leader, a skeletal samurai who fights the party in an attempt to defend his treasure. The treasure turns out to be a letter that reveals that secrets of the Kaijitsu family; the same family their good friend Ameiko who runs the Rusty Dragon inn belongs to; that lies in wait in the abandoned town of Brinewall to the northern boarder of Varisia. Ameiko along with several other important NPCs with a caravan north. It's recommended that GMs create encounters for the caravan trip north as it's essentially 3 weeks of travel with nothing in it. It's also recommended that GMs completely ignore caravan rules; they're not flushed out and they're not fun to run. The party and the caravan reaches the abandoned town of Brinewall where their friend Ameiko becomes possessed and is thrown into a coma; where the other NPCs agree to take care of her while the party explores the town and castle. The castle is a three floor behemoth of a dungeon populated by Dire Corbies, Troglodytes, and various other monsters all under the leadership of Kikonu, an Yamabushi Tengu Oni. The goal of exploring Brinewall Castle is to find the two keys to the vault; one of which is on the Yamabushi Tengu while the other is on a Half-Fiend Decapus that lives in the basement of Brinewall. Once the PCs enter the vault they find the Amatatsu Seal; one of the seals that cement authority to one of the ruling houses in Minkai of Tian Xia; as well as several visions that show that Ameiko Kaijitsu is the rightful heir to be ruler of Minkai and that they'll need to travel north to do so. Such ends the first book of six.

The baron’s wife is dead. But she isn’t gone. Can the players lay her to rest and defeat the festering evil hidden away inside the Gilded Tower? Another thrilling tale of madness and mystery inspired by Edgar Allan Poe’s writing! Following the events of Masque of the Worms, the story continues into the hauntingly beautiful forests of the Painted Valley… Valley of the Gilded Tower is a one-shot for four to six 2nd-level characters. It takes about 2-3 hours to complete and includes: Events inspired by Edgar Allan Poe's most ethereal writing: -A new monster that can take over the minds of its victims -Combat cards for each monster, PC, and special treasure -Gorgeous, hand-drawn maps by Jake from Beware the Wizard

Once every decade, the tides of the Empyrean Ocean recede far enough to reveal the highest eaves of a mysterious undersea tower. Long ago this was an eldritch fastness of Sezrekan the Elder, the most wicked wizard ever to plague the Known World, but now the tower is known simply as the final resting place of the fabled Black Pearl – an artifact rumored to bring doom upon all who dare to posses it. Tonight the moon nearly fills the sky, and the tides have already begun to recede. Adventurers have eight short hours to explore the tower before the dark waters return. The fabled Black Pearl will be theirs for the taking…if they can survive the Pearl’s curse.