
The party finds themselves in a town being plagued by goblins, but not ordinary goblins - these goblins are zombified. Many of them are missing limbs and dripping with rot, but they still march to town with powerful intent. The party must help track down the origin of this plague - a Necromancer whose Blight Stone has been stolen by a group of mischievous kids who thought it would be fun to mess with the strange old man out in the woods.

In this prelude to the full Princes of the Apocalypse campaign book, adventurers face off against the influence of Elemental Cultists in the hills and canyons of the Dessarin Valley. The four mini-adventures within are only tangentially related to each-other, and instead serve as starting points and hooks for the plots of the complete Princes of the Apocalypse Campaign. Players start in the well-described town of Red Larch; first investigating a local necromancer, then uncovering cult influences within the town, and finally heading off to infiltrate or do battle with two small elemental cultist strongholds. All parts of this adventure can serve as great places to seed hooks for other campaigns.
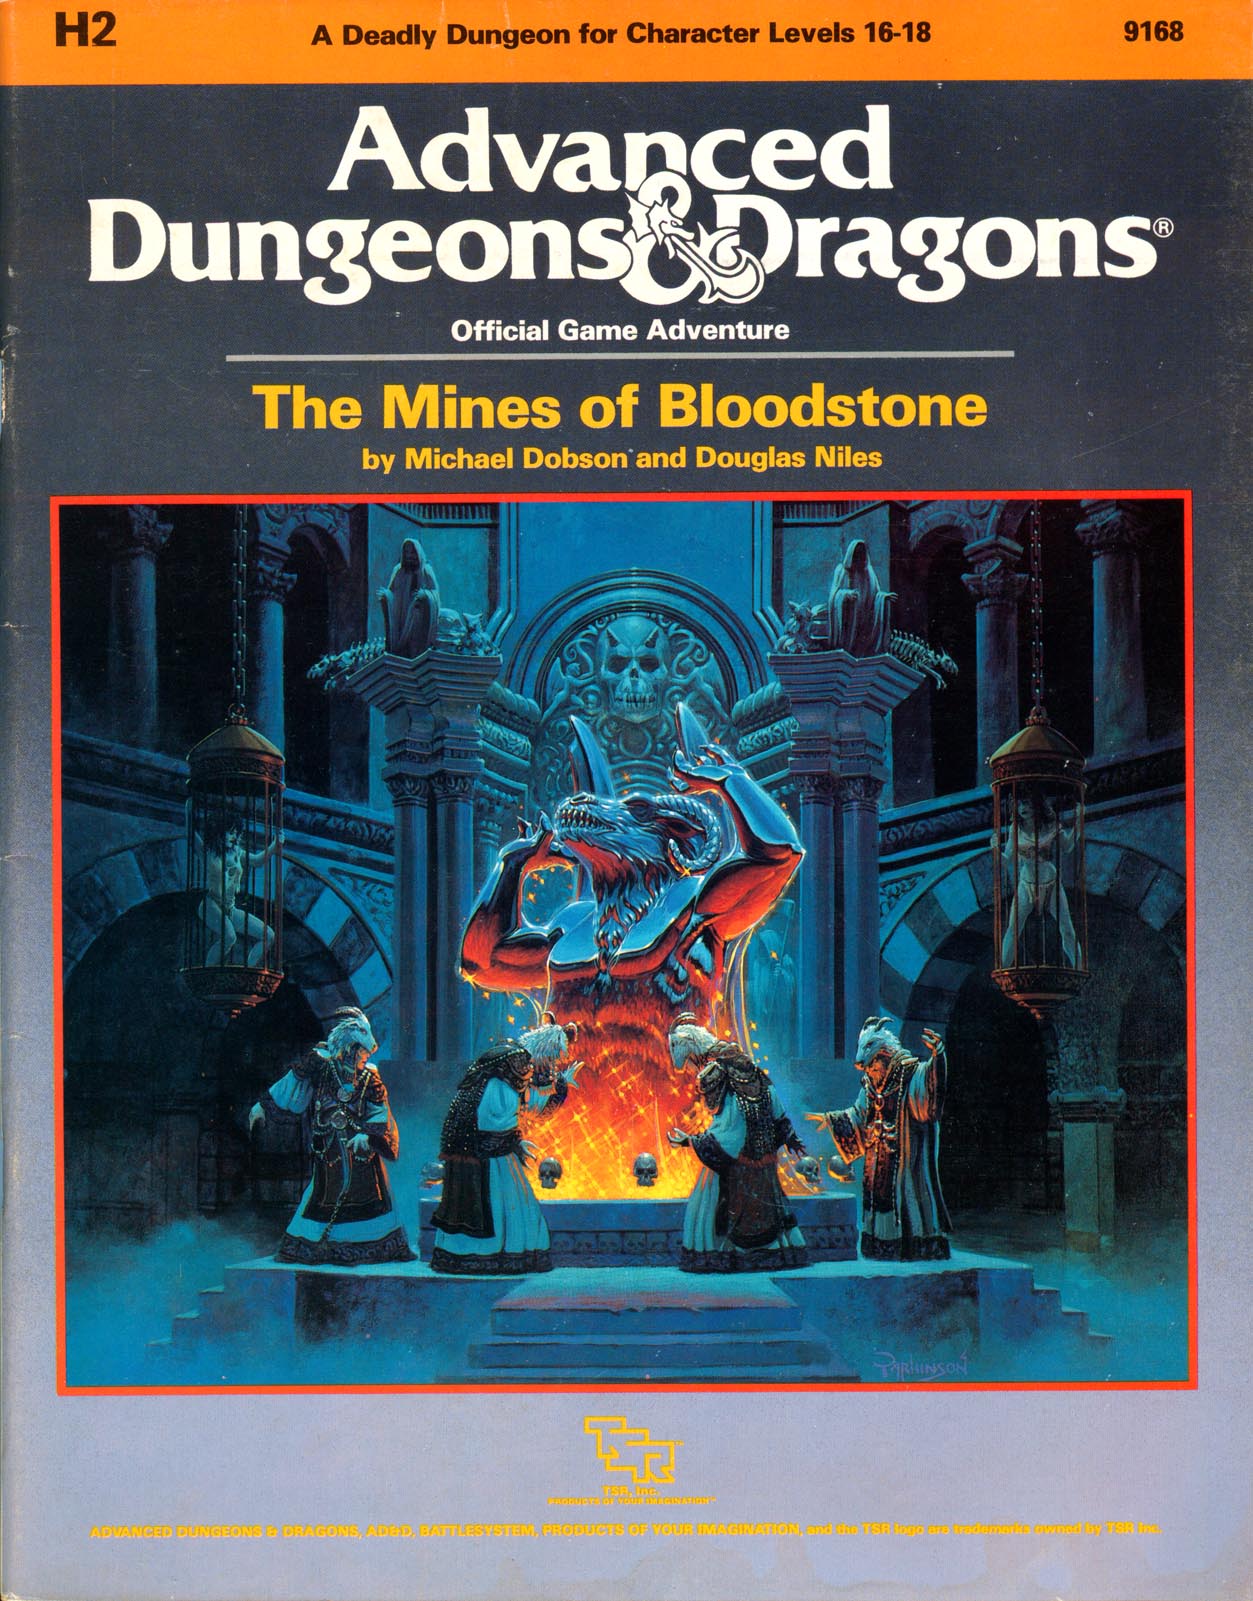
The most deadly dungeon ever devised! High-level characters brave the unexplored corridors of Deepearth to confront perhaps the most feared adversary in the AD&D game. The second chapter of the Bloodstone Pass saga follows the conclusion of the desperate war against the bandit army. A cold and bitter winter drives the villagers to the edge of starvation, and numerous horrors strike the town of Bloodstone Pass. Join the adventure as the heroes explore the depths of the ancient bloostone mines, now inhabited by fearsome demons. There they hope to uncover the fantastic treasures rumored to exist in the unknown darkness. But deep within the mines, all is not what it seems.... This module uses the new rules from the Dungeoneer's Survival Guide and Wilderness Survival Guide. The adventure also includes optional BATTLESYSTEM scenarios fought entirely underground. These supplementary products are not required to play the adventure, however. TSR 9168

Tears for Twilight Hollow is about mystery, danger and deceit- the players seek a missing Paladin in an increasingly-troubled town, chasing clues around a village and through a valley only to discover that the Paladin's old friend long ago began worship of an evil S&M goddess. Betraying her friend and trapping her soul in a Devourer, a powerful extraplanar undead creature, the evil priestess continually parades the soul-bereft corpse of their fallen Paladin in front of the villagers in a show of 'sorrow', all the while gaining immense pleasure from the village's pain. Pgs. 62-110

"Ribbons of blood dance through the air, tracing wide crimson arcs before fraying into thousands upon thousands of bright red droplets. The cheerful tavern atmosphere evaporates in a moment, rent apart by screams and cries. A woman with grey hair stands near the bar, grasping at the dagger in her throat with fingers made slippery by blood. She sways and collapses. More screams. A man stands before her. He is holding the hilt of the dagger, but lets it slip from a gory hand as the woman falls. He freezes for a moment, then spins and sprints away, knocking aside people as he goes. A young, flaxen-haired woman at the back of the tavern cries out, “Stop him! Stop him!” as he approaches the entrance – the entrance where you and your comrades are standing. What do you do?" A lonely outsider murders a popular village local before a room full of witnesses. But could he be innocent? The Lurker Beneath Red Larch is a 4-6 hour adventure for characters of 3rd-4th level. It is full of roleplaying, problem solving and challenging combat encounters.

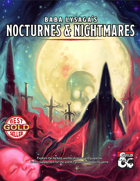
Do you want your players to feel like they are in a zombie movie, struggling against a deadly horde that tries to surround them, overpower them, and bear them down to the ground to be devoured? This is an adventure that can threaten even the stoutest of characters, and is not recommended for parties of levels 12 or below unless they are larger than normal. This module is designed to take 4-8 hours of play and cover a single day, depending on the party’s speed of play and how thoroughly they decide to explore. It includes suggestions and some plot hooks that can be used to tie this easily into a variety of long-running campaigns, or it can be run as an indepdent adventure. The players will come upon a sacked town, figure out what happened, track an item whose theft has ominious implications for the region, and explore a partly-flooded old temple to end the threat. It's primarily combat-focused, but there are a few areas where exploration and route choice makes a difference, as well as traps if the party goes for the optional temple treasury. The antagonists in this module are mostly ghasts and ghouls, but the module title and cover page are deliberately selected to not spoil this. These are greater ghouls and ghasts that can challenge higher-level characters, backed up by mobs of lesser ghouls that can surround, paralyze, and devour the weak and unlucky, led by a Warlord whose aura can drive even the stout-hearted into forgetting their plans in a moment of madness.
The Haunted Hamlet and other hexes details four unique modular locations for your game. Made for old school essentials, but can easily be used with other old-school systems or even 5E. The four locations detailed in the zine focus on gameable content and being easy to use at the table. The locations are not connected to one another and can be sprinkled onto your campaign map however you like, or run as one shots. The PDF is graphic and art heavy and utilizes random tables and other tools to make it easier for GMs to run in a pinch. Details: 40 pages Single column text 8.5 x 5.5 aspect Black & White Bookmarks Four hex locations Random tables A rival NPC party A sky merchant A one page town Two hirelings

Blight of Biel is a standard “fetch” mission with a twist. After finishing one adventure the PCs head to Biel for some rest. Sadly upon arrival at the thorp they discover the community has “the fever”. Only one person in town has not gotten ill and she needs some ingredients for a cure. This mission will require a quick resolution or the gravedigger will be busy! Oh yea…this game is called Dungeons & Dragons for a reason!

The Village of Hommlet has grown up around a crossroads in a woodland. Once far from any important activity, it became embroiled in the struggle between gods and demons when the Temple of Elemental Evil arose but a few leagues away. Luckily of its inhabitants, the Temple and its evil hordes were destroyed a decade ago, but Hommlet still suffers from incursions of bandits and strange monsters. TSR 9026

Let nothing end the Feast by the River. Let the celebration of our enemy’s vanquishing ring out night and day for eternity. Let the bones of our enemies and our prey mingle below our feet. This is your time, our time, the best time. —Queen Gellao on the eve of her victory over the followers of Dur; decreed at the River’s Bend feast hall

A fiend lurks among the Black Blade goblins. A shapeshifting barghest fashioned by the General of Gehenna to exact revenge on all goblin-kind. It’s aim: to kill as many goblin leaders as possible… A masked goblin approaches the party asking for help. Two tribe leaders are dead. But a rival for chief has control of the crime scene. Will the party discover the barghest among the goblin ranks? Can they stop this imposter before it strikes again? Adventure Overview The adventure’s story is spread over 4 parts and takes approximately 4 hours to play. The adventure begins with a Call to Action scene. Part 1: Goblin Politics. Krill sends his emissaries to implore help from any strong intermediary. The party is asked to investigate the murder of Thrawn in Dringly’s lair. This is Story Objective A. Part 2: The Opposition. Gain entry into Dringly’s lair and investigate the murder of Thrawn. Gather enough evidence to find the killer. This is Story Objective B. Part 3: To The Lair! Now that the players have determined the barghest (Yeep) is to blame, they need to get to Krill’s lair quickly as he is in imminent danger. This is Story Objective C. Part 4: The Barghest.When the players arrive at the lair, they need to get to Krill and expose and defeat the barghest. This is Story Objective D. Adventure Background A barghest named Yeep has begun its onslaught of attacks against the Black Blade goblins. Starting with Chief Gnar, then his second in command Thrawn, the barghest is moving methodically down the line of command. Krill is now chief. But he has some problems: Two leaders of the Black Blades are dead. Who killed them and why? Is he next? Dringly, the next in command, has decided to take his lair for himself, declaring himself Chief of the Black Blades. Who are the Black Blades? The Black Blades are a tribe of goblins in the local area. They are known for dipping their blades in a dark black substance. It is rumored these blades are poisonous. The Black Blades regularly attack passersby on the road to rob them. The Black Blades have two lairs, one run by a chief who leads the whole tribe, and another overseen by a boss lieutenant. The Black Blades have a well-established pecking order which is how Krill stands to become chief. The next in line is Dringly, who has also declared himself chief and wants Krill dead. Krill suspects that there is something suspicious about two leaders being killed within a day of each other, but he has already burned Gnar’s body without any investigation. He needs to investigate the body of Thrawn, but it is in Dringly’s lair. Krill wishes to avoid direct confrontation with Dringly at the present for three reasons: 1) Any violence would only kill his own tribe members and further divide the lairs. 2) He believes there is still hope for negotiation to reunite the Black Blades. 3) He believes that if he were to attempt negotiations himself, Dringly would kill him. This adventure features: Two maps. Ready for your favorite Virtual Tabletop. A full color pdf. A black and white pdf. One custom monster, a reprint of barghest, all others available in the Monster Manual. Four hours of entertainment involving: roll playing a goblin bard, investigating a murder scene, tracking down a barghest before it strikes again. Applicable to any setting.
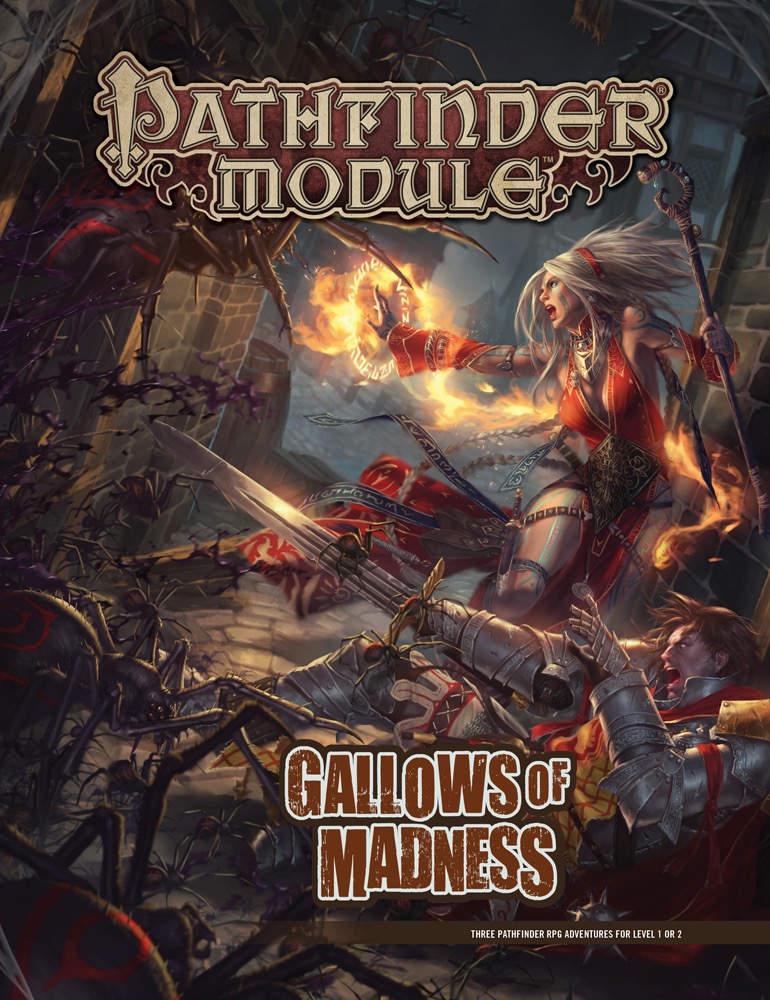
The Abyss Approaches! Something wicked—and monstrous—stirs around the rugged Isgeri town of Saringallow, where the hated legacy of noble Chelish diabolists runs deep. With the recent disappearance of several apprentices, the nearby menace of particularly grotesque goblins, and the unsettling rumors about the old Sarini Estate, Mayor Sandra Trinelli knows that she needs help, and she needs it fast! The heroes must confront one of these crises, or all three, if they hope to stem the tide of darkness that looms. Before too long, the heroes discover that villains with ties to the Abyss have set their sights on Saringallow, and won't rest until the settlement and all its innocent inhabitants fall victim to their madness-inducing predations! Gallows of Madness is a 64-page, highly versatile collection of three adventures for 1st-level characters. Each adventure also includes scaling information for parties of 2nd-level characters. Written with beginning Game Masters and players in mind while also providing challenging content for veterans, these adventures can be prepared quickly and run separately or in any order. For GMs who wish to run a deeper, more narrative game, this volume also offers an overarching timeline of events and detailed tips for running these adventures as a cohesive whole. Bonus content includes new monstrous foes and a gallery of NPCs to help easily connect the adventures, plus a gorgeous double-sided poster featuring an overview of Saringallow and a miniatures-scale battlemap!

In part two of the Rock Con scenario, our group of heroes heads towards Bibliotheca. This urban adventure has a variety of encounters unique to the city setting. Can the group uncover the missing books?

Welcome to the Port City of Antioch! This sprawling community is the seat of power for the Kingdom of Nirack and has more than a few sights to see! This setting was created for a desert (fore coming) series and was used as a base of operations for the adventurers. Many strange sights await those wishing to visit the area. Note in the player testing version there was a language barrier until a Dwarven slave was located to translate for the party! This is of course optional. Welcome to the exotic world on the southern shores of the Newmack Sea!

The Ivory Scimitar becomes convinced that some key of the Violet Corruption can be found in the old House Fleetwood within Daern Kelton. Braving the city, they journey to the house and discover several key pieces of informantion along the way may help them stop the corruption and defeat the dungeon once and for all. This adventure is formatted to both 1E & 5E gaming rules.

"Terror by night! The village of Orlane is dying. Once a small and thriving community, Orlane has become a maze of locked doors and frightened faces. Strangers are shunned, trade has withered. Rumors flourish, growing wilder with each retelling. Terrified peasants flee their homes, abandoning their farms with no explanation. Others simply disappear. . . No one seems to know the cause of the decay -- why are there no clues? Who skulks through the twisted shadows of the night? Who or what is behind the doom that has overtaken the village? It will take a brave and skillful band of adventurers to solve the dark riddle of Orlane!" TSR 9063
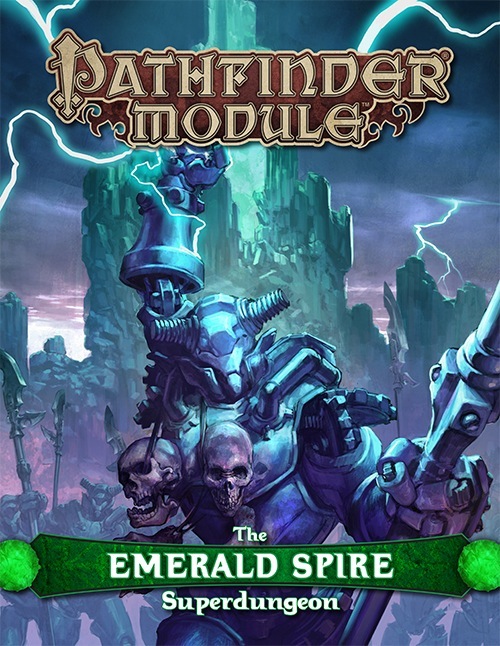
For ages untold, a gemstone monolith has pierced the heart of the Echo Wood. Now, as civilization intrudes upon this enigmatic splinter, a strange life once again stirs in the depths—one with ties to undying evils and a might beyond time itself. The promise of wealth and power calls to glory-seekers from across the Inner Sea region, tempting them into a labyrinth of monster-haunted vaults, defiled tombs, arcane laboratories, and worse, as they seek to unveil the secrets locked below the legendary Emerald Spire.

As a new adventurer, you haven’t been able to catch a break. Just as you empty your mug, a job opportunity presents itself! A crazy Gnome, (Guy Fieri) has gotten ahold of a Wand of Construct and is animating mundane objects that are causing problems! Can you stop the Gnome and gain the mantle of “Hero”?

"TRAPPED! What’s that gigantic stage? Why does that village look so out of place? How do you escape this place and why are those two ballistae arguing like siblings?! Find out in the Mezzanine, a Domain of Delight created by an Unseelie archfey named the Grand Director." In the land of fairies, lives an imprisoned archfey named The Grand Director. He made the mistake of disrespecting his evil queen and tries to perfect his horrible play. Within this adventure you will find an Unfinished Wall, a Dance Battle, and Trippy Mushrooms. Your characters have become trapped in the Feywild and they must get the locals to set aside their differences to help the archfey revamp his play for the Unseelie Queen.
Night of the Scarecrow is a fairy-tale adventure for Tier 1 characters (Levels 1-3), loosely based on the Russian story Vasilisa the Beautiful. The party must seek for assistance from the ferocious hag Lucinda Lilywhite in order to discover how to defeat a monster of nightmares, and must complete three deadly tasks to gain her help. The village of Nalva is no stranger to creatures of horror. All kinds of bogles and shadows find their way there from time to time. But when a new and unfamiliar creature appears and starts snatching locals into an unknown dimension, their normal defenses are insufficient. The only solution they can think of is to brave the forest and beg the assistance of the local hag, Lucinda Lilywhite. A fearsome creature in her own right, Lucinda has a reputation for burning visitors to ash when they are insufficiently polite to her. But by all accounts she keeps to her bargains, and if found in the right mood, perhaps she will provide the advice and help they need.