
The Dwarven clans are in chaos, and a powerful host of goblins stand poised to sweep over the land in a wave of death and terror. Only the Axe of the Dwarvish Lords- one of the most powerful weapons ever created by the dwarven race- holds the key to ultimate victory against the massing humanoids. Can the PCs brave the labyrinth of an abandoned dwarven stronghold to find the Axe? TSR 11347

The Denali Monarchy has been toppled and the citizens have formed a new government. The new head of the government, called The Hona, has requested additional help from the party. For a long time an island to the east called Rodo has been a source of goods for the land. The Hona wants to make sure that local regent, Lord Karlock, is going to continue to be a part of Denali or if he has other “thoughts” on the matter. Is your party ready for a diplomatic relations mission?

What angers the spirits? You don't have long to find out. An angry spirit can even steal the rain. The characters must appease a spirit that has brought drought to the area. Before they can summon him, however, they'll need to collect magical water from three shrines. Pgs. 35-43

In a small town the adventurers were hired to retrieve some worg puppies out of a goblin village. The dog breeder will pay well for the puppies. But will the goblins give up their animals? Let’s find out together. I wish you a lot of fun with the cute little puppies

The first part of the Dreams of Red Wizards adventure path originally published for the D&D NEXT Playtest. Following the events Ghosts of Dragonspear Castle, a new set of adventurer's will see some of the repercussions of that adventure. This adventure is intended to be continued in the Dead in Thay adventure (Note that they Dead in Thay 5e adventure featured in Tales from the Yawning Portal is missing a significant portion of interlude that links Scourge of the Sword Coast to the events within the Doomvault). The adventurers arrive when Daggerford is crowded with refugees from outlying lands. Goblins, gnolls, and orcs have been raiding the countryside. Now, food is scarce and tension is high. Blame for a theft has fallen on the refugees, and the Duke of Daggerford has forbidden more of the displaced from coming into town. After overcoming difficulties to enter Daggerford, the characters learn more about the raids. As they fight against the humanoids and delve deeper in the darkness that encircles Daggerford, the characters learn of Bloodgate Keep. After a final fiendish ambush, they’re ready to confront the real threat to the area. DM Note: This adventure points the adventurers strongly towards Bloodgate Keep but that location does not appear until the Dead in Thay adventure; at several points the party may feel drawn to explore that location rather than continue their investigations around Daggerford. However, since Bloodgate Keep is only eluded to as a source of great evil power, it can serve to easily segue to an entirely different adventure path. As a NEXT Playtest adventure, Scourge of the Sword Coast uses milestone leveling and the included stat blocks for creatures do not necessarily match or even appear in the 5e Monster Manual, nor do they have XP values or challenge ratings. In some places it will reference rules used in the Playtest but dropped or changed in the 5e release, these are unlikely to substantially impact gampley with 5e rules.

Far from the nearest town, hidden deep in the forest, lies a marshy, boggy valley. Woodsmen and hunters shun the place—kept away by rumours of a terrible beast lairing within and of a ghost haunting the valley’s boggy mere. But, as well as great danger, treasures magical and mundane may yet lie unclaimed in the valley for three unexplored tombs built by ancient hands, stand amid the mud and reeds. Dare you explore the Shunned Valley of the Three Tombs?

At times adventuring groups will hit a town after a successful foray and go their separate ways for a short time. This adventure centers on such a scenario with one member opting to chase down a thief that has burgled the merchant’s guild. When checking with their cohorts the adventurer discovers they are the only one interested and, since its only one thief, the challenge should be fairly easy….right?
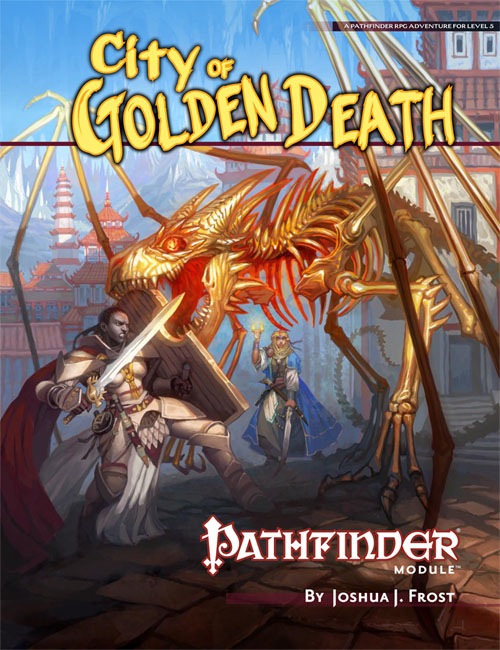
In the center of Lake Encarthan looms the dreaded Isle of Terror, accursed land of mystery and treachery. Hidden within the island's negative energy storms, the secret treasure city of the wizard-king Tar-Baphon has lain sealed for centuries. Now masked cultists have opened the golden city of Xin-Grafar to claim the wealth of the legendary city for the Living God Razmir. Can the PCs track the cultists through the poisoned swamps and blasted wastelands of the Isle of Terror to the City of Golden Death itself? And what forgotten dangers will oppose them as they struggle to prevent a dark faith from spreading across the world? Part 3 of the Price of Immortality trilogy.
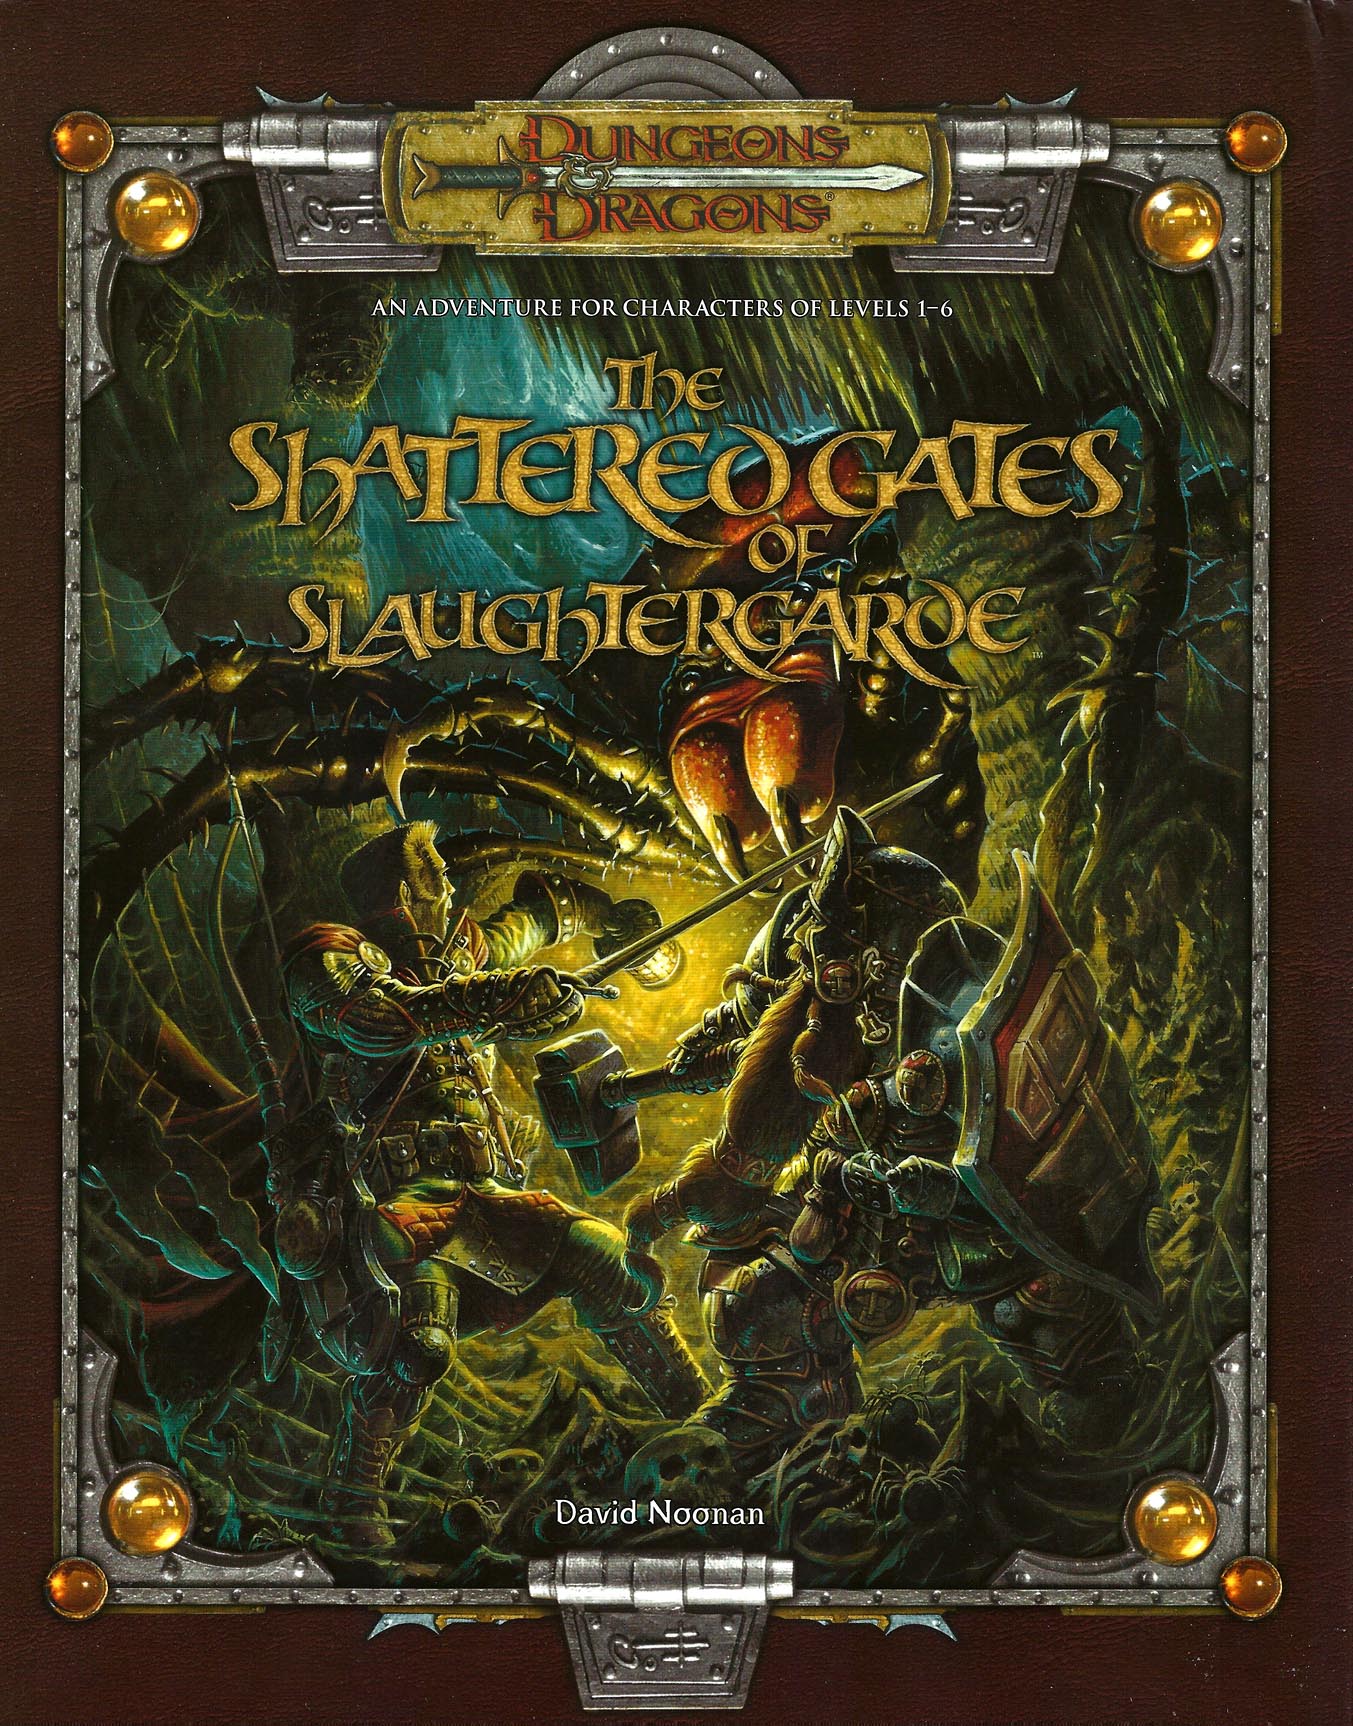
An ancient gate to the abyss lies undisturbed in the Valley of Obelisks. Sinister forces seek to reactivate the gate for their own ends, can the heroes stop them in time?

With your first set of adventures firmly under your belt you are relaxing and basking in the glory of a job well done. While at the local tavern imbibing in some well-earned spirits, a commotion can be heard outside. As you step outside the villagers are pampering two children who apparently just rode into town on a very sweaty and tired pony. An arrow is sticking out of the mount’s flank. As the animal is removed the townspeople pepper the children with questions as both are obviously afraid. It would appear the drinks will have to wait.

Valachan: Hunter’s Moon is a slasher/gothic horror adventure for 4-5 level characters of 8-9th level. It can be played over the course of 6-8 hours and should roughly take one playing session, if the party is quick, or two if the party is progressing slowly. This is the fourth and final part of the Carnival of Lost Souls campaign, which can also be played as a standalone adventure. Valachan: Hunter’s Moon features: Fully fleshed out Trial of Hearts with dangerous encounters along the journey Rules for sabotaging rival parties before the Trial New custom monsters to make combat encounters truly memorable and exciting High-quality maps, also available in universal vtt format Check out the previous adventures in the series: Lamordia: The Hardest of Hearts, Dementlieu: Dance with the Devil and Kalakeri: The Forbidden Temple! And look out for the special Campaign Guide, which will explain in detail how to best set up and play the campaign. However, if you want to start your campaign right now, don’t worry - we have included a short appendix at the end of each adventure that will explain the basics! Disclaimer: We are a team of writers from Ukraine, so the unprovoked war and senseless aggression of the terrorist state of russia influenced our initial timelines significantly. However, we are now as safe as we can ever be under the constant threat of missile strikes, and determined to finish the whole series! And after that - who knows, maybe even more cool adventures will follow ;)

"Monument of the Thunderer" is a desert half-dragon lair intended to challenge a party of four 7th-level characters. Near the city state of Makuria, on a small island in the middle of the Green Nuria River, an immense stone sculpture of a dragon watches over the mighty Red Cliffs and the waterfall that pours off them. The monument was built by ancient worshipers of the Mharoti conqueror known as Zulatil the Thunderer, but now serves as a base of operations for a band of sinister thugs who call themselves the Red Cliff Raiders.

This campaign was created as a response to comments from some friends of mine. Though they were avid board game players, they didn’t want to try D&D because it seemed like too much of a time commitment with too many rules to learn before getting started. This campaign uses stripped down characters and a simple campaign, and was made to give them a chance to try it for half an hour on a regular board games night. I’m putting it online in the hopes that other people can do the same with it and expand the community. Inspired by /u/plaintreality of Reddit.
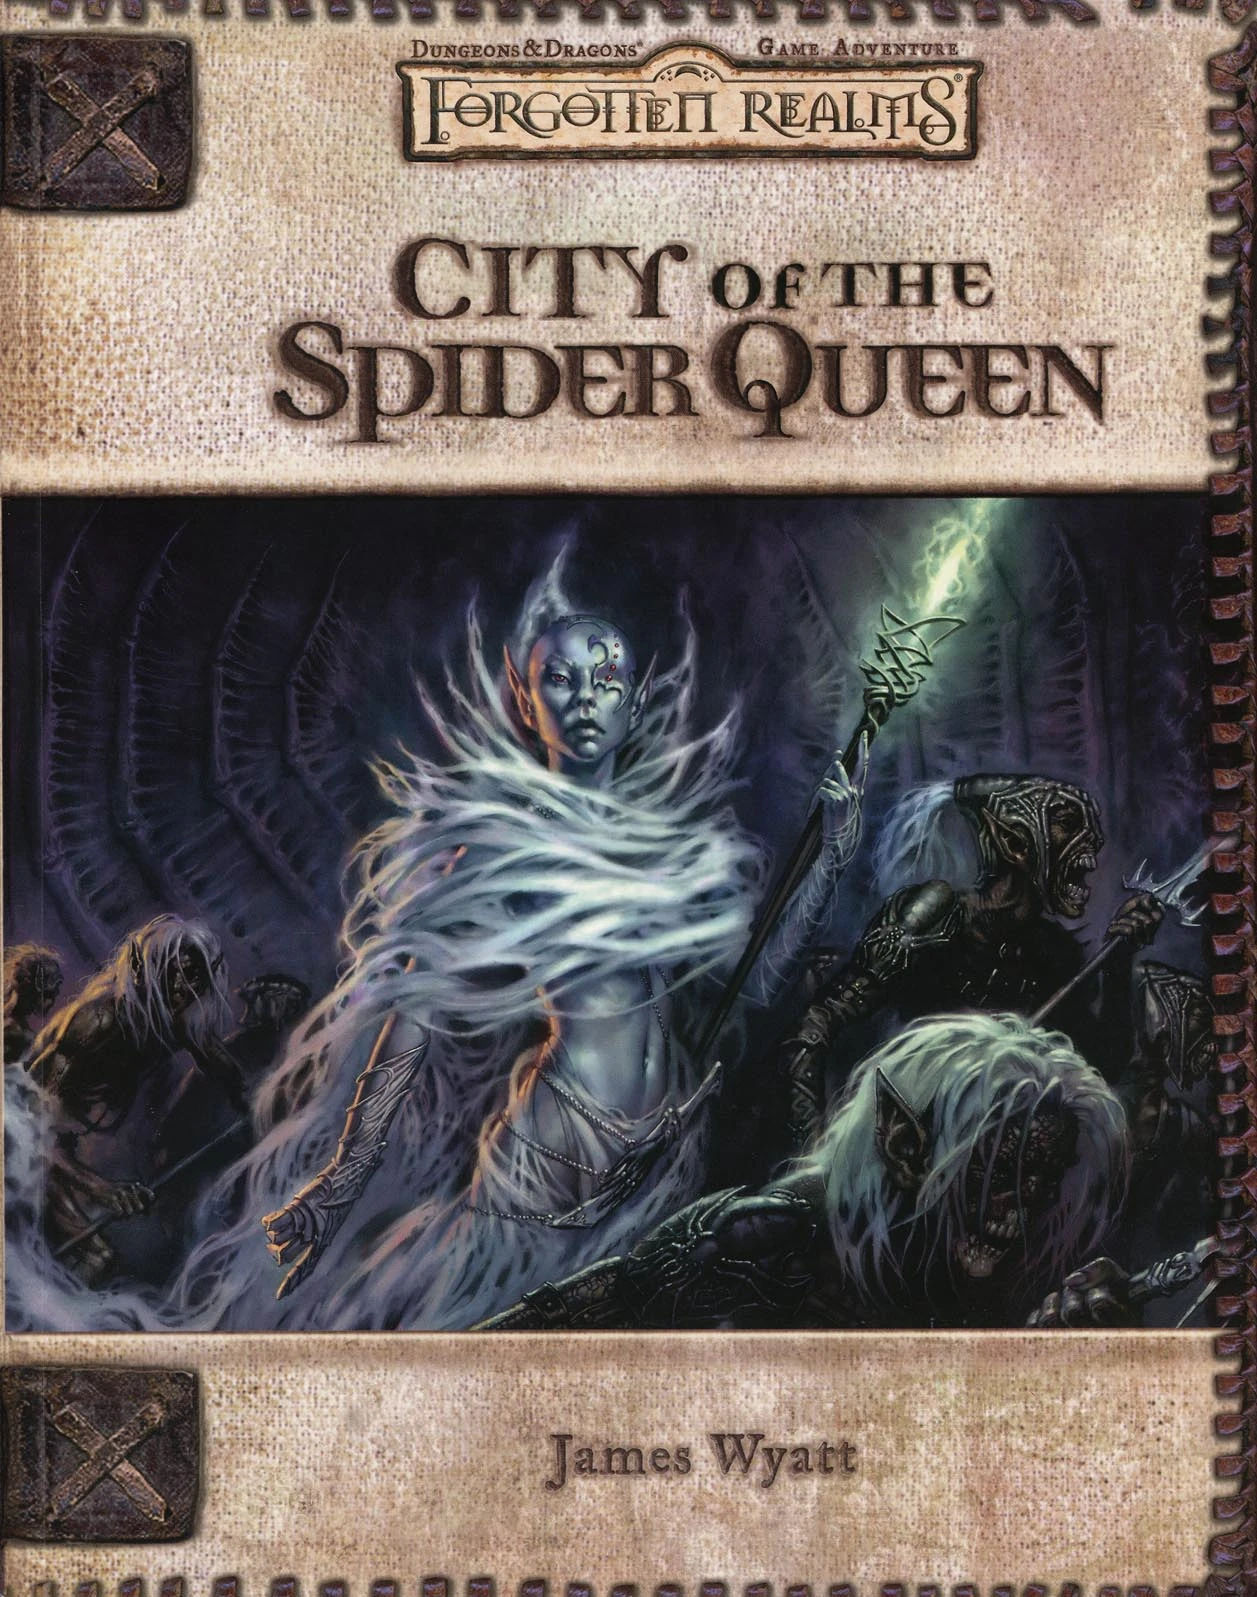
The Fate of Faerûn Lies in Shadowy Darkness! Daggerdale is reeling from a sudden series of murderous drow raids. As a grave threat to the entire surface world develops in the war-torn dark elf city of Maerimydra, intrepid heroes must discover its source and destroy it, if they can.

The quest continues…kind of! After enjoying the accolades of your previous successes in the Barony of the Knolls, your group begins to get that adventuring itch and finds a job opportunity and will allow you to see more of the Duchy of Bast at the same time. The local caravan service is in need of a few hearty individuals that can handle themselves in a fight. A quick trip to Phillipsburg should give you an idea of where you would like to go next right?

A peaceful isolated village has hosted its share of superstitions, but something real is poised to plague the citizens of the community. Can heroes rise to prevent the destruction of the village? What drives some to leave the safety of their communities and start along the path of adventure. Maybe it is something in their background that compels them; maybe it is the lure of treasure; maybe it is just a curious map. It is the first episode in the Drow Conspiracy. Published by Dan Hass Endeavors.

The characters, members of the Clifftop Adventurers’ Guild, have been tasked with acquiring the Chains of Mur’taal, an artifact tied to Thelanis, by their guild handler, Lhara. This artifact is the latest in a series that Provost Nigel Faurious has commissioned the Clifftop guild to retrieve for him. The adventure starts when the characters arrive in Rhukaan Draal via Orien caravan. They’re given a chance to explore a small portion of the city before they head to a local bar to meet their contact provided by Lhara. Accompanied by a local guide, they make their way to the Seawall Mountains, where they’ll have to follow clues and their intuition to find the Valley of the Hero, which conceals the artifact that they’ve been hired to obtain. In order to earn the artifact, characters must first pass three tests laid before them by the Story: The Test of Courage, the Challenge of Wisdom, and the Trial of Honor. Once they finish the tests and collect the artifact, the party heads back toward Rhukaan Draal. But there are Marguul forces in the area, and they don’t intend to let the heroes escape with a priceless piece of their folklore…

To arms! To arms! The battle lines are drawn as desert men and inhuman tribes wait poised to strike on the fertile and rich lands of the east. The call has gone out through the civilized lands. The armies have been raised to match the invading foes from the west. Nobles and peasants have joined swords to greet the foes. But Fate or Chance has decreed another role for a small few. No glorious banners will wave on their march. No squadrons of knights will charge at their word. Instead, they will fight the war with stealth, secrecy, and cunning. The risks they will take are great, but the fates of both armies lie with them. It begins one night for your party far from the fighting. Suddenly you are entrusted with the most dangerous mission of the war. Can you cross the Sind Desert, occupied now by enemy armies, to find the Great Pass? Can you find the one known only as The Master? What will you do if you find him? So begins your adventure in The Master of the Desert Nomads, the first module of a two-part adventure that can be concluded in the exciting Temple of Death or played entirely on its own. Can your party do what must be done? TSR 9068

Meaningful decisions, unexpected twists and memorable characters are the foundations of this dark 4-hour adventure for 5th to 10th level characters. A chance encounter on an unassuming road leads to a dangerous and lucrative opportunity. But what seems simple on the surface turns out to be much more below. Thrust into a world where every enemy has an enemy and everyone has their own dark motive, the only chance to survive is to ally with the right foe. Sometimes “doing the right thing” comes only in shades of black. Six Summoned Swords is a stand-alone adventure that begins on the side of the road leading to Phlan and can be easily accessed by any adventurers traveling through the Moonsea region. In addition to a world full of intrigue and complex character choices, purchasing this adventure includes: An Official Adventurers League magic item certificate Printable portrait cards with roleplaying tips for important NPCs Gridded reference maps for combat encounters Condition icons to help track character status Special Certificate Holder ideal for event play NEW: Season 8 Item Unlock Handout - prints 9 to a page, one for every player! * Looking for an adventure to run at your special game day or convention? This adventure includes a “certificate holder” that features specially created art of the adventure’s magic item. When printed in colour and on card stock, it perfectly frames the official AL magic item certificate from this adventure and makes for an unforgettable souvenir. About the Swords Below the Moonsea Saga The saga consists of three adventures, with this adventure serving as a stand-alone prelude. The series continues with Six Striking Swords and Six Swords Unbound, the two of which should be played in tandem.

Something strange lurks within the stony confines of an abandoned wizard’s tower. The sole surviving member of a forlorn adventuring party is desperate to find out what happened to his friends and is willing to provide a generous reward to anybody willing to launch a second expedition. Will the heroes uncover the secrets of the tower, or will they also disappear into the darkness?