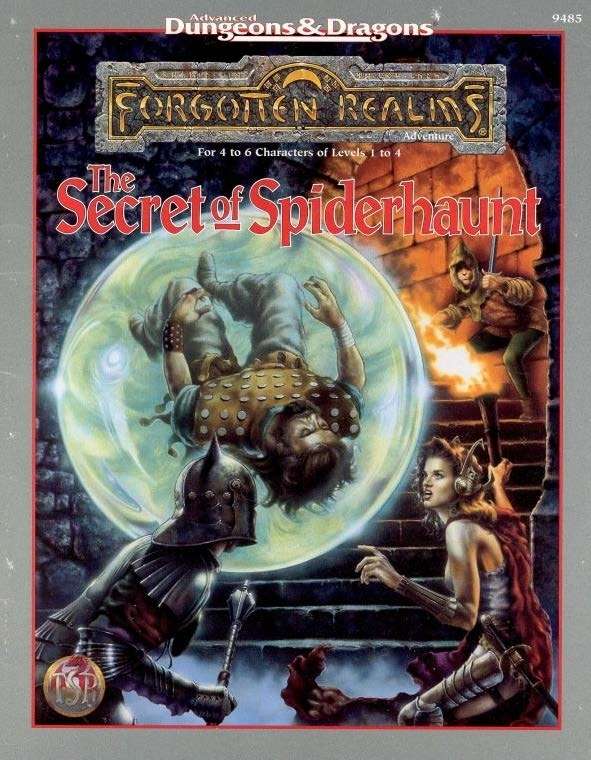
The infamous Sword of the Dales has always held a certain fascination in the eyes and hearts of the citizens of the Dalelands. Thus, it was no surprise when Randal Morn, rebel leader of Daggerdale, led an expedition into the crypt of a long-dead wizard to recover the weapon. Shaevyn the weapons-mage had created the Sword long ago, and it stood to reason that the blade would be waiting within his tomb. Perhaps the Sword of the Dales woulld allow Randal Morn to rule Daggerdale once again. But Randal Morn never returned from that fated party. Only tales of terror told by a lone survivor held any clues as to Randal's fate. A brave hand of heroes accomplished what Randal Morn's group failed to do in part one of this adventure trilogy, "The Sword of the Dales." Battling through the tomb's undead inhabitants, those heroes reached the burial crypt of Shraevyn. There, resting in the center of the coffin, was the Sword of the Dales, its azure glow filling the chamber. However, there was no sign of Randal Morn. Only a note signed by his hand held any clue as to his fate. "Seek me in Spiderhaunt," it proclaimed. "The fate of Daggerdale is in your hands." This is the second part of a trilogy of modules that began with "The Sword of the Dales." The saga concludes with "The Return of Randal Morn." TSR 9485

In Necromancer’s Last Stand, your high level party is placed into the middle of a several decades old conflict. A new plan has developed as the forces of good begin to make headway. Called to the general’s tent you and your associates are asked to accept a hazardous ‘end around’ move to attempt to take out the evil leader. The way will not be easy and a plethora of challenges lay between the general’s tent and victory. There will not be attack and retreat opportunities and you know you’ve only got one shot at ending the violent conflict.

Today we bring out a scenario for a pair of budding first level adventurers. Originally used to teach D&D to a novice, this fleshed out into a trio of adventures set on the northern island of Esaq off the coast of the ancient Greyloch Kingdom. Home to a Halfling population, the adventure takes two young people on a thrilling adventure after the duo’s home is raided by slavers. The novice delvers head east to rescue their family and fellow villagers!
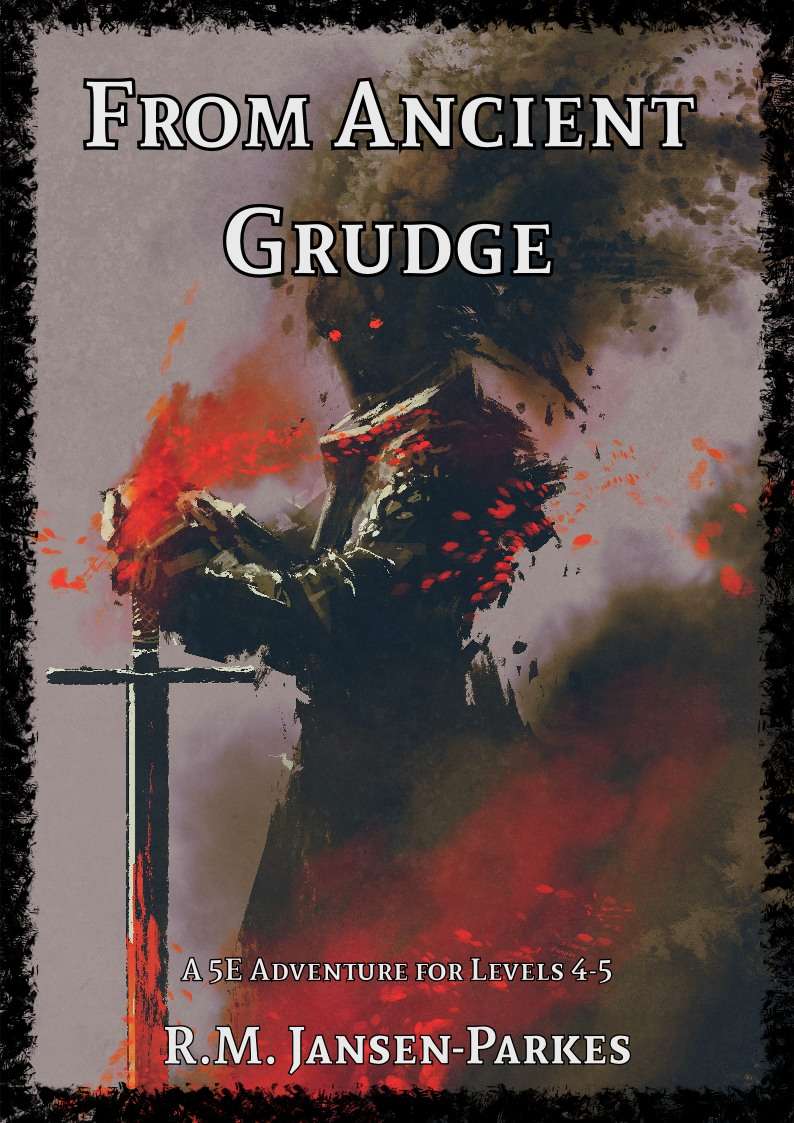
A Star-Crossed Tragedy. When the party is hired to investigate a haunted castle, they’re drawn into a tale of hatred, love and betrayal stretching back more then 300 years. Will they be able to free the ghosts haunting Arevon Castle, or will they find themselves just another footnote in its long history of misery?

FVC8 – Youngblood Keep has a seasoned party meeting with Lady Enorra, a noblewoman at the northern frontier. She has requested the party by name to help her recover a valuable artifact called the Eggstone. After accepting the job you find yourself at a locale known as the Chapel of Ancients and that is when things really get strange! Youngblood Keep used to be a fortress in the area but was ripped from this plane of existence to another. Who’s up for a quick trip to Hell and back?

The fourth installment of the Filbar Dual (FD) series is The Hunt for Charon and picks up where the FD3 - Crisis at Marstan left off. Your pair of intrepid adventurers is off to find out who orchestrated the attack at Marstan. When the previous adventure concluded they discovered a note mentioning a “Charon” as behind the attack and the humanoid raiders. This adventure will see if the pair can find and defeat this person/humanoid and protect the area once and for all.

While doing due diligence going over some dusty tomes you have discovered a scrap giving you a clue about some magical items in a strange obelisk somewhere in the vicinity. The adventure takes the PCs across the Torgoth’s Causeway into the frontier. A few coins to a local sage and you will have a better idea on where to go…or so it would seem.

"The Tree Prince“ is a short adventure. The adventurers will meet a fae leader for whom they will fulfill a task.

The beginning adventure to the Dragonlance, War of the Lance series of adventures, upon which the Dragonlance novels are based. The companions meet in the Inn of the Last Home to discover a barbarian couple with a mysterious staff. The PCs journey to discover the staff's history which leads them to a ruined temple to the Forgotten Gods. Includes a full map of Xak Tsaroth and overland maps, some color. Art by Jeff Easley. TSR 9130

Halfling thief, Alton Lightheart, awakens to discover his shadow is gone! A child's doll kills its victims in a cruel and unexpected way. A sound-stealing sword is lost in a ruined volcanic temple. Among the witch’s valley mist, The Murk, sinister fey shadows terrorize the forest, demon spirits haunt old ruins, and undead howl from the volcanic shrine. Can the adventurer’s purge the vale of evil to gain its lost magic and riches? A three part adventure: 1. Alton’s Shadow: Delirious, bloodstained, alone. Halfing thief, Alton Lightheart, awakens to discover his shadow is gone! Will the adventurers help him to confront the unknown dread that awaits him? 2. The Vanishing at Rhu: Long Ago, the folk of Rhu made an agreement with a witch to save the thorp from destruction. She honored the agreement, but the folk broke their promise. One year later the village was razed. How? What wickedness lurks among the ruins of the fallen-tree village? 3. Stillness: A temple suffers a volcanic eruption. Believing it is the will of an angry god, all of its shaman are ritually slain. After years of disuse, the temple awakens as the zealots are reborn . . . as undead. Meanwhile, a magic sound-stealing sword is lost by explorers. Should an expedition seek the weapon and uncover the secrets of the lost shrine? Published by Wicked Cool Games
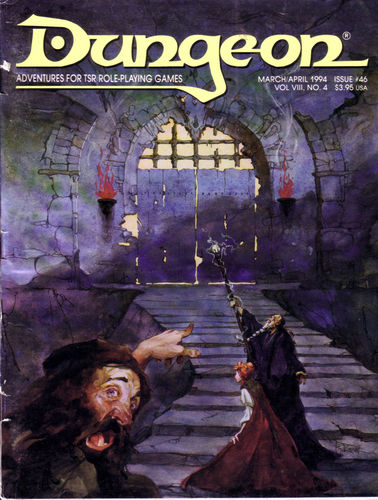
If the drought doesn't get you, the goblins will. The river has mysteriously run dry and the farmers' crops are in peril. Locals are convinced a nearby tribe of goblins are responsible, and have offered a reward to anyone brave enough to sort it out. While they were correct about the goblins causing the drought, they were wrong about the reason. The chief of the goblin tribe is an enthusiastic fisher and a particular fish, Salvel the Talking Trout has continually eluded him. This adventure has a humourous tone and emphasises role-playing and negotiating. Pgs. 8-21 & 49

The End of the World Is at Hand! A hideous death cult has seized control of an ancient artifact-monument known as Tovag Baragu. The power behind the cult is the Old One himself, Iuz the Evil, demonic master of an empire. He's on an all-or-nothing quest for supremacy over the world—and the heavens beyond. To stop him, heroes must face horrors never dreamed of, journeying to a shadowed city where Death rules and the living cower. Here, Iuz will achieve his mad dream by destroying the imprisoned master of that alien citadel: Vecna, the mightiest lich, an immortal demigod. Two items exist with the power to stop Iuz—the Eye and the Hand of Vecna—but using them carries fantastic risks. Not even the gods know what will be unleashed when these items are fully activated. Die Vecna Die! takes the heroes from the Greyhawk campaign to the demiplane of Ravenloft and then to the Planescape city of Sigil. However, none of the material from those settings is required for play. TSR 11662

5e Solo Gamebooks presents Drums at Daggerford, the fifth in our continual series of solo adventures set in the Forgotten Realms. This quest enables you to experience D&D without a dungeon master! Simply roll up a level 5 PC and get playing. Drums at Daggerford is the way you must experience solo adventuring. Players and DMs beware, a new standard has been set. This solo adventure continues the story arc first begun in Death Knight’s Squire, developed further in Tyrant of Zhentil Keep & Citadel of the Raven, and left in The Tortured Land. Drums at Daggerford’s ability to echo a Tolkien spirit reverberates throughout the narrative no matter which path you may choose. But choose wisely because a razor’s edge separates peril from glory. Over a year in the writing, this latest instalment in our solo adventure series is a mini sandbox campaign that will give you anywhere up to 8 hours of solo adventuring enjoyment. Completionists and those who like to replay these adventures will get even more gametime. There are mysteries to be uncovered, items and sidekicks to be gained, codewords to unlock and villains to conquer! With lots of exploration, meaningful decisions, hard fights, and a variety of rewards and stories, Drums at Daggerford will continue to resonate with you long after solving the big mystery behind Krond Vikkurk’s malevolent plans.
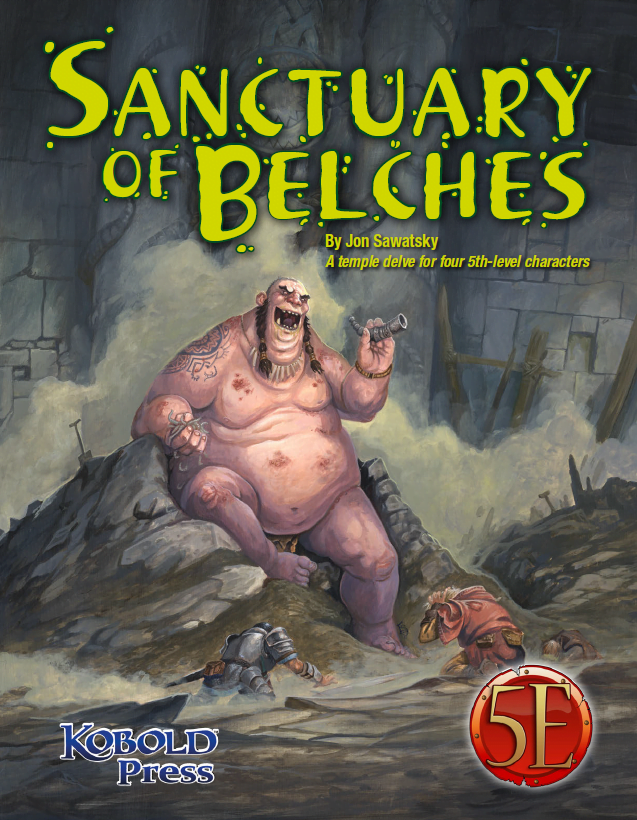
The trouble began several weeks ago when a duergar excavation team went to work in a long-abandoned temple. Drawn to the temple by stories of riches and artifacts, the duergar hired several giants as laborers before cracking the temple’s sealed doors. The largest of the giants, a loathsome Thursir mutant named Huppo, used his acidic vomit to expedite tunneling into the temple’s collapsed hall of worship. Then, Huppo found the horn—an unusual instrument made from a single piece of stone, with a mouthpiece so intricate only a master carver could have made it. The horn became the giant’s obsession. Seeing only the horn’s potential sale value, the dwarves demanded Huppo turn it over to them, but Huppo refused. To force compliance, the dwarves stopped feeding the gluttonous brute, but Huppo had already found his own source of food; in deep areas of the temple, worms were chewing out of the rocks, and Huppo ate them by the fistful. He also played the horn. Then, after several days of blowing the horn and devouring the strange worms, Huppo released a belch so noxious the dwarves had no choice but to lock him in a sealed chamber and carefully consider their next move. The horn’s call, however, had caught the attention of passing nomadic orcs. They set up camp outside the temple entrance in the hope of finding the horn and its player. That’s the current situation at the temple: the giant refuses to stop blowing the horn and belching out deadly clouds of stomach gas; the dwarves are frightened and edgy while their leader is obsessed with malevolent whispers; orcs are threatening to overrun the place; and the population of worms grows steadily as something awakens deep in the stone beneath the sanctuary of belches.
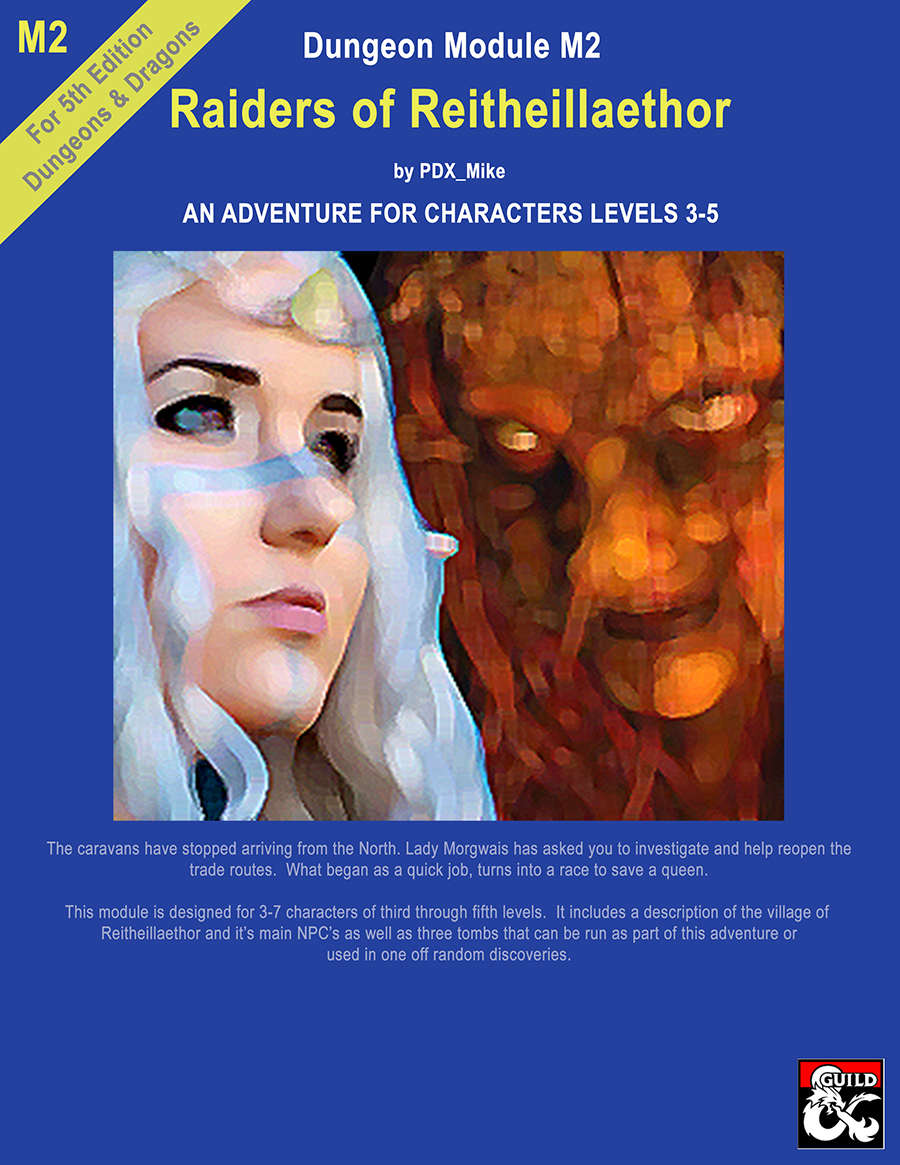
This is the second of the "High Forest Factbook" adventures series. The caravans have stopped arriving from the North. Lady Morgwais has asked you to investigate and help reopen the trade routes. What begins as a quick job turns into a race to save a queen. This module includes a detailed description of the Elven village of Reitheillaethor including it's NPCs. It can be run either as a continuation of the adventure started in "Menace of Merric", as an extended stand alone adventure or the three individual tombs included in it can be run as short one-off adventures.

While searching for a series of missing people in the Galago Hills, the party comes across a cave decorated with disturbingly life-like statues. What lurks in the cave isn’t anything as simple as a monstrous basilisk, however. After all, what evil could possibly be as dark and dangerous as that which lurks in the heart of mortal men?

An injured young fisherman stumbles into Elventree with a brightly colored egg in his arms. He claims it fell from the sky and broke his rowboat. When he swam to the shore an elf with skin of ash attacked him and tried to take the egg. Will you help him keep it safe, Adventurers? The Module This module is 35 pages of adventurer's league fun centered around a mysterious egg that has fallen from the sky, a journey into the Feywild, and a meeting with an Archfey. It rewards exploration, social bravery, and the combats are well tuned for the tier with interesting enemies. Also Included! There are 15 map files included with this document that cover Dungeon Master, Player, gridded, gridless (for use with your Virtual Tabletop of choice!), and greyscale! In addition, there's a high resolution artwork of the Archfey present in the module.

The search for a missing paladin takes the PCs deep into the heart of a frontier torn apart by cult wars—and face to face with an ancient evil. The paladin Jaryd set out to find and destroy the Hand of Naarash. He was never heard from again. Now the PCs must retrace Jaryn’s steps across the harsh wilderness and determine what has become of the noble warrior. Pgs. 29-59

The land lies under a curse. Fruit drops to the ground, its pulp black and rotten. Leaves curl and wither on the branches. Animals flee the parched vale, or starve. Long ago, the Downs prospered under the care of Druids, but the priests of nature have retreated deep into the woods and rarely show themselves. One old man claims that the Druids have the power to save the valley, if only someone could find their Oracle to seek help. Will you reach the Forest Oracle of the Druids in time? And if you do, can they really lift the curse? Or does the answer lie elsewhere? Only the most daring and cunning adventurers will save the Downs. N2: "The Forest Oracle" (1984), by Carl Smith, is the second AD&D adventure in the novice (N-) series. Unlike its predecessor, it is not intended for 1st-level adventurers, but instead for 2nd level and up. This conversion guide allows DMs to run the original module with 5th Edition rules and provides a reference sheet for encounters. Also contains suggestions for placement in the Forgotten Realms. To use this conversion guide you will need a copy of The Forest Oracle, originally available in hard-copy and now for sale in Digital format on the DMs Guild. Visit Classicmodulestoday.com to find out how you can create your own classic module conversions and sell them on the DMs Guild.

Life on the Moonsea isn't easy. Bandits, pirates, and cruel lords dominate the land, threatening those who make an honest living there. Now, a new scourge is prowling the waters: A ghost ship has been striking small coastal villages, leaving its victims whispering about the "eye of the dracolich."