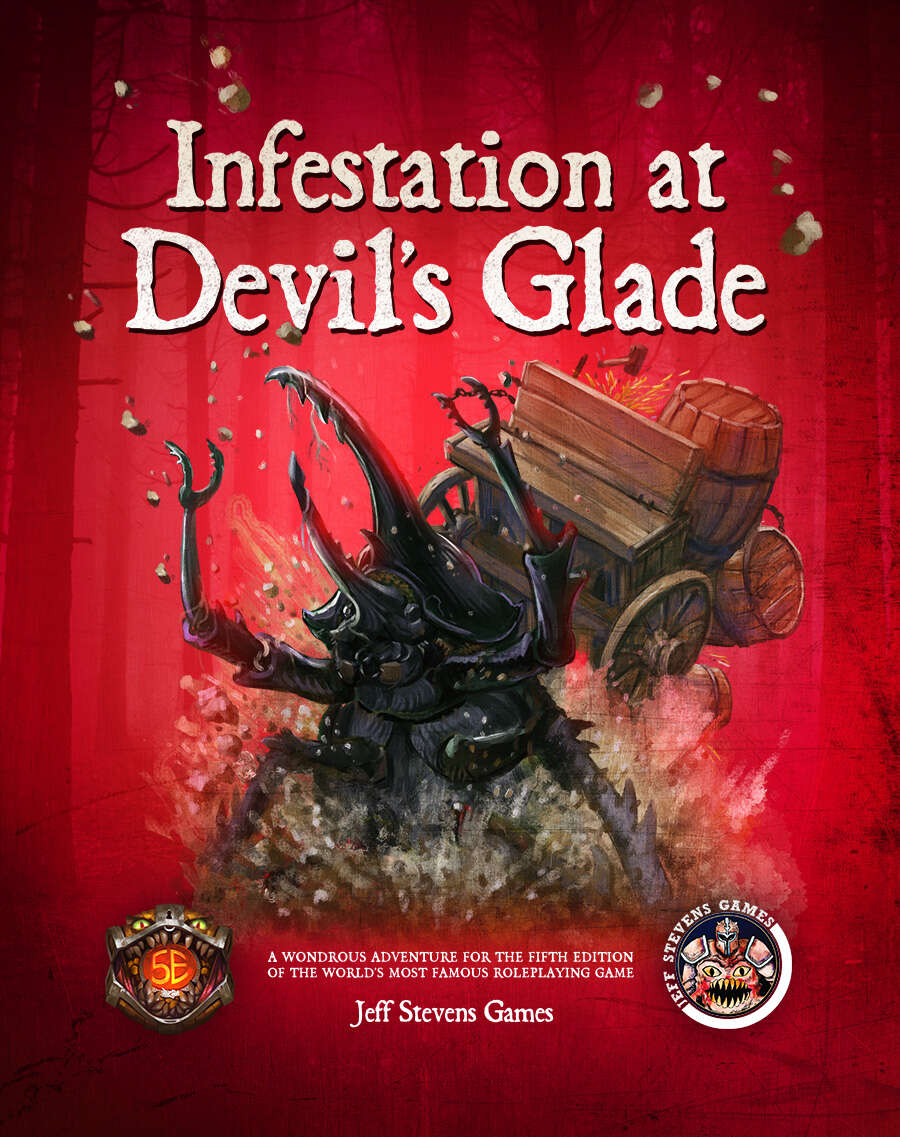
The town of Devil's Glade is under attack! Swarming insects have driven the residents out of their homes and businesses, and giant insects patrol the town square. Who or what has brought these creepy-crawlies to Devil's Glade? What's their motive? Are your heroes brave enough to put an end to the infestation? Infestation at Devil's Glade is a 2- to 4-hour adventure designed for four to five characters of 1st to 4th level, and is optimized for 2nd level characters. Scaling Suggestions are included, allowing you to play this adventure with characters of 5th to 6th level. Infestation at Devil's Glade isn't just a short adventure. We provide you with a location to which your heroes can return, or even use as a home base. The Supplement Includes: Adventure. The main adventure focuses on the heroes cleaning the town of the infesting insects and the villains who brought them. Beginning at The Fork (a tavern where many of the residents have made camp), the characters learn about the infestation of Devil's Glade, and are hired to look into the matter. NPCs. The adventure is filled with fun and engaging NPCs. During the characters' time at The Fork, they have the opportunity to talk with NPCs, help them, and learn more about the infestation. After the heroes return Devil's Glade to normal, the merchants and residents return, giving your characters unique shops to explore and quests to complete. Cursed Mask. The crux of the problem - a cursed mask that slowly transforms the attuned creature into a giant, insect monstrosity, and gives them power over insects. To end the infestation, the adventurers must confront the partially transformed person wearing the mask. Shops & Services. Devil's Glade contains shops and services the characters can explore, including therapeutic mud baths, a diner specializing in eggs, a trinket shop, a candle maker, and a dentist. Side Quests. We provide several side quests for before and after the main adventure, allowing you to increase the main adventure's run-time, and provide you with material for after the main adventure. Maps. The adventure contains maps for the main locations and major side quests. Each map is hand-drawn by Jean Lorber. Art. NO AI! The book is filled with fantastic, original artwork by Matt Morrow Art. Also Included: Map Files. Both grid and non-grid maps are included and available to download. Special VTT Tokens and Assets. Several custom tokens and art assets are included for VTT play.

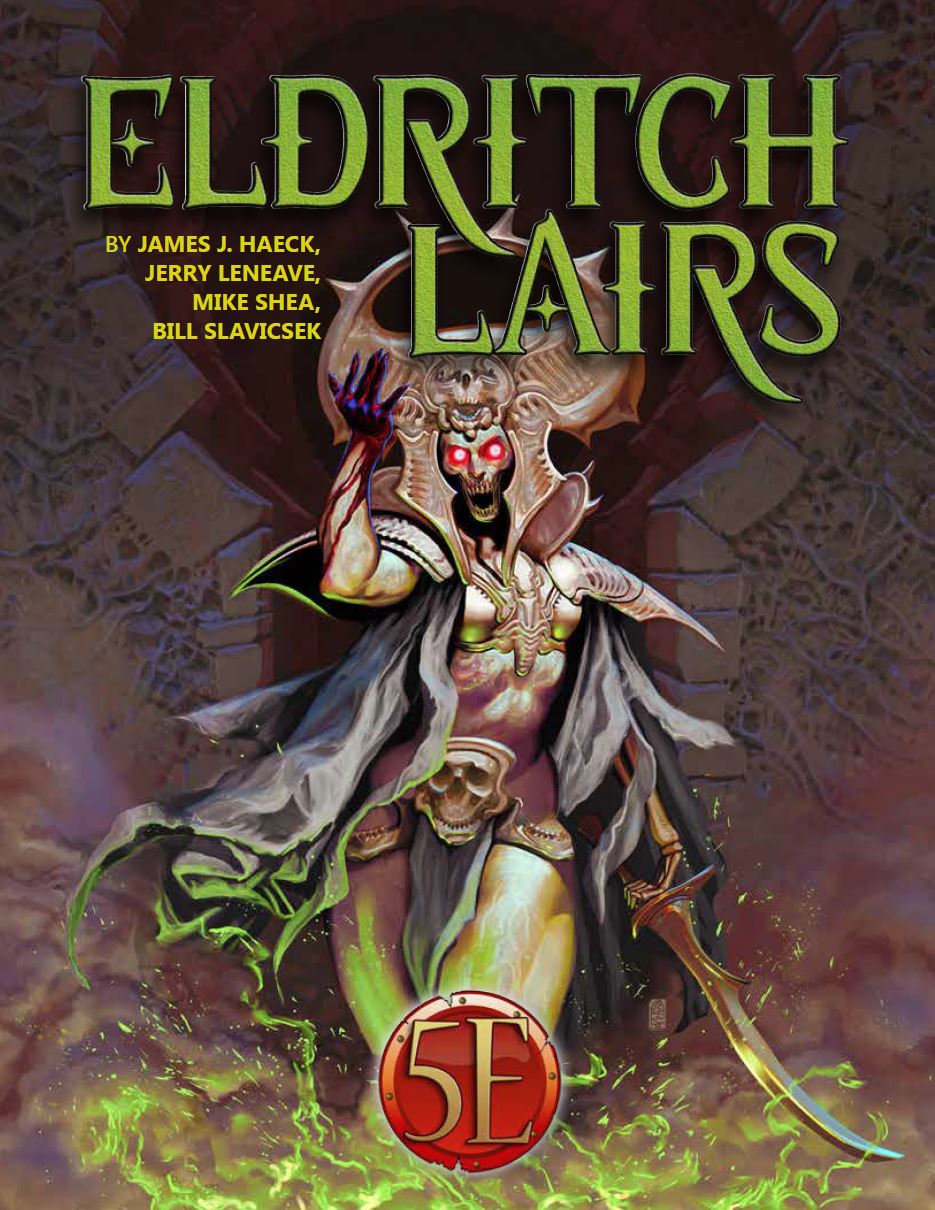
In the beginning, a pair of sphinxes — one male and one female — guarded a desert temple in relative peace. They watched over a vault that held a magical ring that could change the world. The androsphinx — Bazymoros — succumbed to corruption; he denounced the trickster god who created him. Bazymoros forged a pact with the demon god, Baphomet, becoming violent and sought to claim the item in the name of his patron. In an effort to save the world, the gynosphinx Asmuzi defeated him. She locked Bazymoros away, never again to see the light of day. The androsphinx remained as an example of what not to become. It has been so long since this battle that much of the knowledge of Bazymoros has disappeared from the collective memory of the races that inhabit the world. All that remains is the knowledge of the dangerous gynosphinx made from the flesh of human and creature. . . and the treasure she keeps.
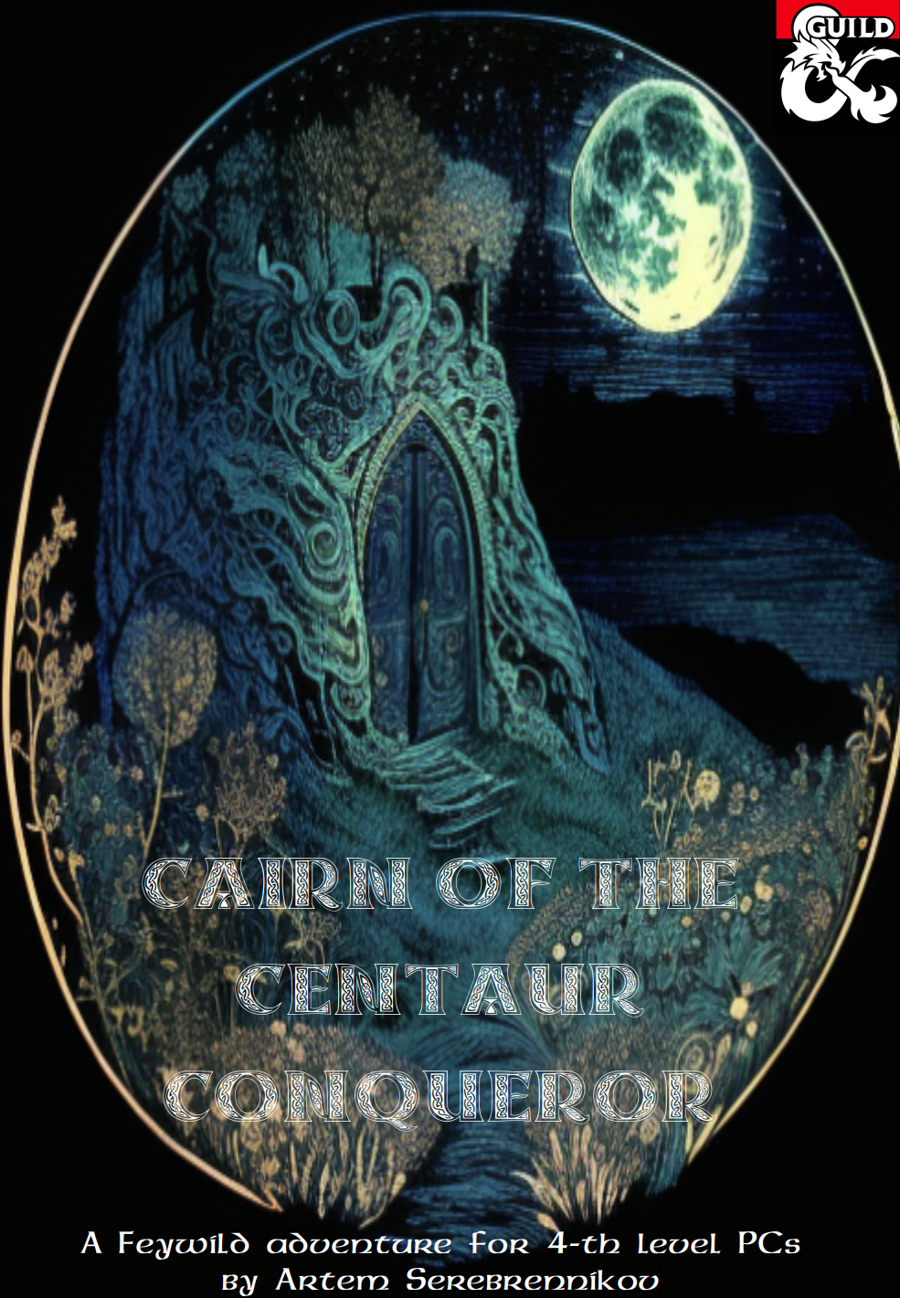
A tenday ago, the human settlers of Olostin’s Hold started hearing strange noises coming from the distant White Stag Hills. Noises of battle. Incessant sounds of thundering hooves, clashing steel, flying arrows, and screams of agony heard from miles away. Could those be the awakened spirits of the past? And if so, what could be done to lay them to rest? The answers are found in Cairn of the Centaur Conqueror, a Feywild dungeon that only appears once every 777 years...
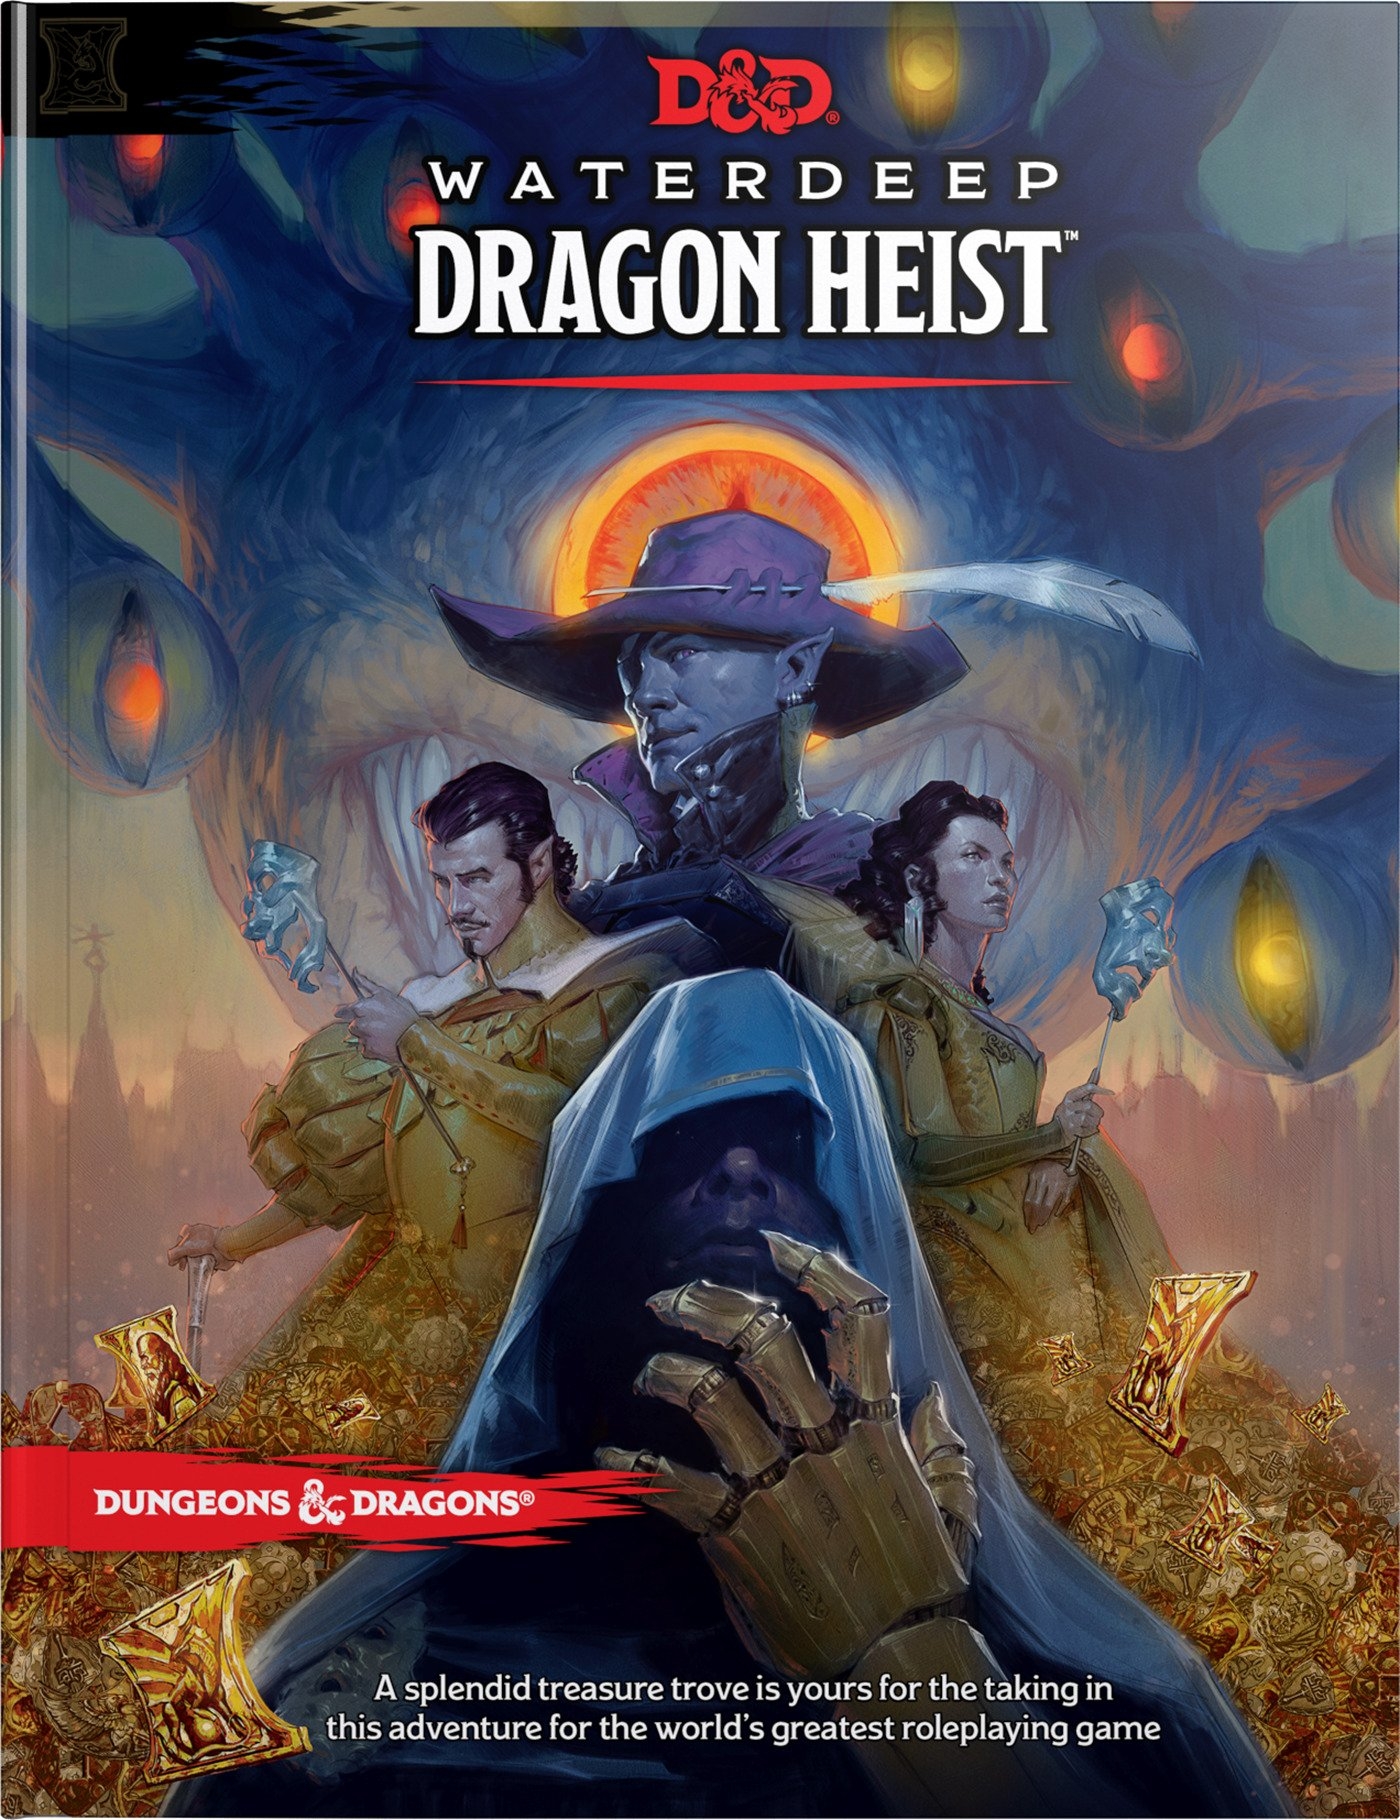
Welcome to Waterdeep! A fantastic treasure trove is yours for the taking in this adventure for the world's greatest roleplaying game. Famed explorer Volothamp Geddarm needs you to complete a simple quest. Thus begins a mad romp through the wards of Waterdeep as you uncover a villainous plot involving some of the city’s most influential figures. A grand urban caper awaits you. Pit your skill and bravado against villains the likes of which you’ve never faced before, and let the dragon hunt begin!

Arcane Moon is an introductory adventure inspired by 90s Magical Girl anime: drawing on Magic Knight Rayearth, Cardcaptor Sakura and Sailor Moon it's a story of love, friendship, treason and big villains. Arcane Moon is Magical Girl on Fantasy Land. It has been three months since the Arcane Scouts came together as a team. In that time they have managed to stay one step ahead of The Major Arcana, the personal guard of The Empress. However, unknown to them, one of her generals, The Hermit has infiltrated the city of Shealin and, posing as a merchant, has located two of the five shards needed to forge the Ioun Crystal. Jealous of his success The Priestess and The Hierophant are plotting against him, expecting to prove themselves to the dark mistress. The adventure takes place across two or three in-game days going from the latest fashion show on town to a mysterious tower hidden south of the city. Expect to fight several bad guys just to find out there was a bigger badder guy behind them.
Something is killing people in Palebank Village, and if the party does not stop it they could be next.

A quick-paced exploration of the magic tower, home to the great Solomon, the Master Conjurer, an expert in fiendology. Adventurers have to find Control Orbs to disable the tower's security system before it destroys them, and discover the secrets of the tower in the process. Their progress will be ushered by a seemingly helpful entity with nefarious intent - Zarloxar, the blue Abishai. The success of adventurers could also finally spell freedom to the fiend... or not if players, under stress, will realize the trickery in time. Part of "Detailed Encounter" series - each "Detailed Encounter" - features new monsters with unique stat blocks, new magic items, a custom battle map, and detailed NPCs. It also has story hooks and advice enough, to quickly turn it into a separate adventure!
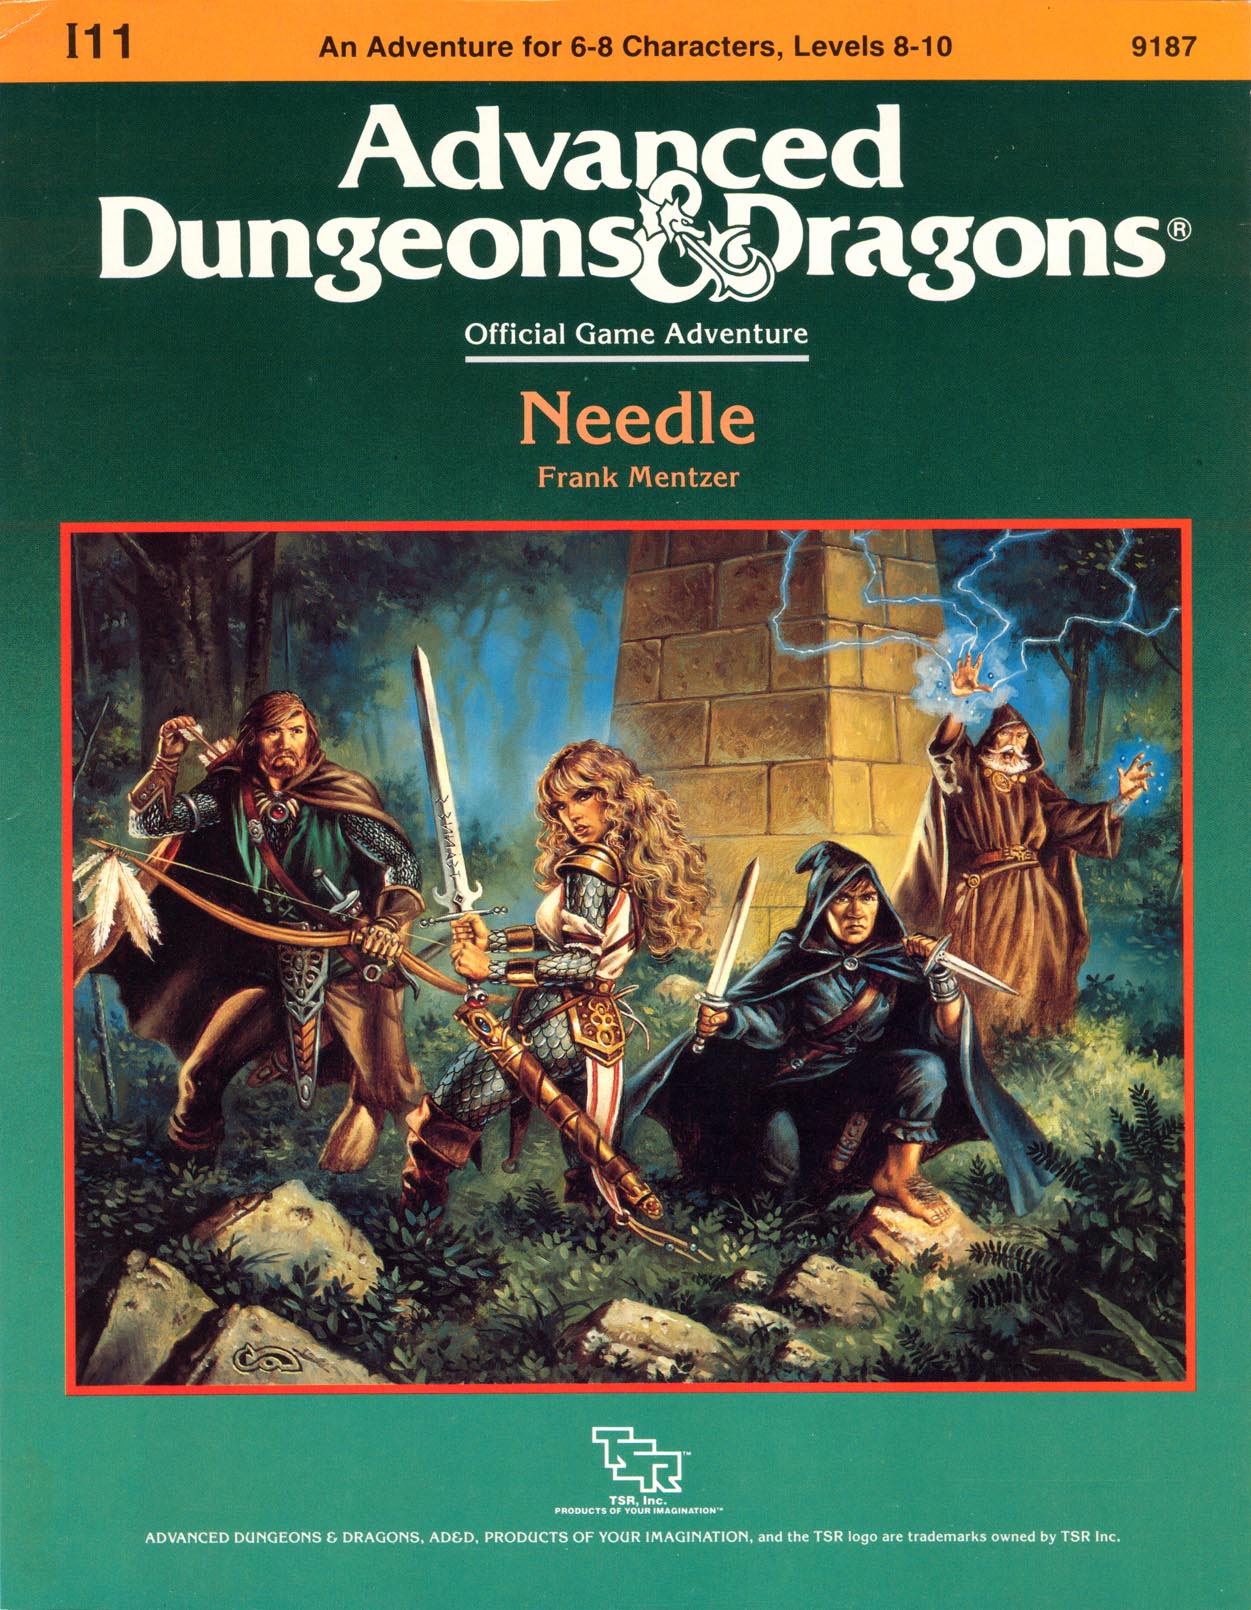
The king's notice asked for adventurers to undertake a mission to a far land. It was marked with the rune for "high danger, high reward" so of course you volunteered. The king has heard of a great obelisk that towers over a ruined city in a far country. He wants to know more about the obelisk and its strange powers. Your job is to find the obelisk and bring back a report to the king. The mission seems absurdly easy...until you reach the jungle. Don't think the king is through with you if you get back to the capital city alive. You haven't seen the last of that jungle yet. Is a share in the spoils of an ancient civilization worth the risk? Don't forget to pack you bug repellent! TSR 9187
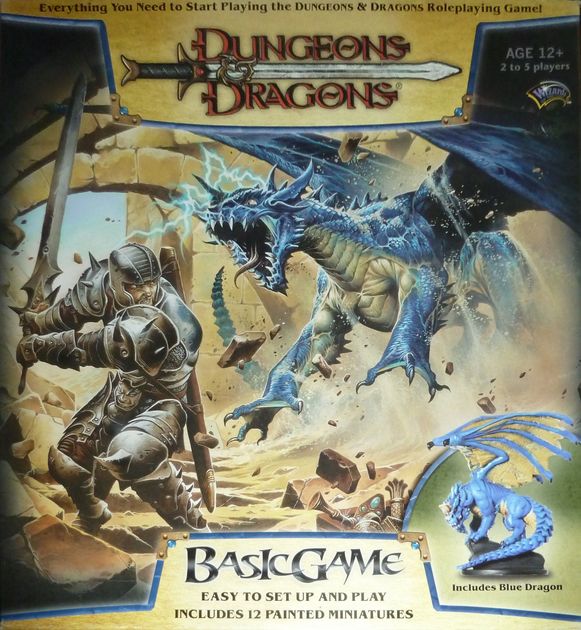
Introductory adventure to the 3.5 system for up to four 1st level characters. The adventure takes the party through a typical dungeon setting, leading to the lair of a Young Blue Dragon.
A new D&D adventure for first-level characters. Scourge of the Howling Horde is a D&D adventure for first-level characters that pits heroes against a menacing tribe of goblins and their monstrous allies. It showcases a new encounter format designed to help Dungeon Masters run memorable encounters more easily. It also includes sidebars that contain useful advice such as differences when running the adventure for new players or for seasoned players.

Surviving the shipwreck is easy; living through the wizardly bet afterward is not. Their game could mean your lives. A storm caused the PCs' vessel to sink and is now forcing them to seek shelter in the keep on the remote isle. Their goal is to locate a boat or some other means of transportation to return to the mainland after the storm has passed. But first, they must survive the tests and traps the island's inhabitants have set for them. Pgs. 45-64

In this adventure the heroes must brave the perils of the Innenotdar, whose trees and other vegetation has burned with an undying flame for 40 years. They do this to throw off the dogged pursuit of the Ragesian Empire, who seek to stop them from delivering information crucial to the war effort. Along the way the heroes will face monsters that have been afflicted with this undying flame, a demon that has made a contract with the Ragesian Empire, and potentially solve the mystery surrounding this burning forest. This is the second adventure of the War of the Burning Sky adventure path from E.N. Publishing.

Just as the trail led from the STEADING OF THE HILL GIANT CHIEF to the frozen wastes where was found the GLACIAL RIFT OF THE FROST GIANT JARL, so the adventure in the latter place has let (or transported) the intrepid party to what they hope will be their last challenge. They are about to venture into the hot and smoking barrens which are in effect Muspelheim, the home of fire giants. This module contains background information, referee's notes, three level maps, and exploration matrix keys. It provides a complete module for play of ADVANCED DUNGEONS & DRAGONS, and it can be used alone or as the last of a three-part expedition adventure which also employs DUNGEON MODULE G1 (STEADING OF THE HILL GIANT CHIEF and DUNGEON MODULE G2 (GLACIAL RIFT OF THE FROST GIANT JARL). TSR 9018
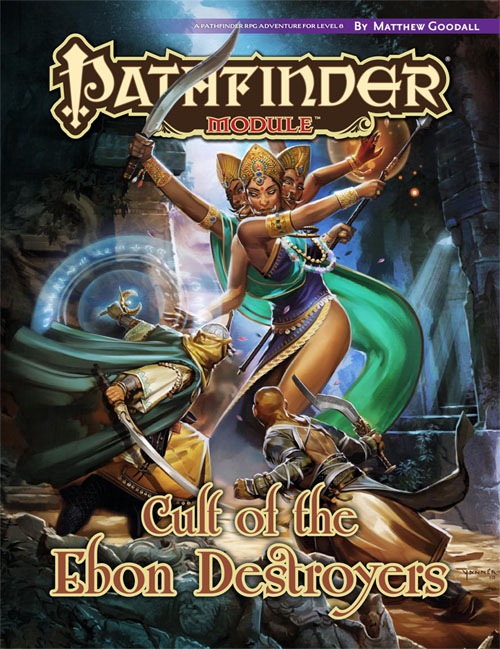
A malignant cult has taken root in the mystical and magical realm of Jalmeray. Known and feared throughout distant Vudra, the cult of Dhalavei has expertly destroyed organizations and societies from within for millennia. Now a new sect of the sinister Cult of the Ebon Destroyers has its sights set on Thakur Kharswan of Jalmeray, and the magistrates and bureaucrats behind the throne must hunt down and eliminate the cult before the unthinkable happens. If only there were someone they could trust to behead Dhalavei's cult before the assassins do the same to their beloved ruler…

The Creche of Set is a companion adventure made to go along with the events unfolding in Folio #10 (DF3 Forgotten Temple of Tefnut). It contains the information needed to run a side advenute during the events of The Hidden Valoria Campaign. After finding the secret under-passage in the fallen Temple of Tefnut, the party can descend through a stair located between two rooms. Down in the dark they will encounter a fallen tribe of Lizardmen who are now influenced by the mummy Aman-Utep in the halls above. Destroying this tribe, and recovering an artifact they possess, could prove highly valuable to the completion of the Lost Temple adventure. This adventure is formatted to both 1E & 5E gaming rules.

This material was originally published as three separate adventures: G1 (STEADING OF THE HILL GIANT CHIEF), G2 (THE GLACIAL RIFT OF THE FROST GIANT JARL), and G3 (HALL OF THE FIRE GIANT KING). Contained herein are referee notes, background information, maps, and exploration keys for three complete adventures using the ADVANCED DUNGEONS & DRAGONS rules. This module can be used alone or as the first in a series of adventures that includes Dungeon Modules D1-2 (DESCENT INTO THE DEPTHS OF THE EARTH), D3 (VAULT OF THE DROW), and Q1 (QUEEN OF THE DEMONWEB PITS). TSR 9058

Meaningful decisions, unexpected twists and memorable characters are the foundations of this dark 4-hour adventure for 5th to 10th level characters. A chance encounter on an unassuming road leads to a dangerous and lucrative opportunity. But what seems simple on the surface turns out to be much more below. Thrust into a world where every enemy has an enemy and everyone has their own dark motive, the only chance to survive is to ally with the right foe. Sometimes “doing the right thing” comes only in shades of black. Six Summoned Swords is a stand-alone adventure that begins on the side of the road leading to Phlan and can be easily accessed by any adventurers traveling through the Moonsea region. In addition to a world full of intrigue and complex character choices, purchasing this adventure includes: An Official Adventurers League magic item certificate Printable portrait cards with roleplaying tips for important NPCs Gridded reference maps for combat encounters Condition icons to help track character status Special Certificate Holder ideal for event play NEW: Season 8 Item Unlock Handout - prints 9 to a page, one for every player! * Looking for an adventure to run at your special game day or convention? This adventure includes a “certificate holder” that features specially created art of the adventure’s magic item. When printed in colour and on card stock, it perfectly frames the official AL magic item certificate from this adventure and makes for an unforgettable souvenir. About the Swords Below the Moonsea Saga The saga consists of three adventures, with this adventure serving as a stand-alone prelude. The series continues with Six Striking Swords and Six Swords Unbound, the two of which should be played in tandem.
The people of Feycircle believed the fairy ring for which their town was named protected them from the encroaching sands of the Western Wastes. When the ring withered, they learned they were right. Feycircle’s dewflecked pastures and verdant forests succumbed to the Wastes in an instant. Feycircle sank deep into the sands and was soon occupied by a tribe of fanatical dust goblins, a herd of dogmoles, and the giant worms that caused the blight. The PCs may explore the keep—the only structure remaining in the dusty sinkhole now called the "Pit of the Dust Goblins." Inside the keep is an entrenched gatekeeper who can divulge that two children remain in town, imprisoned by the goblins. The dust goblins have summoned and imprisoned a selang—a shadow fey—inside the blighted fairy circle. The goblins fear open combat and have laced the sunken keep with traps, and would sooner parley than fight.

As fledgling adventurers, your group is looking for anything to increase their fame and line their pockets with gold. Upon crossing the countryside your group comes to Creedo’s Trail a small thorp in the Duchy of Starryshade. Upon arrival in town you find an inn to stay indoors finally and a job opportunity hanging at the Bagel Inn purporting an “easy job” for a “big reward”. The poster is reputedly a crone or witch who has need for some components for an experiment she is currently working on. Easy job AND big reward…what’s not to like!

The battle against the slavers continues! You end your fellow adventurers have defeated the slavers of Highport, but you have learned of the existence of another slaver stronghold, and you have decided to continue the attack. But beware! Only the most fearless of adventurers could challenge the slavers on their own ground, and live to tell of It! Second part of Scourge of the Slavelords (A1-4) TSR 9040