
Sinister, twisting images...Horrific nightmares lurking at the corners of the mind...These are descriptions used to tell the tales of the Labyrinth of Madness. But these tales of the labyrinth are only legends, really, nothing more than stories used to frighten children at night - until a mysterious scepter is found, bearing within its crystal head a visage of insanity and terror, and also delivering a message: "Disturb not the Labyrinth of Madness again, and live a while longer." Now a powerful temple suffers from a tragic curse that is somehow linked to the labyrinth. Does there exist a group of heroes who can penetrate this dark and terrible place to life the curse...and survive? Labyrinth of Madness is a multiple-level, three- dimensional dungeon adventure, a puzzle within a puzzle, that commemorates 20 years of gaming with TSR. TSR 9503

"A great cat sits upon the northern grasslands, my friend, waiting to pounce on adventurers just like you." As you part the tall grass with your sword, the words of the tavernkeeper echo in your head. "He was the mightiest wizard we'd ever known, and that Lion Castle was his home." Your friends' voices mingle with the tavernkeeper's. "He's but a ghost now, haunting those halls, and waiting for an heir." The ground rises slightly. A strong wind rushes through the field. Suddenly, the grasses part, and Lion Castle rises majestically before you! "Magical riches await those who enter!" "Beware of man-beasts!" Voices flood your head again. Will you brave the haunted castle? Can you afford not to? It's all up to you in this D&D Solo Adventure. Ghost of Lion Castle is for one player only, but that one player makes all of the choices and enjoys all of the rewards. An entire castle and courtyard await your exploration. The adventure also includes a complete solo combat system. TSR 9097

"Terror by night! The village of Orlane is dying. Once a small and thriving community, Orlane has become a maze of locked doors and frightened faces. Strangers are shunned, trade has withered. Rumors flourish, growing wilder with each retelling. Terrified peasants flee their homes, abandoning their farms with no explanation. Others simply disappear. . . No one seems to know the cause of the decay -- why are there no clues? Who skulks through the twisted shadows of the night? Who or what is behind the doom that has overtaken the village? It will take a brave and skillful band of adventurers to solve the dark riddle of Orlane!" TSR 9063
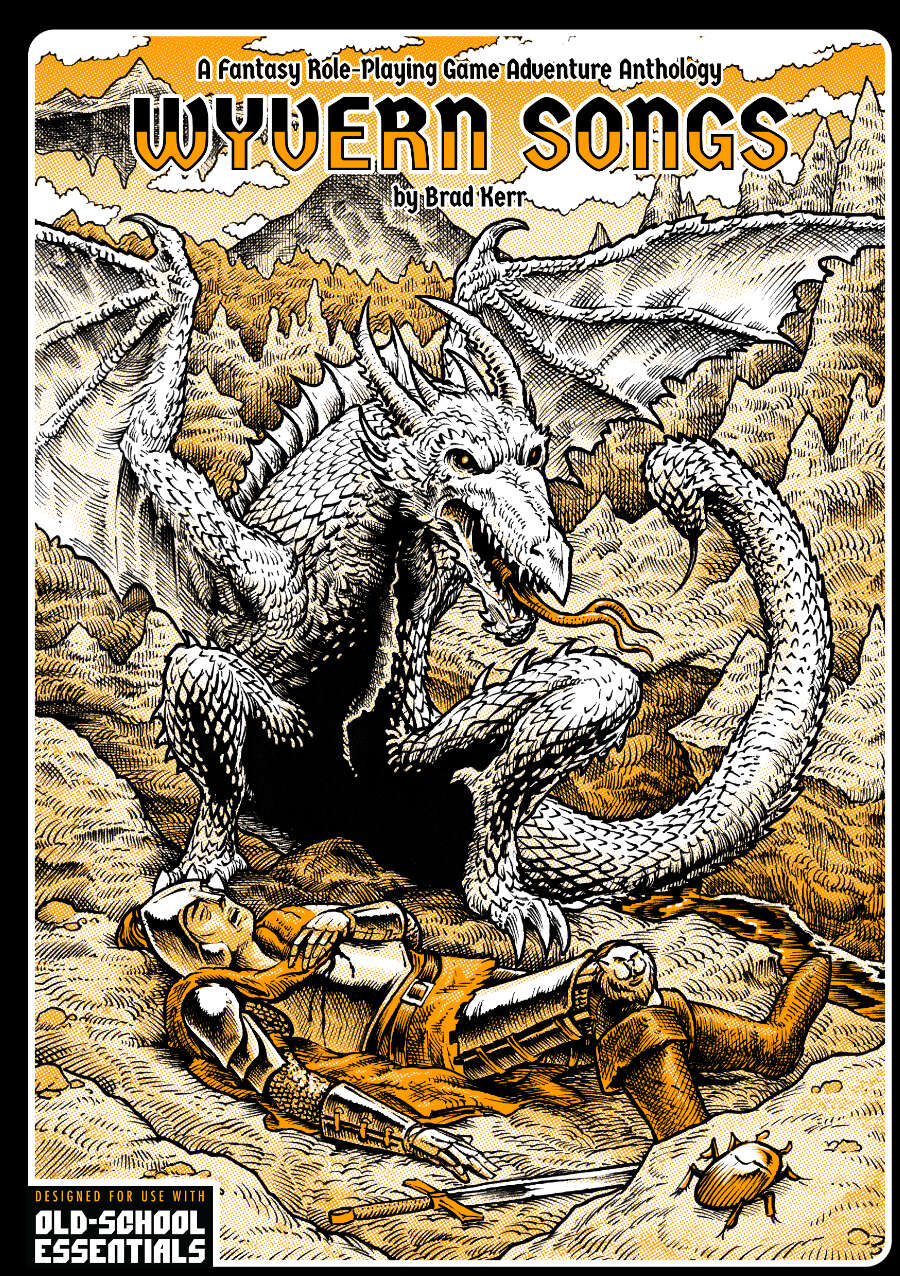
"The magic in his flying island sputters and fades. Brave adventurers will enter the wizard’s floating workshop, solve the puzzles and unravel its mysteries before catastrophic failure sends the island crashing down to earth." The sequel to Hideous Daylight (but can be run independently). This adventure focuses heavily on puzzle-solving and exploration 19 keyed locations Written for the Old-School Essentials (OSE) rule system

The Cagewrights are defeated. The Tree of Shackled Sould is no more. Lord Vhalantru has been exposed and put down for the menace he truly was. The town of Cauldron has been saved from volcanic apocalypse. The heroes of Cauldron have earned their place in history, and more than deserve a time of rest, yet fate is not so kind. For the true menace behind the curtain still lives. As long as Adimarchus, the demon prince of madness, continues to dream his haunted dreams and writhe away the years in torment in the fiendish asylum of Skullrot, Cauldron can never be truly safe. "Asylum" concludes the Shackled City Adventure Path that began with "Life's Bazaar" (Dungeon #97) and continued with "Flood Season" (Dungeon #98), "Zenith Trajectory" (Dungeon #102), "The Demonskar Legacy" (Dungeon #104), "Test of the Smoking Eye" (Dungeon #107), "Secrets of the Soul Pillar" (Dungeon #109), "Lords of Oblivion" (Dungeon #111), "Foundation of Flame" (Dungeon #113), "Thirteen Cages" (Dungeon #114), and "Strike on Shatterhorn" (Dungeon #115). Pgs. 40-65

A series of small earthquakes have brought a sense of disquiet to the town of Daern Kelton and Roslof Keep. Against these strange earthly portents, the members of the Ivory Scimitar have claimed their place as a true Mithel Company, but even greater danger now awaits them in the second level of the Dungeon of the Black Fey Mithelvarn. What lost secrets will be revealed as they journey below? What new threats and adventures can be had in Daern Kelton? The town opens its doors to the brave new heroes of the Company of the Ivory Scimitar. Here continues the Roslof Keep Campaign in the pages of ROS2, The Tremors in the Machine. This adventure is formatted to both 1E & 5E gaming rules. Also available in PDF.

Manthrak's Malicious Steamroller After an experiment with a teapot goes wrong, a wizard's tower rolls through the forest, crushing all beneath it. Its owner, Manthrak the Meticulous wants it back. It's up to you and your companions to stop the tower's rampage before something even worse happens. Manthrak’s Malicious Steamroller is a short, high-octane one-shot adventure module for a party of four or five 4th level characters. With no setting specific details, it can be easily dropped into any campaign, or run on by itself for an action-packed escapade. Included: Full-color 13-page PDF Virtual tabletop maps - Gridded & Non-gridded Accessible & print-friendly PDF A fun, unforgettable experience

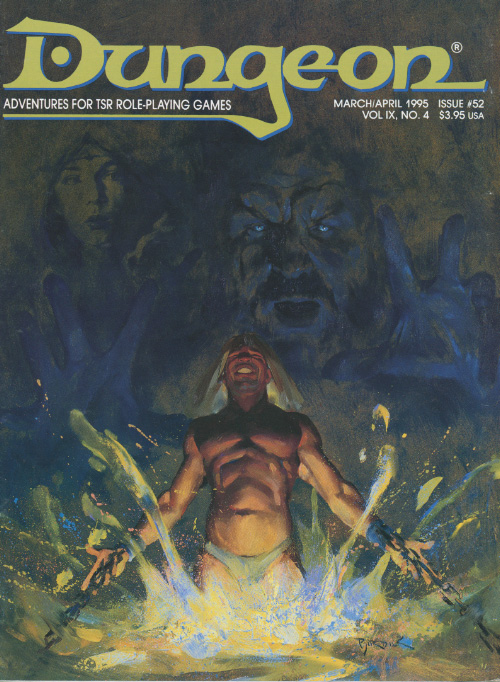
Slain in disgrace, reborn in fury, armed to the teeth: Flame returns! Flame is back - and is he mad! The sequel to "Into the Fire" from Dungeon 1. Pgs. 42-63

𝐓𝐡𝐞 𝐁𝐥𝐚𝐜𝐤𝐟𝐥𝐚𝐦𝐞 𝐂𝐮𝐫𝐬𝐞 𝐇𝐚𝐬 𝐑𝐞𝐭𝐮𝐫𝐧𝐞𝐝! Step into a town where darkness has taken root, and every shadow hides a deadly secret. In The Return of the Blackflame Curse, you and your party will unravel the twisted mysteries of Whitethorn Rose, a cursed town teetering on the edge of doom. 𝐄𝐱𝐩𝐥𝐨𝐫𝐞 • 36 rooms across 4 floors (Basement, 1st Floor, 2nd Floor, Attic) • 5 detailed maps with day/night and transparent variants Explore the haunted Huxley Manor, a sprawling, intricately detailed estate with 36 rooms and 4 floors, each filled with terrifying encounters and bone-chilling secrets. With 5 beautifully illustrated maps, including day/night variants, you’ll be fully immersed in a tale of fear and survival. 𝐅𝐢𝐠𝐡𝐭 • 13 monster statblocks, each with their own lore • A intense boss fight with the vengeful Morgana Blackflame Face off against 13 custom monsters, each with unique abilities and terrifying backstories. From creeping apparitions to vengeful spirits, every encounter will test your players’ courage and strategy. And when it comes time for the ultimate showdown? Prepare for a climactic boss fight with Morgana Blackflame herself, a ghost hellbent on consuming the town in flames once more. 𝐃𝐢𝐬𝐜𝐨𝐯𝐞𝐫 • 13 tragic ghosts, each with chilling backstories • 8-page Ghost Hunting Compendium as a player handout • Solve mysteries and exorcise spirits to lift the curse But it’s not just monsters you’ll have to worry about. The town itself is alive with haunted events and 13 restless ghosts, each carrying a tragic tale. Investigate, exorcise, and piece together the dark history that binds them to this cursed place. To help your players dive deeper into the supernatural, we’ve also included an 8-page Ghost Hunting Compendium as a handy player handout. 𝐏𝐫𝐞𝐩𝐚𝐫𝐞 • 7 homebrew magic items, including a powerful Fated Item with 3 variants • 6 different charms to protect your players from the curse • 9 Magic Item Cards to print and hand out to players, with artwork, in 2.5 x 3.5 inches (MTG-sized) • 43 haunted events to keep players on edge Don’t go into battle unprepared. Arm your adventurers with 7 custom magic items, including 1 Fated Item with 3 powerful variants. Stock up on 6 unique charms to ward off the curse, and keep your party on edge with 43 haunting events that can strike at any time. 𝐑𝐮𝐧 • 17 monster cards for easy reference, with artwork, in 88mm x 125mm (Tiny Epic size) • Ghost Tracking Sheet for smooth management of the adventure • 36 small room cutouts for quick navigation during gameplay • 24 VTT tokens for easy integration into your online games For GMs, we’ve made running the adventure easier than ever. With 24 VTT tokens for monsters and NPCs, a Ghost Tracking Sheet to manage exorcisms, and 17 monster cards for quick reference, everything you need is at your fingertips. Plus, 36 cutouts in the description of every room, provide clear guidance for navigating the sprawling manor. 𝐏𝐫𝐞𝐬𝐞𝐧𝐭 • 7 detailed town locations for investigation • 7 NPC background and roleplay sheets to add depth to the world • 1d12 Superstition Table to bring the town’s eerie atmosphere to life Bring the town of Whitethorn Rose to life with 7 detailed NPC background sheets and 7 town locations, giving your players more ways to explore, interact, and investigate. And for added flavor? A 1d12 Superstition Table to bring out the eerie quirks of the locals. 𝐏𝐥𝐚𝐲 • Battle against the darkness with strategic challenges and eerie storytelling • Solve the murder mystery, lift the curse, and guide your players through an unforgettable experience With The Return of the Blackflame Curse, every decision matters, every room hides a deadly secret, and every ghost has a story to tell. Get your copy now and take your players on a journey into the heart of darkness. This is more than just an adventure—it’s a test of survival.
The heroes have spent the last several days in the quiet, secluded town of Relvaunt. Relvaunt's vineyards, wines, and scenic beauty are the subject of bards's songs, and many travelers journey long miles to visit them. Another site receives far fewer visitors--several miles east of town, partially obscured by woods and hills, stands the wondrous Castle Freitstein. As the heroes depart the town in search of adventure, an elderly couple approaches them. The woman suddenly clutches her chest and collapses in the street and the old man calls out to the heroes for help. Includes castle random encounter chart, a map of castle grounds and isometric castle level maps (four main levels, a tower level and a cellar level).
Jack Mooney owner of the "Jack Mooney & Sons" Circus. Wants to hire the PCs to capture a great cave bear with a brilliant golden coat.
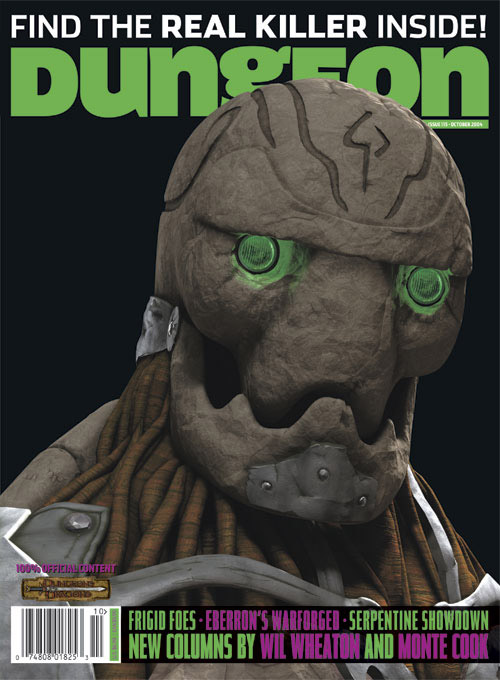
A killer is stalking the warforged of Sharn. Some say the murderer is a vengeful spirit, while others blame human bigotry and fear. Can the adventurers expose the truth that lies hidden in the depths of Sharn? Steel Shadows is a D&D adventure suitable for four characters of 7th level. This adventure is set in the city of Sharn in the Eberron campaign setting. Since this is a mystery themed adventure, at least one of the characters should have the Investigate feat. The adventure includes a sidebar for scaling the adventure for lower and higher level characters.

SIGIL'S BEEN AT PEACE FOR OVER 600 YEARS. ALL GOOD THINGS COME TO AN END. Six centuries ago, events surrounding the Great Upheaval imposed an uneasy peace in the City of Doors. Since that time, the 15 factions have quietly conducted their philosophical battle for the hearts and minds of all Cagers - and always stopped short of all-out war. But now tensions are flaring, tempers are rising, and the Cage is about to explode into conflict! Faction War is a 128-page adventure that tracks the war from its nefarious origins through its bitter battles to its ultimate resolution and beyond - and puts the future of Sigil in the hands of the player characters. This book reveals secrets, unravels musteries, brings long-simmering plots to ahead, and marks the beginning of a new era for the City of Doors. It also features the following: - New details on Sigil's wards, personalities, and politics - Adventures that draw the player characters into the heart of the struggle and toward the secrets surrounding the war's beginning and ultimate end - Extensive notes on the aftermath of the conflict - A detailed Timeline of the war, including additional events that the DM may use expand to the adventure Faction War builds on story elements first explored in the PLANESCAPE accessories In the Cage, Factol's Manifesto, and Uncaged: Faces of Sigil. Familiarity with those products is recommended but not required. TSR 2629
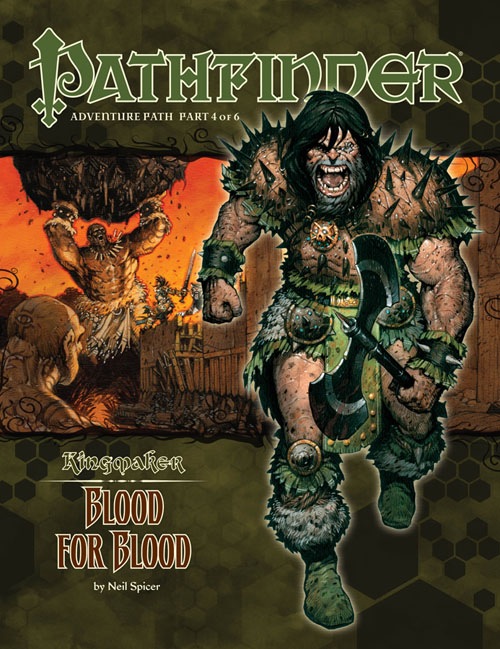
A Pathfinder Roleplaying Game adventure for 10th-level characters, this volume of Pathfinder Adventure Path is part 4 of 6 of the Kingmaker Adventure Path, in which the heroes win and defend a small kingdom from threats foreign and domestic. PCs should advance to 13th level by the end of this adventure. “Blood for Blood” begins with the PCs having returned home from solving the mystery of the Varnhold Vanishing. Shortly after their arrival, they learn that new problems have developed during their absence—there are rumors of an army marching toward their nation!The PCs race to the village of Tatzlford, where they help defend the village from an attack by a small but earnest force of bandits, barbarians, and several lumbering trolls after being warned in advance by a troubled woman who has fled from Fort Drelev to the west. Following the skirmish, she pleads with the PCs to save her father and sister from peril.From there, the PCs strike out into the swamplands of the Slough to the west, exploring new lands and finding opportunities to make new allies and eliminate long-term threats to the region. Their initial goal, though, should be infiltrating Fort Drelev, where they’ll have a chance to confront the traitor Drelev with his crimes and rescue the Fort’s beleaguered settlers. During this time, the PCs learn where Armag’s tribe has been holding the daughters of Drelev’s senior officers hostage. Arriving at the ancient site, the PCs attack Armag’s barbarian encampment and overcome the sinister powers of the Black Sisters to free the girls. Then, entering the tomb, they face deadly traps, ancient undead horrors from a war-torn age, and the trials of the tomb’s immortal, divine guardian. In the final chamber, the PCs encounter Armag himself, armed with the ancient sword of his namesake.

The characters, members of the Clifftop Adventurers’ Guild, have been tasked with acquiring the Chains of Mur’taal, an artifact tied to Thelanis, by their guild handler, Lhara. This artifact is the latest in a series that Provost Nigel Faurious has commissioned the Clifftop guild to retrieve for him. The adventure starts when the characters arrive in Rhukaan Draal via Orien caravan. They’re given a chance to explore a small portion of the city before they head to a local bar to meet their contact provided by Lhara. Accompanied by a local guide, they make their way to the Seawall Mountains, where they’ll have to follow clues and their intuition to find the Valley of the Hero, which conceals the artifact that they’ve been hired to obtain. In order to earn the artifact, characters must first pass three tests laid before them by the Story: The Test of Courage, the Challenge of Wisdom, and the Trial of Honor. Once they finish the tests and collect the artifact, the party heads back toward Rhukaan Draal. But there are Marguul forces in the area, and they don’t intend to let the heroes escape with a priceless piece of their folklore…

Haedirn Lastlight is a respected elven wizard and sage. After the death of his lover Lyonthel, the elf has been overcome with grief and has locked himself away in his study- a small manor on the cliffs of Wailing Crag. Haedirn has not been seen for over a year now, and those that knew him are beginning to worry. Worse still, a band of ogres has been terrorizing the nearby town, slaughtering the town folk and haughtily boasting the elf wizard is dead. The PCs must put a stop to the ogres' attacks, make way to Wailing Crag to root out the rest of their gang, and lay Haedirn Lastlight's tortured remains to rest.

This alternate starter campaign takes you to all the familiar locations of the Lost Mine of Phandelver adventure from the other side of the veil. Some places look the same, some very different. The entire plane is trying to strip you of your mind, your memory, and your motivation. Discover how the Forge of Spells was fueled. Learn the location of lost adventurers from the original Phandelver expedition. See what Cragmaw Castle looked like in its prime. All of this and more, as this takes you from level 1 to level 5 with well over 20 hours of play time. If you are looking to start a new campaign or just experience familiar locations in a new setting, this supplement accommodates. Inside you'll find: Maps: Nine encounter maps Cragmaw Castle rebuilt, including the upper floor, and underground level. Wave Echo Cave before it was tunneled. A very different looking Redbrant Hideout Ruins of a town similar to Phandalin A swamp and muck version of Cragmaw Hideout Plus new magic items, and more Monsters: 37 new creatures Lore Information on a shadowy Yuan-ti empire A new offshoot of the abyssal demonhive A cult using the stoic ways of stone to evade the Raven Queen's watchful eye and pilfering ways. New players vying for control of the Shadowfell Shadowfell Guide: Information on the plane, its inhabitants, and included with this supplement is the best selling Shadowfell Random Encounters appendix. Easter Eggs Hidden throughout the story are references to Lost Mine of Phandelver. Including references to other hard cover books as well.

To Kill A King Death to King Ovar the tyrant! Life to law and order! Four characters are charged with a mission so insane, so daring, that terming it an assassination does not do it justice. Are the four volunteers who would lay low King Ovar killers or heroes? If murderers, how are they better than the madman theyre assigned to kill? And even if they are mere assassins, are they determined enough to overcome the Maze of Zayene? Snared in the Wizards Web

Something is rotten in Rhoona... When the grotesque god, Cretia, casts his ugly shadow over the town, strange things start happening. First, Duke Stephen vanishes. Then bizarre proclamations begin coming out of the Ducal Palace... Dwarves are outlawed... taxes must be paid in beer... horses must be ridden backwards. Soon the entire town is in an uproar and a Dwarven army is marching on Rhoona. This is the situation when you and your part of valiant adventurers arrive in the suffering town. There you find... A ragged beggar who prowls the streets offering cryptic advice. A mysterious black-garbed cleric planning treachery. A trusted soldier plotting his master's overthrow. A sinister jewel casting its evil emanations over the town. You and your party are Rhoona's only hope. Only YOU can unravel the dark mystery that plagues the town and save Rhoona from...the Curse of Xanathon. TSR 9056
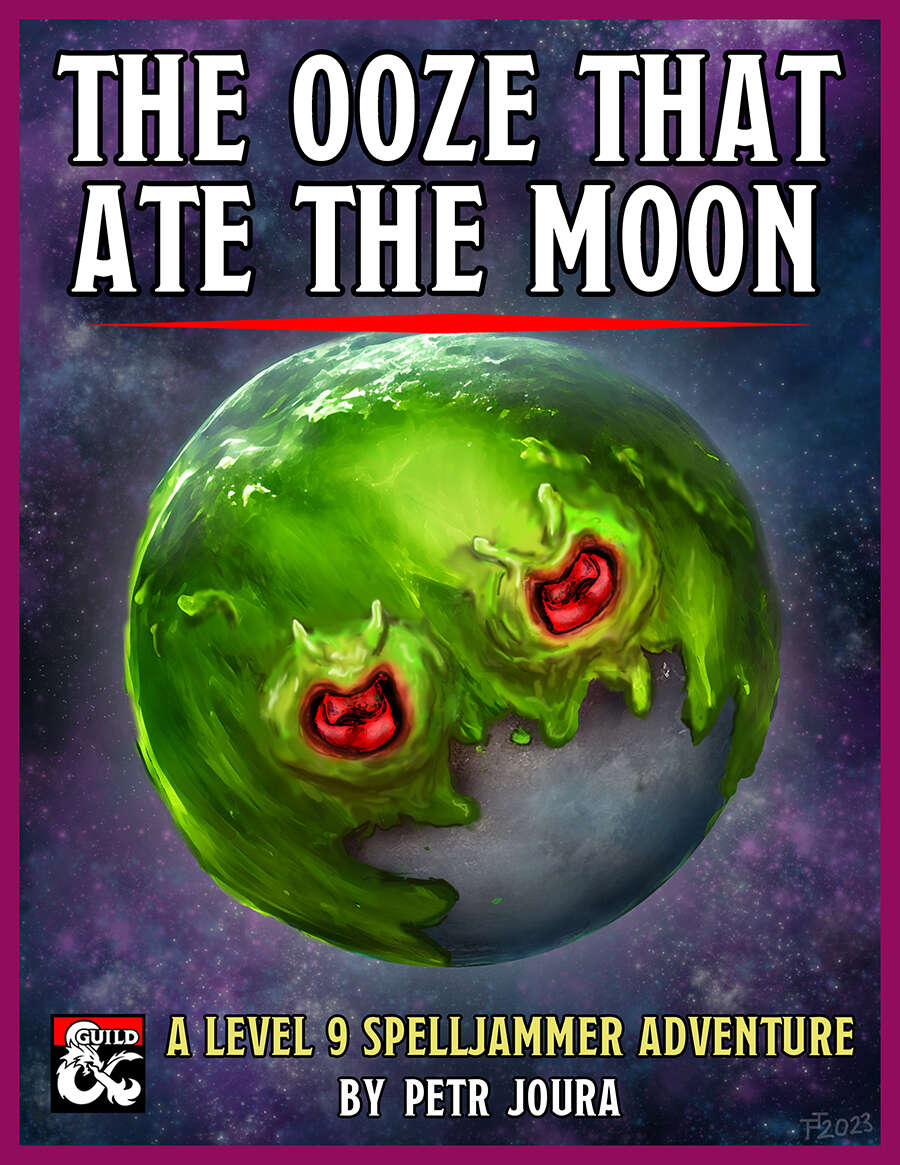
The moon is turning green. A colossal tide of green slime has begun to engulf it, threatening to dissolve it entirely. As it does so, a tide of demonic madness begins to engulf the lands below. As the green shadow flows across the night sky, the world turns mad. The source? An insane cult of plasmoids dedicated to Juiblex, the demon lord of oozes and slimes. Soon the moon may be gone, the first part of a mad plan to dissolve the multiverse into the primordial slime of the Abyss. If only some heroes could appear before it’s too late... The Ooze That Ate The Moon is 5th-edition Dungeons & Dragons adventure based on the Spelljammer campaign setting. It is an investigative high-orbit pulp thriller paired with the wacky zaniness of Spelljammer, and every playthrough is likely to be different. It is designed for four 9th or 10th level characters and to be run in 3 to 6 three-hour sessions, or 2 to 3 longer sessions. It can be run as multi-session one shot or as part of an ongoing campaign. It fits perfectly after the events of Light of Xaryxis, but is written so as to be easily incorporated into any non-Spelljammer campaign. It requires the 5th Edition Spelljammer boxed set to run. Gameplay is based around investigation and roleplaying, with a good smattering of combat in the later acts. The climax of the adventure presents the players with a problem that has no clear solution. They’ll have to use all their wits and resources to overcome it, but can they do so in time?