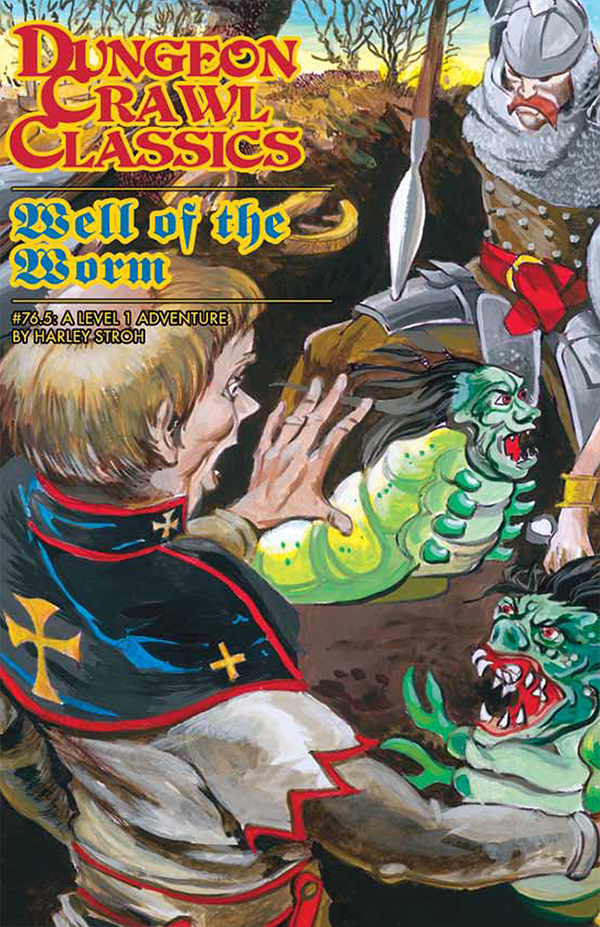
In ages long past and best forgotten, the world was ruled by worms. Deep within dreaming jungles, and high atop monolithic temples, fell priests sacrificed the blood of man and his kith to the mammoth war-worms. One wizard would return the world to the rule of the worm. From deep within the blood-soaked earth, calling upon the spirits of the slain and blood of the dying, rising from the moldering bones of fallen warriors, the war-worms have returned. Their foul Mother – last of her kin – births more crawling horrors with every passing hour. The age of the worm is once more upon us. The call is sounded: Who will rise to purge the darkness?

The characters, members of the Clifftop Adventurers’ Guild, have been tasked with acquiring the Chains of Mur’taal, an artifact tied to Thelanis, by their guild handler, Lhara. This artifact is the latest in a series that Provost Nigel Faurious has commissioned the Clifftop guild to retrieve for him. The adventure starts when the characters arrive in Rhukaan Draal via Orien caravan. They’re given a chance to explore a small portion of the city before they head to a local bar to meet their contact provided by Lhara. Accompanied by a local guide, they make their way to the Seawall Mountains, where they’ll have to follow clues and their intuition to find the Valley of the Hero, which conceals the artifact that they’ve been hired to obtain. In order to earn the artifact, characters must first pass three tests laid before them by the Story: The Test of Courage, the Challenge of Wisdom, and the Trial of Honor. Once they finish the tests and collect the artifact, the party heads back toward Rhukaan Draal. But there are Marguul forces in the area, and they don’t intend to let the heroes escape with a priceless piece of their folklore…
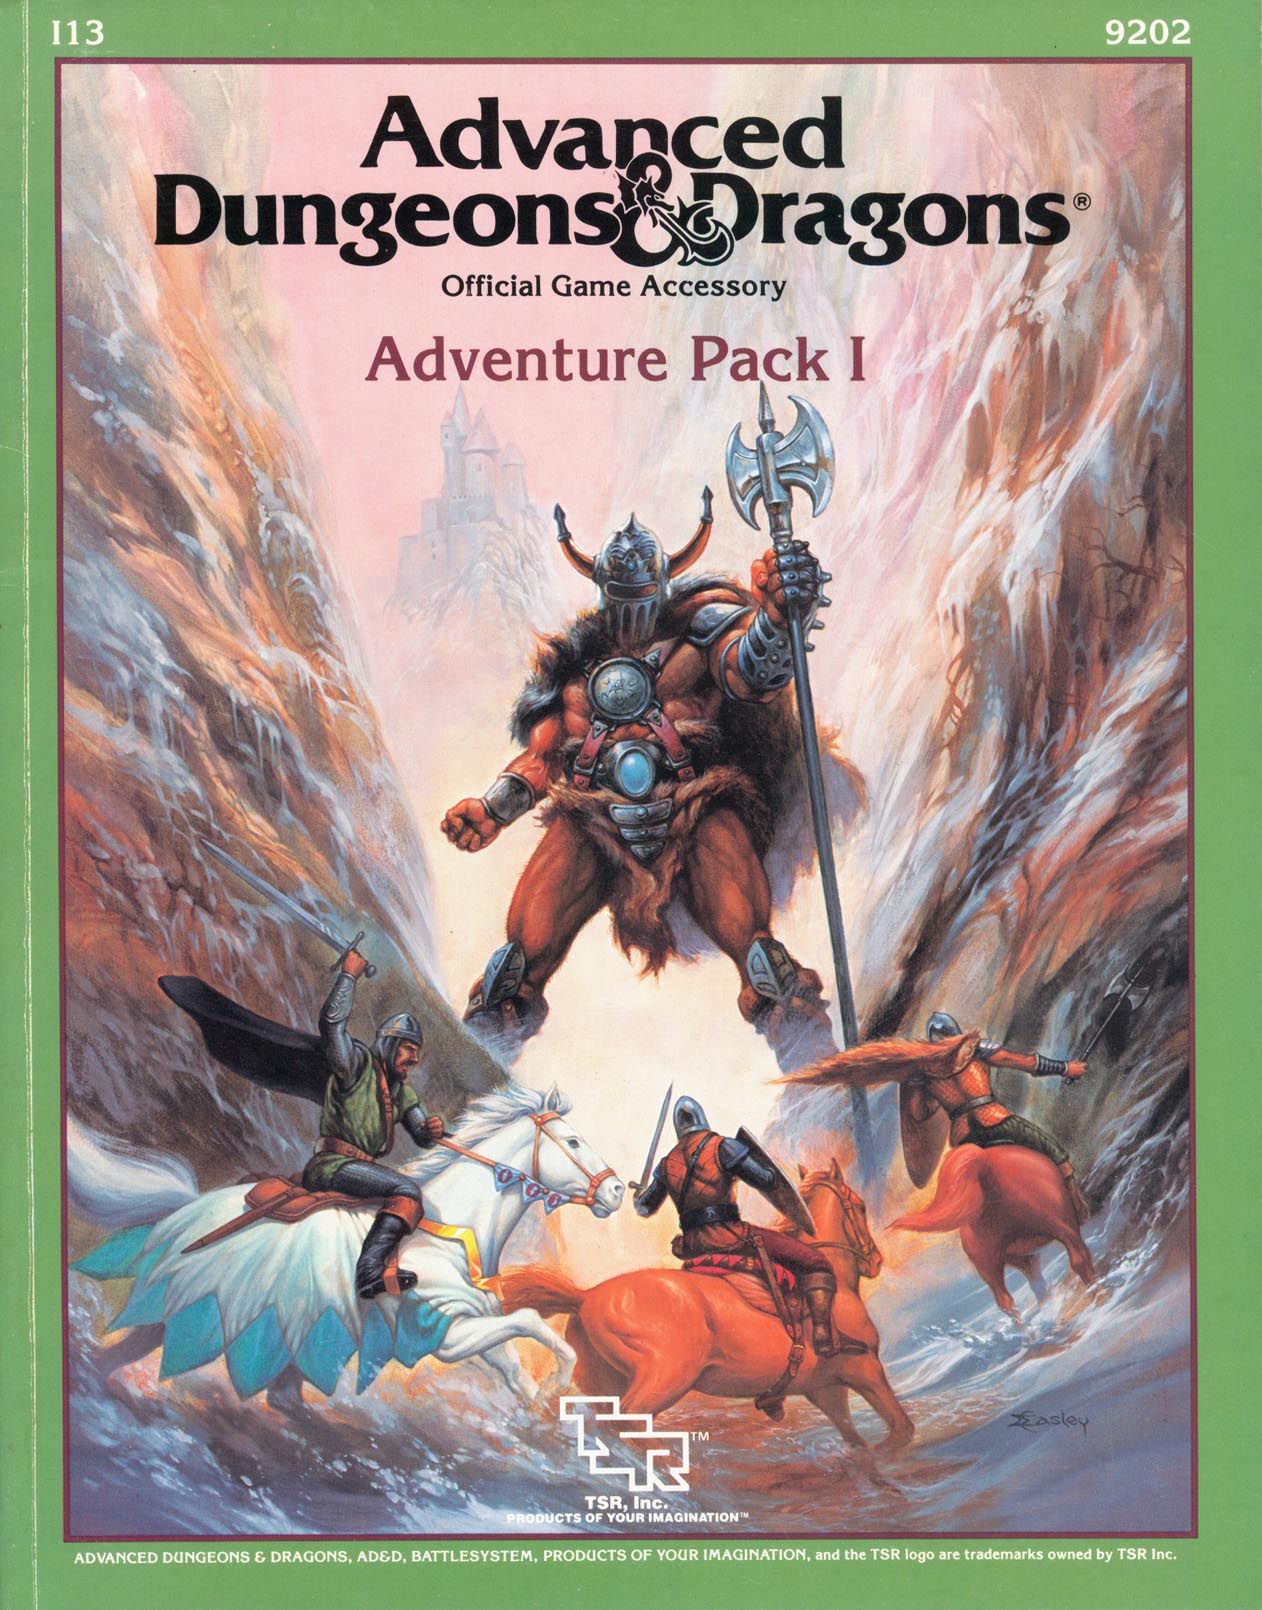
Two head-strong sisters and a dying giant all have something in common: they need help only adventurers can give. It seems there's this little problem. Included in I13 Adventure Pack I - https://www.adventurelookup.com/adventures/i13-adventure-pack-i TSR 9202

5e Solo Gamebooks presents Tyrant of Zhentil Keep by Paul Bimler, a 160+ page solo adventure for Dungeons and Dragons Fifth Edition. This adventure is designed for one 3rd-level PC of any race or class, without a DM. Tyrant of Zhentil Keep continues the narrative of The Death Knight’s Squire (the first solo adventure in this series) but can be played as a standalone also. It follows the story of your PC as they continue their journey across Faerun, a lone adventurer wandering wherever the wind takes them. Eventually, it takes them to Zhentil Keep in the Moonsea Region, a strange city, full of secrets. There they begin a quest which takes place over two books, this being the first one, part 2 being Citadel of the Raven. Tyrant of Zhentil Keep is a mini-sandbox in gamebook form, with multiple sidequests and locations to explore. Everything leads towards a central story arc that becomes clearer as the book progresses. Where Death Knight’s Squire had a clear-cut mission at its core, this adventure is pure exploration at first, similar to how a game with a Dungeon Master might commence. The nature of your quest becomes clearer as you advance, collecting snippets of information and encountering various NPCs and locations. The adventure builds upon The Death Knight's Squire in several ways, introducing new combat sheets, sidequests and even audio sound FX embedded in the PDF! You have two ways to approach playing this adventure. You could print out the maps booklet and use actual tokens or miniatures (you’ll need access to a printer for this), or you can load individual .png files of the maps (included) into Roll20 or similar applications and place and move tokens on your device.

This module is the first of a series of High Forest adventures. It includes a description of the village of Merric, including detailed NPC's. Merric has always been at risk of raids by the local Gnolls, but now word has come that the Orcs of the Greypeak mountains are massing to invade High Forest. The elders of Merric have decided to hire and groom an adventuring group to ensure they have a balancing force against the invasion. Soon it becomes clear that there is something far more dangerous than Orcs threatening High Forest and if the children of Merric will ever be safe again, someone needs to stand between them and the evils that lurk in the dark.
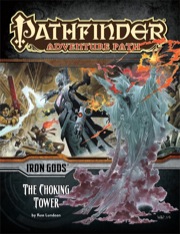
Book 3 in the Iron Gods campaign: Numeria’s newest heroes have uncovered a greater threat than the one posed by the gang of bandits and its god. An even more powerful deity is rising in the enigmatic Silver Mount, but before the heroes can confront it, they must uncover the legacy of this strange deity’s first worshiper. Clues point to the technophobic town of Iadenveigh—a farming community with its own need for heroes. What role could the mysterious Smoke Wizard of the Choking Tower play in this unfolding threat? Will the heroes be ready for their inevitable battle with Numeria’s Iron God?

There is a Ruined City in the central northern Borderlands, often called Ghoultown by explorers of the area, but its original name is Ust Lesesi and it was once the second city of the Empire of Karan. Long since plundered, ruined and abandoned, the place has become home to a sinister mix of creatures, some are trading with each other, some are resting between skirmishes, all are schiming and all of them are trying to survive. This is a toy box for the GM - there are three settings in one - the Abandoned City, with stange creatures wandering the streets; the Monstrous community with several significant and detailed NPCs and their followers all trading, quarrelling and trying to get along with each other; and the city of the (un)dead - there's a whole army hidden in here, what are they being prepared for? The Ruined City is a 40-page game resource rather than a complete adventure, although it has almost everything you need for a simple hack or a more complex web of intrigue. Along with a sumptuous set of maps is a set of encounters, monster and NPC stat-blocks, and ideas for how to use the place in a campaign. If you need a ruined city in a hurry, this is the supplement for you! The Ruined City is designed for OSR but is also compatible with AD&D 1st and 2nd edition and pretty much any TTFRPG you fancy. The encounters are all pretty high level but most of the encounters will not be immediately hostile. There is scope in this setting for far more than simple hack and slash. These resources allow you to build a set of encounters as complex as you like. You can simply try and hack your way through, but there are some VERY nasty encounters in here. You could maybe set up your own base here, or just try and take over an existing group. Perhaps you want to start up a trade route, or maybe even start a Civil War! All of these possibilities, and many others, are catered for here. SM20 The Ruined City is released by Dunromin University Press. We are a very small publisher based in the UK and our aim is to produce VERY high quality products as the best value possible.

𝐂𝐨𝐫𝐚𝐥 𝐏𝐚𝐥𝐚𝐜𝐞 𝐨𝐟 𝐭𝐡𝐞 𝐌𝐚𝐫𝐢𝐝 𝐓𝐡𝐞 𝐒𝐞𝐜𝐨𝐧𝐝 𝐢𝐧 𝐚 𝐒𝐞𝐫𝐢𝐞𝐬 𝐨𝐟 𝐉𝐞𝐰𝐞𝐥 𝐇𝐞𝐢𝐬𝐭𝐬 𝐚𝐭 𝐭𝐡𝐞 𝐄𝐧𝐝 𝐨𝐟 𝐭𝐡𝐞 𝐌𝐮𝐥𝐭𝐢𝐯𝐞𝐫𝐬𝐞 Wherein our adventurers seek out the Emerald of Aquatic Perfection, reputed to be held within an extraplanar undersea genie basilica. 𝐀 𝐃&𝐃 𝟓𝐄 𝐚𝐝𝐯𝐞𝐧𝐭𝐮𝐫𝐞 𝐟𝐨𝐫 𝟒-𝟕 𝐜𝐡𝐚𝐫𝐚𝐜𝐭𝐞𝐫𝐬 𝐨𝐟 𝟏𝟐𝐭𝐡-𝟏𝟓𝐭𝐡 𝐥𝐞𝐯𝐞𝐥. 𝟒𝟎 𝐩𝐚𝐠𝐞𝐬.

Gadof Blinsky is a famed toymaker known for bringing joy to children throughout the bleak country of Barovia. Or at least, he used to be. That all changed after Blinsky and his wife welcomed their first child. The toymaker fell into a deep fit of anxiety and depression from which he never recovered. In this mini-adventure, you will investigate Blinsky's toy shop and battle a strange toy that seems to have taken on a life of its own, eventually uncovering what happened to Blinsky’s family and unraveling the secret of what the toymaker is hiding in his attic. Blinsky is No Fun! is a one or two session side adventure, for characters of levels 4-5, for use in the Curse of Strahd campaign setting.
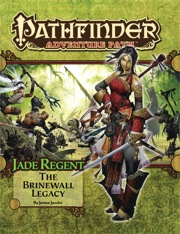
The town of Sandpoint, Varisia, Inner Sea Region has put out a bounty on the nearby tribe of Licktoad Goblins in retribution for the goblins raiding traders and travelers near the quiet town. The party takes up the bounty and ventures into the swamp; eventually finding the goblin village in ruins and it's inhabitants scared in it's burned huts. The party finds out; either through investigation of the ruins or the goblins themselves; that a group of skeletons with eastern arms and armor had ransacked the village and took a stash of fireworks that the goblins stole from an old shipwreck. The party then makes it to this cave and finds it empty except for a half dozen skeletons. Further in past the skeletons is their leader, a skeletal samurai who fights the party in an attempt to defend his treasure. The treasure turns out to be a letter that reveals that secrets of the Kaijitsu family; the same family their good friend Ameiko who runs the Rusty Dragon inn belongs to; that lies in wait in the abandoned town of Brinewall to the northern boarder of Varisia. Ameiko along with several other important NPCs with a caravan north. It's recommended that GMs create encounters for the caravan trip north as it's essentially 3 weeks of travel with nothing in it. It's also recommended that GMs completely ignore caravan rules; they're not flushed out and they're not fun to run. The party and the caravan reaches the abandoned town of Brinewall where their friend Ameiko becomes possessed and is thrown into a coma; where the other NPCs agree to take care of her while the party explores the town and castle. The castle is a three floor behemoth of a dungeon populated by Dire Corbies, Troglodytes, and various other monsters all under the leadership of Kikonu, an Yamabushi Tengu Oni. The goal of exploring Brinewall Castle is to find the two keys to the vault; one of which is on the Yamabushi Tengu while the other is on a Half-Fiend Decapus that lives in the basement of Brinewall. Once the PCs enter the vault they find the Amatatsu Seal; one of the seals that cement authority to one of the ruling houses in Minkai of Tian Xia; as well as several visions that show that Ameiko Kaijitsu is the rightful heir to be ruler of Minkai and that they'll need to travel north to do so. Such ends the first book of six.

Part 1 of an Expert-level quest into a hostile wilderness. This adventure takes place in the Known World of the D&D game, as outlined throughout the D&D game rule books and modules. The DM may find it useful to consult the Companion and Masters Sets, as well as most of the X-series of Expert Set modules. D&D Expert Set module X9, The Savage Coast, would be especially helpful, as Tortles of the Purple Sage could easily serve and continue that module's direction and plot like, adding a previously undescribed area (the Great Northway) to the Known World. The DM may also place the areas and events of this adventure within an existing campaign setting, as long as the geographical areas of the campaign match those set forth here. Pgs. 40-62

Looks can lie as well as words. Magical minotaurs? Mutant giants? Vampires? One or more of these is preying upon the caravans, and you're going to stop them. A band of ogre magi took over an abandoned dwarven stronghold and have started ambushing merchant caravans. Their leader, Krugii, wants to gain enough power to eventually control a kingdom. In his quest for power, he has bonded a young bronze dragon and has accelerated its growth. The ogre mages all have different personalities and different forms that they prefer to polymorph into. The PCs are hired to take a caravan through Deception Pass and protect it against the random monsters that have been marauding lately (actually ogre mages in disguise). After protecting the caravan, the players track the attacks back to the stronghold of the ogre magi and clear it out. Pgs. 40-62
Beware the night-things, strangers!

As the party relishes in the accolades of their achievements word of a Dragon nearby reaches their ears! Apparently a similar adventuring party stumbled upon the Wyrm by accident and was nearly wiped out. With the townspeople in fear, it is time again for the PCs to step up and perform heroic deeds! I wonder if there will be any pages from the mysterious Codex of Gamber Dauch will be around. With only one more adventure in the quest series the PCs must be getting close!
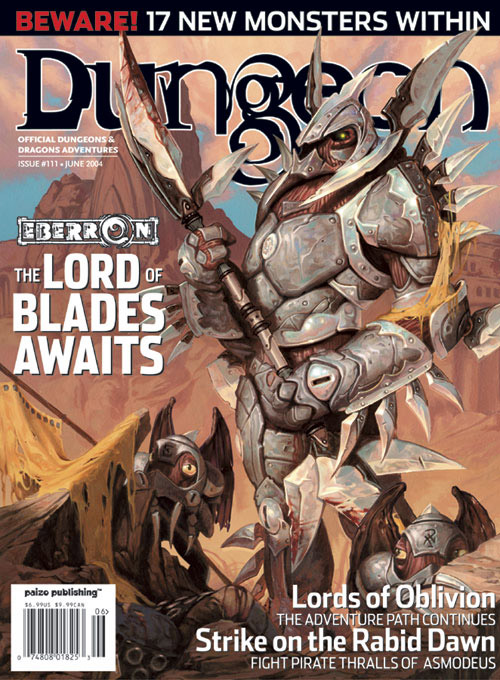
A terrible thunderstorm batters a seaside port, yet thunder and lightning are nothing compared to what is about to be unleashed by the diabolic crew of the Rabid Dawn. Casters with access to control water, control weather, or control winds will prove especially valuable, as will characters with strong Swim skills. The adventure is best suited to a predominantly good or neutral aligned party of PC's. Strike on the Rabid Dawn takes place in the port city of Hardby (Dungeon #109). As most of the action takes place within a lighthouse and on a ship at sea, however, any suitable port from your campaign makes an appropriate substitution for Hardby. Pgs. 12-32

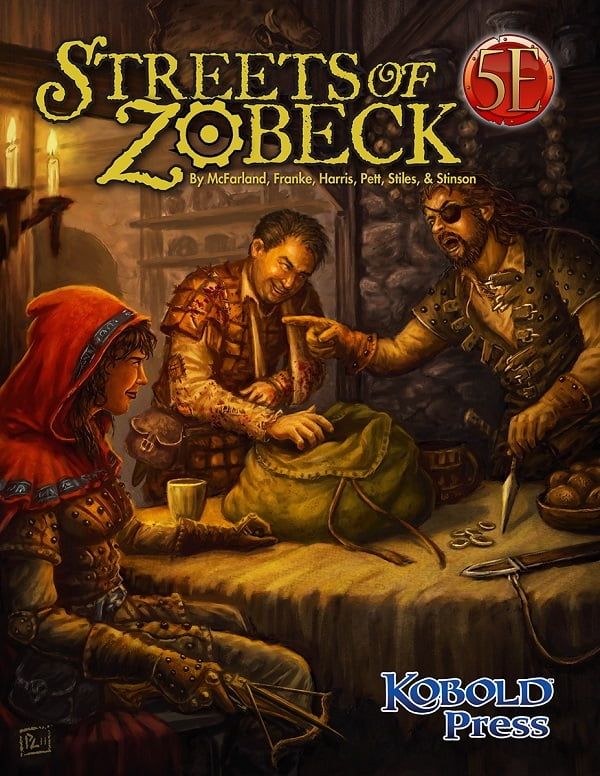
This adventure is light and comedic and is indeed a heist adventure! It is designed as a one-off side quest for an established party but can be tweaked to work as an introductory adventure for characters meeting one another for the first time. This is ideal for a well-rounded party in which each player can show off and play a vital role in the mission’s success as they rob an evil potion master blind! Players can obtain potions of Heroism, Invisibility, Flying and Mind Reading. This adventure is perfect for DMs looking to fill a shorter session or injecting some light humor after an intense end-of-the-world campaign.

Ra’s Evil Grin challenges adventurers of at least 11th level who are seeking a powerful magic item—the globe of Arden. If a different item suits your campaign better, another appropriate powerful item can be substituted as the final objective. This dungeon culminates in a battle with Dendorandra, a lesser marilith known as a dark daughter. As a lead-in to this adventure, the GM may use a map from another treasure hoard showing the location of the globe (detailed more fully in “The Legend of the Globe of Arden,” below) or a priestly tome describing Arden, the long-dead avatar of Ra, and the wondrous powers of an unknown artifact called the globe of Arden. Such a tome might mention that the globe emits rays as intense as those of the sun, destroying all they touch. In any event, characters should need to consult with sages and oracles to determine the location and history of the globe and dungeon. A sage could also provide a map to the dungeon’s location, referenced in the “The Legend of the Globe of Arden,” below. We set the dungeon on a small, remote island far across the sea, but you can relocate it to suit your campaign. This dungeon provides numerous puzzles, a few traps, and only two monsters. Those monsters, though few in number, should challenge and threaten even the most combat-hardened party—particularly after the party encounters all the vicious creatures that inhabit the Island of the Globe.

FC9 - Diamond in the Rough is an adventure that has a group of PCs picking up a job for Dwarves of the Shieldcraft Clans in the West Keldon Mountains. It seems that a group of humanoids has pulled off a daring raid to the formerly secure vault and obtained a rather expensive gem. To recover this item the PCs will first have to reach the Dwarves, cross the valley and search the East Keldon Mountain range for these troublesome thieves. Of course finding the group of problems may prove a bit tougher than expected!
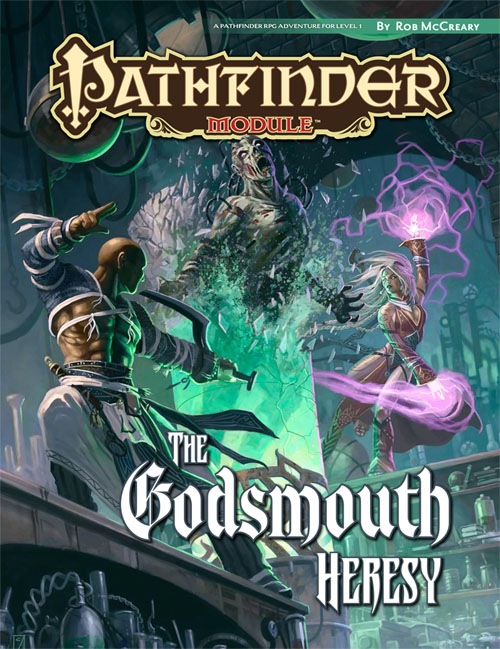
Deep below the anarchic city of Kaer Maga, someone—or something—has begun stealing corpses from the city’s most prestigious tomb, the Godsmouth Ossuary. Fearing the worst, the clerics of Pharasma in charge of maintaining the crypts quietly call for aid, not wanting to risk their own members in combating whatever horrors may have crept in from the tunnels and hidden chambers of the legendary Undercity. Beneath the infamous crypt lies a temple from an ancient empire devoted to sin, and a former Pharasmin cleric whose weathered his goddess’s wrath to create an army of undead minions, their dead flesh standing ready to support his heretical plans.

The caravan master Santos Boromite was personally assaulted and his Euriduis, the symbol of caravan power, was stolen. The item signifies full authority over all legs of the caravan and in the wrong hands would wreak havoc. You have been summoned to speak with the Governor Lando Shardo at once to save Timel yet again! Can you find the bandits responsible for the theft and bring them to justice. Timel wants a caravan traffic and unless this matter is taken care of quickly that won't happen. Just when you think you have it figured it out it turns out you were wrong!