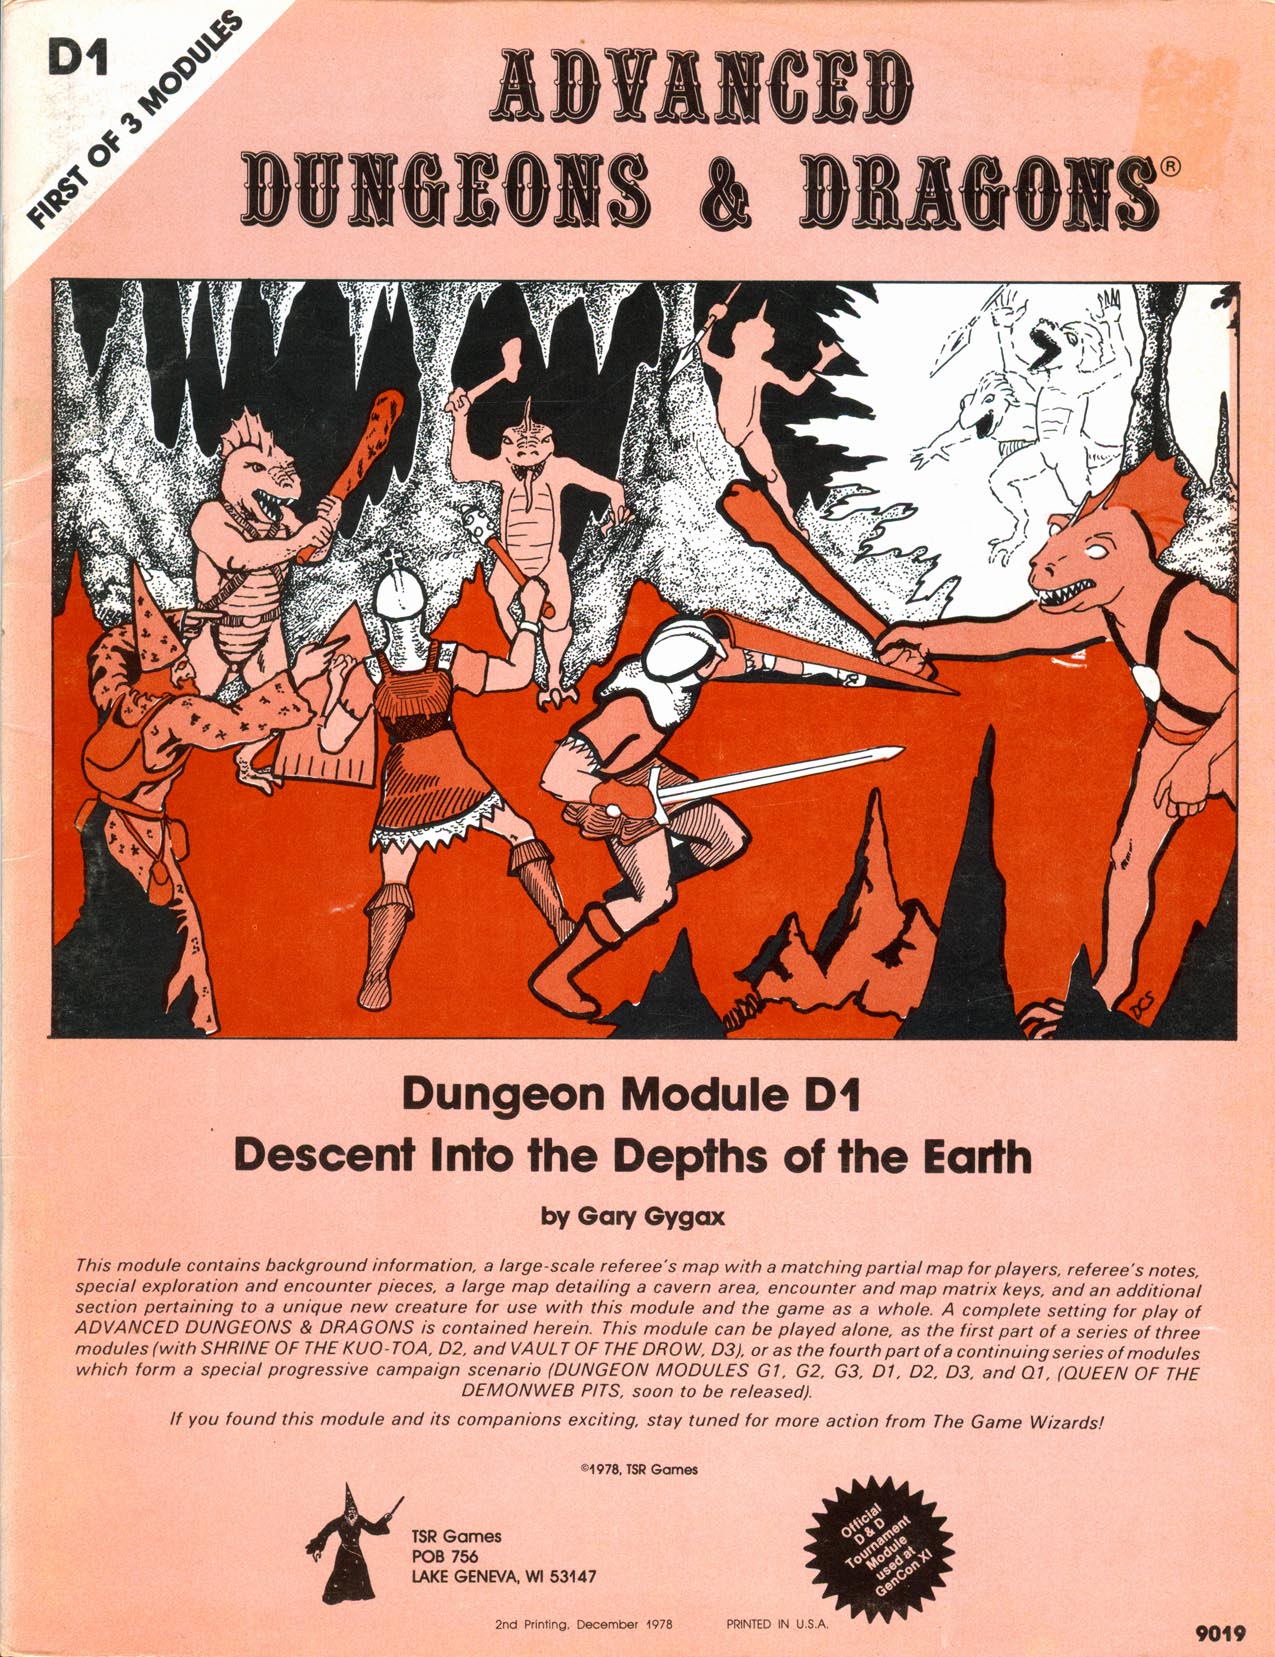
The final confrontation with the giant, King Snurre, and the entry of mighty adventurers into the caverns under his stronghold (DUNGEON MODULE G3, HALL OF THE FIRE GIANT KING) discovered the Dark Elves, the Drow, had instigated the giant alliance and its warfare upon mankind and its allied races. This module contains background information, a large-scale referee's map with a matching partial map for players, referee's notes, special exploration and encounter pieces, a large map detailing a cavern area, encounter and map matrix keys, and an additional section pertaining to a unique new creature for use with this module and the game as a whole. A complete setting for play of ADVANCED DUNGEONS & DRAGONS is contained herein. This module can be played alone, as the first part of a series of three modules (with SHRINE OF THE KUO-TOA, D2, and VAULT OF THE DROW, D3), or as the fourth part of a continuing series of modules which form a special progressive campaign scenario (DUNGEON MODULES G1, G2, G3, D1, D2, D3, and Q1, (QUEEN OF THE DEMONWEB PITS). TSR 9019

On the night of the rare Witch Moon, a binding spell placed over the mighty devil Tchernabog finally breaks. Will the characters be able to survive the night of boiling hellfire, furious undead, and diabolical mayhem Tchernabog orchestrates from atop Devil's Peak? Night on Devil's Peak is an apocalyptic, events-based survival adventure for 6th-level characters. It takes about 5-6 hours to complete and includes: -The awakening of a CR 24 devil, mighty Tchernabog! -A powerful holy relic the characters can wield in battle -Two diabolical new monsters: Tchernabog and giant flaming skeletons -Combat cards for each monster, PC, and special treasure -Gorgeous digital maps (with and without grid) for virtual table tops

Adventure awaits both AD&D & 5E D&D players looking to take on the challenges of a Steampunk style setting! Using Gary Gygax's notes from the original AD&D DMG under 'Sixguns & Sorcery' and incorperating them into the setting, this introductory gazetteer and adventure will give players the opportunity to use the Nameless Realms (Roslof Keep & Taux) as the backdrop in a later age, The Gun Kingdoms. Secure a ship, find a crew, and take on the xenophobic and apocalypic setting as you try to deliver a spy back to the government she stole from. Will your players become part of the 'greater good' of the new world government, or will they become its opposition, striving to help the dying race of the Enlightened? Only time will tell. This adventure is formatted to both 1E & 5E gaming rules.

The Lamenting Lighthouse is a four-hour adventure for 5th-10th level characters, designed for Dungeons & Dragons 5th Edition, with a nautical theme, heavy undead and horror elements, and mysteries to solve! One lonely lighthouse shines the way through the rocks and shoals that deny entry to the northern Moonshae Isles. But when the party’s transport approaches, a horrific gale at their backs - no light is in sight... The party must venture ahead of their vessel in a race against the storm to the restore the beacon before their ship is lost. What has befallen the keepers, and what dark secret does the lighthouse hold? Will the heroes prevail, or will they join the lighthouse's lament? This adventure can easily be inserted into a run-through of Ghosts of Saltmarsh. This one-shot can also serve as a nautical interlude in any on-going campaign where the characters have to take to the sea. Included with this adventure are: + 6 original custom creatures, the dread wraith, the dread wight, the swarm of seagulls, the captain, the rating, and the sailor + 12 player hand-outs with notes that shed light on the mystery of the lamenting lighthouse, with a randomization mechanic that ensures a degree of replayability + 9 original fleshed out NPCs, including personality traits and roleplaying tips + 2 original magical artifacts + 7 hand-drawn maps of important locations + a story reward and 2 story hooks for continuing the adventure (depending on how the adventure resolves)

A gnome tinker summons the heroes to his workshop, but before he can explain his request a vengeful fey creature arrives and disrupts the meeting. Estimated play time - 1 hour. This product contains a combat encounter designed for 4th level PCs, an extensive backstory, detailed NPC descriptions, new monsters and new magic items. Easily adaptable to almost any campaign setting. This side trek encounter is the first of a three-part Fey's Bargain encounter series.

Legends of a "mountain of gold" provoke a mad scramble for a mysterious book laden with clues to find certain statues around the city, which themselves hold additional clues leading to the hiding place of the fabulous treasure. An adventure for using old-school advanced rules with twists and open-ended problem-solving in a city rife with overt treasure-hunting and covert Byzantine plotting by multiple factions. Published by Coiled Sheets of Lead

The legendary spellcaster Emirikol the Chaotic has turned the region into a wild magic zone, a place where all magic goes awry. The only way to put things back to normal is to retrieve the source of the problem deep inside the Ooze Chambers of Emirikol! This adventure is for 4th level characters and can be run on its own or as part 3 of the Litany of Arrows adventure path. This adventure contains, 2 pages of new magic items, 8 new monsters and NPCs, a full write-up of Bwimb II, the Paraelemental Princess of Ooze, an entity referred to in many D&D products but never fully fleshed out and stats for the 3rd edition iconic heroes Regdar and Mialee, who play a major role in this adventure. It's got over 10 pieces of original art, full color maps, tagged and untagged, and a special handout for the player who obtains the Ooze Fist of Emirikol. This adventure builds on the story begun in the platinum-selling Castle of Corellon and the follow-up, Warpath of Gruumsh.

"It was already a freezing morning when you set out for the legendary Castle of Madness – the mysterious castle that is said to emerge from blizzards once every seven winters. " In this short treasure hunt for one 2nd level player, you'll brave an frigid mountain, an icy cave, and a haunted castle to bring home a pile of loot. Written as a digital gamebook, you will keep track of your character's hit points, spells, and inventory on your character sheet, and keep track of enemies using your own scratch paper. The game will play GM and all enemies.

Veil Down Conquered is a free preview of the full-length adventure KOBOLDS VS. OGRES, coming in 2018! Veil Down is an affluent halfling village known for its vintners and farmers. Recent kobold incursions into the region around Veil Down have forced gangs of monsters closer and closer to civilized land...and this has brought a gang of ogres to the idyllic village! After driving the halflings out, the ogres have attempted to make the best of their situation and turn the village into their new home, but in a village built for halflings, these ogres are going to have a hard time fitting in... This adventure site contains a chapter from the forthcoming adventure Kobolds vs. Ogres, coming in 2018. Fully presented as a standalone site, expanded gameplay content includes a much more in-depth look at the gnome town of Hardbuckler, briefly touched in Volo's Guide to the Sword Coast and Sword Coast Adventurer's Guide. Additionally, extensive random encounter tables round out the book, steeped in historical lore from the Forgotten Realms campaign setting, presenting stunning mysteries, interesting sites to explore, and evocative NPCs and monsters. This chapter only begins the trials and tribulations players will face in Kobolds vs. Ogres!

The Stranger Stone, a rock that is to be used in a ritual to save the town of Berribury, has been stolen. The characters must track down the thieves and retrieve the Stone. A Four-Hour Adventure for Tier 1 Characters. Optimized for APL 3
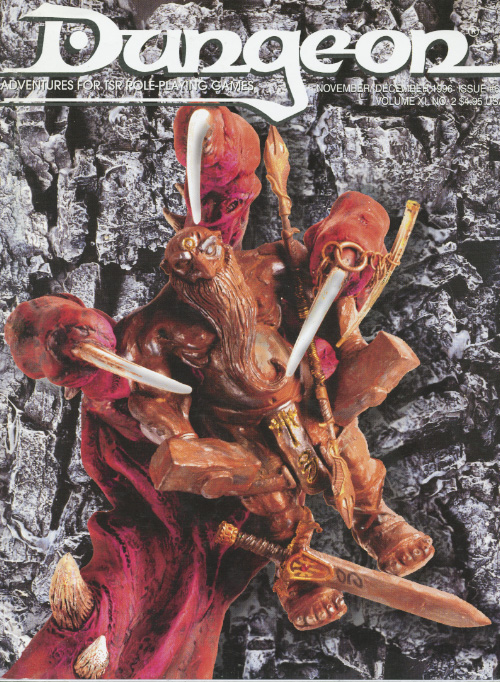
En garde! "Go away, or I shall taunt you a second time!" A duchess recruits the party to deal with a monstrosity. Pgs, 60-67
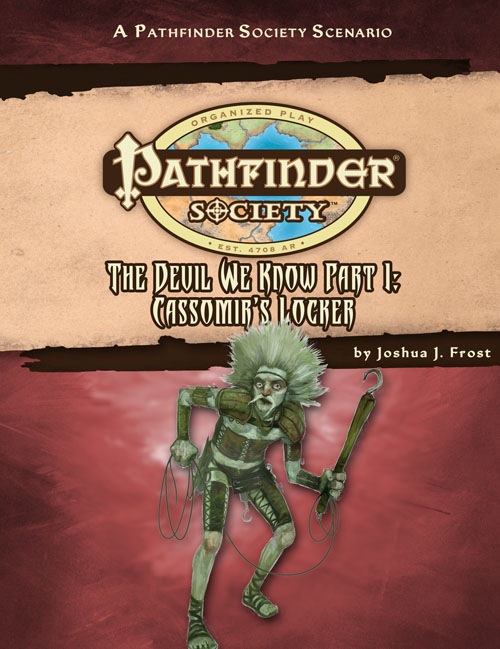
Part 2 of the "The Devil We Know" campaign arc. Cassomir's Locker is a Pathfinder Society Scenario designed for 1st to 7th level characters (Tiers: 1–2, 3–4, and 6–7). The Pathfinder Society dispatches you to the catacombs called Cassomir's Locker to find the source of a rat cult breeding monstrous vermin. After clearing Cassomir's dank sewers and delving into the dirty dungeons below, will you find the artifact that powers Cassomir's Locker or bring about the destruction of Taldor's most important port?

*THIS IS A D&D NEXT/5E PLAYTEST ADVENTURE* Imani, a Turmishan wizard and former adventurer, seeks the aid of heroes to infiltrate Dretchroyaster’s lair and recover the Diamond Staff of Chomylla—the key to powerful magic and wisdom locked away for thousands of years. In addition to his own sagely interest in the lore of lost Uvaeren, Imani recognizes the dangers of such powerful magic falling into evil hands. The dracolich has secured the staff in his lair’s cen- tral chamber, using ancient wards of protection that can be bypassed only by four artifact-idols once belong- ing to a cult of Bhaal. Each group of adventurers enters the dungeon through a different section of the dun- geon—a forgotten temple of Bhaal, a vast underground lake, a troglodyte village, or Dretchroyaster’s vaults. Dretchroyaster’s lair is no simple set of caverns and ancient ruins. It sits atop a source of great power and energy, which the dracolich and his Cult of the Dragon allies hope to use to unlock the secrets of the staff. Only by undertaking a unified assault against Dretchroyas- ter’s lair can the adventurers hope to recover the Diamond Staff and survive the dracolich’s fury. The adventurers must make their way through the lair and recover the Bhaalite idols that will help unlock the Diamond Staff, all the while dealing with the lair’s creatures and avoiding the dracolich as he pur- sues intruders. Entering the Chamber of the Diamond Staff, the heroes must overcome its magical wards and claim the staff before being slain by the dracolich and his servants.

Need to teach a newbie how to play? A young village shepherd has been telling a tale of an opening in the ground near where his flock roams. Timby Poster thinks he has found something of great importance. He has been telling everyone that there are stone stairs leading into the depths. He was going to investigate but his flock was set upon by vile humanoids that have been raiding the area more frequently. As Timby is prone to tell “tales” of monsters and his flock came back intact this may be a hoax thought up by the young boy. This adventure was designed for a beginning character with little RPG experience. Created for one player and one DM this allows a new player to understand basic concepts.

This short adventure is for use with the AD&D Oriental Adventures rules. At a pinch, "Western" AD&D characters from the Players Handbook could be used, although you should be prepared to make changes to the module. The skills and abilities of AD&D Oriental Adventures (A) characters can have little relation to their level. This module is should be suitable for a group of four or five OA characters of levels 4-6, but the DM should feel free to change this to suit a particular group of players.

As you begin your travels to fame and glory you have discovered the road is actually paved mostly with dirt and boredom. You have heard of the caravan attacks at Feastelburg and have begun to make your way to fame and fortune. As light begins to fade from the sky you have come upon a sign welcoming you to the small lake community of Crystal Shores. What appears to be a smoldering funeral pyre is near the lake’s edge and a small group of children play near the road. Your journey to the caravan raiders is halfway there. A few more days and you will begin your life as adventurers!

You’ve arrived at the small community of Smentz (15 locations!) to regain strength after your last adventure. While speaking with the people of the small village you catch wind of some ruins across the river that may have a mine or cache of ore and ruins to investigate. Your group is not the first who has had interest in searching but those that have ventured east have not returned. Are you ready for a bit more adventure?

It’s been a long few days of travel and the adventurers are tired of eating rations and sleeping on the ground. The road opens to a small town with an inviting tavern. The smells of grilling meat and ale fill their nostrils and the sounds of laughter and music float out the tavern’s door. Unlucky for the adventurers, they’ve stumbled upon Dragon’s Breath Tavern. What starts out as a pleasant evening of food, drink, and entertainment soon evolves into an adventure that takes the party into and under Dragon’s Breath Tavern. The adventure includes roleplay, exploration, combat, and a dice game called Demon Dice. Although written in a non-specific location, this adventure could be run as a one-shot during the WoTC official campaign – Curse of Strahd. The adventure includes an isometric map and a top-down map of Dragon’s Breath Tavern. Available as PDF or for Fantasy Grounds.
Someone kidnapped Lady Anilah Salhar—the Chelish wife of Dremdhet Salhar, one of Osirion's many Grand Ambassadors to Absalom—and sold her into slavery. With Salhar holding delve permits over the heads of the Decemvirute, the Pathfinders are sent to assist the Osirian Ambassador. Venturing into Absalom's darkest corners to save Lady Anilah, the Pathfinders must face the secrets of the Slave Pits to avoid becoming slaves themselves.
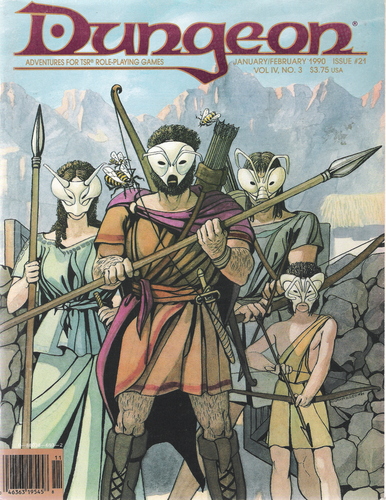
From the magazine: "'That's right," said the druid. "You must steal the giant's cauldron - without harming him in the slightest.'" The adventurers are sent on a mission to reclaim the legendary Cauldron of Plenty for a celtic inspired kingdom. This magic item is kept by an intelligent Verbeeg called the Bolg Mor. A secondary goal is to discover the command words for the cauldron in the cave system. There is a curse on the cauldron, stating that violence breeds violence; he who slays the owner of the cauldron and steals the device will also fall prey to acts of violence. Players are encouraged to attempt to roleplay and negotiate with the villain to gain the cauldron.