It's the day before Christmas and Santa's sleigh is stolen with the party on board! Can they retrieve the magical Cheer Core in time to save Christmas? The party takes on the roles of Santa's Helpers, gnomes that work in a new and industrialized North Pole. They're sent into the belly of this year's sleigh (a coal-powered machine the size of a warship) to deal with some minor pests. While they're inside, the sleigh is hijacked by redcaps that work for an evil witch that is jealous of Santa's popularity and wants nothing more than to steal Christmas for herself. Includes Christmas-themed monster stat blocks and magic items, all custom-built for a fun and lighthearted holiday adventure for a level 5 party.
Ambushed on the road by goblinoids and then follow them to their lair in an old, abandoned hunting lodge in a forest. This is a short adventure that can be played in a session. The Goblins’ Gambit is perfect for situations where the party suddenly decides to go completely off the rails and the gamemaster does not have anything prepared for the destination. It is designed to be simple and the gamemaster is empowered to read and run it quickly. A 3rd level party is ideal for this adventure, but it can be easily tuned up to 5th level or down to 1st level by adding or removing a few simple enemies. This adventure can be used in three different ways - The starting adventure - This is a great adventure to start a new campaign with. A good option to use for a brand new group of players A random encounter - This is perfect for use for a random encounter along the road A retrieval mission - This adventure can also be used as a low level mission from a patron What is included? The adventure pdf DM's map of two different locations Two high resolution (8192x6144) maps for an abandoned hunting lodge and a roadside encounter (grid and gridless), which can be printed out as a tabletop map to play on.

To arms! To arms! The battle lines are drawn as desert men and inhuman tribes wait poised to strike on the fertile and rich lands of the east. The call has gone out through the civilized lands. The armies have been raised to match the invading foes from the west. Nobles and peasants have joined swords to greet the foes. But Fate or Chance has decreed another role for a small few. No glorious banners will wave on their march. No squadrons of knights will charge at their word. Instead, they will fight the war with stealth, secrecy, and cunning. The risks they will take are great, but the fates of both armies lie with them. It begins one night for your party far from the fighting. Suddenly you are entrusted with the most dangerous mission of the war. Can you cross the Sind Desert, occupied now by enemy armies, to find the Great Pass? Can you find the one known only as The Master? What will you do if you find him? So begins your adventure in The Master of the Desert Nomads, the first module of a two-part adventure that can be concluded in the exciting Temple of Death or played entirely on its own. Can your party do what must be done? TSR 9068

"Wherein the local clergy makes the terrible mistake of not hiring enough assassins for the job." Synopsis: The heroes have just returned from the abyss (Occipitus) and reestablish themselves in Cauldron, when they are assaulted by a group of professional assassins. After they repel the attack, they trace back the lead to the temple of Wee Jas, where they find plenty of opposition from the second in command, Ike Iverson. After dispatching of the cleric and securing of a (spare) soul cage, the group finds evidence of a place important to the cagewrights' cause - an ancient underground complex named Karran Kurral. Mounting an expedition to that place, they find more evidence towards the horrific destiny on schedule for Cauldron. However, they gain access to the Soul Pillars after defeating a dracolich, that they can use to gather plenty of intelligence on the cagewrights' plans. Pgs. 12-51
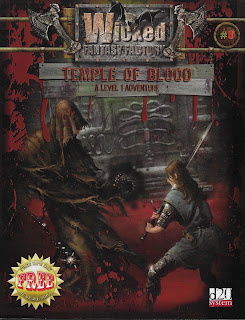
Over the top low level dungeon takes you through the sewers to stop a blood worshiping madman his Kobold minions.

The final fate of Roslof Keep and the Company of the Ivory Scimitar hangs in the balance. With five levels conquered, the party must finally face the ultimate challenge of the sixth and final floor. Can the stalward adventures overcome the last defense of the Infernal Machine? Will Roslof Keep be freed from the violet corruption? What unforeseen plot twists still await those willing to brave the challenges presented in The Realms of Madness and Despair? This adventure is formatted to both 1E & 5E gaming rules. Also available in PDF.

Gifts for Him is a short, challenging, open-ended, gothic-horror, 5E-compatible Christmas adventure for tier 1 characters to be run in about three sessions, but it can be easily adapted as a one-shot. It contains over 25 pages with original artwork, three original battle maps, three unique monsters, stat blocks for five NPCs, three magic items, and a partridge in a pear tree. ----- The village of Bargrave has a secret. Every year, on Christmas Eve, the villagers cower in their homes while a savage beast prowls the streets, wreaking bloody doom on whomever has not left it a suitable gift on their doorstep. But Elias Buhl has had enough. This year, the old farmer won’t be buying the beast a gift, hoping instead to bait it into attacking him at his homestead, where he will trap and kill it once and for all. But he can’t do it alone. Buhl has hired a band of adventures to help him fortify his home, set traps, and slay the creature. They have three days to prepare, gather allies and equipment, and plan their defense. Or… They can dig a little deeper and uncover what Bargrave has been hiding all these years. Will they slay the beast, as agreed? Might they capture it to use it for their own ends? Can it be redeemed? Or will they die — their blood melting the snow — just the latest victims of the creature’s reign of terror? --- Gifts for Him is a complete, playtested, illustrated adventure that is currently pay what you want.
Centuries ago in the Black Swamp, Castle Kraal was a well-respected keep. Its warriors defended the folk of Thunder Rift from the marauding bands of ogres and goblins who swarmed to attack from the Horned Hills. And then one day the keep and all of its warriors vanished, never to be seen again. Now, all these years later, historians are still trying to find the answers to the disappearance of Castle Kraal, answers which may be hidden in Kraal's ruins. The heroes are asked to investigate and to try and solve the mystery. Be Warned: Not every mystery wishes to be solved! Recommended for beginning players and DMs For use with the DUNGEONS & DRAGONS Game Box. TSR 9434

East of the great city of Filbar is the Village of Xer. This large village is the gateway to the Eastern lands and the humanoid tribes. Xer was originally the army base for the Bloodrayne Conflict of 715. After the battle the wounded returned to the serene woods and some remained after that. Since then it has been a comfortable caravan stop for many weary travelers.
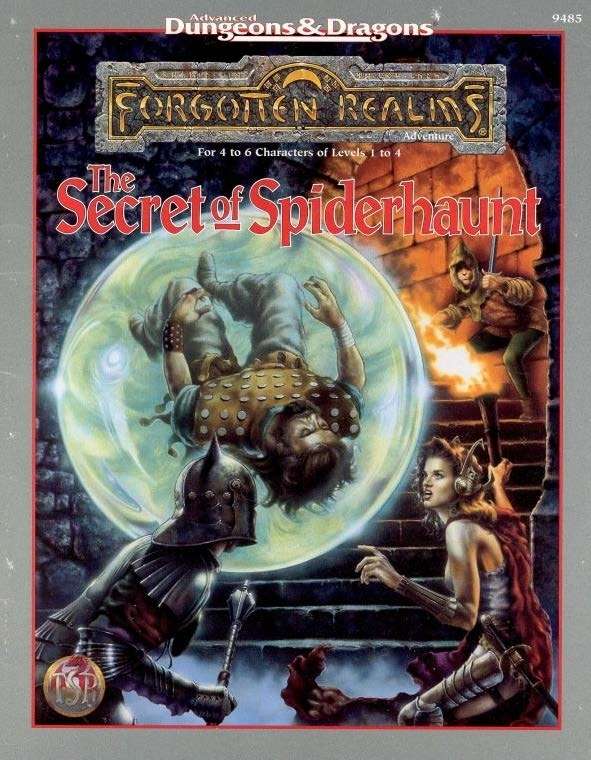
The infamous Sword of the Dales has always held a certain fascination in the eyes and hearts of the citizens of the Dalelands. Thus, it was no surprise when Randal Morn, rebel leader of Daggerdale, led an expedition into the crypt of a long-dead wizard to recover the weapon. Shaevyn the weapons-mage had created the Sword long ago, and it stood to reason that the blade would be waiting within his tomb. Perhaps the Sword of the Dales woulld allow Randal Morn to rule Daggerdale once again. But Randal Morn never returned from that fated party. Only tales of terror told by a lone survivor held any clues as to Randal's fate. A brave hand of heroes accomplished what Randal Morn's group failed to do in part one of this adventure trilogy, "The Sword of the Dales." Battling through the tomb's undead inhabitants, those heroes reached the burial crypt of Shraevyn. There, resting in the center of the coffin, was the Sword of the Dales, its azure glow filling the chamber. However, there was no sign of Randal Morn. Only a note signed by his hand held any clue as to his fate. "Seek me in Spiderhaunt," it proclaimed. "The fate of Daggerdale is in your hands." This is the second part of a trilogy of modules that began with "The Sword of the Dales." The saga concludes with "The Return of Randal Morn." TSR 9485

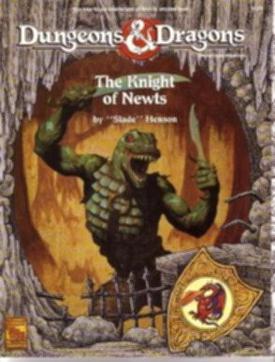
The town of Byr is in need of heroes. Residents of the town of Byr have been kidnapped. Some think it was marauding Hobgoblins, but a grizzled and crippled veteran who helped to drive the Chagmat (monstrous spider-people) back many years ago believes that the Chagmat are back. Their forgotten temple is believed to be up on Little Boy Mountain. He argues that the mountain is where answers, and the missing townsfolk, can be found. Pgs. 33-48
:strip_icc()/pic2633965.jpg)
The Bunker transports the party from their starting hex to a destination 2 hexes away. It can be placed anywhere on the Purple Planet map that does not already contain a numbered encounter. It could be hidden beneath the fecund growth of the mushroom forests, lost in the broken lands, amid the Ancestor Peaks, or uncovered by a sand storm in the wastes.

The party approaches the Dwarven Kingdom of Narol'Duun, where things are far different than in your typical dwarven empire. The first major difference is that Narol'Duun is split into three distinct categories of dwarven tribes based on the main type of ore that they mine and refine. The dwarves take on characteristics of these ores - the Cobalt Dwarves having a tinge of blue to their hair, the Copper Dwarves having tough skin and beards of shining reddish-brown, and the skin of the Iron Dwarves is a deep grey in color. These dwarves engage in trade and drink, but the one thing that they are sure to never do is breed outside of their respective tribes. To be found in a relationship with a dwarf of another tribe is to be exiled to the surface - a punishment worse than death for most of these dwarves. On this particular adventure, the party finds themselves caught up in a case of forbidden love between a royal member of the Cobalt Dwarf family - Nadom Glintstone - and a simple merchant woman from the Copper Dwarf tribe by the name of Lajeera Copperfist. They have been doing their best to keep their love a secret for they both know the risks, but the Cobalt King, Norgith Glintstone, has suspicions and is deeply afraid of the damage such a scandal could have on his family's reputation. He doesn't want to draw any attention to the situation, so it is difficult to find a dwarf of his own tribe that could look into it further, so when the party comes along he sees it as a perfect opportunity. He will hire the party to look into the situation with Nadom, offering grand rewards in exchange for the truth if they can provide proof. The party will be torn between multiple threads of possibility in this adventure – telling Norgith the truth about his son's affair with Lajeera, helping Lajeera to permanently change her form to that of a Cobalt Dwarf so they can be together, or perhaps even trying to end the tribalistic ways of the dwarven kingdoms all together. This is a heavily role-playing based adventure, perfect for those who would rather talk their way through a difficult situation than cut their way through it, but there is still some combat along the way depending on the party’s choices. This story will decide if love can win out against all odds or if the temptation of coin is greater than the happiness of others.

The desolate, uneven country known to locals as Battlefield Downs is strewn with the scattered remains of the ancient dead. During the last terrible years of the old empire, a series of grinding military engagements played out across the rolling fields of Battlefield Downs. In one battle that was part of a wider, disastrous campaign that contributed heavily to Nerath's downfall, the Empire of Nerath's legions clashed here against ravaging gnoll packs. It is now a haunted place, where only the bravest dare to tread. Pgs. 72-79

Dread tales told in the dead of night! When the shadows grow long in Waterdeep and the fireplace in the taproom of the Yawning Portal dims to a deep crimson glow, adventurers from across the Forgotten Realms, and even from other D&D worlds, spin tales of dark dungeons and spread rumors lost treasures. Within this tome are seven of the deadliest dungeons from the history of Dungeons & Dragons. Some are classics that have hosted an untold number of adventurers, while others are newer creations, boldly staking a claim to their place in the pantheon of notable adventures. The seeds of these stories now rest in your hands. D&D’s deadliest dungeons are now part of your arsenal of adventures. Enjoy, and remember to keep a few spare character sheets handy. Includes seven adventures: Against the Giants Dead in Thay Forge of Fury Hidden Shrine of Tamoachan Sunless Citadel Tomb of Horrors White Plume Mountain

Figgy Puddin' Steals Christmas is a short adventure for three to six characters, and optimized for 2nd level characters. We also include Scaling Suggestions, allowing you to run this adventure for lower- or higher-level characters. We anticipate a run-time of 2- to 4-hours. There's a bit of roleplay in this adventure, which may extend the playtime. Adventure Background A traveling jester known as Figgy Puddin’ and her Coal Smudge Gang have stolen Christmas presents and now hold them for ransom. While safe and secure in her lair, she awaits either a payment of an outrageous ransom, or a crew of heroes to claim the presents after they navigate her not-so-festive lair. What's the Adventure? After you introduce the hook, the adventure occurs in Figgy Puddin's lair - a refurbished kobold bunker consisting of eight rooms. As the characters explore the linear dungeon, they encounter new creatures, complete challenges, and are tested about their Christmas knowledge. However, the final confrontation with the naughty Figgy Puddin' could make for a very Unhappy and Unmerry Christmas for our heroes, the children of Thistleton, and their parents. Who Is Figgy Puddin’? Figgy Puddin’ was once a happy jester who loved Christmas. For years she traveled the realm, bringing fun and festive cheer to villages and children while preparing the way for Santa. However, times have become tough, and entertainment doesn’t always pay as well as one would like. As Figgy prepares for retirement, she’s learned she doesn’t have enough gold to last. During this time, she’s also decided that Santa doesn’t know who she is, let alone appreciate the work she puts in every year. Using her savings, extortion, blackmail, and other nefarious means, she’s convinced several mechanical geniuses and arcane specialists to help her refurbish her underground bunker with wondrous effects, creatures, and tests. To fund her retirement, she’s taken extreme measures to make some quick gold — holding Christmas presents for ransom.
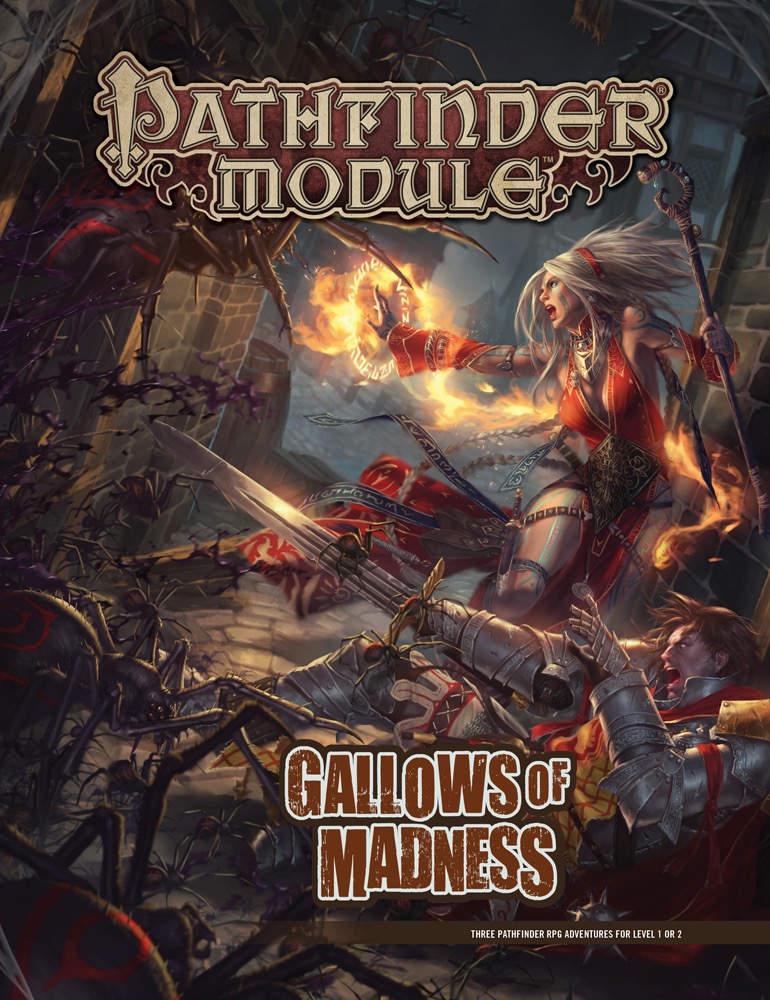
The Abyss Approaches! Something wicked—and monstrous—stirs around the rugged Isgeri town of Saringallow, where the hated legacy of noble Chelish diabolists runs deep. With the recent disappearance of several apprentices, the nearby menace of particularly grotesque goblins, and the unsettling rumors about the old Sarini Estate, Mayor Sandra Trinelli knows that she needs help, and she needs it fast! The heroes must confront one of these crises, or all three, if they hope to stem the tide of darkness that looms. Before too long, the heroes discover that villains with ties to the Abyss have set their sights on Saringallow, and won't rest until the settlement and all its innocent inhabitants fall victim to their madness-inducing predations! Gallows of Madness is a 64-page, highly versatile collection of three adventures for 1st-level characters. Each adventure also includes scaling information for parties of 2nd-level characters. Written with beginning Game Masters and players in mind while also providing challenging content for veterans, these adventures can be prepared quickly and run separately or in any order. For GMs who wish to run a deeper, more narrative game, this volume also offers an overarching timeline of events and detailed tips for running these adventures as a cohesive whole. Bonus content includes new monstrous foes and a gallery of NPCs to help easily connect the adventures, plus a gorgeous double-sided poster featuring an overview of Saringallow and a miniatures-scale battlemap!
In the center of Lake Encarthan looms the dreaded Isle of Terror, accursed land of mystery and treachery. Hidden within the island's negative energy storms, the secret treasure city of the wizard-king Tar-Baphon has lain sealed for centuries. Now masked cultists have opened the golden city of Xin-Grafar to claim the wealth of the legendary city for the Living God Razmir. Can the PCs track the cultists through the poisoned swamps and blasted wastelands of the Isle of Terror to the City of Golden Death itself? And what forgotten dangers will oppose them as they struggle to prevent a dark faith from spreading across the world? Part 3 of the Price of Immortality trilogy.

On a busy day in the marketplace, something hurtles down out of a clear sky. When the dust clears, you c can see that it's a ship's anchor, attached to a rope that stretches up as far as you can see. What do you do? Pull you AD&D game players up the rope and into the astounding universe of fantasy space! Send their spacegoing galleon, the Skyrunner, across the vast reaches of Wildspace. Drop them in the Hive, the largest dungeon ever created. Then pit them against the Ravager, a monster that threatens the characters' entire homeworld! TSR 9273

The Tranquil foothills of the Sword Mountains are quickly plunged into chaos, as a series of earthquakes spread their way through the region. Adding to this danger, bands of vicious, flesh-eating monstrosities have clawed out of the shattered earth, attacking travellers and local residents. Rumours of wealth and riches have drawn the adventurers to the area; little do they know that it is not gold and jewels these monsters protect, but a volatile portal into the Underdark with a disturbing secret.