
There's trouble in Allesley! An Eastbrook farm has been attacked and people slain. But by what? The people are frightened, the Reeve is concerned, and the Constable wants you to figure out what’s going on. The last time this happened, goblins attacked the town. Does this mean war? This is the first adventure in a series to come in 2017 which builds on the introductory mini-adventure in the Eastbrook starting area.
Do you want your players to feel like they are in a zombie movie, struggling against a deadly horde that tries to surround them, overpower them, and bear them down to the ground to be devoured? This is an adventure that can threaten even the stoutest of characters, and is not recommended for parties of levels 12 or below unless they are larger than normal. This module is designed to take 4-8 hours of play and cover a single day, depending on the party’s speed of play and how thoroughly they decide to explore. It includes suggestions and some plot hooks that can be used to tie this easily into a variety of long-running campaigns, or it can be run as an indepdent adventure. The players will come upon a sacked town, figure out what happened, track an item whose theft has ominious implications for the region, and explore a partly-flooded old temple to end the threat. It's primarily combat-focused, but there are a few areas where exploration and route choice makes a difference, as well as traps if the party goes for the optional temple treasury. The antagonists in this module are mostly ghasts and ghouls, but the module title and cover page are deliberately selected to not spoil this. These are greater ghouls and ghasts that can challenge higher-level characters, backed up by mobs of lesser ghouls that can surround, paralyze, and devour the weak and unlucky, led by a Warlord whose aura can drive even the stout-hearted into forgetting their plans in a moment of madness.

First the bandits attacked then the Roc carried away the guide. Since then you have blindly followed the camels hoping that their instincts would lead you to water or help of some kind. You and your friends are lost in a sea of sand. Plodding along in the shadow of the camels and doing your best to stay alert. Ahead the heat shimmers take shape. This time it is a castle. Blinking away the dryness in your eyes you realize that the tower is not a mirage but it is broken.

Dragonspear Castle. All who live within several hundred miles have heard the name and know its import. Once home to the proud and the brave, it stands now a ruin, cloaked behind a history of murder and diabolic plots. Few go there, for the only reward to be found is death. Rumors abound that Dragonspear holds a portal to the sinister planes, but until now those have been unfounded. Following a great battle against orcs and trolls from the High Moor who had taken possession of the castle, a temple to ward against further evil was established. However, by the Time of Troubles, that temple and its clergy had disappeared. Now, a horde of fiends and monsters has amassed at Dragonspear Castle, and it terrorizing the surrounding countryside. The portal is active, that is for certain. The army of Daggerford needs reinforcements! Is you party made of the stuff of heroes? Hordes of Dragonspear can be played using either the Battlesystem miniatures rules, or the quick combat resolution system found in DMGR2, The Castle Guide. Alternatively, a few simple changes render the entire module playable without any special rules. TSR 9369
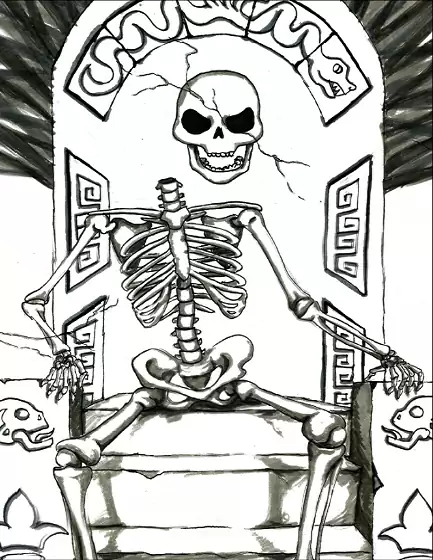
Centuries ago, the four deities worshipped by mortals – Kishar, Kotaresh, Lyth, and Asar-Segt – threatened to drown the world in a flood of saltwater to punish the living for their impiety. The oracles and witches of the realm struck a desperate bargain with the gods, however, and convinced them to spare the world. In exchange, the mortal kingdoms were bound to demonstrate their faith once every generation by sending their most courageous and adroit warriors to the Crucible, a ziggurat in the lowest valley of the land. Every quarter-century, on the first full moon of summer, an eclipse darkens the night and the sealed ziggurat opens. Many traps, tricks, and guardians lie within the Crucible to test those who enter. Few who heed the challenge of the gods survive – most find only quick death. If the races of the world are deserving of the gods’ affection, their champions will overcome the trials of the Crucible and light the Divine Brazier hidden in its uppermost chamber. If they are not, the flickering candle of civilization will be snuffed. Little of value will have been lost. Published by Defy Danger and Save Versus Death

The Frog People were never a threat before, more of a nuisance really, they would show up once a year steal a few things and drink some ale. Then they would be gone. This year though they did not leave and now they are taking people! The town needs help and it has found it in you and your friends.

In "The Brazen Bull," whilst traversing one of the seedier neighbourhoods of Khromarium, your party are solicited by a greasy-haired Pict. He offers to sell you a sheaf of magical lotus that allows one to see the future or to brew potions that empower the imbiber with sorcery. He beckons you to follow Jeffrhim into a dilapidated building ...
A bad of settlers awaits certain death upon the vicious blades of massing gnoll hordes. Can the PCs distract the ravenous army of savage humanoids long enough for reinforcements to arrive? A D&D adventure for 3rd-level characters.
The forlorn Falkrest Abbey in the icy Lune Mountains is where the Queens and Kings of Yore used to be crowned and buried, along with their treasures. According to legends, the Fountain of St. Brynedd still pours its miraculous water somewhere inside. But what caused the fall of the blessed Abbey? Falkrest Abbey is a level 1–3 dungeon adventure for Old-School Essentials. Written by Andrea Tupac Mollica and Giuseppe Rotondo, with original art by Zaira Diana. Content: A 19 room dungeon with exploration, combat, mystery, puzzles and NPCs Encounters and events along the way on the icy Lune Mountains Several hooks and alternate outcomes with possible repercussions on your campaign 3 new monsters 2 new magic items, plus one almighty magic vial of miraculous water Original art by Zaira Diana Map drawn with dungeonscrawl Utility: Treasure & monsters overview sorted by room Interactive hyperlinked map and index Interactive hyperlinked map snippets accompanying room descriptions Printable hand-outs (optional) Extra files: VTT friendly maps without room numbers, monsters, secrets doors etc

The Search and Locate Treasure Consortium funded an ill-fated mission into the wastes of Thar. They are unsure if faction infighting or monsters got the best of their expedition team as they followed a map to locate a supposed lost tomb. What dangers and treasures await the party as they go seeking rumors of riches?

“Traversing the planes of existence is no easy task. Only extremely talented and knowledgeable people could manage it.” A mysterious thief stole a dangerous artifact, called the Tome of The Stilled Tongue from the tower of Lady Blackstaff of Waterdeep, Vajra Safahr herself, leaving the tower by opening a portal to the Elemental Plane of Fire. The archmage immediately calls the band of adventurers who are staying in town to chase down the thief and return the dangerous book to its place. This adventure can be used to kick-off a planar campaign or as a standalone one-shot. A Chase Through The Planes features: - An exciting journey across the multiple planes of existence: Elemental Plane of Fire, Shadowfell, Feywild, and Ysgard - Exploration of morkoth island and lair in the Astral Sea full of weird creatures, strange phenomenons, and dangerous encounters - Heavy use of Supernatural Regions from Tasha’s Cauldron of Everything - High-quality battle maps, available in printer-friendlier and universal vtt format

An extended campaign for the Midnight setting from Fantasy Flight Games. Crown of Shadow is a desperate quest across Eredane, ranging from the depths of the Kaladrun Mountains, across the grim expanse of the occupied plains of Erenland, through the secretive underground of the Eren River, and finally into the heart of the Whispering Wood itself. Published by Fantasy Flight Games.

Strange events are occurring near the town of Yûlash—ground tremors originating from an old mind flayer hive. Our heroes are asked to investigate the old hive and determine the cause of the seismic activity, but another pressing matter is revealed to them, too. This Adventurers League legal adventure set in a small town near Yûlash. This module first premiered at TotalCon 2018. Contents include: PDF of the adventure PDF of the Adventurer’s League certificate High resolution maps
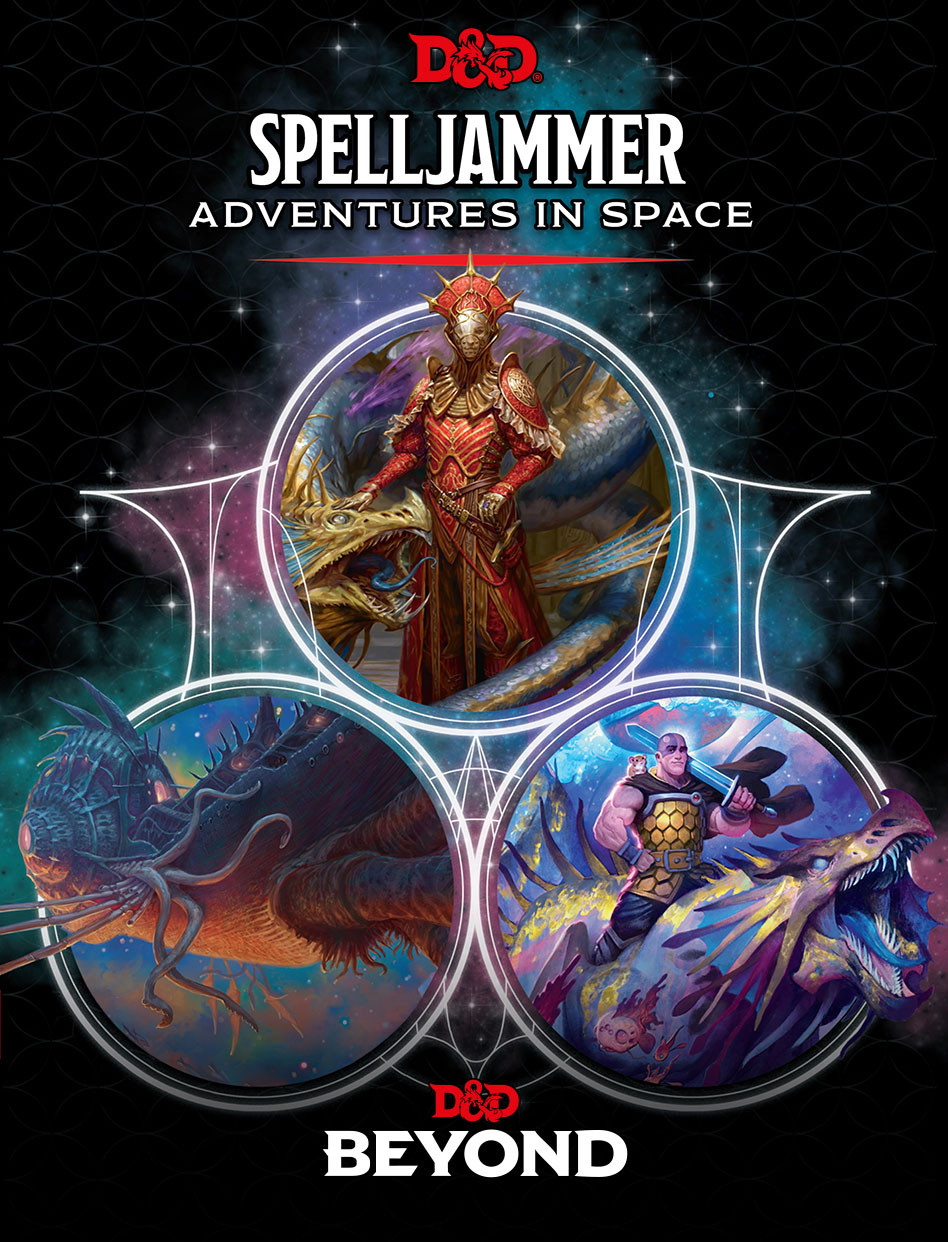
Light of Xaryxis is a thrilling space adventure set in the Spelljammer: Adventures in Space campaign. Heroes sail through the vast expanse of wildspace, encountering cosmic threats and unraveling mysteries. The Xaryxian menace, fueled by the star Xaryxis, seeks to annihilate the multiverse. As brave spacefarers, your characters must navigate intrigue, battle alien foes, and ultimately decide the fate of worlds. Will they save the realms or face oblivion in the cosmic glow of Xaryxis?
Invasion of Veluna - Level 1 Demons have invaded Veluna, laying waste to Verbobonc and small towns! Survive the siege, and track down their origins. This adventure has inspiration from The Village of Hommlet. Infiltration of Dorakka - Level 2 Rumors of Demonic Invasions have the characters traveling across the lands of Iuz, surviving in the war torn wastelands to reach the Rift and back to infiltrate the capital of the fiendish Empire. This adventure has inspiration from The City of Skulls, with a special optional twist. Scant Rebellion - Level 3 Rumors of demonic forces across the Flanaess are forcing the hand of the Scarlet Brotherhood. Aid or covertly work against the Brotherhood to eliminate or save the Free Onwall Army of Rebellion and create a temporary peace. Assassination - Level 4 The Free Onnwall Army of Rebellion has been weakened. The Scarlet Brotherhood mean to end its threat with the permanent removal of a key leader and funder of the army. Beneath the Gnarled Root - Level 3 Mad demonic cultists wandering listlessly across the Gnarley have been ranting and raving of a secret asylum hidden beneath the gnarled root. Find the dungeon, and learn what secrets it may hold. Quarry of Elemental Chaos - Level 4 The demonic forces near the Gnarley have constructed a massive quarry to tap into the elemental chaos, using its power to locate a magical artifact for a greater evil. Dive into this massive dungeon and end the insanity in an adventure inspired by the Temple of Elemental Evil. Irongate Heist - Level 3 Azure Masks have tracked an important magical relic to be in the possession of a traveling author who has just come home to Irongate to celebrate his newest book launch. During the party, enter his home and steal the artifact while forces work against you. The Bright Desert - Level 4 Rary the Traitor has partnered with the demons to gain information on the Lost Pyramid of Kesh. Within is the legendary Scorpion Crown that would hand the fiends an army of tlincalli. You must race across the desert to reach the pyramid before Rary's forces in this adventure based on Rary the Traitor and Desert of Desolation. Bastion on the Borderlands - Level 5 The bravery of the characters has seen them rewarded with a bastion in Keoland abandoned by the Knights of the Watch due to political pressure. The characters may take a moment to breath, place roots down, or bring order to the nearby chaotic caverns in this adventure inspired by Keep on the Borderlands. The Neverending War - Level 6 Transported to and trapped within the neverending war in the lost city of Rauxes, the characters are tasked with ending the curse upon the city to escape this D&D roguelike adventure. Jungles of Hepmonaland - Level 7 The mirror of gates, an artifact to easily bring groups of people across the planes, has been split. The first piece has been discovered to be deep within the Jungles of Hepmonaland in this adventure inspired by Needle. Across the North - Level 8 Rumors of artifacts in a hidden vault in the northern Flanaess have circulated for decades, but with the keys now showing up, and demons circling, this rumor could be a key to stopping this invasion in this adventure inspired by Five Shall Be One. City of the Lizardking - Level 9 The Silent Ones have maintained a close relationship with a band of Lizardfolk in the Hool Marsh. Their recent silence, following a discovery of another piece of the Mirror of Gates could only mean one thing... They need to be saved in an adventure inspired by Tomb of the Lizardking. Lair of the Kraken - Level 10 The Ladies of Crede had discovered yet another shard of the Mirror of Gates, having it transported to Oakenisle when the shipment was attacked by a kraken. Now the characters must go on a very deep sea adventure to take back what is theirs. The Demonic Rainbow Dungeon - Level 11 Unbeknownst to most, beneath the Free City of Greyhawk is a massive dungeon constructed by a variety of creatures to funnel power for Demogorgon to maintain his charade of an alliance with the Queen of Chaos. Put an end to his scheming in this adventure inspired by Castle Greyhawk. Comes Sail Away - Level 12 The characters partner with the Scarlet Brotherhood to traverse the sea of worlds and enter the City of Glass in the Elemental Plane of Water, trying to gain the Ax of Severance before the Queen of Chaos. This adventure was inspired by The Vortex of Madness and Other Planar Perils. Fly Away With Me- Level 12 Dropped into the middle of Aaqa in the attempt to stop the Queen of Chaos' plan, the characters must naviagte politics and the infinite skies to reach the Ax of Severance before the demons. Through the Fire and the Flames - Level 12 Inspired by Secrets of the Lamp, this is a political-intrigue quest, with characters forced to navigate the politics of the City of Brass, getting a new sultan in power to gain the Ax of Severance before the demons under the Queen of Chaos can seize upon the chaos they wrought. Underground - Level 12 The characters must navigate the shifting labyrinths of the Elemental Plane of Earth to pull off a heist and find the Motherlode before the demons! Portal of the Drow- Level 13 The time has come to enter the Abyss. The nearest - permanent - portal is inside the drow city of Erelhei-Cinlu and is guarded by the son of Demogorgon. As a result, only one action is reasonable: besiege the great city in this adventure inspired by Vault of the Drow. Invasion of the Abyss - Level 14 Upon finding themselves in the Abyss, the characters arrive in the uppermost layer of the Abyss, trudging through 13 layers to reach the home of the Queen of Chaos in this adventure inspired by the Demonweb Pits.

The yuan-ti anathema, Hessatali, calls out to his yuan-ti faithful from his prison in the Abyss. His network of vipers has uncovered the ruins of ancient Ss’tatha’lass and the Fane of Hessatali, a fountain of pure venom that will return the demi-god to life. Above the buried ruins of Ss’tatha’lass, yuan-ti agents have moved to control the politics of Scornubel. The characters fall into a complex yuan-ti plot that spans the breadth of the realm, pits the heroes against the forces of the Abyss, and explores the culture of the yuan-ti.

Long rumored to be haunted by eerie specters, Kincep Mansion has stood for years, mostly untouched by nearby townsfolk. Now something is preying on the local villagers—something that comes from the house. Pgs. 46-69

Located at the division of land between the Duchy of Starryshade and the famed Horselords is the historic Mystic Wood. Home to the site where the peace treaty was signed between the two countries this area is rumored to have a strange effect on magic. Information has reached the local thane that a gathering, or conclave, of humanoids is to occur this weekend. He has dispatched his military but they are too far to be of use. He has heard of your growing fame and asked your party to investigate this rumor and take appropriate action.

"Wherein the local clergy makes the terrible mistake of not hiring enough assassins for the job." Synopsis: The heroes have just returned from the abyss (Occipitus) and reestablish themselves in Cauldron, when they are assaulted by a group of professional assassins. After they repel the attack, they trace back the lead to the temple of Wee Jas, where they find plenty of opposition from the second in command, Ike Iverson. After dispatching of the cleric and securing of a (spare) soul cage, the group finds evidence of a place important to the cagewrights' cause - an ancient underground complex named Karran Kurral. Mounting an expedition to that place, they find more evidence towards the horrific destiny on schedule for Cauldron. However, they gain access to the Soul Pillars after defeating a dracolich, that they can use to gather plenty of intelligence on the cagewrights' plans. Pgs. 12-51

The small town of Boldon, and its surrounding villages are afraid. Dozens of people are missing, some speculate lost to some nefarious purpose. A broken drunkard tells fantastic tales of an evil temple and the horrible things within. The rare few who know the legends and history of the region are beginning to think the dark times have returned; not seen since the fall of the first age of man. People are beginning to feel the icy fingers of fear closing in. The party becomes aware of these events, and is inspired to investigate. This leads them to a broken man who tells them a story of a lost temple. Has it been rediscovered by men seduced by its forgotten evil? The drunkard’s tale leads to others who might help the party discover more before they face The Lost Temple of Forgotten Evil. Published by Fat Goblin Games