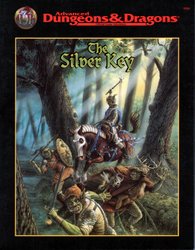
Between the settled human lands and the orc-filled mountains rests the barony of Honshar. The residents have grown used to occasional orc raids, but now they find themselves facing a full-scale war. As if that wasn't bad enough, the orcs have kidnapped an important political figure from Honshar, along with a crucial magical item - the Silver Key. Unless the key is recovered, it could be Honshar's undoing. Both the key and the hostage are being held in the orc city of Krimba-hai, so getting them back will be tricky. However, there is a plan.... TSR 9508

Roots of Evil, the conclusion to the adventure begun in From the Shadows, delves into the horrific origins of Strahd von Zarovich, master vampire. This 96-page adventure module features Strahd in his final showdown with Azalin the lich, the two most powerful lords of evil in RAVENLOFT® realm. Player characters return to the popular Castle Ravenloft and discover never before known facts about the vampire's roots and origins. The outcome impacts the RAVENLOFT® realm for years to come! TSR 9413

As the PCs opt to leave the “friendly” confines of the Duchy of Starryshade due to some unfortunate misunderstanding, they head north. The Noteflame Coast is filled with desolate reaches, humanoids of all types, and the home base of the Corsair Council. The major community in this county is Kale Bay but getting there won’t be easy. This offering is more of a sandbox style with several optional adventures.

You wake up in a pitch-dark cavern... The stench of bodies fills your nostrils. The crack of bone and the sound of teeth rending flesh are the only sound you hear. Something is feeding nearby...something you can't see. We Eat in the Dark is a deadly adventure for 3rd or 4th level characters. Navigate the caves of the Darkshard Abattoir, where light sources are muted and creatures hid invisibly in the dark. Fight for your life against troglodytes empowered by a mysterious artifact and other cavern hazards. Includes an appendix for limited starting gear for a more lethal challenge. A perfect murder-happy one-shot for your players to question your friendship.

“The Lost Mines of Karak” is the sequel to “The Shadow Rift of Umbraforge” and the fourth part of the Scales of War adventure path. After the player characters' success in "Siege of Bordrin's Watch" and "The Shadow Rift of Umbraforge", they have garnered something of a reputation in the city of Overlook. They are introduced to a wealthy patron that believes there is a connection between a shadar-kai arms dealer (from the previous two adventures) and a long lost dwarven mine. The patron wishes the PCs to find and secure the mine in order to use its wealth and resources to defend the city. The party then must travel through a wasteland and desert to find this mine. Once they have, they must fight through the hordes of monstrous creatures that inhabit it and defeat the Queen of the Drylands - a powerful naga. Pgs. 56-93

Ratmen of the Dead Oak is a companion adventure made to go along with the events unfolding in Folio #8 (DF1 The Patina Court). It contains the information needed to run a side advenute during the events of The Hidden Valoria Campaign. You haven't truly been inducted into the culture of Valoria unless you've had dealings ith the mysterious Ratmen. Now, a problme has emerged from an infamous tree in the Patina and only the characters have the unique skills required to deal with it both diplomatically and martially. This adventure is formatted to both 1E & 5E gaming rules.

Note: This is a sequel to Out of Body, Out of Mind. The legend of the realm of Tirna'cel is well known. Once remembered for its power-mongering warlords, homunculi-wielding sorcerers, and archfiends from the deepest pits of the Abyss, Tirna'cel has become a powerful and welcoming land over the last 600 years, due in no small part to the efforts of the warlord Tirna'gael, a member of the land's founding nobility. But your party knows the truth. You ventured into the tomb of Tirna'gael some six months ago, and therein discovered that the fallen warlord was actually little more than his brethren: a petty, avaricious power-monger. Possessed by a rival force which also desired the kingdom - a rare incorporeal demon called a nescent, which inhabited his body and augmented his already incredible power to unforeseen levels - Tirna'gael sought to overthrow the ancient warlords only to replace them. Through Tirna'gael's augmented body, the nescent overwhelmed and eliminated the other warlords, eventually dominating the realm along. But before it could consolidate its rule and throw Tirna'cel into an even darker age, the secret of its power was discovered by the paladins of Garadon, a virtuous cell of justice and light. The paladins lured Tirna'gael into the center of his own fortress and trapped him there within a powerful anti magic field. His body withered and died but the nescent remained dormant, waiting for its chance for revenge. During your visit to Tirna'gael's fortress-tomb six months ago, you accidentally released the nescent from its prison. That enemy has since been vanquished - at least for the time being - but the memory of your pitched battle against it still lingers as you approach the original chapter house of the Order of Garadon. You have been summoned.

A nearly-penniless merchant wants heroes to secure and return priceless heirlooms. But can they do it with goblins all around, raiding and pillaging? Can the heroes reach a peaceful settlement with the raiders, or will they wreak mayhem and slaughter? Find out in Eastbarrow! This package (adventure, maps, and handouts within) forms a complete module for use with DUNGEONS & DRAGONS® 5TH EDITION RULES. It is especially designed for Dungeon Masters to initiate play with a minimum of preparation. Also includes full-sized maps for the VTT of your choice! Old School Look and Feel!

A member of the Thieves Guild Ebonclad has betrayed the guild and left a trail of bodies in his wake. The incident leaves the guild in a vulnerable position, and now a cleaning crew is necessary to find the rogue agent and cover the guild’s tracks. The party has to track down and eliminate Rikus Nickol, a guild defector. Rikus violated the honor among thieves when he murdered his teammates and made off with an enigmatic coral tablet that they were sent to steal from a building on the Ohlrise campus. The party is encouraged to retrieve this tablet as well, though eliminating Rikus is the most important goal. The party plays the role of investigators. The mission primarily deals with investigating a botched job on the Ohlrise (College/Wizard) campus, though it culminates in searching for a thief who defected from the guild. The characters are confronted by the rogue agent, forcing them to react to the situation as it unfolds.
A short 2-combat side trek: After confronting an ettin and its pet owlbear, the PCs descend into an ancient ruin holding a portal to another plane, protected by a naga, an eidilon and a sea of serpents.

Recently, a cult known as the Licor Faction rose to fame for helping people outside the walls of Phoenix. Today they are to be rewarded for their work but are offended when an apprentice and not the Zephyr of Molar gives them the accolades. Angered, the leaders leave the stage and return back to their compound. A bit later you are offered a job to go arrest the leader of the cult as they are to be exposed as a false religion. Cultists usually surrender their leaders easily right?

Order of the Goat is an introductory adventure that is 1/3 of a mini campaign designed to take a group of PCs on the road to 6th level. The Kingdom of Neville is an aging monarchy that is currently being attacked from all sides. The current threat that the PCs will be dealing with is a group of brigands known as “The Triad”. This group is coming out of the wastelands and are attempting to cut the kingdom in half so that they can take it as their own. This adventure offers a wide area to be investigate with multiple encounters of varying difficulty. While best used in conjunction with the other adventures, it can easily be dissected as one-shots or as a quick scenario in your own campaign!
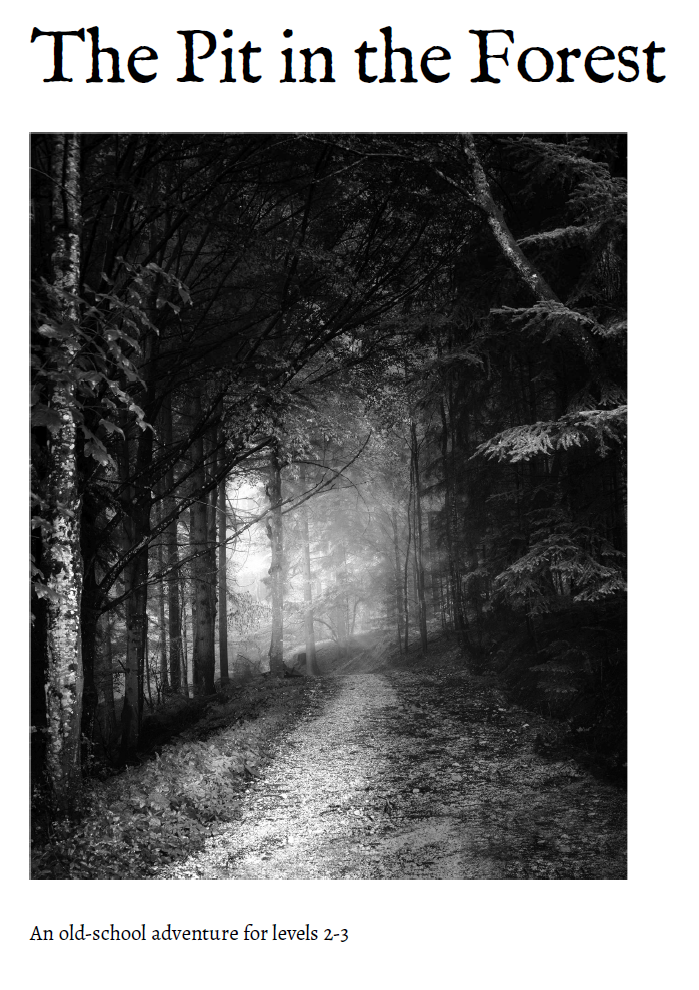
In Claine Forest near Padduck Village there has appeared a pit. No-one knows where it came from, it just did. It is not so deep that you cannot see the bottom, but people fear it and avoid it. No-one who has climbed into it has come back, having been dragged beneath the surface by unseen hands. A necromancer has come to the forest, seeking the pit. She does not quite know what she expects from it, but what she hopes for is protection from death. Player-characters may wish to get involved, and thus this constitutes an adventure for old-school systems, for 5-6 PCs of 2nd level 2 or slightly fewer of 3rd. The PCs won’t necessarily all die, and the players will almost certainly survive. Reviews elsewhere: "It pours out flavour in nearly every word, creating delicious situations for the party to interact with. ... We got a village, two rival groups of adventurers, a weird-ass forest, and somewhere in the forest a pit, your final destination. From this, joy is made. Each one of those elements has their component parts well done and, because of this the whole is a wonder." — Bryce Lynch of tenfootpole

For years the Count of Durwall Keep ruled over the land fairly and with justice. That ended during the Bloodrayne Conflict when the castle was felled by troops loyal to General Bloodrayne. In the many years that followed the triangular keep has fallen into a sordid state of disrepair. The keep used to hold mighty coffers of treasure for the Count and for the Emperor as well. A stronghold was built under the keep to secure said treasure and perhaps some treasure may still remain in the depths of its dungeons. Recently it’s been said that the Snaggletooth tribe of kobolds has seized the fortress and is using it as their home. It is also rumored that there may still be undiscovered treasure located in the dungeon of the keep. Faint echoes of the missing Orb of Ruler ship are still heard.
Goblin attacks have always plagued the farmers and merchants who live and travel along the roads leading to Whitesparrow. But a recent rash of new attacks are something different. The goblins of one particular tribe have gotten particularly smart, attacking with careful tactics and cunning ambushes. The village guards haven’t been able to outwit the goblins, even when laying traps of their own and hiring mercenaries to stop them. Even as goblins go, Rosethorn isn’t much to look at. He’s small and runty, and yet a lucky break placed him in charge of the Brownleaf goblin tribe. When he claimed a powerful magic relic from a dead wizard three months ago, Rosethorn found his intellect multiplied many times over. The world began to make a more intricate kind of sense to him, and he saw patterns in the ways other folk traveled the roads. After hiring a spy in Whitesparrow to tell him which wagons to pursue, Rosethorn cunningly bribed the wagons’ guards to throw battles in the goblins’ favor. He then moved the lair of the Brownleaf tribe away from their dank caves and into the ruins of the Bearded Man—an enormous dead tree at the center of the Howling Wood. There, Rosethorn continues his campaign of ambush against the foolish villagers, increasing his wealth and power with each robbery.
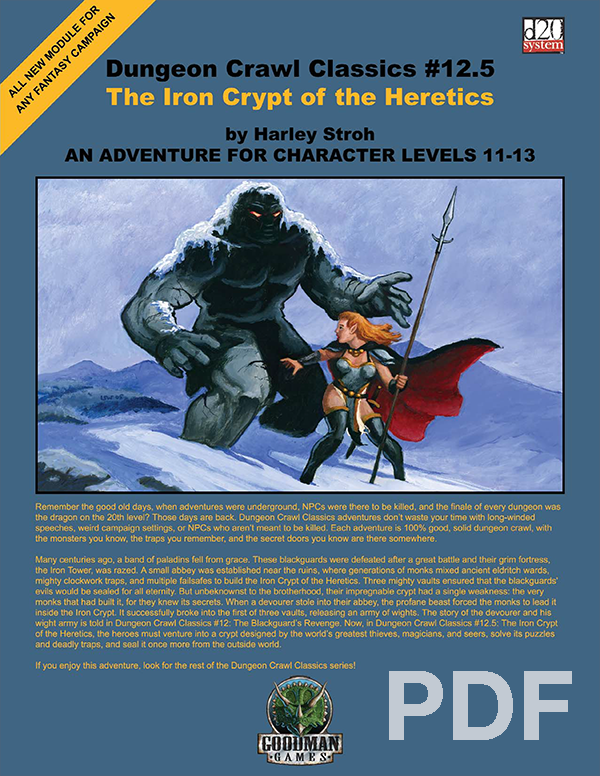
Many centuries ago, a band of paladins fell from grace. These blackguards were defeated after a great battle and their grim fortress, the Iron Tower, was razed. A small abbey was established near the ruins, where generations of monks mixed ancient eldritch wards, mighty clockwork traps, and multiple fail safes to build the Iron Crypt of the Heretics. Three mighty vaults ensured that its evils would be sealed for all eternity. But unbeknownst to the brotherhood, their impregnable crypt had a single weakness: the very monks that had built it, for they knew its secrets. When a devourer stole into their abbey, the profane beast forced the monks to help it inside the Iron Crypt. It successfully broke into the first of three vaults, releasing an army of wights. The story of the devourer and his wight army is told in Dungeon Crawl Classics #12: The Blackguard’s Revenge. Now, in the Iron Crypt of the Heretics, the heroes must venture into a crypt designed by the world’s greatest thieves, magicians, and seers, solve its puzzles and deadly traps, and seal it once more from the outside world.

With the Heart of Light secured, the adventurers now pursue the Ebon Stone, hidden in a remote keep. Part 2 of 2. Part 1 titled The Heart of Light. Pgs. 43-52
The infamous Sword of the Dales has always held a certain fascination in the eyes and hearts of the citizens of the Dalelands. Thus, it was no surprise when Randal Morn, rebel leader of Daggerdale, led an expedition into the crypt of a long-dead wizard to recover the weapon. Shaevyn the weapons-mage had created the Sword long ago, and it stood to reason that the blade would be waiting within his tomb. Perhaps the Sword of the Dales woulld allow Randal Morn to rule Daggerdale once again. But Randal Morn never returned from that fated party. Only tales of terror told by a lone survivor held any clues as to Randal's fate. A brave hand of heroes accomplished what Randal Morn's group failed to do in part one of this adventure trilogy, "The Sword of the Dales." Battling through the tomb's undead inhabitants, those heroes reached the burial crypt of Shraevyn. There, resting in the center of the coffin, was the Sword of the Dales, its azure glow filling the chamber. However, there was no sign of Randal Morn. Only a note signed by his hand held any clue as to his fate. "Seek me in Spiderhaunt," it proclaimed. "The fate of Daggerdale is in your hands." This is the second part of a trilogy of modules that began with "The Sword of the Dales." The saga concludes with "The Return of Randal Morn." TSR 9485

Figgy Puddin' Steals Christmas is a short adventure for three to six characters, and optimized for 2nd level characters. We also include Scaling Suggestions, allowing you to run this adventure for lower- or higher-level characters. We anticipate a run-time of 2- to 4-hours. There's a bit of roleplay in this adventure, which may extend the playtime. Adventure Background A traveling jester known as Figgy Puddin’ and her Coal Smudge Gang have stolen Christmas presents and now hold them for ransom. While safe and secure in her lair, she awaits either a payment of an outrageous ransom, or a crew of heroes to claim the presents after they navigate her not-so-festive lair. What's the Adventure? After you introduce the hook, the adventure occurs in Figgy Puddin's lair - a refurbished kobold bunker consisting of eight rooms. As the characters explore the linear dungeon, they encounter new creatures, complete challenges, and are tested about their Christmas knowledge. However, the final confrontation with the naughty Figgy Puddin' could make for a very Unhappy and Unmerry Christmas for our heroes, the children of Thistleton, and their parents. Who Is Figgy Puddin’? Figgy Puddin’ was once a happy jester who loved Christmas. For years she traveled the realm, bringing fun and festive cheer to villages and children while preparing the way for Santa. However, times have become tough, and entertainment doesn’t always pay as well as one would like. As Figgy prepares for retirement, she’s learned she doesn’t have enough gold to last. During this time, she’s also decided that Santa doesn’t know who she is, let alone appreciate the work she puts in every year. Using her savings, extortion, blackmail, and other nefarious means, she’s convinced several mechanical geniuses and arcane specialists to help her refurbish her underground bunker with wondrous effects, creatures, and tests. To fund her retirement, she’s taken extreme measures to make some quick gold — holding Christmas presents for ransom.

This item was originally created for MaceCon 2018 but has been rebranded as part of the Artifact series. The party meets with the religious leaders of Liverpool and are tasked with recovering a three part artifact known as the "apparta". Their journey takes the PCs through time and space with some rather high level obstructions to deal with!