The poor village of Bunting Freely, somewhat off the beaten track, is suffering from an oral health crisis. The villagers are plagued by overly aggressive Tooth Fairies due to a confluence of events in recent history.
Wild transmutation magic suddenly blasts through the sleepy town of Pinebrook Dell, turning the inhabitants into classic D&D monsters! Can the party reverse the effects as they too begin to slowly mutate? This one-session adventure is a love letter to classic D&D. Every monster the party might encounter dates back to the earliest days of the game... and the players are slowly turning into monsters themselves! Mechanics are provided for players to start turning into monsters (Gelatinous Cube, Beholder, Mind Flayer and more!) as the adventure progresses, with fun puzzles tailor-made to highlight their monstrous new abilities. This module is for 4-6 characters at level 4.

Ever needed to spice up a stay in a city? Or, ever needed something to fill the gap between sessions when you are missing a player? Add a little flavor to the adventurers’ city visits with a rampaging mummy, a circus gone wild, a haunted inn, and much, much, more. This 80-page supplement contains 26 encounters written by best-selling Dungeon Masters Guild writers and new writers! Encounters in the Savage Cities includes: •26 unique encounters / mini-adventures ◦A mix of combat, roleplay, and investigation •Scaling Suggestions for CR 1-10 •New creatures •Custom Art •Downloadable Custom Maps (as a separate file) These encounters are location generic and are designed to be easily added to any campaign. Use them to introduce new players, as inspiration for a new campaign, as a one-shot, or whatever else you can think of.
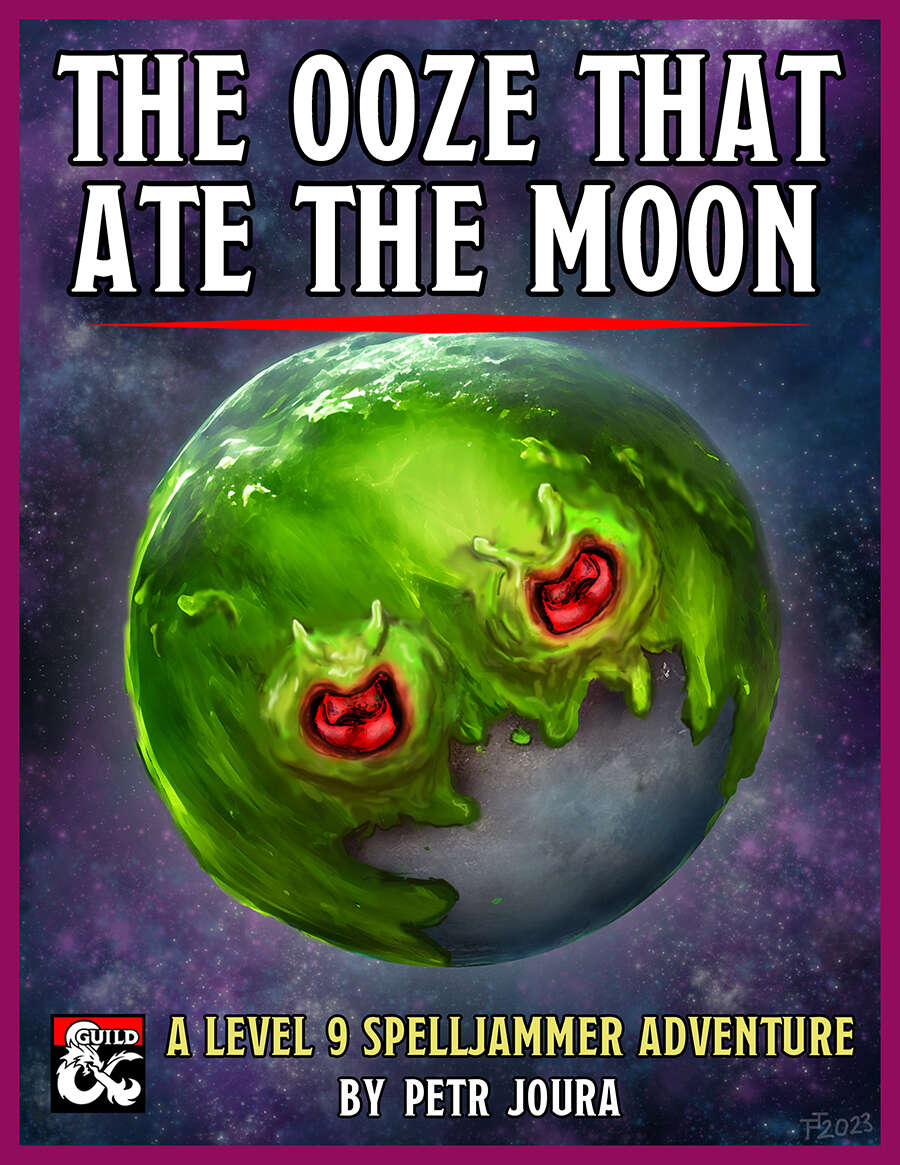
The moon is turning green. A colossal tide of green slime has begun to engulf it, threatening to dissolve it entirely. As it does so, a tide of demonic madness begins to engulf the lands below. As the green shadow flows across the night sky, the world turns mad. The source? An insane cult of plasmoids dedicated to Juiblex, the demon lord of oozes and slimes. Soon the moon may be gone, the first part of a mad plan to dissolve the multiverse into the primordial slime of the Abyss. If only some heroes could appear before it’s too late... The Ooze That Ate The Moon is 5th-edition Dungeons & Dragons adventure based on the Spelljammer campaign setting. It is an investigative high-orbit pulp thriller paired with the wacky zaniness of Spelljammer, and every playthrough is likely to be different. It is designed for four 9th or 10th level characters and to be run in 3 to 6 three-hour sessions, or 2 to 3 longer sessions. It can be run as multi-session one shot or as part of an ongoing campaign. It fits perfectly after the events of Light of Xaryxis, but is written so as to be easily incorporated into any non-Spelljammer campaign. It requires the 5th Edition Spelljammer boxed set to run. Gameplay is based around investigation and roleplaying, with a good smattering of combat in the later acts. The climax of the adventure presents the players with a problem that has no clear solution. They’ll have to use all their wits and resources to overcome it, but can they do so in time?

Imprisoned in the first layer of Hell a group of unfortunate adventurers must find their way out amidst the chaos of the Blood War. Will they escape before the Lord of the Keep finds them? Well, only time will tell...

A group of adventurers find themselves drawn to Axeholme, a small, desolate village with a rash of disappearances. An ancient burial mound nearby has been opened, its stone door found shattered, and, if the villagers are to be believed, the disappearances are the work of a wizard’s curse. But things are not always what they seem.

The Kroth Magg hobgoblins run the trade city of Glip Dak in the Troll Hills of Thar. From there they have taken control of the trade routes along the northern Moonsea. A young noble has been captured for refusing to pay their tariffs and his house looks to hire adventurers to rescue him.
This starting adventure for 5E is designed to introduce new players and give them a taste of the core aspects of D&D. Over the course of a single session the heroes will journey to the dungeon where the evil kobolds have taken hold and rescue the kidnapped baby before the kobolds welcome their new draconic overlord. Included are first level character sheets so you can get started right away.
Genius rogue artificer Ichabod Russet hired ten of his most brilliant colleagues to collaborate and build the greatest automaton yet invented: a clockwork beholder. He dreamed their invention would catapult him into stardom and wealth. In a secret mountain laboratory under Ichabod's direction, each scientist devoted themself to developing one ray for the creature's mechanical eyes -- but when the mysterious tenth ray was added to the automaton, it became too powerful. The clockwork beholder broke free during QA testing and destroyed half the lab. Only a few of the artificers escaped to tell the tale, and for the most part, they're keeping their mouths shut.

Village children are disappearing in the dead of night. Are the characters willing to risk their very souls to stop the Night Fiend? This adventure is a short side quest designed for the Dungeons & Dragons Ravenloft setting and easily merged into Curse of Strahd by Wizards of the Coast. It features a powerful ghostly villain who brings the heroes to the brink of death. The only way to defeat this ethereal foe is to battle him on equal terms, spirit against spirit.

This 80-page supplement contains 38 encounters written by many of the Dungeon Masters Guild’s best-selling writers. Encounters in the Savage Jungles includes 23 encounters / mini-adventures of various difficulty that can be used while the adventuring party braves the uncharted and savage jungles. It also includes 15 Quick Encounters, and additional resources. Although inspired by the Tomb of Annihilation, these encounters can be used with any official D&D campaign, or in your own home campaign. Many could even be used in forest, wilderness, or swamp settings. These encounters are location generic and are designed to be easily added to any campaign. Use them to introduce new players, as inspiration for a new campaign, as a one-shot, or whatever else you can think of.

Bodies continue pile up, and the Flaming Fist still has nothing but a name. Thankfully, the perpetrator of the murders has slipped up and the Flaming Fist has captured one of their underlings, in turn, has revealed the presence of a cult hideout in the sewers beneath the city. The Flaming Fist has asked that you investigate. Are you up for the task? Part Two of the Betrayal is in the Blood series of adventures. A Two-to-Four-Hour Adventure for 1st through 4th Level Characters (APL 3).

𝐓𝐡𝐞 𝐭𝐡𝐢𝐫𝐝 𝐚𝐝𝐯𝐞𝐧𝐭𝐮𝐫𝐞 𝐢𝐧 𝐭𝐡𝐞 𝐔𝐩𝐫𝐢𝐬𝐢𝐧𝐠 𝐒𝐚𝐠𝐚. It would take a lot to force the PCs to ally with the very orcs that have been causing them so much trouble recently. But what have those damnable orcs stirred up in the abandoned copper mines? A four hour adventure for 4th level player characters.
Ravenloft: Carnival of Lost Souls Campaign Guide is a guide for Dungeon Masters who bought our other products from the Carnival of Lost Souls campaign series. It connects together all the modular one-shots we released previously into one grand campaign. It also offers guidance about expanding the scope of the campaign with your own ideas. Ravenloft: Carnival of Lost Souls Campaign Guide features: - Starting adventure to kick the things off and get the characters to know the Carnival - In-between interludes and short encounters, which help to flesh out the Lost Souls NPCs more and add depth to the campaign - Grade Finale - an epic showdown with The Caller in the Mists! - Full description for each of the Lost Souls and what happens to them as a result of players’ actions - Check out the modular adventures of the series: Lamordia: The Hardest of Hearts, Dementlieu: Dance with the Devil, Kalakeri: The Forbidden Temple and Valachan: Hunter’s Moon! Disclaimer: We are a team of writers from Ukraine, so the unprovoked war and senseless aggression of the terrorist state of russia influenced our initial timelines significantly. The release of the Campaign Guide marks also a year since the start of the full-blown war. At the moment, we are as safe as we can ever be under the constant threat of missile strikes, and extremely proud that we managed to finish the whole campaign! We are hopeful that the victory is close at hand, and in the new, whole, and peaceful Ukraine, we will create even more cool adventures! ;) Made in Ukraine

DMs, do you wish you had more time to put together fresh, innovative adventures for your players? Have you ever been stuck for a new plot line, but been unwilling to delve into the reading and preparation required by full-length modules? Here is a AD&D game accessory designed for the DM who wants variety and challenge for player characters. Adventure Pack I contains 12 short modules, each a complete stand-alone adventure. The scenarios are unique and unusual; they will intrigue characters of all levels, and offer a variety of settings and plots for the DM to choose from. These adventures are suitable for one-time play, or can be inserted into your campaign at any time. Each module includes one or more maps, background for the DM, NPC capsules, and complete encounter descriptions. The scenarios are designed for a specific range of player character levels, and can easily be made more or less difficult if necessary. Now, with a minimum of preparation, you can give your player characters a challenge that will last for as little as one day of game time or months of it. DMs are sure to find Adventure Pack I convenient, innovative, and invaluable! This conversion guide allows DMs to run the 12 adventures in the original module with 5th Edition rules and provides new monsters and magic items! To use this conversion guide you will need a copy of I13 Adventure Pack 1, originally available in hard-copy and now for sale in digital format at DMs Guild.

Locals on the edge of a mountain range are being harassed by brutal monks and their giant tiger pet. Travelling into the hills, the players find the hidden monastery of the Burning Tiger: an evil order of monks that only respect strength. To end the threat, the players must undergo 4 life-or-death trials to test their mettle. But not all is as it seems in the monastery. Can the players unravel the mystery, and survive the Trials of the Burning Tiger? Based on an encounter for 3.5th edition D&D written by Eric Cagle for Wizards of the Coast.

The small fishing village of Fairmarsh runs along the riverside of the Winding Water. An ancient tomb holding a dangerous trophy has been disturbed, unleashing a long-forgotten enemy on an unsuspecting village.
Invasion of Veluna - Level 1 Demons have invaded Veluna, laying waste to Verbobonc and small towns! Survive the siege, and track down their origins. This adventure has inspiration from The Village of Hommlet. Infiltration of Dorakka - Level 2 Rumors of Demonic Invasions have the characters traveling across the lands of Iuz, surviving in the war torn wastelands to reach the Rift and back to infiltrate the capital of the fiendish Empire. This adventure has inspiration from The City of Skulls, with a special optional twist. Scant Rebellion - Level 3 Rumors of demonic forces across the Flanaess are forcing the hand of the Scarlet Brotherhood. Aid or covertly work against the Brotherhood to eliminate or save the Free Onwall Army of Rebellion and create a temporary peace. Assassination - Level 4 The Free Onnwall Army of Rebellion has been weakened. The Scarlet Brotherhood mean to end its threat with the permanent removal of a key leader and funder of the army. Beneath the Gnarled Root - Level 3 Mad demonic cultists wandering listlessly across the Gnarley have been ranting and raving of a secret asylum hidden beneath the gnarled root. Find the dungeon, and learn what secrets it may hold. Quarry of Elemental Chaos - Level 4 The demonic forces near the Gnarley have constructed a massive quarry to tap into the elemental chaos, using its power to locate a magical artifact for a greater evil. Dive into this massive dungeon and end the insanity in an adventure inspired by the Temple of Elemental Evil. Irongate Heist - Level 3 Azure Masks have tracked an important magical relic to be in the possession of a traveling author who has just come home to Irongate to celebrate his newest book launch. During the party, enter his home and steal the artifact while forces work against you. The Bright Desert - Level 4 Rary the Traitor has partnered with the demons to gain information on the Lost Pyramid of Kesh. Within is the legendary Scorpion Crown that would hand the fiends an army of tlincalli. You must race across the desert to reach the pyramid before Rary's forces in this adventure based on Rary the Traitor and Desert of Desolation. Bastion on the Borderlands - Level 5 The bravery of the characters has seen them rewarded with a bastion in Keoland abandoned by the Knights of the Watch due to political pressure. The characters may take a moment to breath, place roots down, or bring order to the nearby chaotic caverns in this adventure inspired by Keep on the Borderlands. The Neverending War - Level 6 Transported to and trapped within the neverending war in the lost city of Rauxes, the characters are tasked with ending the curse upon the city to escape this D&D roguelike adventure. Jungles of Hepmonaland - Level 7 The mirror of gates, an artifact to easily bring groups of people across the planes, has been split. The first piece has been discovered to be deep within the Jungles of Hepmonaland in this adventure inspired by Needle. Across the North - Level 8 Rumors of artifacts in a hidden vault in the northern Flanaess have circulated for decades, but with the keys now showing up, and demons circling, this rumor could be a key to stopping this invasion in this adventure inspired by Five Shall Be One. City of the Lizardking - Level 9 The Silent Ones have maintained a close relationship with a band of Lizardfolk in the Hool Marsh. Their recent silence, following a discovery of another piece of the Mirror of Gates could only mean one thing... They need to be saved in an adventure inspired by Tomb of the Lizardking. Lair of the Kraken - Level 10 The Ladies of Crede had discovered yet another shard of the Mirror of Gates, having it transported to Oakenisle when the shipment was attacked by a kraken. Now the characters must go on a very deep sea adventure to take back what is theirs. The Demonic Rainbow Dungeon - Level 11 Unbeknownst to most, beneath the Free City of Greyhawk is a massive dungeon constructed by a variety of creatures to funnel power for Demogorgon to maintain his charade of an alliance with the Queen of Chaos. Put an end to his scheming in this adventure inspired by Castle Greyhawk. Comes Sail Away - Level 12 The characters partner with the Scarlet Brotherhood to traverse the sea of worlds and enter the City of Glass in the Elemental Plane of Water, trying to gain the Ax of Severance before the Queen of Chaos. This adventure was inspired by The Vortex of Madness and Other Planar Perils. Fly Away With Me- Level 12 Dropped into the middle of Aaqa in the attempt to stop the Queen of Chaos' plan, the characters must naviagte politics and the infinite skies to reach the Ax of Severance before the demons. Through the Fire and the Flames - Level 12 Inspired by Secrets of the Lamp, this is a political-intrigue quest, with characters forced to navigate the politics of the City of Brass, getting a new sultan in power to gain the Ax of Severance before the demons under the Queen of Chaos can seize upon the chaos they wrought. Underground - Level 12 The characters must navigate the shifting labyrinths of the Elemental Plane of Earth to pull off a heist and find the Motherlode before the demons! Portal of the Drow- Level 13 The time has come to enter the Abyss. The nearest - permanent - portal is inside the drow city of Erelhei-Cinlu and is guarded by the son of Demogorgon. As a result, only one action is reasonable: besiege the great city in this adventure inspired by Vault of the Drow. Invasion of the Abyss - Level 14 Upon finding themselves in the Abyss, the characters arrive in the uppermost layer of the Abyss, trudging through 13 layers to reach the home of the Queen of Chaos in this adventure inspired by the Demonweb Pits.

Thomepreus’ curse is a classic crawl with elements of exploration, mystery and time travel. A curse has befallen the heroes and the source of their predicament is located in a buried temple. Here a forgotten cult have used a magical sand clock to curse their enemies. The temple seem empty but the arrival of the heroes appear predetermined and soon the heroes are propelled through time to arrive in the past. Here clues and objects are required to solve the mystery and to break the curse. However, they must hurry before cult members complete the preordained curse on the heroes.

"Men and women walk the streets of Stonefoot, but the laughter of playing children is nowhere to be heard. Over the past year, the village's children have gone missing in the middle of the night. Who will uncover the mystery of these disapearances and stop the curse before it leaves Stonefoot without a future?" From the DMsguild description. The party is tasked with saving the last child in the village and eventually retrieving the kidnapped children. The villains first appear to be goblins, but after a hunt and a fun teleportation maze, they find out a human mage is behind it. The mage has been transmuting the children into human-goblin hybrids.