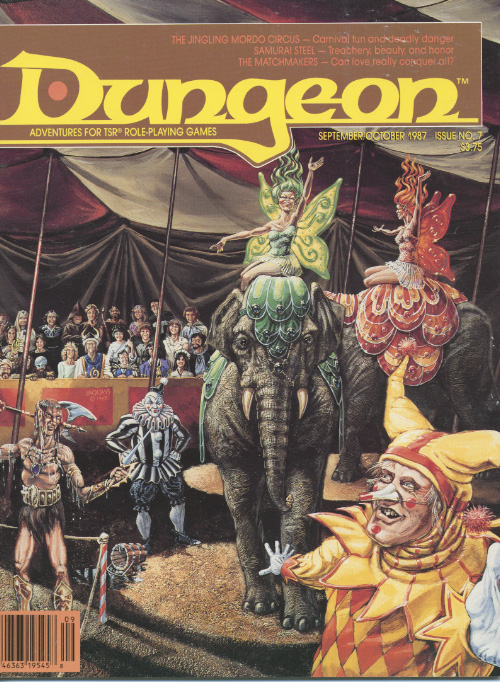
Tortles of the Purple Sage - Part 2 completes a D&D Expert Set wilderness adventure which began in DUNGEON issue #6. Through the gate stones, into the unknown. This adventure takes place in the Known World of the D&D game, as outlined throughout the D&D game rule books and modules. The DM may find it useful to consult the Companion and Masters Sets, as well as most of the X-series of Expert Set modules. The DM may find it useful to consult the Companion and Masters sets, as well as most of the X-series of Expert Set modules. Expert Set module X9, The Savage Coast, would be especially helpful, as Tortles of the Purple Sage should easily serve to continue that module's direction and plot line, adding previously undescribed areas to the Known World. The DM may also place the areas and events of this adventure within an existing campaign setting, as long as the geographical areas of the campaign match those set forth here. Pgs. 8-25
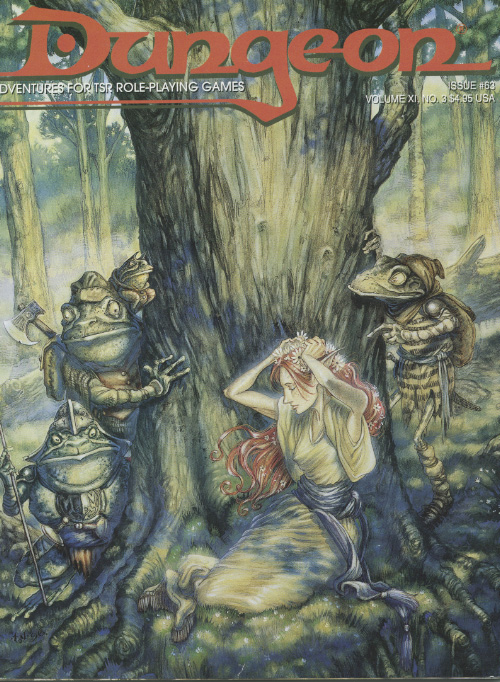
Watch your step. Out-of-this-world adventure. An odd box falls by a watch tower and its up to the party to discover what it is and why its here. Pgs. 22-29

A light in the Belfry is the first RAVENLOFT adventure to feature an Interactive Audio CD. As player explore Morgorth's dreadfilled manor, they will actually hear the lamentations of tortured spirits, the clash of swords and thunderous roar of magic. With almost 100 tracks of dialogue, sound effects and mood music, TSR's Interactive Audio CD Adventures add a new dimension to the horror of Ravenloft. TSR 9494

Why would a town refuse to be rescued? A highland town faces a greater danger than can be imagined - and no one wants your help against it. In a remote village in the desolate north, a spate of murders and kidnappings has the town on edge. A woman named Gwendolyn goes missing and it is suspected that Albee is the perpetrator. However there is a conspiracy in the village that the heroes must unravel, to which they discover is actually the sinister plot of a devil worshiping cult. Pgs. 33-43

Unknown to even the mightiest of the great sorcerer-kings, a fire is stirring deep beneath the barren soil of Athas. Sheltered by the titanic bulk of the Black Spine Mountains, a terrible force has ripped open the very fabric of time and space. Now a shimmering portal stands open and a long-forgotten enemy assembles its sinister forces to invade the kingdoms under the dark sun. The only thing that stands in the way of this terrible fate is a band of heroes. Assembled from the four corners of this tortured world and bound together by the tangled cords of fate, they must face an enemy the likes of which they have never seen before. The odds are against them, but they dare not fail. The fate of the world is in their hands. The previous flip-book modules (Black Flames, Merchant House of Amketch, and Marauders of Nibenay) precede this adventure, but they are not necessary to enjoy Black Spine. Contains 3 - 96 page adventure books and 2 fold-out maps TSR 2428

The heroes are sent to find what happened to a local druid, but discover his mind has been driven to madness and he is attacking the local villages. The heroes track down the druid's grove and find he was enchanted by a hag, and the heroes have to find a way to destroy the chimes she uses to enchant the druid.

To arms! To arms! The battle lines are drawn as desert men and inhuman tribes wait poised to strike on the fertile and rich lands of the east. The call has gone out through the civilized lands. The armies have been raised to match the invading foes from the west. Nobles and peasants have joined swords to greet the foes. But Fate or Chance has decreed another role for a small few. No glorious banners will wave on their march. No squadrons of knights will charge at their word. Instead, they will fight the war with stealth, secrecy, and cunning. The risks they will take are great, but the fates of both armies lie with them. It begins one night for your party far from the fighting. Suddenly you are entrusted with the most dangerous mission of the war. Can you cross the Sind Desert, occupied now by enemy armies, to find the Great Pass? Can you find the one known only as The Master? What will you do if you find him? So begins your adventure in The Master of the Desert Nomads, the first module of a two-part adventure that can be concluded in the exciting Temple of Death or played entirely on its own. Can your party do what must be done? TSR 9068

Along the caravan routes that tie the Cities of the West to the Kingdoms of the East, many tales are told of the mountains called the Towers of the Sun. One of these legends concerns a dark road said to be hidden among the twisty trails that spiderweb the mountains. Into the earth the road leads, into and through a series of vast caverns filled with treacherous traps and cunning monsters. Yet dangerous though the path is, many a party of adventurers have been tempted to walk it, for the stories say that the loot of a hundred lost caravans lies concealed along that evil way. [Comment: Uncertain for what levels of play this adventure is designed]

Welcome to the picturesque village of Eveningstar, nestled at the foot of the Stonelands where the River Starwater winds down a gorge and snakes into the King's Forest. Here, the Knights of Myth Drannor began their famous adventures. Here, the Ladies of the Brazen Blade, The Company of the Singing Sword, The Steel Shield Band, and many other came, clutching royal charters from King Azoun with the ink scarcely dry on the parchment. Some fell, some went on to greatness-but they all came here first; to the Haunted Halls. Despite numerous infiltrations, the Halls have not yet yielded all their secrets or treasures. Many dangers lurk as deadly as ever in dark chambers herein, awaiting new companies of eager-eyed adventurers. Is it your turn to dare The Haunted Halls? Many come, but few survive to again see Eveningstar's beauty. Welcome, then. Enter in, and find in these pages: A challenging introductory level dungeon. A detailed countryside setting, including important local personages, local color, and guidelines for play. Suggested campaign plots and adventures. New spells. New magical items. New monsters. A splendid campaign can begin here. Adventurers in an ongoing campaign can stop by for a memorable visit. Those looking for an underground stronghold may even find a home in the Haunted Halls of Eveningstar. TSR 9354

A cloud of dust forms over the horizon as a titanic army of evil threatens the entire civilized world! The Master of the Desert Nomads and his legions are back, and they form the greatest threat that you have ever faced. You must persuade powerful rulers to join you cause, stave off threats to the alliance, and lead your armies to victory! This adventure contains a full-color map of the D&D Expert Set game world, 200 counters, and a special expansion of the War Machine mass combat rules that allows you to fight the entire war as a strategic wargame! Major battles and engagements can be fought using the BATTLESYSTEM Fantasy Combat Supplement for incredible tabletop action. Never-before-published information on all the nations of the Expert Set game world provides background and detail that will enrich your campaign. This adventure includes large-scale battles and uses an expansion of Douglas Niles and Gary Spiegel's warfare system, "The War Machine", developed as part of the D&D Companion Set (BECMI Ed.) from 1984. "Red Arrow, Black Shield" is more than just a follow-up to X4/X5; it's a lynchpin for the entire B/X/CM adventure sequence. The players travel through many lands that were home to past adventures, and their past interactions with those places could affect diplomacy in this new adventure. TSR 9160

Part of the First Quest Box Set TSR1105, this is an adventure designed to introduce new players and DMs to AD&D. The High Wizard Nethril asks the PCs to enter an old ruin and search it fro his missing apprentice. The ruin is not empty, though! Horrible things have moved in, so the search will be dangerous... First Quest Adventure Book Pgs. 7-17
The players are tasked by a mysterious Wizard's servant quest to recover the two gems of the Twofold Talisman: the Heart of Light and the Ebon Stone. The quest for the Heart of Light takes the adventurers to the Wizard's own mansion. Pgs. 43-54

When a wizard makes a mistake, he makes a MISTAKE. Hirward the Wizard has a little problem on his hands - and it's destroying his fortress, followers and future. A good mix of character types is strongly advised, but paladins, rangers, dwarves, and gnomes may not be comfortable sparing the lives of Hirward’s kobold assistants. A generally neutral party composed of humans and half-orcs will stand the best chance of completing Hirward’s Task. This not a standard "hack-and-slash” adventure. The PCs will have to do some fighting to he successful in completing the module, but most of the time they must use their brains to figure out the best way to complete their mission. Pgs. 45-64

Devastated in a war with a nearby wizards' school, the Fighters' Academy has since been surrounded by a foul and dank swamp - the Gloomfens. Since the climatctic battle between the wizards and fighters, the tower has decayed. The spirit of the head of the academy haunts the building, eternally plotting his revenge on the wizards who killed him. his loyal sutdents remain faithful to him even in death. Other foul undead have made their home in the rotting, spacious academy. From their lair, they make forays into farmsteads near the swamp in search of victims to feed their unspeakable appetites. The Problem of these terrible attacks by the savage undead will not stop until the evil that has found a home at the tower is burned from the face of the land forever. Will your party heed the call and help the town of Melinir? Will they be able to clear the former Academy of its undead? The Fighters' Academy is the first in a three part adventure, The Haunted Tower. Or, it can be ran as a stand alone adventure. The choice is up to you. Part of TSR 1081 The Haunted Tower
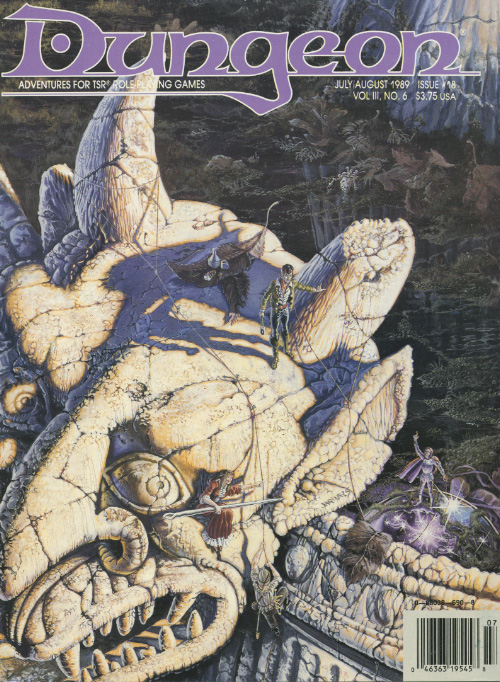
"There's this huge fish in my mine," says the gnome, "and you've got one week to get rid of it." A gnomish mine at the bottom of Whitelake is being terrorized by a giant pike. The party has a week to find a way to capture or kill the beast. However, once they do, another monstrous fish attacks. The party eventually finds a tribe of merrow has claimed a cave on the north shore and are releasing the fish to keep the gnomes away.

Dragonspear Castle. All who live within several hundred miles have heard the name and know its import. Once home to the proud and the brave, it stands now a ruin, cloaked behind a history of murder and diabolic plots. Few go there, for the only reward to be found is death. Rumors abound that Dragonspear holds a portal to the sinister planes, but until now those have been unfounded. Following a great battle against orcs and trolls from the High Moor who had taken possession of the castle, a temple to ward against further evil was established. However, by the Time of Troubles, that temple and its clergy had disappeared. Now, a horde of fiends and monsters has amassed at Dragonspear Castle, and it terrorizing the surrounding countryside. The portal is active, that is for certain. The army of Daggerford needs reinforcements! Is you party made of the stuff of heroes? Hordes of Dragonspear can be played using either the Battlesystem miniatures rules, or the quick combat resolution system found in DMGR2, The Castle Guide. Alternatively, a few simple changes render the entire module playable without any special rules. TSR 9369

A goblin warband has found the secret tunnel which leads from the dwarven keep of Hearth-Home to the nearby hills. The tunnel is intended to be a means of escape if the keep ever falls to attackers, but now it has provided goblins with an easy way into the Underkeep. So far, the goblins have confined their attentions to the various underground rooms that make up the Underkeep, but sooner or later they will find a way to the surface. They pose a serious threat to Hearth-Home - the goblins must be cleared out of the Underkeep so this breach in security can be repaired before the orcs hear of it and overrun the dwarven keep. This adventure is slightly more challenging than Red Hand Trail, and it is recommended that it is played after that quest and before Palace of Dread. However, the scenario in Trouble Below can easily be played independently from the rest. Part of TSR 1076 The Goblin's Lair
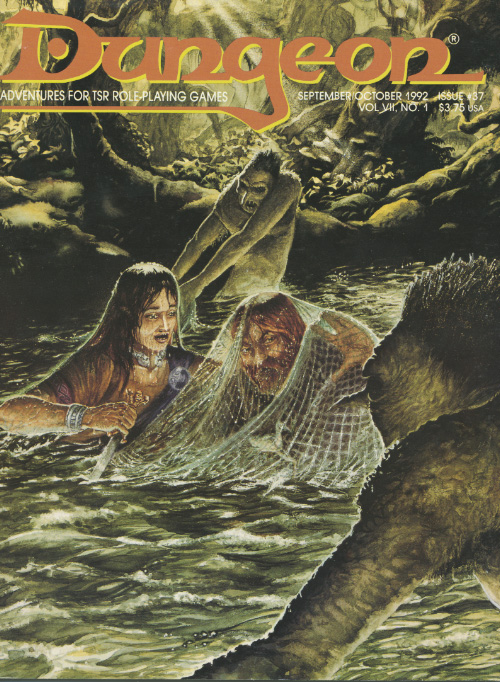
Two common elements mixed together create deadly peril. The last dungeon that many heroes will ever see. This dungeon crawl was based on the original S1 Tomb of Horrors. This is not an adventure for neophyte adventurers. Many traps, puzzles, and monsters exist to kill the party. However, the treasure of the mud sorcerers may be too tempting to pass by! Pgs. 50-70

After hiring a group of brave adventurers to help him "acquire" a beholder specimen, the mage Velinax disappears! Rumors blame an insidious thieves' guild called the Unblinking Eye for this turn of events. Why would the Unblinking Eye wish to "take care" of the mage? Why does the guild want to speak to anyone involved with Velinax? Finally, what dark goal does the guild truly intend to accomplish? Finding out the answers to these questions will lead doughty adventurers straight through the shadows of a crafty thieves' guild and onto the threshold of an even deeper and more dangerous darkness. "Eye of Doom" is the second of three adventures featuring the nightmarish beholder. It can be played as an individual mission or as part of the series that began with "Eye of Pain" and concludes in "Eye to Eye." TSR 9530

"Terror by night! The village of Orlane is dying. Once a small and thriving community, Orlane has become a maze of locked doors and frightened faces. Strangers are shunned, trade has withered. Rumors flourish, growing wilder with each retelling. Terrified peasants flee their homes, abandoning their farms with no explanation. Others simply disappear. . . No one seems to know the cause of the decay -- why are there no clues? Who skulks through the twisted shadows of the night? Who or what is behind the doom that has overtaken the village? It will take a brave and skillful band of adventurers to solve the dark riddle of Orlane!" TSR 9063