
The Shattered Circle is an AD&D® adventure for four to six player characters of 1st to 3rd level. For many ages, the standing stones known as the Circle of Cahervaniel have stood on a grassy hilltop, unremarkable and unmenacing, but something has changed. A powerful artifact deep within the earth has been uncovered, and its evil power has corrupted the recent inhabitants of a dungeon complex. The chitine live within, a cross between humans and spiders created by the drow, but trying to live a quiet existence. The evil Foundingstone has corrupted some of the chitine, and split their society in two, bringing them to conflict. Adventurers who navigate the chitine factions and dangerous dungeon will need to end the threat of the Foundingstone and the solve the mystery of the strange dark unicorn Mizar that has appeared recently around the stones. Interestingly, one of the unique magic items in this adventure, Icerazor - is said to have grown from a shard of Frostrazor, a sword that appears in a famous later adventure - Return to White Plume Mountain. There is a brief mention of Suloise, so it can be considered a Greyhawk adventure, but clearly states it can be placed anywhere.
Into the shadows. You must brave the perils of the Shadow World to keep a tighmaevril weapon from the wicked clutches of the Gorgon. PCs are recruited to help a noble and his halfling friend find a weapon with immense power, called bloodsilver. Includes a sidebar for adapting the adventure to another setting, an overland map, and a map of the ruins Pgs. 8-31 & 69

The dragonmen have taken Solace. Its beautiful tree houses lie black and battered amid the stumps of great vallenwood trees. Kapak Draconians, armed with poisoned weapons, enforce a brutal martial law on the survivors. And Solace is only one outpost: the dragon armies control the plains. Only the elven kingdom of Qualinesti stands unconquered. The rest of the plainsmen suffer the most: a long slave caravan hauls hundreds of them to the fortress prison of Pax Tharkas. "Dragons of Flame" is the second in TSR's series of Dragonlance adventures for use with the AD&D game system. Your players will adventure in the world of Krynn and visit strange places such as Qualinost or the Sla-Mori, encountering bizarre draconians and disgusting Aghar. They can play the modules as a set of separate adventures or as a great quest that spans the entire Dragonlance story. Art by Jeff Easley. TSR 9132

"Tyr is free! Tyr is free!" Such is the heady cry that echoes from the darkest warrens to the gleaming chambers of the Council in that ancient city. Now is your chance to savor life released from the oppressive gloom of the sorcerer-kings-but for how long? New forces threaten the newly-born independence of Tyr, as outside forces march upon the city. King Tithian is determined to resist, but there are others on the Council of Advisors less eager to risk their wealth and lives for the cause of independence. It falls upon you to help mobilize and lead the citizen-army of Tyr on the road to Urik. In Road to Urik, the city-State of Tyr has thrown off the yoke of the sorcerer-king Kalak and declared all slaves free, but the neighboring city-state of Urik is amassing its own armies to conquer Tyr. In the first part of the adventure, the PCs must negotiate with various factions of the city in order to win their support for the war effort. In the second part the PCs leading a scouting force ahead of the main army, and the choices and successes in the first part will affect the troops they lead here. Finally, they will need to fight and lure away the Urik army's own scouting force, letting the army of Tyr ambush them. The second and third part make heavy use of the Battlesystem rules, which were pushed pretty heavily in the early Dark Sun books. Like many Dark Sun adventures, the module makes heavy use of handouts that come in a flip-book along with the main adventure. This adventure is a sequel to Freedom. It stands on its own, but the plot of the adventure is based on the events of Freedom and the novel the Verdant Passage, so you can't really run them in reverse order. Much like Freedom took place concurrently with The Verdant Passage, Road to Urik takes place just before the events of The Crimson Legion, the second novel in the Prism Pentad. TSR 2406

To arms! To arms! The battle lines are drawn as desert men and inhuman tribes wait poised to strike on the fertile and rich lands of the east. The call has gone out through the civilized lands. The armies have been raised to match the invading foes from the west. Nobles and peasants have joined swords to greet the foes. But Fate or Chance has decreed another role for a small few. No glorious banners will wave on their march. No squadrons of knights will charge at their word. Instead, they will fight the war with stealth, secrecy, and cunning. The risks they will take are great, but the fates of both armies lie with them. It begins one night for your party far from the fighting. Suddenly you are entrusted with the most dangerous mission of the war. Can you cross the Sind Desert, occupied now by enemy armies, to find the Great Pass? Can you find the one known only as The Master? What will you do if you find him? So begins your adventure in The Master of the Desert Nomads, the first module of a two-part adventure that can be concluded in the exciting Temple of Death or played entirely on its own. Can your party do what must be done? TSR 9068

Some dozens of leagues to the north and west of the STEADING OF THE HILL GIANT CHIEF (Module G1 of this series), amidst the tallest mountain peaks, is the stronghold of Grugnur, Lord of Frost Giants. As frost giants have been amongst those who have been in the reaving bands, the party is to deal with them as the hill giants have been dealt with. Death and destruction are to be meted out to the frost giants in the same measure they gave to the peoples below. This module contains background information, referee's notes, two level maps, and exploration matrix keys. It provides a complete module for play of ADVANCED DUNGEONS & DRAGONS, and it can be used alone or as the second of a three-part expedition adventure which also employs DUNGEON MODULE G1 (STEADING OF THE HILL GIANT CHIEF) and DUNGEON MODULE G3 (HALL OF THE FIRE GIANT KING). TSR 9017

There are some things that mere mortals were never meant to know. . . . In the domain of Lamordia, Doctor Victor Mordenheim created Adam?cobbling the creature together from parts of human corpses. Now, years later, Adam wants revenge. Adam wants Elise, Victor's wife. Adam wants Victor dead. The player characters' ship founders on the coast of the domain of Lamordia. A vicious storm leaves them washed ashore, cold and hungry on the ice-bound Isle of Agony. . . . Then the terror begins. The adventurers embark on a journey of fear that leads from certain doom on the frozen island to a strange new life a Schloss Mordenheim. To return home they must challenge Adam himself and discover a portal?a gate that might lead homeward. TSR 9439 Adam's Wrath is intended for a party of four to eight characters of 5th to 7th level. Carefully designed to allow a Dungeon Master to launch from any campaign world or Ravenloft domain, Adam's Wrath is an adventure your characters will never forget?if they survive!

The kingdom of Dunador is in trouble. Since the king, Halfred of Dunthrane, was killed in a hunting accident, the land has hovered on the brink of civil war. Crown Prince Edmund, at 18 only half-trained and quite unprepared to assume the throne, has yet to be crowned. Currently he is on a pilgrimage to the holy shrine of Nevron in the province of Andevar. While the uncrowned king is far from home, anarchy reigns in Dunador. Throughout the realm, plots are brewing and evil hands are eagerly clutching at the sword of treason. Inevitably the focus of these intrigues is in the troubled province of Andevar to the north. For it is here that the young Prince has journeyed and here that he must be crowned. In this dark hour Dunador has but one faithful servant: Hollend, chief advisor to the old king. Painfully aware of all that is at stake, Hollend has sought the aid of a brave party of adventurers in a desperate bid to tip the scales in favor of truth and justice. But, even as the party secretly enters Andevar, the forces of evil strike with blinding speed and ruthless determination. TSR 9163

Stirrings of an ageless war between Law and Chaos are drawing you into an epic adventure! A Struggle More Savage than Good vs. Evil Imagine a time before the words Good and Evil had meaning, a day when the world was young. Discover an ancient conflict that predates the stars. It was in these days that Law and Chaos forged worlds out of nothingness; their war began while the cosmos was yet unfinished. The Rod of Seven Parts defines epic role-playing. The reappearance of the Rod has awakened the powers of Chaos, and their queen seeks to turn the whole world into a battleground. Bold heroes must undertake the enormous task of seeking out and assembling the pieces of the Rod, but even its power cannot stand alone. Ages ago, primal forces of Law stood fast against Chaos; now their champions must once more confront the Queen of Chaos and her foul spyder-fiends, lest the flame of civilization be extinguished. Follow the quest for the capricious Rod as it leads characters on a journey of high fantasy. The Rod of Seven Parts is designed for four to six heroes and heroines of levels 10 to 12. This boxed set includes: Initiation to Power, a 96-page book of grand adventure playable in any AD&D world, including original campaigns; The War Against Chaos, a 64-page book of world-crossing adventures pitting PCs toe to toe against the minions of Chaos; Might and Menace, a 32-page book detailing the mysterious powers of the Rod of Seven Parts: how it affects both its enemies and its friends; Monsters, a 16-page book of new villains, new monsters, and even a new race! 6 two-sided reference cards; 6 full-color poster maps portraying the key locations heroes can visit. Read about this ancient artifact in the epic novel The Rod of Seven Parts by best-selling author Douglas Niles! TSR 1145

Silently, ponderously, they float through the Astral Plane, mammoth isles of rock adrift in an endless sea of silver. Once they were gods. Now they're little more than debris, petrified husks of fading belief and forgotten prayer. Yet for many, their memories linger, their dreams live on - and for some, those dreams are terrifying nightmares of vengeance, and conquest, and death. n the first, the heroes are drawn into an epic quest to uncover the secrest behind the retuns of an infamous AD&D villain long thought dead. In the second, the city of Sigil threatens to explode in a faction war for control of an old church and a mysterious force lurking within it. Dead Gods also features a Monstrous Compendium entry for a brand new fiend, full color illustrations to bring scenes alive for players, and a poster sheet of maps for the Dungeon Master. Dead Gods builds on story elements first explored in the Planescape adventure anthology The Great Modron March, though that product is not required to use this one.
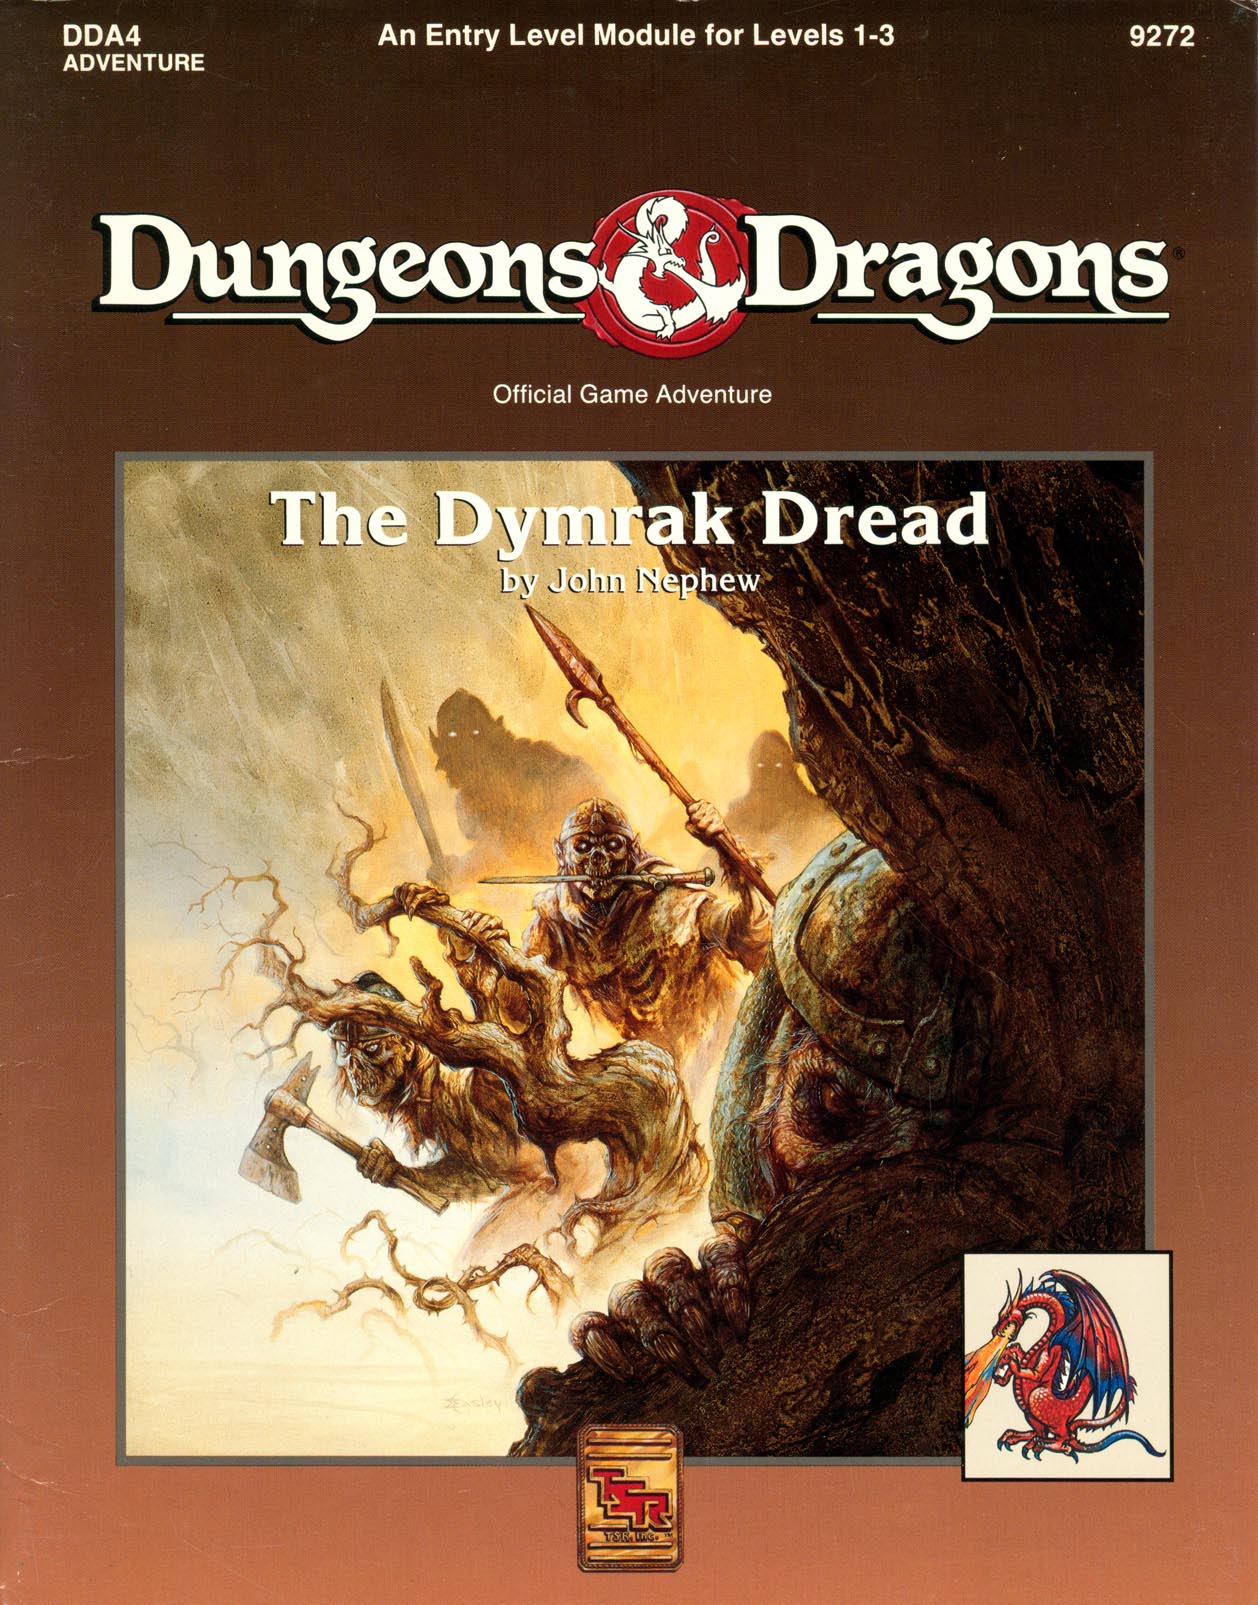
Adventure Lies Ahead, Deep in the Heart of the Dymrak Forest Are you ready to meet the Lord Forester's challenge: to put an end to needless death and destruction by doing away with the goblin war chieftain, Kosivikh, and his evil band of raiders? Eager to prove yourselves as new adventurers and to collect a sizable bounty, you travel to the goblins' dungeon in the Dymrak Forest - a place that has captivated your interest for years, a place where few have dared to venture. Only you and your fellow adventurers can put an end to the rampant bloodshed and return peace to the territory. This module is recommended especially for beginner Dungeon Masters and players who are interested in dungeon exploration. Can be used as a follow-up to the DDA3, Eye of Traldar module or it can stand alone Features easy-to-follow rules on dungeon adventuring in the heart of the Dymrak Forest. TSR 9272

One reason why they call it "the dead of winter." A year ago, a white dragon came out of the mountains north of Polarton, attacking trappers, driving off game, and marauding as it pleased. The dragon is seriously affecting the financial stability of the town. Therefore, the town council has placed a bounty on the dragon. This is a short arctic adventure. Pgs. 15-19

The battle between the mighty undead army of the Witch-King of Vaasa and the forces of Bloodstone has come to a standstill. As long as the source of the Witch-King's power is at work, his evil forces will never be defeated! As the rulers of Bloodstone Pass, it is up to you to find and destroy the sources of Vaasa's power. All you have to do is journey to the Abyss, confront the mightiest demon of all, steal the Wand of Orcus, and take it to the Seven Heavens to be destroyed. The Throne of Bloodstone is the fourth and final installment in a series of modules specially designed for high-level characters. While it is not necessary to have played any of the three previous modules, The Throne of Bloodstone is the climax of an epic struggle for a kingdom against the forces of darkest evil. Recommended for characters of levels 18-100, The Throne of Bloodstone is the highest-level adventure ever published by TSR! TSR 9228
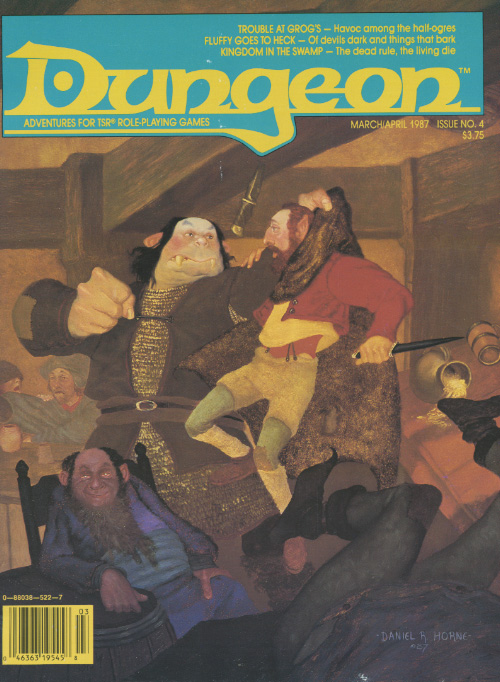
A little beer, a little trouble, a little party on the rubble. Can't a half-ogre find a little peace in the riverside town full of adventurers, bigots, and thieves? "'Trouble at Grog’s' presented something no one ever expected to see: a sympathetic half-ogre. All Grog wanted to do was settle down as proprietor of the Happy Half-Ogre Inn and Tavern. Little did he know his success would rub the competition the wrong way, leading to some 'inn-fighting' with the owner of the rival Dagger Rock Tavern, Yuri Kineron." - Christopher Perkins Pgs. 41-64

Some games aren't played for fun. A friendly little gambling game - with the most bizarre players and rules! Pgs. 24-32
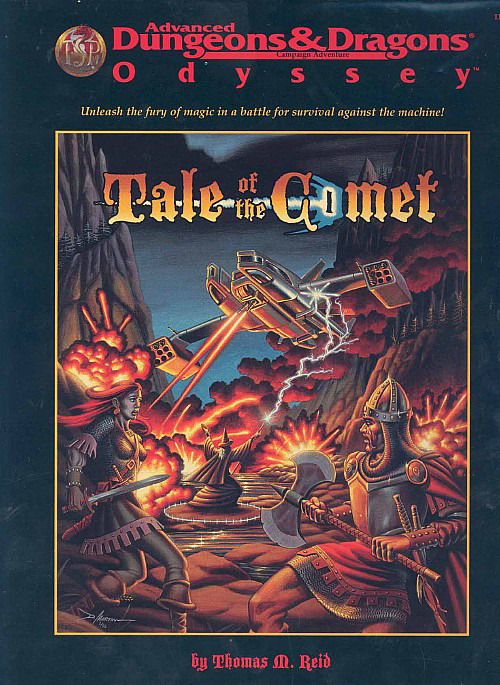
Strange lights in the sky, prophecies of doom, and a threat unlike any other draw the heroes to Aston Point. In this small frontier town, the fate of the world will be decided. If the heroes and their strange new allies defeat the invaders, they must then pass through a portal to another battleground, a metal city on a far-distant world, where aliens fight desperately against death machines that threaten to overwhelm all organic life. So trade in your sword for a blaster rifle, your sling stones for a few high-explosive grenades, and see what happens when you mix magic with high technology. This box contains A 32-page book, The Cast and Props, describing new, high-tech equipment, detailing the battleground of the Rael-Overseer war, and explaining how to mix fantasy and science under the AD&D game system. Two 64-page books, The Tale Begins and Crossing Over, presenting the grand adventure that is the Tale of the Comet. Eight sheets of charts, maps, art, and statistics for the players and the DM. Two posters, one a double-sided map of the regions where the action takes place and the other an illustration of all the technological terrors the heroes will have to face in the course of the adventure. TSR 1143, From 1997
A little friendly competition can be fun now and then - unless, of course, the competition isn't friendly at all. Included in I13 Adventure Pack I - https://www.adventurelookup.com/adventures/i13-adventure-pack-i TSR 9202
From the magazine: "A rotting ship holds the secrets of all the universe, but its crew wants you only for the 'fuel' you carry." This scenario is useful for launching players into a Spelljammer campaign. The players are tasked with investigating a derelict ship that fell from the sky. The ship is captained by a spectre and crewed by a host of undead enemies. Clearing the ship gives the players the possibility of a Spelljammer ship as well as access to several wheel-lock pistols and ammunition (the biggest treasure from the adventure). The adventure takes place in the Forgotten Realms setting, though it may be easily altered to fit any other campaign world. Module LC1 Gateway to Ravens Bluff, The Living City, would be helpful, as the city of Ravens Bluff is suggested as the PCs' starting point for this adventure. Any other city can be substituted without difficulty. Pgs. 29-37

After hiring a group of brave adventurers to help him "acquire" a beholder specimen, the mage Velinax disappears! Rumors blame an insidious thieves' guild called the Unblinking Eye for this turn of events. Why would the Unblinking Eye wish to "take care" of the mage? Why does the guild want to speak to anyone involved with Velinax? Finally, what dark goal does the guild truly intend to accomplish? Finding out the answers to these questions will lead doughty adventurers straight through the shadows of a crafty thieves' guild and onto the threshold of an even deeper and more dangerous darkness. "Eye of Doom" is the second of three adventures featuring the nightmarish beholder. It can be played as an individual mission or as part of the series that began with "Eye of Pain" and concludes in "Eye to Eye." TSR 9530

It begins as a simple martial arts tournament. Sure, your skills are tested and you might even win a trophy - or learn a lesson or two. But it's still just a tournament.... Until someone starts playing for keeps. When a traitor to the empire is revealed, His Excellency calls loyal and heroic citizens to follow the trail of deception. The scale of the treachery is grand - it seems that an entire army has turned its back on its rightful liege! The trail leads through trackless (or seemingly trackless) mountains, into peaceful (or seemingly peaceful) valleys. The emperor has promised great rewards to heroes who can solve his mystery, but as the journey progresses the heroes find their own reasons for continuing. As a sinister suspicion grow in the minds, the adventure reaches its climax in the ruins of an ancient civilization. Finally, our heroes are faced with an ultimate choice - between success and failure, loyalty and betrayal, even good and evil. On their choice rests the future of nations. TSR 9257