
The Merchant Princes have a treat in store for everyone! A new team-based event has been added to the roster and the factions are throwing their hats into the ring. Climb aboard and saddle up! Part One of The Jungle Has Fangs Trilogy.

In the far reaches of the world, under a lost and lonely hill, lies the sinister Tomb of Horrors. This labyrinthine crypt is filled with terrible traps, strange and ferocious monsters, rich and magical treasures, and somewhere within rests the demilich. Remake of the original AD&D adventure.
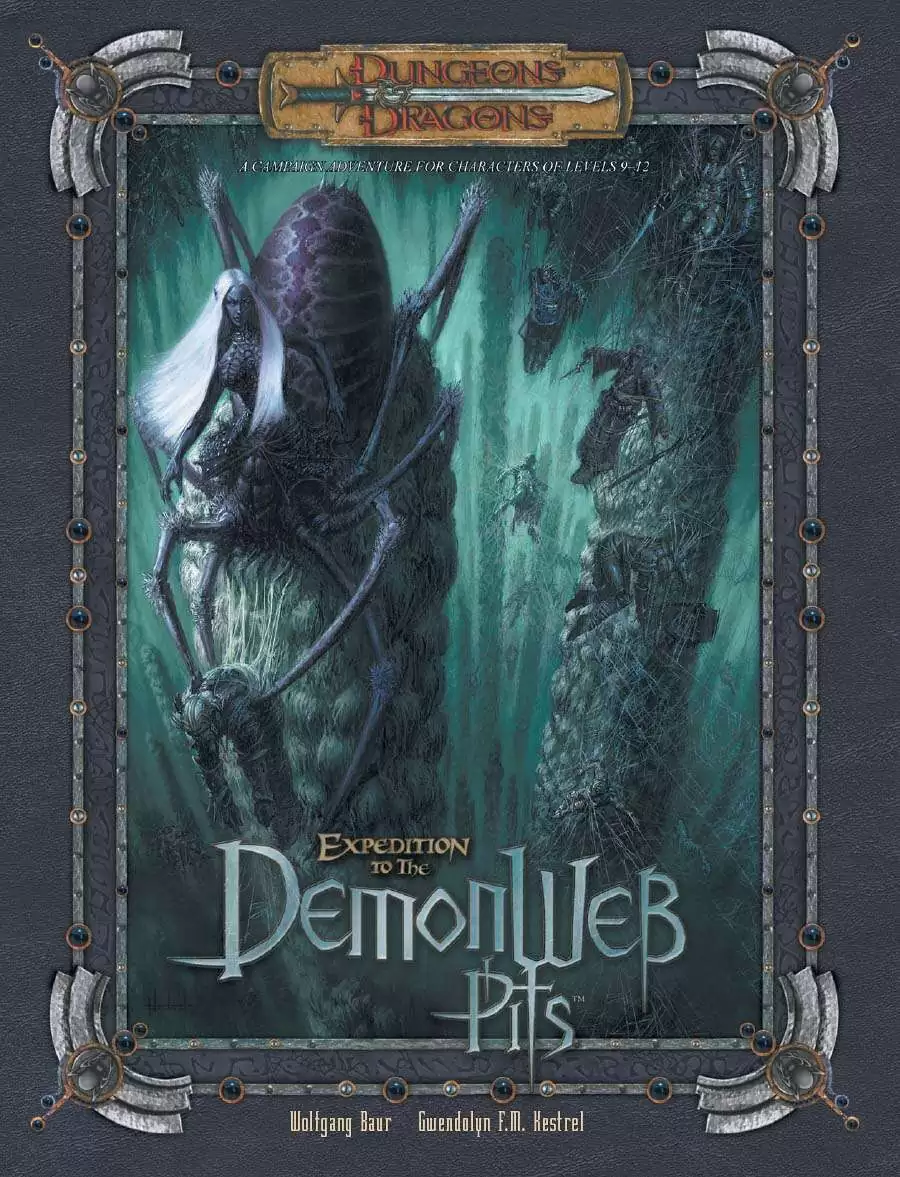
Visit the Abyss. Meet Demon Lords. Kill Everything. In the heart of the Demonweb, Lolth surveyed the Grand Council Chamber and the demon lords assembled by her invitation. Throaty growls indicated a dispute amond Yeenoghu's pack. Obox-ob's insect swarms chittered while Demogorgon ranted from the central podium. The other emissaries seemed restless. Across the hall, Graz'zt met Lolth's gaze and smiled. The demon queen shivered with a tingle of foreboding This Dungeons & Dragons adventure takes characters from the planar city of Sigil to the darkest corners of the Outer Planes, gathering resources to battle the forces of Lolth, Demon Queen of Spiders. The player characters must navigate a carefully spun web of treachery and deceit to reach the violent heart of Lolth's domain and put an end to her sinister dreams of conquest. This campaign adventure is designed for characters of levels 9-12 and features an easy-to-use combat encounter format and player handouts. This book also presents new prestige classes and magic items for player characters. For use with these Dungeons & Dragons core books: Player's Handbook, Dungeon Master's Guide, Monster Manual.

Why should anyone travel the cracked cobblestones of the Old Road? The fortress that once cast its shadow across the road does so no longer - some whisper that the earth swallowed the fortress whole in an age long past. Four brave adventurers resolved to discover the truth and set off down the Old Road, but they never returned. This adventure is a first level adventure for beginning players set in the dungeon of the fallen fortress.

Zhentish soldiers, Maerimydran drow, and Sharran cultists have forged a dark alliance to subjugate the peaceful land of Shadowdale. Elminster's tower lies in ruins, Lord Amcathra governs at the sufferance of the dale's conquerors, and the very Weave of magic in this embattled land seems to fray with each passing day. The Zhentish yoke lies heavy over Shadowdale—but the Dalesfolk are ready to fight for their freedom, if only they can find true heroes to lead the way!

The Sea Witch is a short adventure for four 10th-level characters. The difficulty of the adventure can be adjusted by changing the level of main antagonist (Black Molly, the sea hag pirate) or by altering the number of her ogre servants. To tailor the encounter to groups of different levels, refer to table 4-1 in Chapter 4 of the DUNGEON MASTER’S GUIDE. The adventure is set off a lightly populated coastline known as Misty Bay, but adapts easily to any coastal region in existing campaigns. The sea hag known as Black Molly is a notorious pirate who has plagued the coastal cities for the better part of a decade. A successful Knowledge (local) check (DC 15) will reveal that Molly and her ogre crew have a filthy reputation as merciless killers who delight not only in plundering vessels for their riches, but also in destroying the ships themselves and sending all hands to the bottom of the sea. Now the villain and her followers have seized control of the Old Lighthouse of Misty Bay located off a lightly populated coastline. For generations the lighthouse beacon has protected the fishermen of this region, warning them of the dangerous rocks that lurk just below the level of the high tides. Recently, the hag has put out the beacon, darkening the lighthouse; misery and destruction are sure to follow as ships start to blunder into the rocks. Blackmail is apparently Black Molly’s aim in this venture: She conveyed a message to the nearest shore community, the fishing village of Poisson, demanding the princely sum of 50,000 gp. Until she receives this ransom, she intends to hold the lighthouse and its beacon hostage. The fate of the human keepers who tend the lighthouse is unknown to the seaside communities at this time, but they fear the worst. The Sea Witch is ostensibly a rescue mission: The PCs are pitted against the evil of Black Molly and the brawn of her savage ogre crew. It is the heroes’ task to retake the lighthouse and, if possible, free its captives from the clutches of their jailer. What neither the PCs nor the shore communities yet realize is that while she 1would be pleased to have the gold, Black Molly is in fact after bigger treasure. Molly has no intention of giving up the lighthouse — at least, not until she finds what her master sent her here for. Lying on the sea floor practically at the base of the rock on which the lighthouse sits is the wreck of the war galley Flying Cloud, which according to popular legend was captained by a cleric who wore around his neck an amulet of the planes. Black Molly wants this prize, but so far she hasn’t been able to find it. She’s scoured the wreck without finding any sign of the magic item. Now she’s trying to determine where to search next, for the item might well be somewhere near the wreck. If she can’t find it, she’ll start torturing her captives to find out if they have any useful knowledge about the amulet.

Just off the northern coast of Chult churns the waters of the Cauldron, a single volcano with a terrible history. Legends from the jungle lands say that it vomits forth lava, stone, and monsters if the peninsula is threatened - and yet the recent events did not set if off. So why is it threatening to explode now? Part Three of the Broken Chains Series.

A fallen clock tower holds components from an ancient artifact. Upon discovery of the components, competing agents look to launch expeditions to uncover additional components scattered across distant places—and times. The now-lost Temple of Moloch and the construction site of the legendary Tomb of Horrors are two of those locations. However great the risks, finding the components demands the effort, for whoever does so can reassemble the fabled Infernal Machine of Lum the Mad!
A sickness has come unto the simple mining community of Duvik’s Pass, poisoning their wells and blighting their crops. With the pestilence leaving the strongest men of the town’s guard a few short days away from death, the burden of descending into the mines and purging the wellspring of whatever evil has settled there falls to an intrepid band of adventurers. Can these noble heroes prevail within the depths of Duvik’s Pass, or will they too fall victim to the perils of The Burning Plague? The Burning Plague is a DUNGEONS & DRAGONS adventure designed for a party of four to six characters of 1st level. Dungeon Masters (DMs) should feel free to adjust the adventure as necessary to accommodate groups not falling within this range. However, given the fairly low power level of the inhabitants of the mines at Duvik’s Pass, it should be noted that parties consisting of 20 or more total levels are unlikely to find satisfactory challenge within The Burning Plague.

For the past several nights, drums have been heard on the wind, coming from the Twilight Marsh. Each morning, more turn up missing from the nearby farms, leaving only muddy, clawed foot prints heading towards the marsh. Can you help find the lost and bring justice to the abductors?

An exiled cultist and his kobold minions are spotted searching for long-forgotten ruins in the Dragonspire Mountains. Rumors say he looks for a precious gift to give a fearsome dragon that dwells there. What he hopes to attain with his gift is unknown, but can't be good for the citizens of Phlan.
The PCs intervene in an attempted murder and are hired to find out what made a guy go mad. This leads them to search for Yenejg Togan's tower/a strange merchant in the nearby forest, where they discover that bugbears have moved in. After exploring the tower, finding the "merchant", and dealing with the bugbears and the lamia that caused the incident in the first place, they were still unable to get into Yenejg's inner sanctum without a key. The PCs return with the key and figure out how to use it to enter Yenejg's sanctum. They then explore it, dealing mostly with traps, and finally discover the resting place of the treasure Yenejg stole from the town. This adventure begins with a skill-based roof-top chase and can include some complex non-combat interactions with potentially hostile NPCs. It includes some semi-interesting traps as well as some nifty puzzles. No villain to speak of. Fool-hardy adventurers can get themselves killed, but some caution will result in only one extremely hard fight, and even that can be avoided if action is taken quickly. Pgs. 74-107

Every priest in the city dreamed last night of a forgotten temple carved into the side of a nearby mountain. In the dream, a storm raged deep within the temple, and the dreamers knew instinctively that evil forces sought to unleash that storm upon the surrounding lands. Pgs. 120-125

In the ruins of Kiris Dahn, a human town, lies a 'Slaying Stone'. The stone is said to have the power to kill any foe, though the stone is consumed in the process. The party will venture into the ruins which are the home to an assortment of goblins, hobgoblins, and kobolds. However, a mercenary band of orcs have been hired (by a benefactor who is not met in the module) to search the ruins for the Stone, and the party must find it first. The party must use caution and stealth to move through the town without alerting the denizens or the mercenaries while searching strategic points around the abandoned town to find the Stone. Eventually, the party should find the stone under the protection of an indifferent Brass Dragon.

Charasta, an old white dragon, has not reached her age by being unprepared or foolish she is, in fact, much more intelligent than most white dragons. Her lair is well defended and tailor-made to help her defend herself. Not only that, but when she leaves the caves to hunt she’s taken to using change self to disguise her exact color. This wily white makes a perfect foe for your party adventuring in the North of Faerûn or in almost any other campaign setting as well.

Floating Eternally among the endless silver void of the Astral Sea are vast, once-living islands, cast-off flesh of primordials and deities who lost their lives sons past in a great war. Today these colossal outposts bear mute testimony to the date of even the mightiest among us. Pgs. 120-127

Displace Beast Maze is an adventure that has one long encounter that is a combination of a puzzle (maze) and combat encounter (Displacer beast). The Displacer beast tentacle's ability to attack through the maze walls, knowledge of the layout, and hit-and-run tactics make the labyrinth both a useful and possibly deadly lair for the creature. Pgs. 27-29

The Gommurg Clan rarely deal with outsiders. These hill dwarves have isolated themselves for centuries to work on their craft and guard an ancient and sinister structure. Unfortunately, the world around them does not rest easy. An exile of the clan has inadvertently brought terrible woes to his ancestral home, and now he frantically seeks help to save his people.
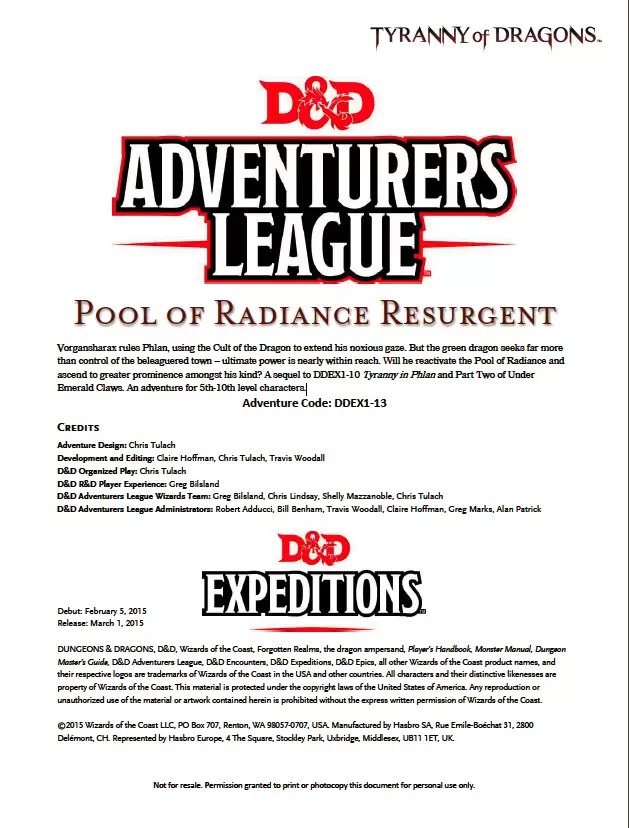
Vorgansharax rules Phlan, using the Cult of the Dragon to extend his noxious gaze. But the green dragon seeks far more than control of the beleaguered town – ultimate power is nearly within reach. Will he reactivate the Pool of Radiance and ascend to greater prominence amongst his kind? A sequel to DDEX1-10 Tyranny in Phlan and Part Two of Under Emerald Claws.
The adventurers have delved into the Abyss to strike at the Demon Lord of Undeath, Orcus. On the layer of Thanatos, the Blood Lord has many outposts from which he spreads his corruption. One of his primary lieutenants is Doresain, the Ghoul King. If the PCs kill Doresain in his lair, they will strike a real blow against the foul demon lord. Pgs. 174-179