
SPECIAL DOUBLE ISSUE! The Tabernacle of Ka-Sik-Fal is a 2 in 1 adventure including a TRUE SOLO adventure. This double adventure is actually the same adventure in two formats, one DM & PC, and the other a true do it yourself adventure. This adventure is for a PC of 1-3 level . It follows the Filbar Campaign setting but can be placed in any campaign setting. This adventure takes a single PC into a deserted shrine to discover the whereabouts of missing villagers. At 35 pages this adventure will keep your PC busy. Did I mention a true 1 person solo adventure?

What is the Lost Lands? The Lost Lands is the home campaign world of Necromancer Game's and Frog God Game's own Bill Webb. This campaign has been continuously running since 1977. Many of the adventures published by Necromancer Games and Frog God Games are directly inspired by this campaign. They have evolved over the decades, and more material continues to flow from it as the dice keep rolling. Sages and wizards of legend speak of the Lost Lands—many of the players who have lived and died in Bill's campaign over the years now have a place in history (in the books). Frac Cher the dwarf, Flail the Great, Bannor the Paladin, Speigle the Mage, and Helman the Halfling are well known to the fans of Bill's work. This is the game world, and these are the adventures in which the players of these famous characters lived and died. Hundreds of players over the past 35 years have experienced the thrills and terrors of this world. The Sword of Air is the centerpiece of the Lost Lands. Currently, this epic tome consists of several parts: 1. The Hel’s Temple Dungeon—kind of like Tomb of Horrors on crack. This six-level, trap-and-puzzle infested dungeon formed the basis of Bill's game through his high school and college years. Clark Peterson’s very own Bannor the Paladin spent several real life months in the place, and, sadly, finished the objective. This is where the fragments of the fabled Sword of Air can be found…perhaps. 2. The Wilderness of the Lost Lands extending to the humanoid-infested Deepfells Mountains and providing detail about the nearby Wizard’s Wall. This so-called “wall” was raised by the archmages Margon and Alycthron harnessing the Spirit of the Stoneheart Mountains to raise the land itself, creating a massive escarpment to block invaders from the Haunted Steppes. These archmages are actual player characters from the early 1980s who live on in the legends of the Lost Lands. Over 70 unique encounter areas are detailed, and each one is a mini-adventure in itself. New wilderness areas may be added based on bonus goals described below! 3. The Ruined City of Tsen. Legend has it the city was destroyed by a falling meteor. This place forms an aboveground dungeon area the size of a city, with over 100 detailed encounter areas. It’s a very dark place…even at noon. 4. The Wizard’s Feud—This campaign-style adventure pits the players in a long-running series of intrigues and battles between two archmages. Which side will they take? Their actions all play into the overall quest, and could well determine which side wins. Law and Chaos are not always what they seem, and if the wrong decisions are made, the entire ordeal could fail. Remember, one of the wizards WANTS Tsathogga to win. 5. New monsters, new demons, new spells, and new rules for various aspects of play. 6. The Tower of Bells. This dungeon is the result of the workshop Bill ran at PaizoCon 2013, where the participants assisted him in building an old-school dungeon. Visit the tower and discover the secrets of the “artist” within. Beware: those entering may never come out!

A short adventure for low level play, suitable for beginner players and DM. The farmlands are being raided by monstrous creatures and and the town of Windhill needs help! will the heroes find the source of these creatures and defeat whoever is creating them? This adventure covers a lot of the basic elements of DnD play and is designed to offer a taster of the system that is easy to run and quick to prepare. It includes stat blocks so that you don't need any other book (except the basic rules) to run it. Do you have a few friends you want to introduce to DnD? is it your first time on the other side of the screen? this adventure may be for you.

Beneath the frozen waves, an ancient power stirs. In the icy north, ships vanish without a trace, drawn toward a massive drifting iceberg. Legends speak of a powerful artifact buried within—one that calls to the sea and those who sail upon it. But the glacier is no ordinary formation; its tunnels are filled with lurking predators, yeti clans, and an ancient Icebound Hydra whose severed heads regrow as living ice. Can your party brave the treacherous depths, uncover the iceberg’s secrets, and escape with their lives? Or will they too be claimed by the frozen tide? Inside This Adventure: ✅ A perilous arctic dungeon crawl with chilling environmental hazards. ✅ A tense nautical encounter with eerie Will-o'-Wisps and a Sea Hag ambush. ✅ A monstrous final battle against the Icebound Hydra, a regenerating beast of frost and fury. ✅ A cursed artifact—the Shard of Dominion, which grants power but demands a terrible price. ✅ Multiple adventure hooks for easy integration into your campaign. This adventure is part of Thirsty Tiger Tales, an upcoming collection of exciting one-shots for D&D 5e! Perfect for a one-shot or a side quest in any high-seas or arctic-themed campaign. Pay What You Want for the first month! Suggested price: $1.00 Will your party conquer the frozen depths, or will they become yet another legend swallowed by the ice?
"The adventure begins shortly after the PCs arrive in the village of Whitebirch, located just one mile outside Bunglewood, a thick forest. Unless the adventurers prefer to camp by the side of the road, the only rooms in town are available at The Swanmay's Song, a local inn. Shortly after nightfall, a wounded traveler staggers into the inn." -- from the module. Includes overland map, ambush site map, and cave system map.

Civil War Unrest. Turmoil. Rebellion. As above, so below - the cataclysmic events of the Wrath of the Immortals echo throughout the Hollow World setting. The Milenian Empire, with its classical Greek culture, has not escaped. Already the streets are un-safe, and the omens are getting worse... The emperor is dead... long live the emperor! But is the new emperor a man of the people, or a tool in the hands of malevolent powers? Walk carefully, for no stranger is safe upon the streets these days, and adventurers least of all! The mood of the capital city is turning ugly. Minions of the new emperor look on uncaring, while citizens disappear and philosophers fall to heedless mobs. The old emperor's elite guards are disbanded and scattered. Disorder reigns, and restless citizens threaten open revolt. And yet... a whisper is heard. Civil war can be averted. An ancient artifact, the Milenian Scepter, can rally those who would serve the Empire best. But the Scepter has been lost for generations, and who can say where it might be? The trail leads into the depths of the city, and across a dangerous wilderness to a forgotten oracle. For the lucky and the bold, perhaps it will lead to... THE MILENIAN SCEPTER This stand-alone adventure is compatible with the Wrath of the Immortals boxed set and the accessory HWR3, The Milenian Empire. You will need the D&D Hollow World boxed set to play this adventure. Easily adaptable to the AD&D game. TSR 9378

After hiring a group of brave adventurers to help him "acquire" a beholder specimen, the mage Velinax disappears! Rumors blame an insidious thieves' guild called the Unblinking Eye for this turn of events. Why would the Unblinking Eye wish to "take care" of the mage? Why does the guild want to speak to anyone involved with Velinax? Finally, what dark goal does the guild truly intend to accomplish? Finding out the answers to these questions will lead doughty adventurers straight through the shadows of a crafty thieves' guild and onto the threshold of an even deeper and more dangerous darkness. "Eye of Doom" is the second of three adventures featuring the nightmarish beholder. It can be played as an individual mission or as part of the series that began with "Eye of Pain" and concludes in "Eye to Eye." TSR 9530
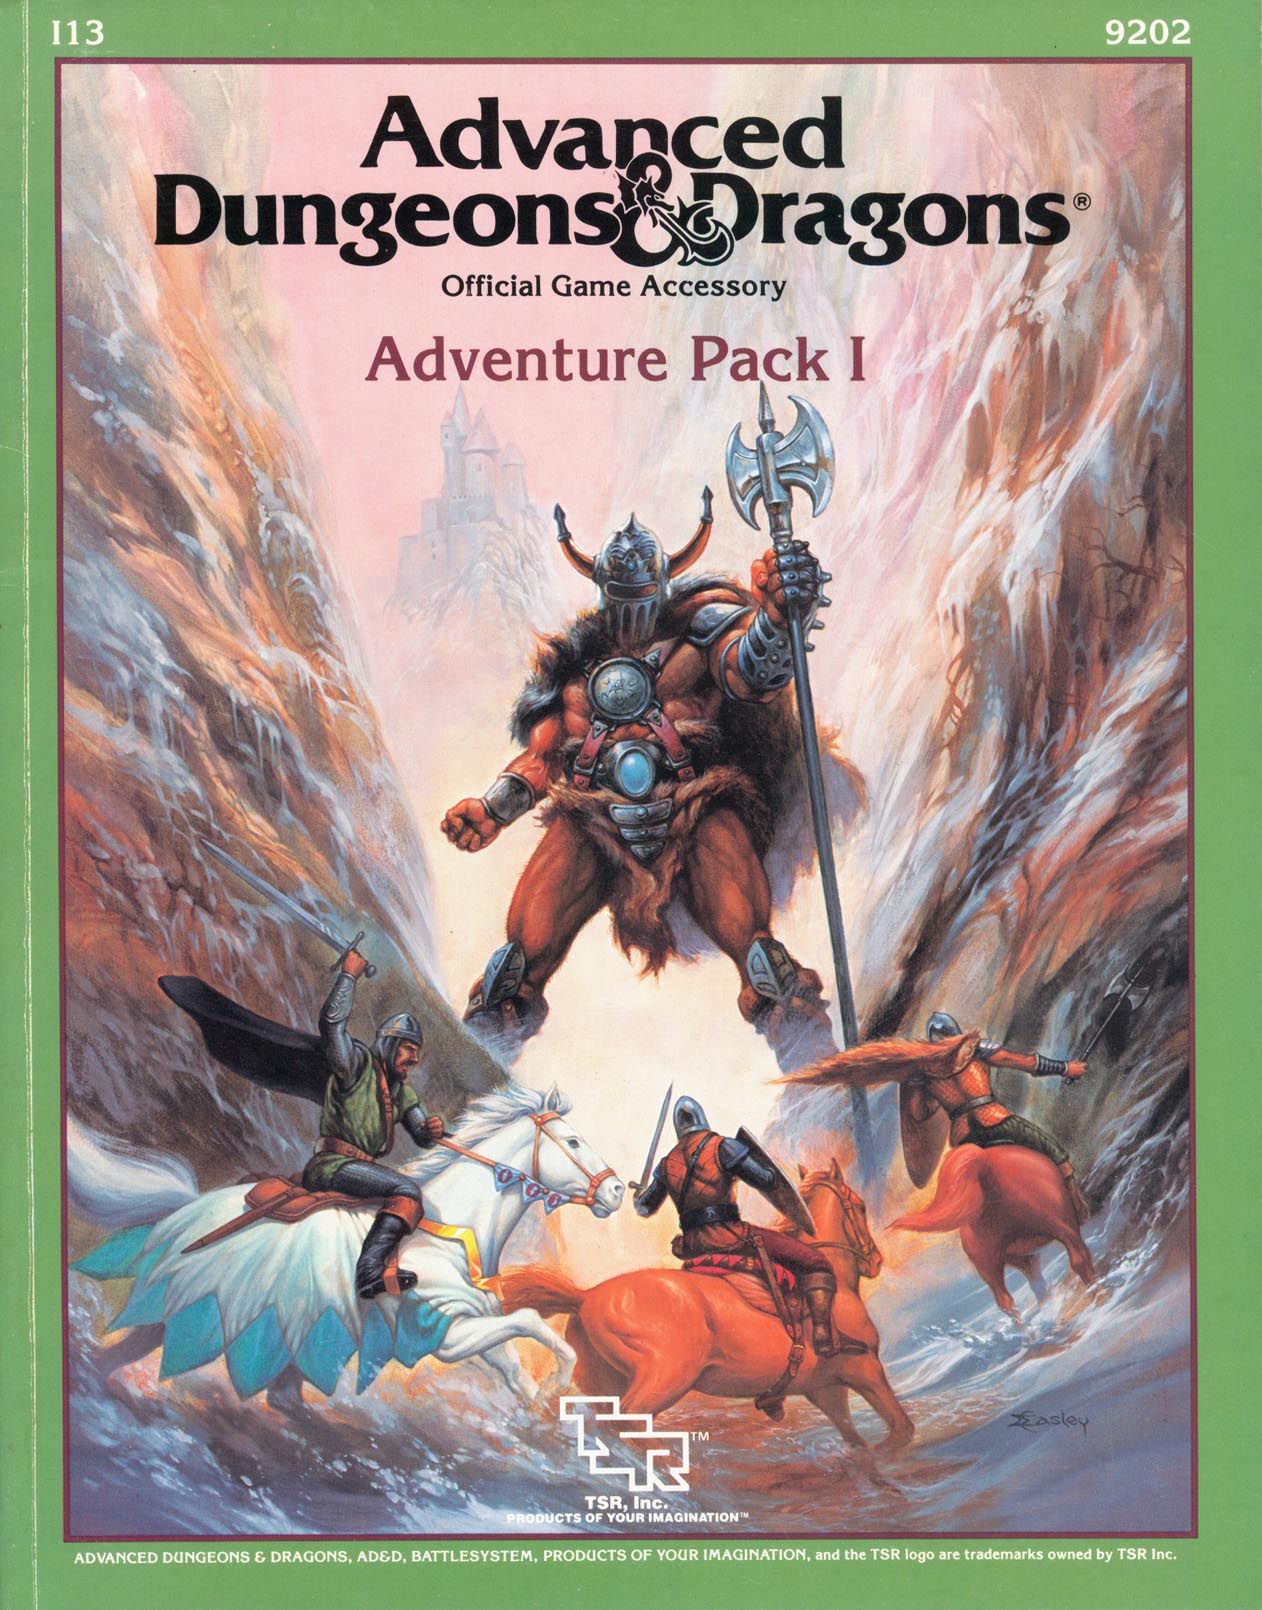
DMs, do you wish you had more time to put together fresh, innovative adventures for your players? Have you ever been stuck for a new plot line, but been unwilling to delve into the reading and prepartion required by full-length modules? TSR Inc. proudly presents a new AD&D game accessory designed for the DM who wants variety and challenge for player characters. Adventure Pack I contains 12 short modules, each a complete stand-alone adventure. The scenarios are unique and unusual; they will intrigue characters of all levels, and offer a variety of settings and plots for the DM to choose from. These adventures are suitable for one-time play, or can be inserted into your campaign at any time. Each module includes one or more maps, background for the DM, NPC capsules, and complete encounter descriptions. The scenarios are designed for a specific range of player character levels, and can easily be made more or less difficult if neccessary. Now, with a minimum of preparation, you can give your player characters a challenge that will last for as little as one day of game time or months of it. DMs are sure to find Adventure Pack I convenient, innovative, and invaluable! Contains 11 Adventures: The Circus of Gandolfo - https://www.adventurelookup.com/adventures/the-circus-of-gandolfo Sharla's Zoo - https://www.adventurelookup.com/adventures/sharlas-zoo The Weird Woods of Baron Orchid - https://www.adventurelookup.com/adventures/the-weird-woods-of-baron-orchid To Kill a Kraken - https://www.adventurelookup.com/adventures/to-kill-a-kraken Reign of Triumph - https://www.adventurelookup.com/adventures/reign-of-triumph Terror of Skytumble Tor - https://www.adventurelookup.com/adventures/terror-in-skytumble-tor Steaks - https://www.adventurelookup.com/adventures/steaks The House of Long Knives - https://www.adventurelookup.com/adventures/the-house-of-long-knives The Lauros Road Bandits - https://www.adventurelookup.com/adventures/the-lauros-road-bandits Scavenger Hunt - https://www.adventurelookup.com/adventures/scavenger-hunt Blood and Laurels - https://www.adventurelookup.com/adventures/blood-and-laurels TSR 9202

A fiend lurks among the Black Blade goblins. A shapeshifting barghest fashioned by the General of Gehenna to exact revenge on all goblin-kind. It’s aim: to kill as many goblin leaders as possible… A masked goblin approaches the party asking for help. Two tribe leaders are dead. But a rival for chief has control of the crime scene. Will the party discover the barghest among the goblin ranks? Can they stop this imposter before it strikes again? Adventure Overview The adventure’s story is spread over 4 parts and takes approximately 4 hours to play. The adventure begins with a Call to Action scene. Part 1: Goblin Politics. Krill sends his emissaries to implore help from any strong intermediary. The party is asked to investigate the murder of Thrawn in Dringly’s lair. This is Story Objective A. Part 2: The Opposition. Gain entry into Dringly’s lair and investigate the murder of Thrawn. Gather enough evidence to find the killer. This is Story Objective B. Part 3: To The Lair! Now that the players have determined the barghest (Yeep) is to blame, they need to get to Krill’s lair quickly as he is in imminent danger. This is Story Objective C. Part 4: The Barghest.When the players arrive at the lair, they need to get to Krill and expose and defeat the barghest. This is Story Objective D. Adventure Background A barghest named Yeep has begun its onslaught of attacks against the Black Blade goblins. Starting with Chief Gnar, then his second in command Thrawn, the barghest is moving methodically down the line of command. Krill is now chief. But he has some problems: Two leaders of the Black Blades are dead. Who killed them and why? Is he next? Dringly, the next in command, has decided to take his lair for himself, declaring himself Chief of the Black Blades. Who are the Black Blades? The Black Blades are a tribe of goblins in the local area. They are known for dipping their blades in a dark black substance. It is rumored these blades are poisonous. The Black Blades regularly attack passersby on the road to rob them. The Black Blades have two lairs, one run by a chief who leads the whole tribe, and another overseen by a boss lieutenant. The Black Blades have a well-established pecking order which is how Krill stands to become chief. The next in line is Dringly, who has also declared himself chief and wants Krill dead. Krill suspects that there is something suspicious about two leaders being killed within a day of each other, but he has already burned Gnar’s body without any investigation. He needs to investigate the body of Thrawn, but it is in Dringly’s lair. Krill wishes to avoid direct confrontation with Dringly at the present for three reasons: 1) Any violence would only kill his own tribe members and further divide the lairs. 2) He believes there is still hope for negotiation to reunite the Black Blades. 3) He believes that if he were to attempt negotiations himself, Dringly would kill him. This adventure features: Two maps. Ready for your favorite Virtual Tabletop. A full color pdf. A black and white pdf. One custom monster, a reprint of barghest, all others available in the Monster Manual. Four hours of entertainment involving: roll playing a goblin bard, investigating a murder scene, tracking down a barghest before it strikes again. Applicable to any setting.

Stepping through a door can mean a grand adventure - or a horrifying death. The shortest distance between two points is not always a straight line. A number of magic towers connected by failing teleportation magic. Abandoned in ages past, other creatures now make the towers their homes and provide challenges to parties of varying levels. Pgs. 34-42
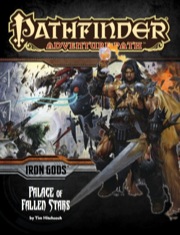
Book 5 in the Iron Gods campaign: Somewhere deep within Silver Mount, the greatest of the Iron Gods is rising to power. But before the heroes of Numeria can oppose it, they must f irst defeat the Technic League and the Black Sovereign, for the corrupt cabal controls access to the legendary site. Will the clues harvested from an ancient android oracle and the technological wonders gathered from strange ruins across Numeria be enough for the heroes to prevail? Or will they simply become the latest upstarts to be crushed under the Technic League’s metal boot?

𝐓𝐡𝐞 𝐬𝐞𝐜𝐨𝐧𝐝 𝐚𝐝𝐯𝐞𝐧𝐭𝐮𝐫𝐞 𝐢𝐧 𝐭𝐡𝐞 𝐔𝐩𝐫𝐢𝐬𝐢𝐧𝐠 𝐒𝐚𝐠𝐚. An orcish emissary is travelling the lands south of the dwarven stronghold of Nirzumbil, attempting to keep the tribes in line and focused upon harassing the dwarves. If the PCs can defeat the emissary before he can complete his rounds, they might be able to splinter a part of the orcish alliance. A sandbox-style adventure for a party of 4th level player characters. Includes 5th edition writeups of the giant stag beetle and the krenshar.
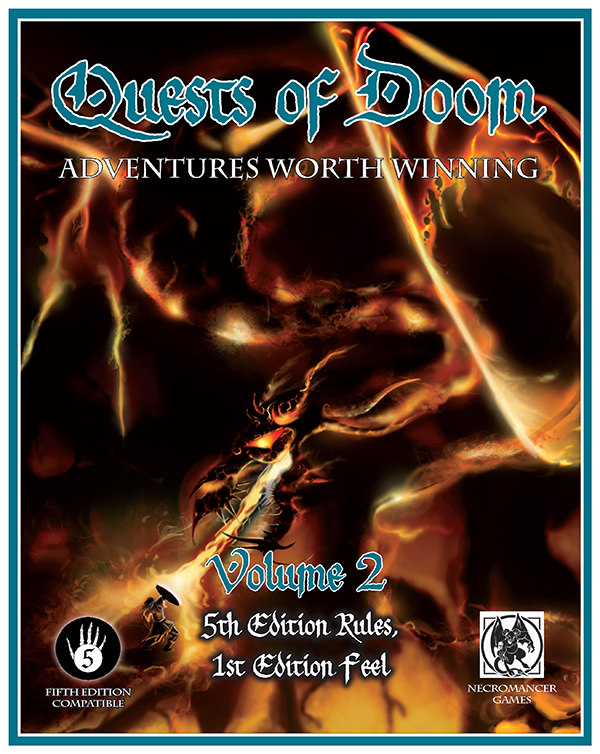
Quests of Doom Volume 2: 6 MORE Adventures for Fifth Edition Rules, First Edition Feel! For Quests of Doom Volume 1, we brought in some of the biggest stars in adventure-writing history to produce 12 mindbogglingly insidious adventures for Fifth Edition. This is volume 2, containing six more explorations into “doom or glory” for your players. Once again, the all-star cast of authors delivers what we strive to give you: Adventures Worth Winning! Volume 2 of Quests of Doom contains 6 adventures in 100 pages, byBill Webb (Of Ants & Men, Pit of Despair, Isle of Eliphaz), Matt Finch (Perils of Ghostwind Pass), Jim Ward (Dread Dragon Temple), Michael Curtis (The Darkening of Namjan Forest), and Casey Christofferson (Pit of Despair).

The party has received word from the citizens (or in NQ2) of a troublesome cult hidden in Meglos Peaks. Apparently a stronghold exists near the mouth of the Tora River. Putting an end to this group of religious fanatics would certainly put another feather in your fledgling career caps!

This exploration adventure is planned to be played by 4 to 5 level 4 characters. The characters, led by old Maddie (who also hides a big secret), will go deep into the swamp and into the caves to retrieve the green heart.

Hurtling through time, you find yourself embroiled in a struggle to keep the fledgling town of Waterdeep from succumbing to a vicious Troll invasion. But sometimes the true threat lies within the city walls... Part Two of the Folded Time Trilogy.

A free short adventure for four 4th-level characters by Mike Mearls Looking Glass Deep is a flexible, site-based scenario that presents you with the details of the ruined abode of the wizard Urlen Sparlek -- and the gang of outlaws that now occupies the place. This 10-page adventure by Mike Mearls is designed for 4th-level characters. Unlike some site-based scenarios, Looking Glass Deep features a dungeon full of monsters that take proactive steps to defeat the player characters (PCs). Tzarrik the hobgoblin sorcerer is an intelligent tactician with the ability to spy on the party almost at will when the group is within the Deep. His ragged gang of followers work together as a team under his command to repel attackers. Throughout the course of the adventure, the characters have the opportunity to locate an artifact called book the key of the way , discover the mysteries of the throne of the Deep -- and perhaps, in the end, even gain themselves a new headquarters. Published by Malhavoc Press
The Bark Witch of Carcass Country is a procedural pointcrawl for FRONTIER SCUM. It consists of tables encompassing: Adventure hooks to lure scum to the swamp Antagonist motivation to add depth and guide the story Locations that provide (un)safe spaces for PCs Exploration via an overloaded, exploding encounter table that escalates the plot Mundane and strange creatures with full stat blocks Signs of the Bark Witch to sow dread and chaos The module can be run purely randomly, as a pick-and-choose toolkit, or anywhere in between. Depending on the rolls and approach, it works as a one-shot or a multi-session adventure. The Bark Witch of Carcass Country is an independent production by Walton Wood and is not affiliated with Den of Druids. It is published under the FRONTIER SCUM Third-Party License. FRONTIER SCUM is copyright Den of Druids
The citizens of Battledale seek aid against marauding bandits, while the neighboring forest looms menacingly over their homesteads. The adventurers stumble upon a much darker foe, while trying to help the peaceful community hunt down the brigands. A misguided druid, who’s on the verge of insanity, wields an artifact, born of sorrow and hate, that could change the world. An evil that might alter the face of Faerun, if left unchecked. Will the heroes be able to vanquish the otherworldly threat once and for all? The players must traverse into one of the most deadly forests of the Forgotten Realms, called the Tangled Trees. Should they survive long enough, they will enlist the help of a magical denizen of the forest, who will aid them to find the bandits, but also in stopping the tainted druid and her abominations.

AL19 – Junket to the Southlands has the PCs enjoying a little R&R in southern Allatrama when a caravan comes into town. Scuttlebutt has it that some famous Bard came in with them and is giving a performance later. With nothing else to do you opt to take a listen. After hearing the tales recited by the incredible poet you opt to visit the location of her stories. Saddle up folks, you’re heading into the frozen land to the south!